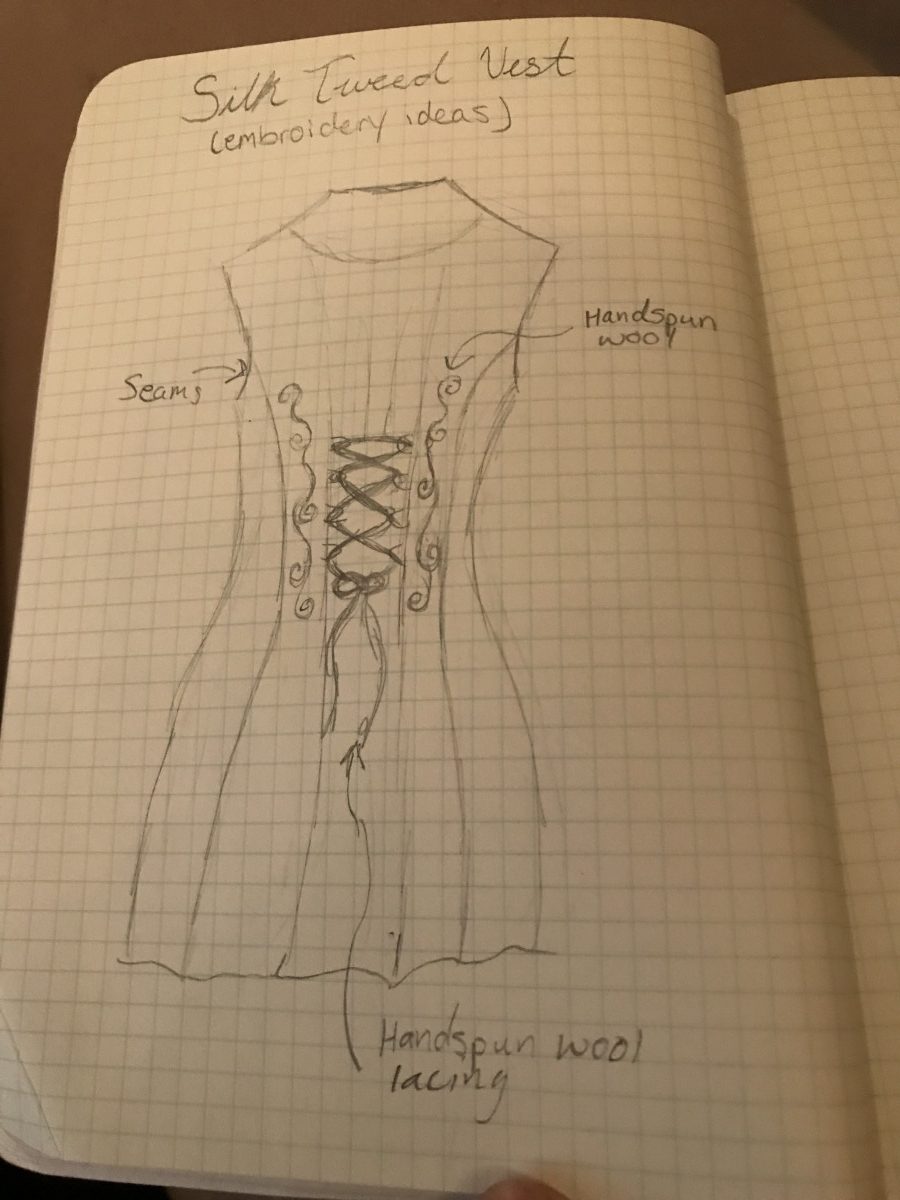
The first alteration that I have set about completing for my silk vest design is the corseted back that I mentioned in my previous post. I decided that for the back of the vest I also want to do a bit of embroidery detailing, so before I began the alterations I referenced the fashion drawing book that I got from the library to get my ideas out on paper. My plan is to use the wool that I spun last quarter as the yarn that I’ll embroider with. If I can source some used pearl beads I’d like to incorporate them into the design as well since I believe it will make for a nice contrast.
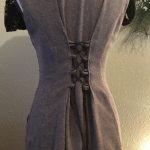
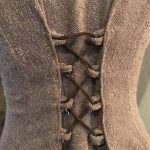
In order to complete the corseted back, I cut the collar off of the vest and turned the extra fabric into makeshift ‘grommets’ (though not quite). The back seams on the piece fit the corseting perfectly…it really looks like it was meant to be! Unfortunately, my sewing machine is back home in Virginia so I’ve had to hand sew all of the pieces so far. Because of this, it’s taking me a quite a lot longer than it would if I had the help of machinery, but I also am enjoying the control that hand sewing gives me since I am kind of making this up as I go – also, the less seam ripping I have to do, the less likely I am to get very frustrated with the entire process.
Now that I’ve finished that portion of the back, I am looking forward to getting started on the embroidered detailing. After I finish that portion, I am going to start looking for other pieces to add to the final ‘look’ so I can plan the rest of the design to be cohesive with the rest of the outfit.