Mid Quarter Self- Eval

For this quarter’s SOS project: Sustainability in Textile Production and Clothing Design, I decided to put the theorizing of last quarter into action. Last quarter, I spent ten weeks researching the history and current practices of textile crafts in an attempt to get a better understanding of how to improve the current model. Over the past five weeks, I have had the opportunity to experience textile and clothing production in three different areas: a full scale wool mill, flax production, and upcycling as well as to continue to broaden my understanding of the science and mechanics behind each method.

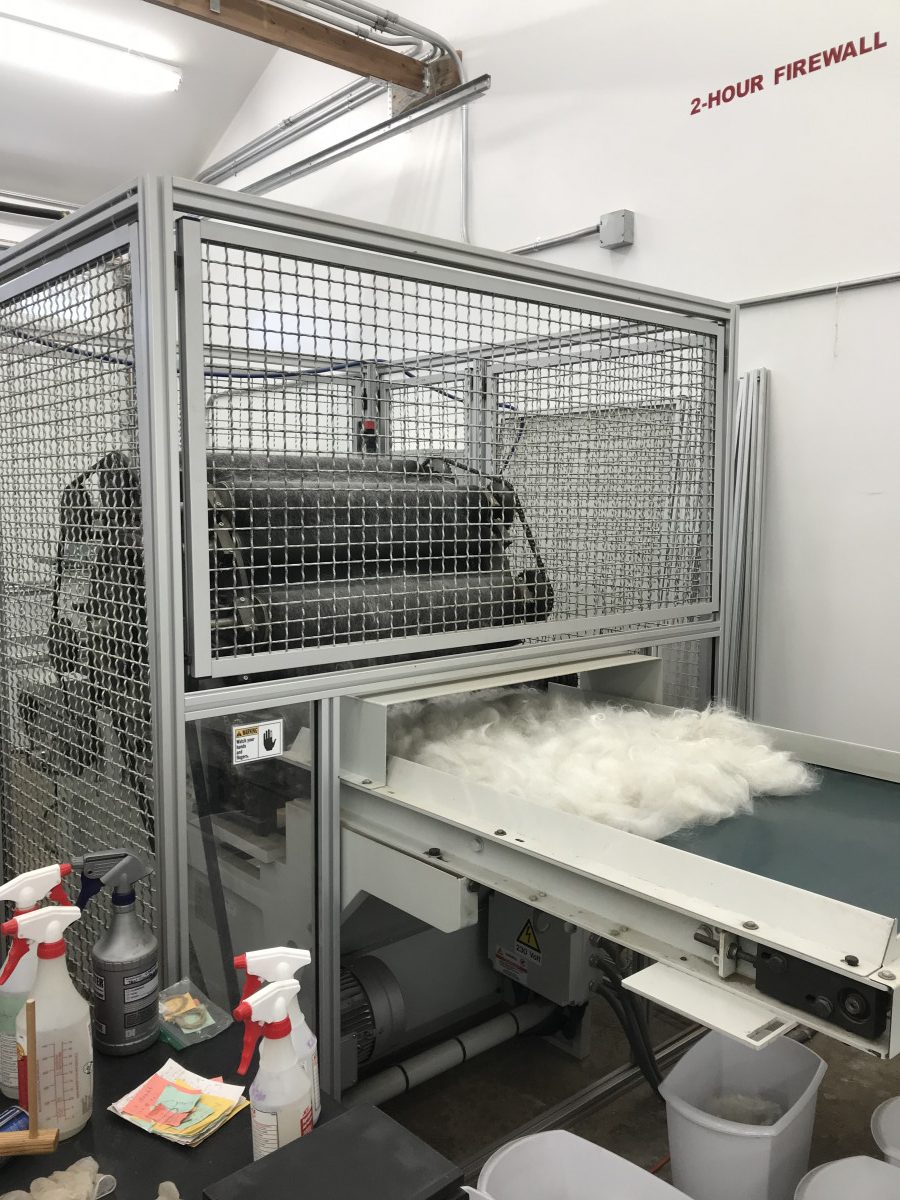
My internship with Olympic Yarn and Fiber has really only just begun, largely due to the fact that my supervisor and I have both been out of town for two consecutive weekends. However, the two weekends that I have been able to intern at the mill and alpaca farm have been great learning experiences for me. I began the quarter with little to no experience working mill equipment, but Lynn has been so incredibly helpful in teaching me the ins and outs of working with machinery. I now understand each of the steps in the yarn production process thoroughly and am able to work some of the more simple equipment without supervision. Over the next five weeks I am continuing to intern there, and hope to be able to expand my skills in the fiber mill even further. I am also starting to explore the energy usage of mills and how that relates to fossil fuel consumption, so I plan to continue to dive into that during the rest of the quarter. I have also read a good deal of Fibre Production in South American Camelids and Other Fibre Animals and have learned more about the different kinds of alpaca and how their health and the care given to them affects their wool production.

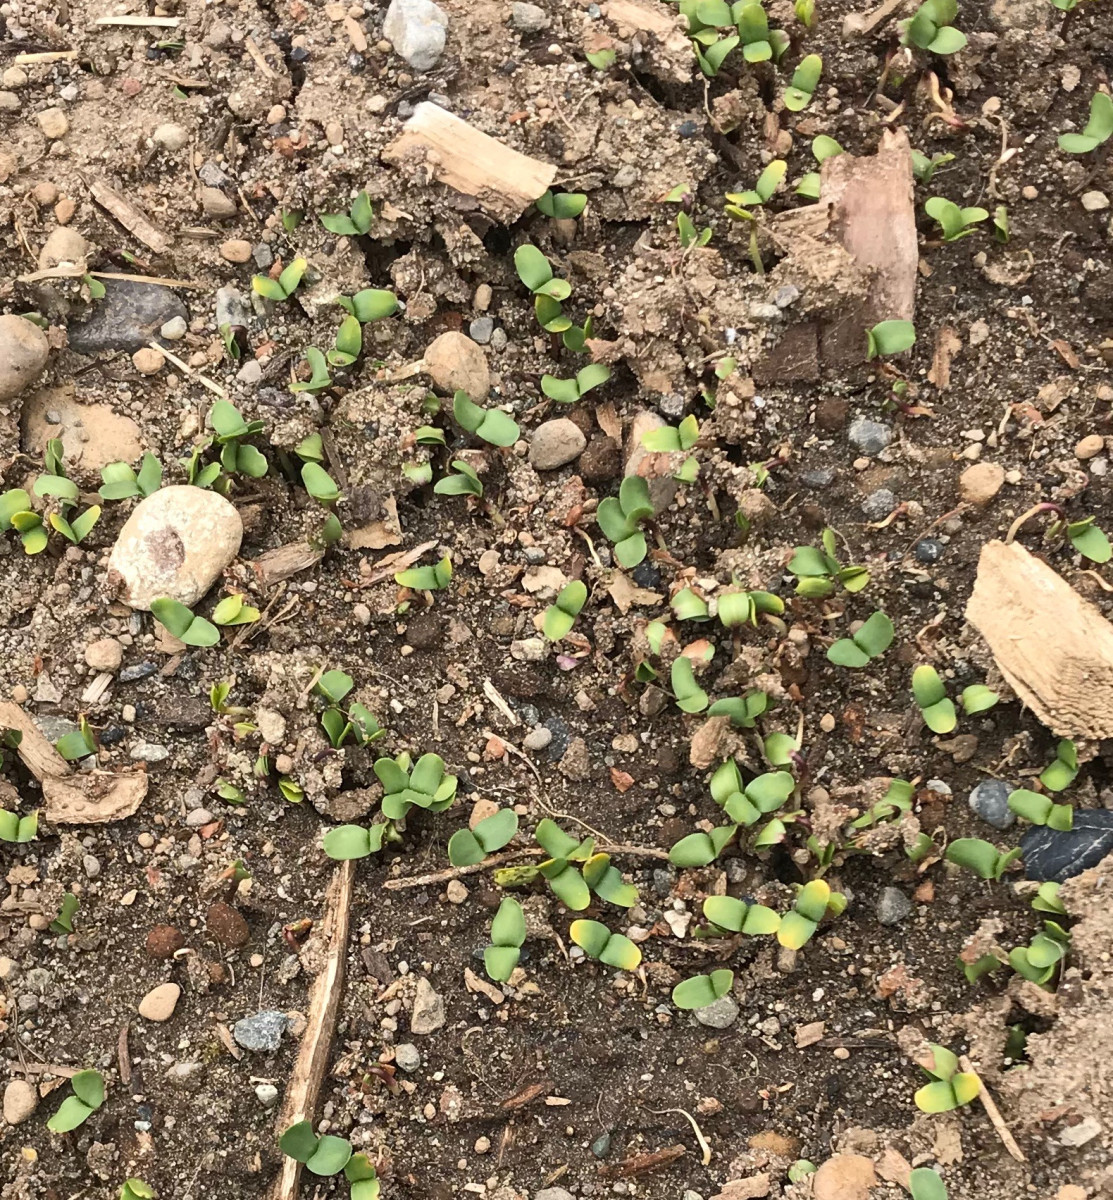
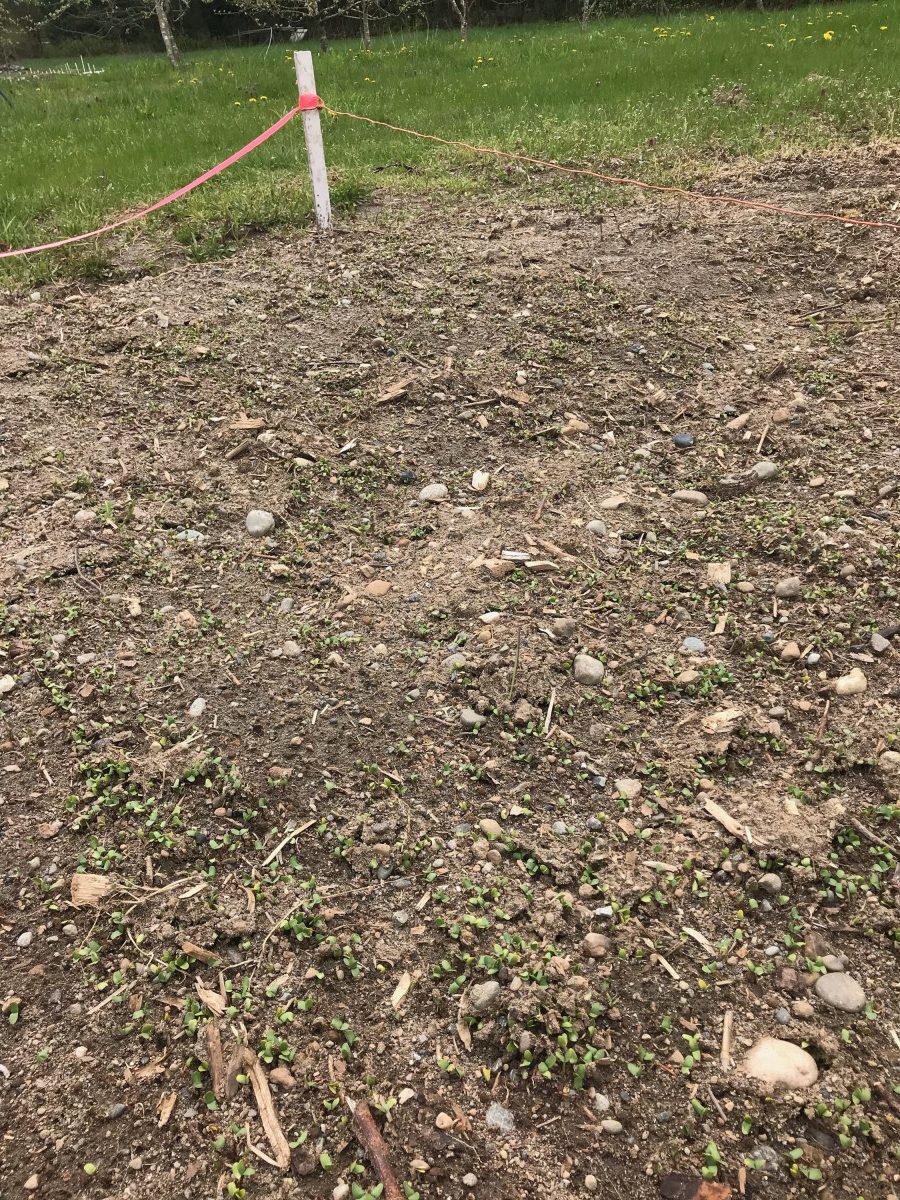
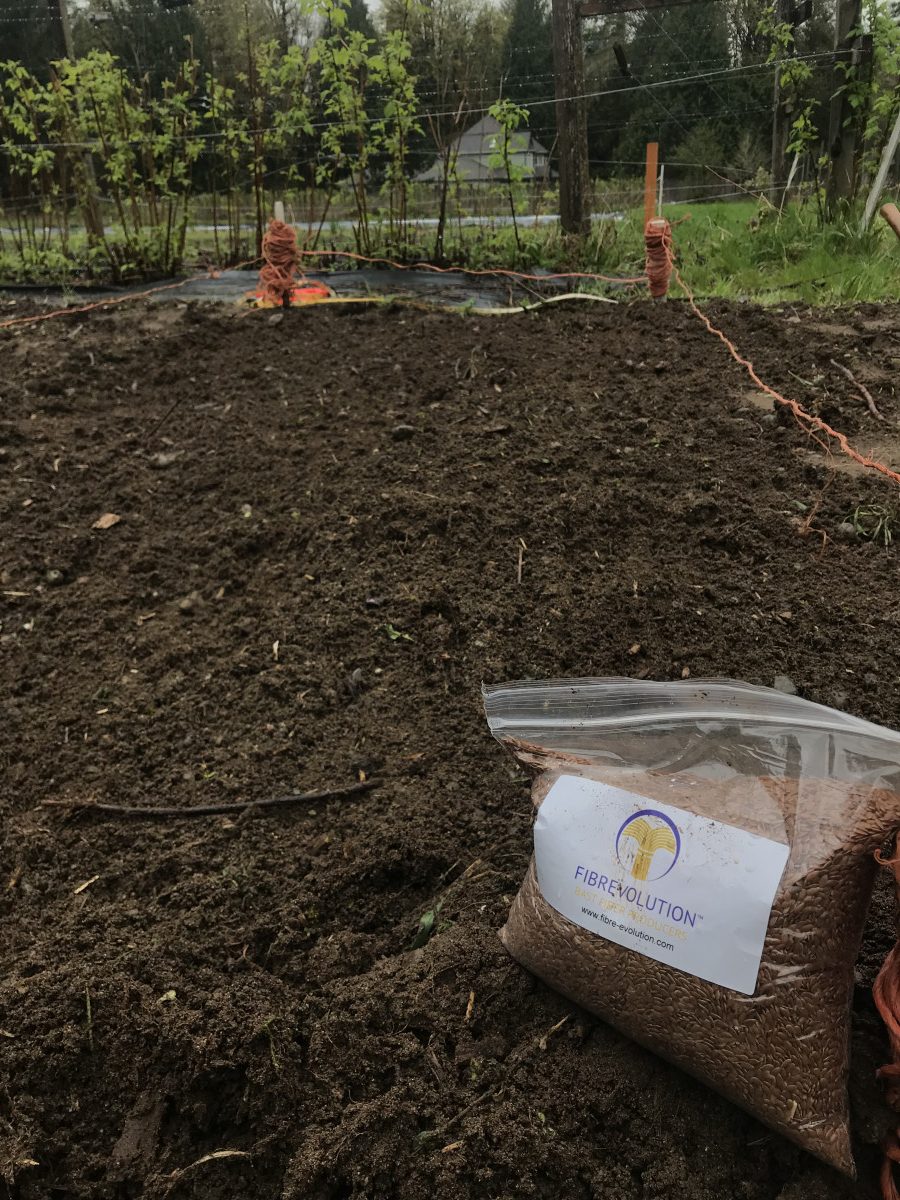
At the beginning of the quarter, I sowed 0.5lbs of flaxseed (Agatha variety from Fibrevolution) in a 10 x 5 foot bed and have been tracking the growth since. My intention in growing the flax is to eventually produce a sample of linen, but currently the process is relatively hands off since there is not much work required to cultivate that particular crop. It has been really helpful for me to see the fiber process through from plant to fabric and to be able to track each of the resources used every step of the way. I have really only begun this process since my flax to linen project will be continuing into the summer, but I have used to time to read up on the crop through the Flax Council of Canada’s growing guide and have familiarized myself with the conditions necessary to help them thrive. Reading about flax has also helped me to learn about the crops impact on a larger scale.

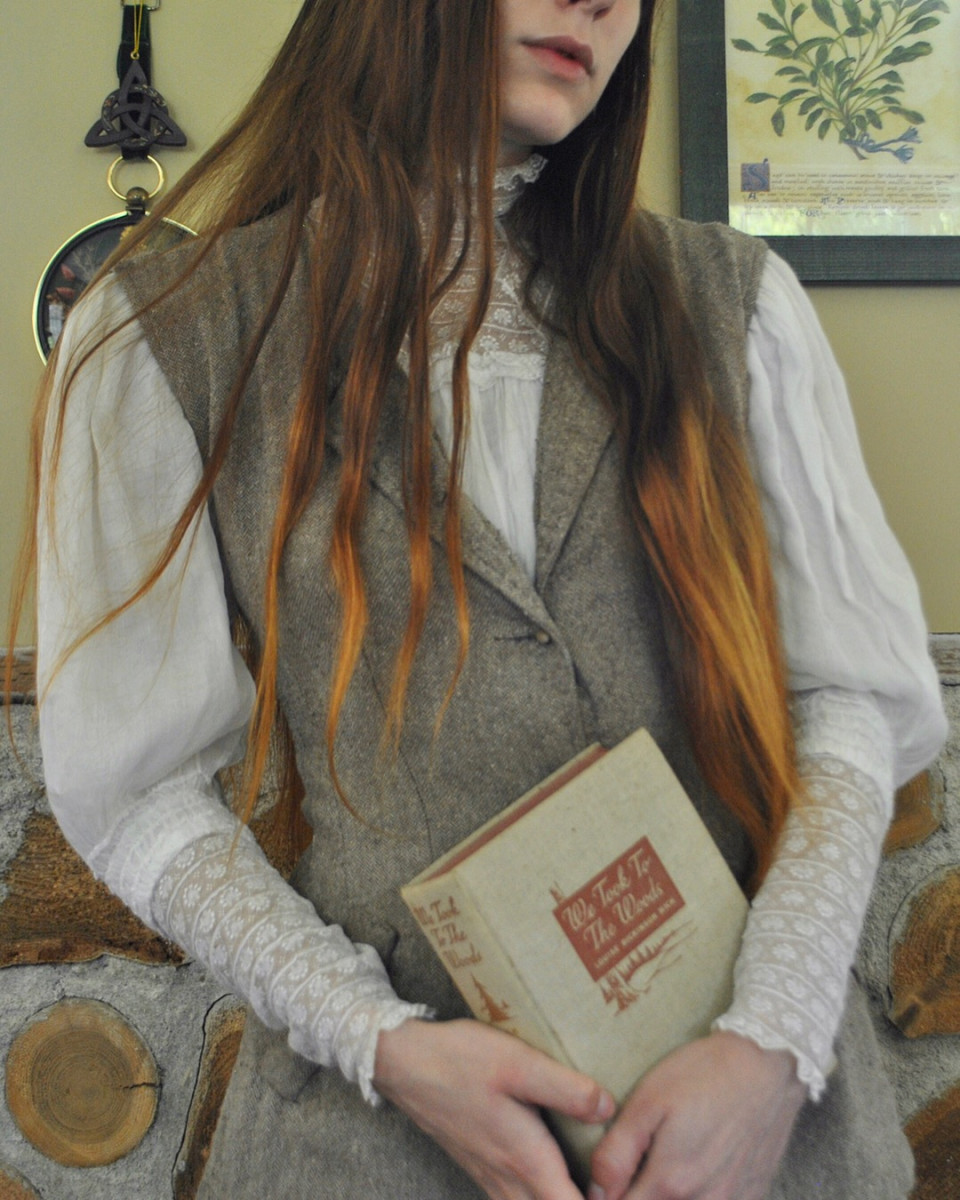
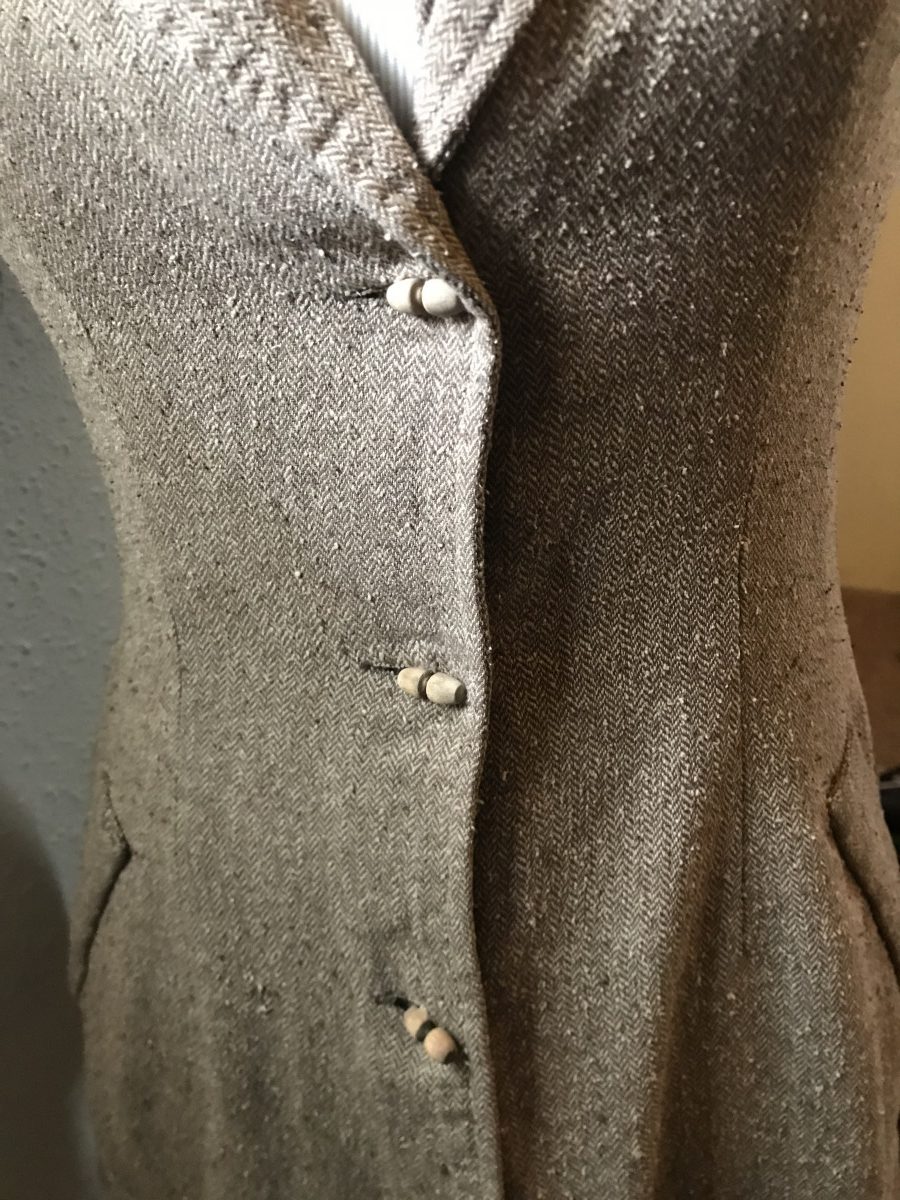
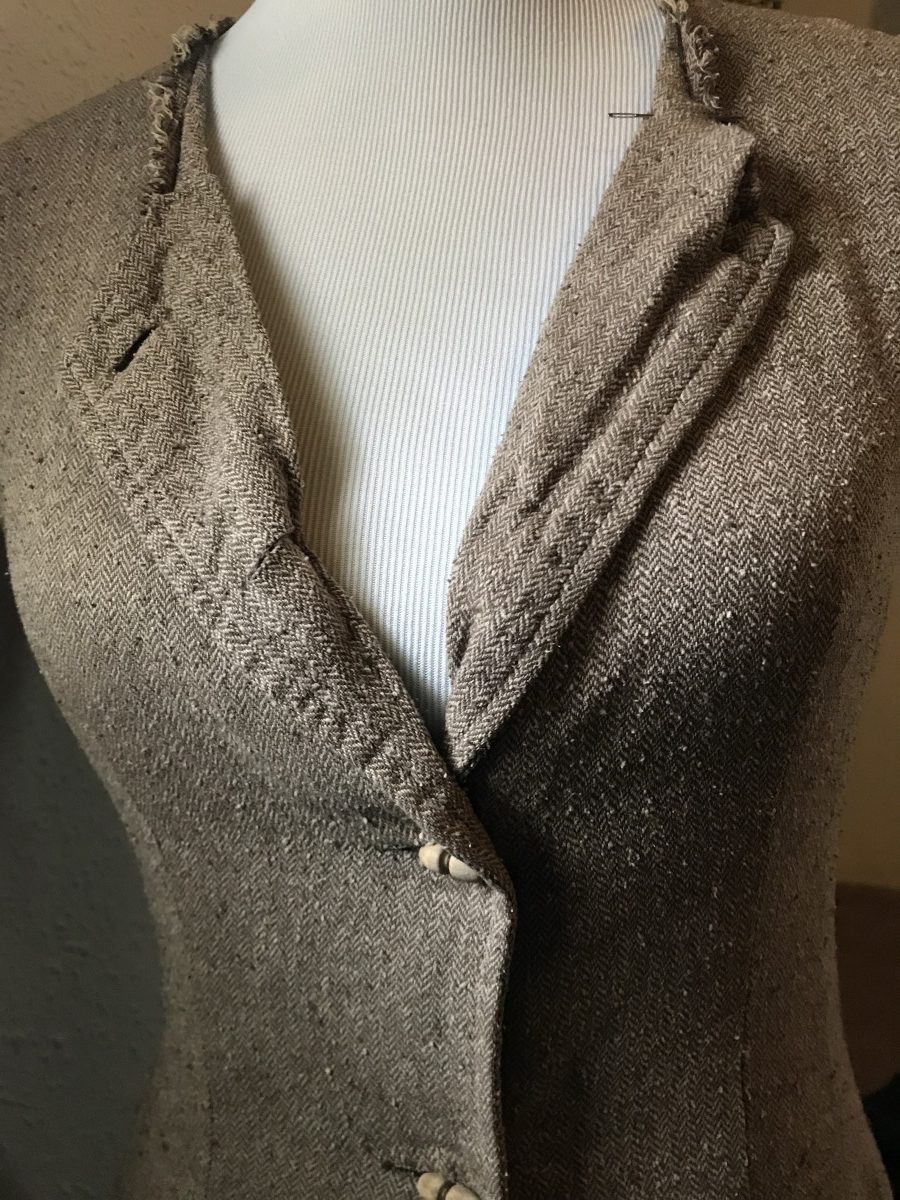
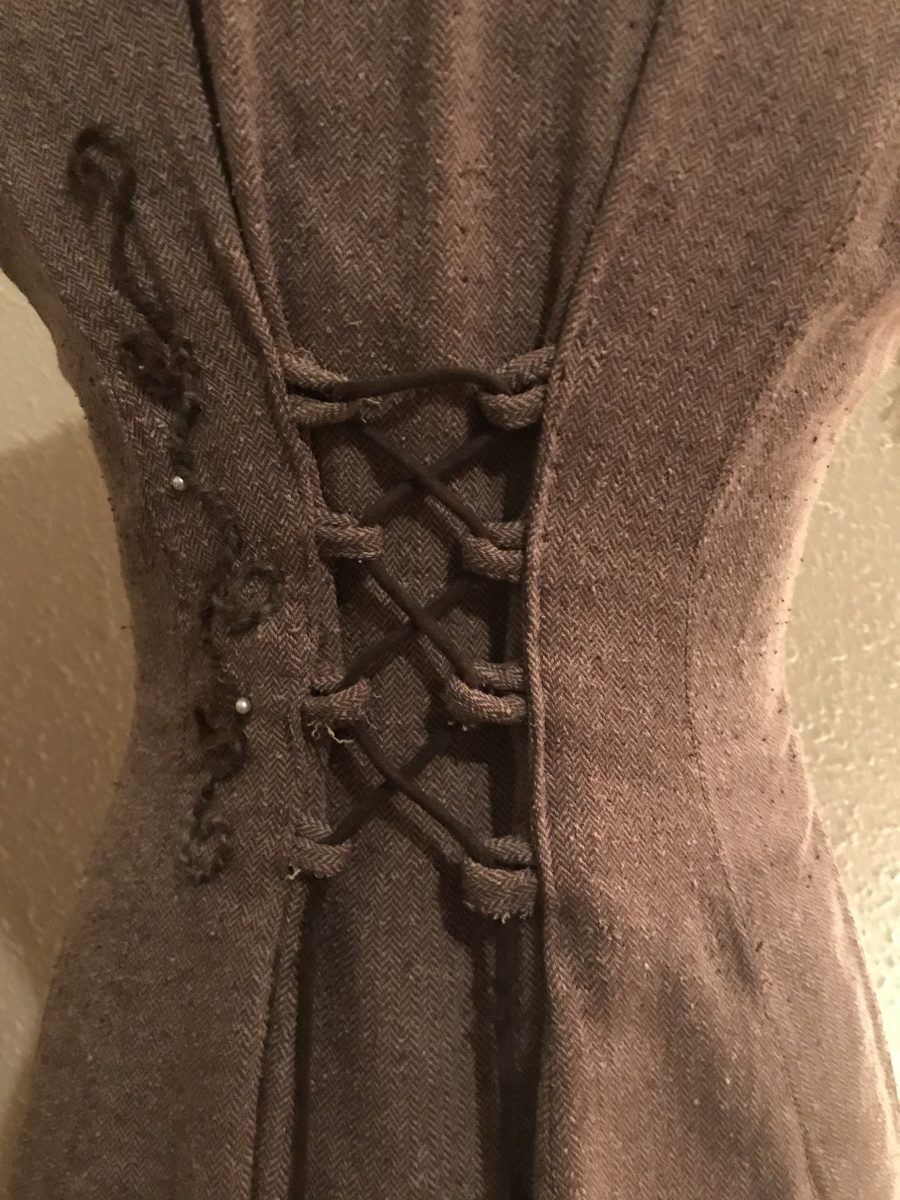
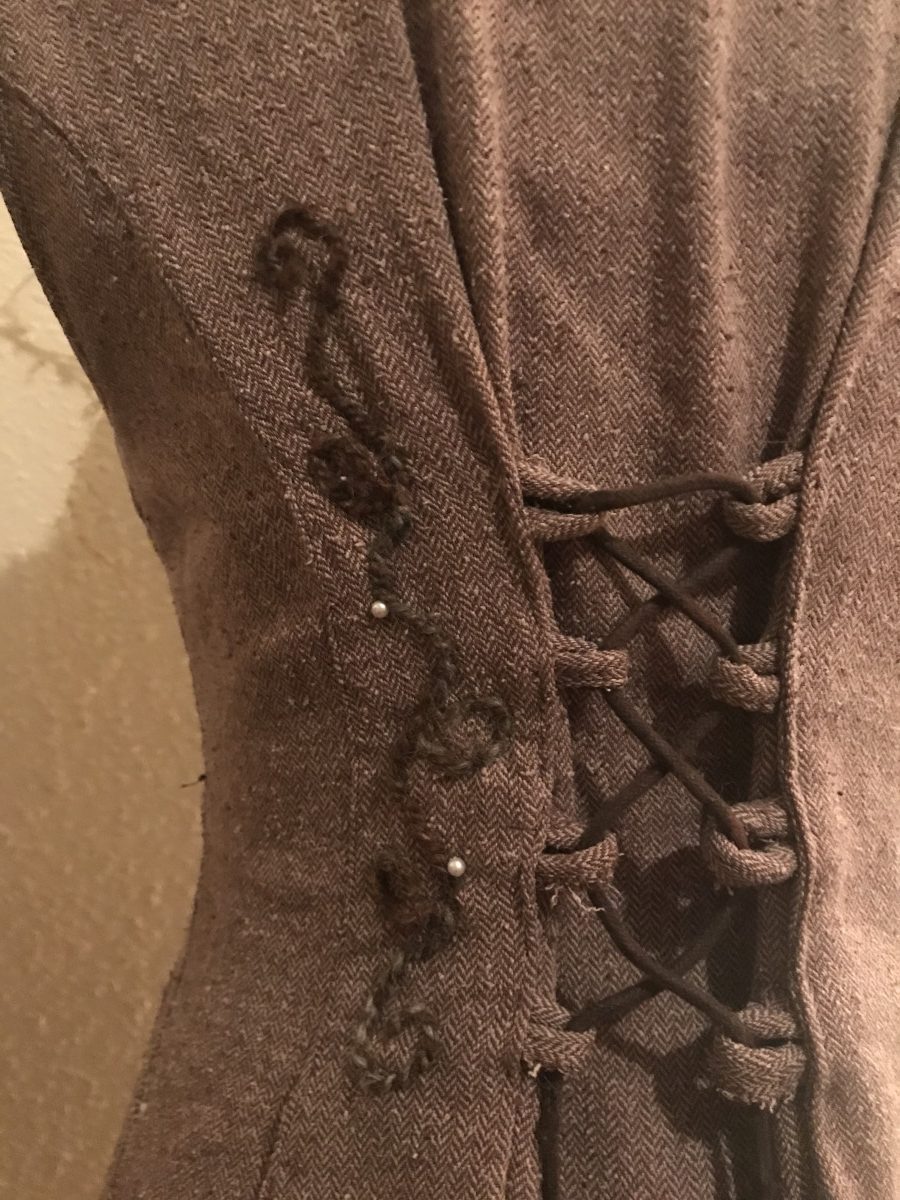
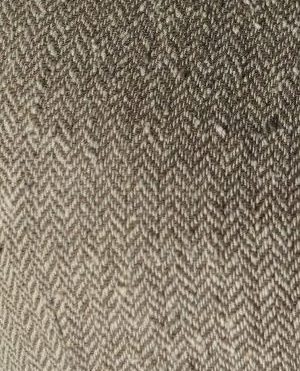
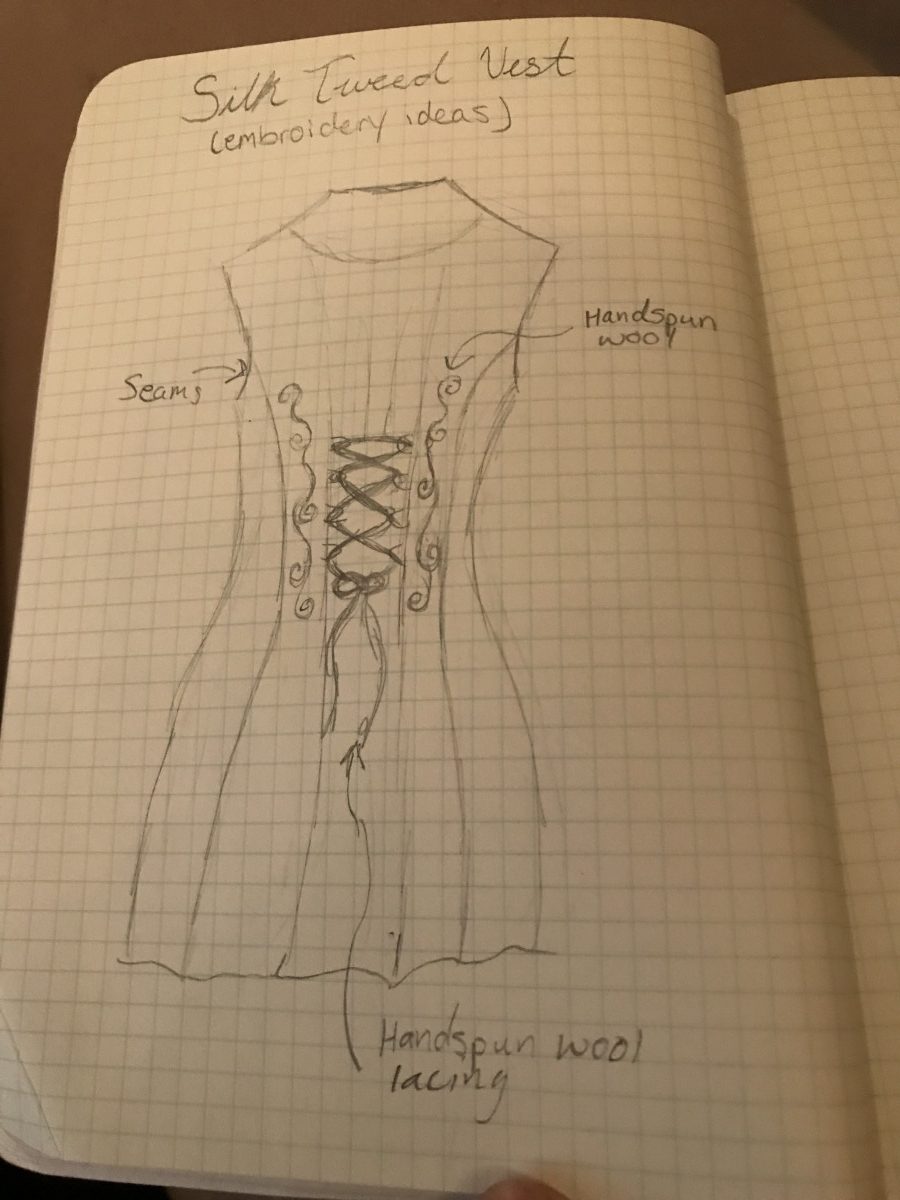
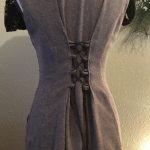
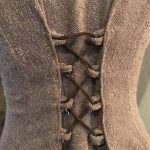
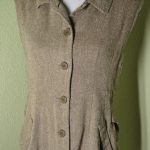
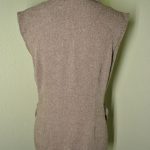
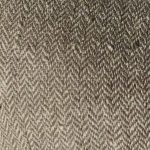
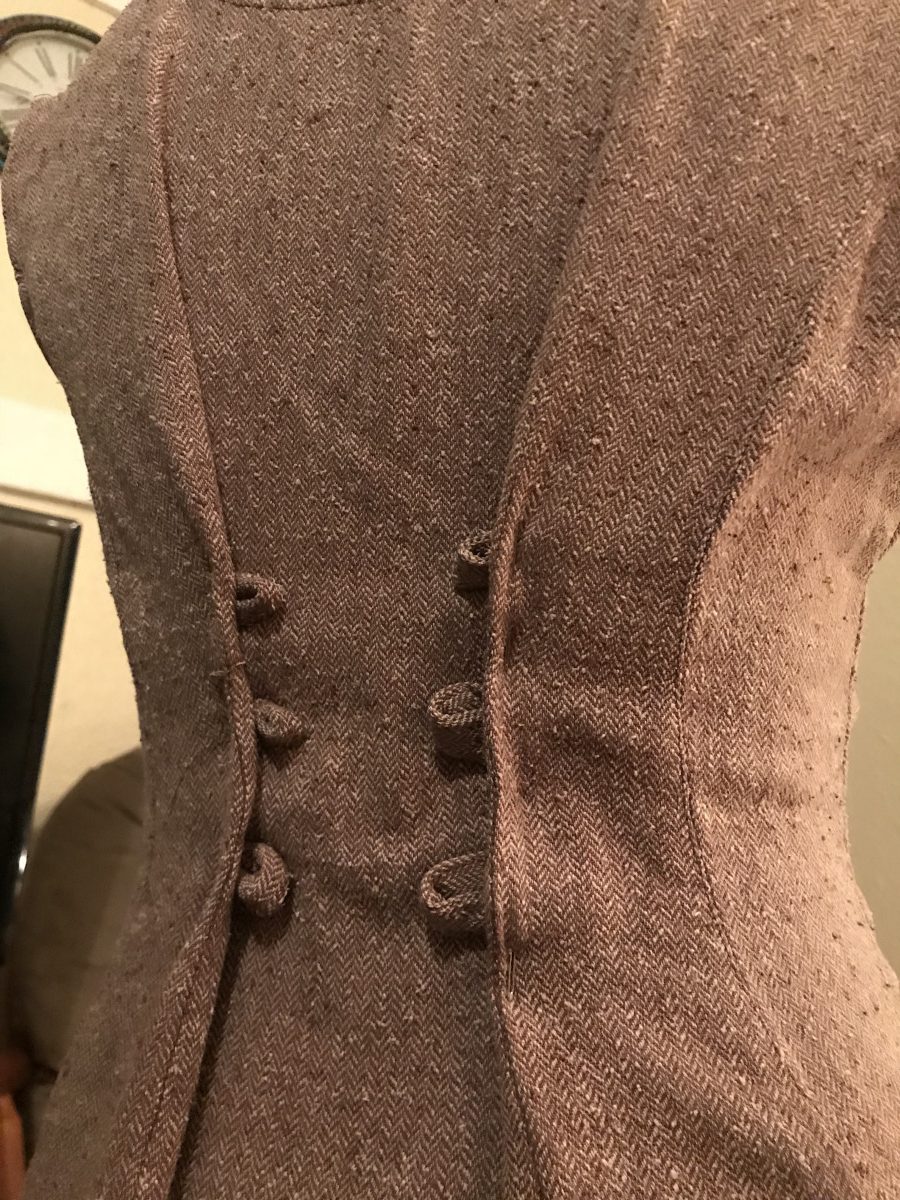
Finally, the upcycling portion of my project has proven to be the most rewarding so far. I have spent the first five weeks of this quarter reading books like Refashioned and Zero-waste Fashion Design in order to help me design my own completely upcycled outfit. Last week, I successfully finished the first and main piece of my larger design; a raw silk corset-ed vest. I am incredibly pleased with the final product, both from a ‘work required’ perspective and from an aesthetic one. I did not have much experience with upcycling in the past, at least upcycling for a purpose, so I’ve learned a lot about pattern drafting and how to use as much fabric as possible in order to save resources and money.

This quarter I chose to dive into three different areas that I had limited experience with previously and I am thrilled to look back and see how my understanding has broadened in such a short amount of time. In the next five weeks, I hope to have a completed upcycled outfit, flax that is continuing to thrive, and to have learned the basic mechanics of all the fiber mill equipment as well as gained a better idea of how their energy usage affects sustainability in terms of its impact on the planet, the people who inhabit it, and if it is possible to make a steady income off of it. 

Week 4

This past week has almost been entirely research based due to the fact that I was out of town and had to rely on books to keep me on task. It was a welcome change from the norm, though, because I was able to really dive into energy consumption and get an understanding of how much mills use and what that means converted into fossil fuels.

An example of the heavy-duty equipment used for industrial production.

Unfortunately, what I found was a bit discouraging. I have definitely come to the realization that the only way to create affordable and ethically made products for the demand that the market currently sees is to mill – preferably milling on a small scale. What I found about the amount of fuel it takes to run a mill, however, was a bit staggering. I kept reading that fiber mills consumed huge levels of energy, but my understanding of how energy works was limited. Luckily, while researching, I found an article titled “What Is the Energy Profile of the Textile Industry?” that put the information into layman’s terms for me. What I found is that nearly all energy is created using fossil fuels, whether that is to create heat in order to power thermal energy or to convert straight into electricity.

This new information inspired me to look at mills that use alternative forms of energy. I began wondering if there are any solar powered fiber mills, and lo and behold! I found a solar powered mill for alpaca fiber called Shenandoah Fiber. This mill is located in the Shenandoah Valley of Virginia, which, happens to be where I grew up and where I am visiting at the end of the month for a family wedding. So, I am planning to get in touch with the owners to try and schedule a tour. Before then, I’d also like to try and get a basic understanding of how solar-powered facilities operate.

FInished silk vest!

Aside from my research into energy consumption, I also completed my silk vest! Since this is the main piece, it has been by far the most detailed and time consuming. I’m hoping to have purchased the next two garments within the week and begun the final steps of the construction process so that I can style and photograph the finished look in time for week 10.


Silk Vest: Front Neckline and Buttons

The wooden toggles used to replace the plastic buttons.

After this week, my first and most detailed upcycled piece has finally begun to take its final form. I took a break from working on the detailed embroidery and decided to spend the week working towards finalizing the design and shape of the garment as a whole. To do this, I focused on the buttons and neckline.

The buttons that were originally attached to the vest were plain, round plastic. In my opinion, the plastic clashed with the natural raw silk material of the vest, so I knew that, as much as I want to keep as much of the original materials on the garment as possible, they needed to be changed. A personal favorite button style of mine is the antique wooden toggle look. Aged wooden toggles are unique enough to be noticeable, but also quite easy to source secondhand. After only a little bit of looking, I found a set of 6 wooden toggles on ebay for $3 including shipping, so I jumped on them. The buttons were easy enough to replace, and the corset synching makes the fabric tug on the toggles just enough to make them stand out. The weathering on the wood also gives them some brown tones that compliment the fabric perfectly.

The preliminary pinning of the new neckline – will need to be ironed before sewing.

I purposefully only attached three of the five buttons that were originally on the vest because I knew that I was planning to drop the neckline quite a bit. I originally intended to cut the extra fabric off, but as I was folding it back, I realized that I could train the edges to create an elegant edging that I would just have to sew down. I’m really thrilled that I have been able to use all of the fabric that I’ve changed around so far, and think the shape has come out to be much more flattering than the original piece was .

After I finish the embroidery and the neckline, I think I will be satisfied with the finished piece. I was intending to attach lace to the bottom of the vest, but now that I have a better idea of what the final piece will look like, I think the lace could potentially detract from the character of the different textures that are already present.

This piece is taking on the inspiration of an Edwardian walking suit with the tweed and sharp angles, so I think I am going to run with that inspiration as I continue to consider designs for my next pieces. I am still weighing my options about whether I’d like to complete the ‘look’ with a dress or a tunic and pants that I convert to bloomer-esque trousers, so that is going to be something that I continue to mull over in my design process next week – at the end of the day, I think it is going to come down to what I can find affordably and secondhand.

Week 3

This week I was finally able to sit down and complete some of the research portion of my contract now that all of the logistics are sorted and the quarter is in full swing. I’ve been reading “The Responsible Fashion Company” by Francesca Romano Rinaldi and Salvo Testa and it has proved to be super useful from a business point of view. The beginning of the book is entirely dedicated to economic ideas that also incorporate social and environmental concerns. It’s been really refreshing to be able to read a book that is pretty academic in nature but also focuses on things other than science and profit. In fact, one of my favorite concepts of the book so far is that the authors consider fostering the wellbeing of society and the planet as part of the “net income” of an enterprise, which I think is incredibly inspiring. It’s been helpful to me to be able to see all of the ideas that I’ve had about how a business should be run put into actual academic models and I’m looking forward to continuing to be inspired by them as I explore different ways to create beautiful clothing.

An example of sustainable high-end fashion. From the line “Prophetik” by Jeff Garner. Made from recycled and ‘peace’ silk. (source)

I also began to look at more ‘high end’ fashion and how it can be made sustainably on a small scale. I explored this through reading the book “Refashioned” which features a few high fashion designers that created their pieces through completely repurposed materials. The book didn’t cover how expensive these upcycled pieces end up being – which doesn’t quite make sense to me because if they are using discarded items from ‘the 99%’ and only marketing to ‘the 1%’ how much materials are they really saving, and is it really truly sustainable on all levels? Even so, I began playing on this idea by adding elements to my upcycled design that aren’t necessarily integral to the design but are detailing that add the extra artistry that allows for a higher price.

I am out of town this week and Lynn will be out of town the next, so I have a bit of a break from my internship with Olympic Yarn and Fiber. I’m sad that I won’t be back next week, but I plan to use the extra time to begin reading up on mill equipment and how it relates to energy consumption and sustainability.

Silk Vest – Embroidery

For this week’s portion of upcycling, I got very inspired by the level of detail I saw in different designers’ styles while reading ‘Upfashioned’. I wanted to play on the idea of using trash to create more than a garment, but a piece of art, so I began experimenting with embroidering my hand-spun wool and adding embellishments that give it that extra touch to bring it up to that level. In all honesty, it was a bit of a diversion from my original purpose of exploring how to create beautiful items that have little environmental footprint and are accessible to all socioeconomic backgrounds. The amount of time that the hand-spinning and hand embroidering takes is certainly what elevates the garment from a garment to a ‘luxury item,’ but I think having a business model that is capable of providing both is definitely something to consider.

Ideally, when the embroidery is finished, the swirls will be at least somewhat symmetrical.

I used the wool that I spun in class at Arbutus Folk School last quarter, it still holds to the ‘upcycling’ mission as it is a blend I created of all of the excess wool from other students. I also decided that I’d like to add pearls to the garment since I believe slight detailing like that will bring out the intricacy of the back and creates a just slightly more formal look. I found a fake pearl necklace at the thrift store for 50 cents and dismantled it to use the beads.

Slightly closer up shot of the embroidery – I’m planning to add one more pearl (they blend better when the shine is seen in real life).

I’m finding that I do have a little bit of extra textile and extra detailing material, but I am planning to use every bit of material that I gather over the next 10 weeks, so I have already begun designing small coin purses and jewelry to make out of the extra bits. As I’ve read more as well as gained hands on experience in mass produced clothing design and how it contrasts to small designers, I’m finding that there is an opportunity for much less waste to occur on a small scale.

Flax: Germination!

Today marks the 9th day since sowing my flax seeds, so I went over to the farm to check how their germination was looking. Generally it takes about 10 days for flax to germinate, so I was pleasantly surprised to see my seedlings well into their cotyledon stage. I’m a bit concerned that the plants look to be growing a bit sparsely (which is odd because the seeding seemed quite dense) – if I were growing to sell I would consider reseeding the bald patches. However, this crop is all experimental so I’m just going to let the germination run its course and see if there are just a few “late bloomers,” so to speak.

Close up of the seedling flax.

The weather also seems to be on my side during this growth process. During the past week of germination, we got quite a lot of rain. Because of this, I didn’t need to irrigate at all. Now that my seeds have germinated, I was happy to see that we are expecting clear skies for the next 10 days, which is exactly what the crop needs.

An example of the sparseness of germination.

The bed also does not seem to be experiencing too much weed pressure. I pulled out a bit of grass weed, but other than that the flax seems to be able to grow unencumbered. The soil in the bed that I’ve chosen is a bit rocky which could be another concern for plant development, but I think it will be interesting to look at it from a “no till” perspective.

Week 2

This week all of the pieces of my project started getting moving. I’m actually pretty shocked at how quickly everything started to get moving and am happy with how much progress I was able to make in only a week’s time.

Seeds about to go in the ground!

At the beginning of the week, I was able to prep my 5’x10′ bed and get the flax seeds into the ground. I originally used the flame weeder to try to eradicate the weeds, but I quickly realized that it was an unnecessary use of propane. In my case, I could easily pull up all the weeds on such a small plot of land, and I have a hunch that large scale flax growing could benefit easily from simply tarp-ing the fields before sowing. Since flax can be grown like you would a cover crop, it really doesn’t require that much weed management other than in the first few days of germination – it will eventually crowd all the weeds out. I also found that I was right to not plan for irrigation in this climate. It has rained quite a lot more than the 1″ per week that flax needs for germination, so no extra water usage was necessary. The seeds are going to take roughly 10 days to germinate, so I am keeping a close eye on the bed during that time period to make sure everything goes smoothly.

Close up of the silk herringbone.

I also made a great deal of progress on my upcycling project. I successfully used the textile I have available to me to alter the silk vest in a way that I believe makes it much more aesthetically appealing and flattering. I don’t have a sewing machine with me here in Washington state, but even with hand-sewing, I’m finding that it really doesn’t take too much work to change a garment pretty radically. An interesting aspect of upcycling I’ve come to realize in the past week is that there are different levels of intricacy that you can achieve, just like with any other form of art. I’ve gotten a bit sidetracked with embroidering the back, which, if I were doing this as a business endeavor, would jack up the price of the garment. But, the more simple alterations I’ve made haven’t required too much labor or any extra money at all. This gave me an idea of how I plan to analyze my upcycled pieces. When I am finished with all the pieces that I am able to accomplish over the quarter, instead of estimating a price for the entire garment, I am going to estimate the price for each of the alterations done and what the impact of resources used adds up to.

The final activity for this week was my internship at Olympic Yarn and Fiber. I’ve already detailed the activities that I was able to take part in here. But, aside from having lots of fun learning how to use expensive textile equipment, I realized that I actually don’t have any clue about the resources that go into using the different pieces of equipment that create products at such a fast rate. It struck me that for literally each step of the process, there is a separate, huge machine to complete the task. I don’t actually know very much about energy usage and how that impacts sustainability in production processes, so my goal for next week (and probably the following weeks) is to get a more solid understanding of each of the pieces of equipment that I encounter.

Olympic Yarn & Fiber: Week 2

This weekend during my internship with Olympic Yarn and Fiber, we shifted a bit away from animal husbandry and I got to begin to learn how to use some of the mill equipment. For my first step into the never-ending world of textile machinery, I learned how to use the skeiner machine and how to steam the skeins in order to allow the fibers to relax for the final steps of the process.

I was unable to take pictures of the fiber/machinery I was working with because the yarn on it was a private project that the customer does not want published. Because of that, I am simply using a photo of the same model of skeiner that I was able to work with. It was really interesting to be able to see firsthand how much quicker the production process is when you have machinery to cover each step.

Image result for skeiner machine
An example of the same kind of model I got to work with. (source)

The steps that I learned go as follows:

  1. Attach end of yarn to the hooks on the inside of the skeiner, set spin dial back to zero.
  2. Press start – keep an eye out for breaks in the yarn/the bobbin running out.
  3. When the machine stops, pull wheel down to bring wheel hooks closest to you.
  4. Cut yarn off and secure bobbin end, then pull forward 1 length and cut off, set aside for second figure 8 knot.
  5. Pull yarn end from the hook and tie figure 8 knots on both ends.
  6. Release tension knob, slide off yarn.
  7. Put tension knob back. 
  8. Load yarn onto steaming rack.
  9. Weight bottom rack to straighten out pieces.
  10. Steam on all sides to relax fibers, let dry.
  11. Twist into final skeins.

Silk Vest – Corseting

The first alteration that I have set about completing for my silk vest design is the corseted back that I mentioned in my previous post. I decided that for the back of the vest I also want to do a bit of embroidery detailing, so before I began the alterations I referenced the fashion drawing book that I got from the library to get my ideas out on paper. My plan is to use the wool that I spun last quarter as the yarn that I’ll embroider with. If I can source some used pearl beads I’d like to incorporate them into the design as well since I believe it will make for a nice contrast.

A sketch of my plan for the back of the vest and a rough idea of the embroidery design I’d like to implement.

In order to complete the corseted back, I cut the collar off of the vest and turned the extra fabric into makeshift ‘grommets’ (though not quite). The back seams on the piece fit the corseting perfectly…it really looks like it was meant to be! Unfortunately, my sewing machine is back home in Virginia so I’ve had to hand sew all of the pieces so far. Because of this, it’s taking me a quite a lot longer than it would if I had the help of machinery, but I also am enjoying the control that hand sewing gives me since I am kind of making this up as I go – also, the less seam ripping I have to do, the less likely I am to get very frustrated with the entire process.

Now that I’ve finished that portion of the back, I am looking forward to getting started on the embroidered detailing. After I finish that portion, I am going to start looking for other pieces to add to the final ‘look’ so I can plan the rest of the design to be cohesive with the rest of the outfit.

First Project: Silk Herringbone Vest

For my first upcyled project, I am going to be altering a raw silk herringbone vest that I found at a thrift store for $6. The original design is a bit boring and hard to style, but the textile is so beautiful that I am really excited about making something unique out of this piece.

Here is the piece in its original form:

When I saw the vest I immediately fell in love with the rough texture of the silk. It’s pretty hard nowadays to find something that is 100% silk, especially silk that has not been treated to create the smooth look that creates the shiny silk most of us know. Not only that, but the understated herringbone pattern gives the piece even more personality and texture. I think that the fastenings and design of the vest don’t totally do the textile justice, so I am hoping to alter it in a way that is still simple, but reflects the natural beauty of the fabric.

The first pinning of the corseted back using the fabric from the collar.

For this independent study, I have been reading Zero Waste Fashion Design by Timo Rissanen and Holly McQuillan as well as Refashioned by Sass Brown. Both books emphasize the importance of drafting patterns that utilize as much of the readily available textile as possible. Because of this, I am hoping to rearrange the fabric through alterations while getting rid of as little as possible. To do this, I plan to remove the collar from the vest and bring the neckline down a bit lower. With the fabric I take off of the collar, I am going to create a corseted back to give the piece more character and to create a look that is both adjustable and form fitting (allowing it to be accessible to more sizes). My particular design taste definitely falls along the “rustic elegance” category, and I’m hoping to stay true to this with this piece. I believe that vests (and outer-layers in general) have the potential to be both the most pointless piece in a look, and also the most important piece depending on the way in which they are designed so I hope to make this vest the centerpiece to the rest of the design work that I do this quarter. As I continue to accumulate different pieces to upcycle, I hope to implement scraps from each in all so that they can come together into a cohesive ‘outfit.’