Flax: Bed Prep and Sowing

This week my goal was to get the seeds for my fiber flax into the ground in order to be able to harvest them come July. So, I started the week by taking advantage of the break in rain to prep the bed for seeding. I received 1lb of ‘agatha’ flax seeds from Fibrevolution in Oregon, which covers one 10’x10′. I wanted to be sure that I had extra seeds just in case I run into germination problems with my first try, so I decided to use a 5’x10′ plot for my project – this only requires half of the bag of seeds that I have.

The flame weed about to destroy the weeds.

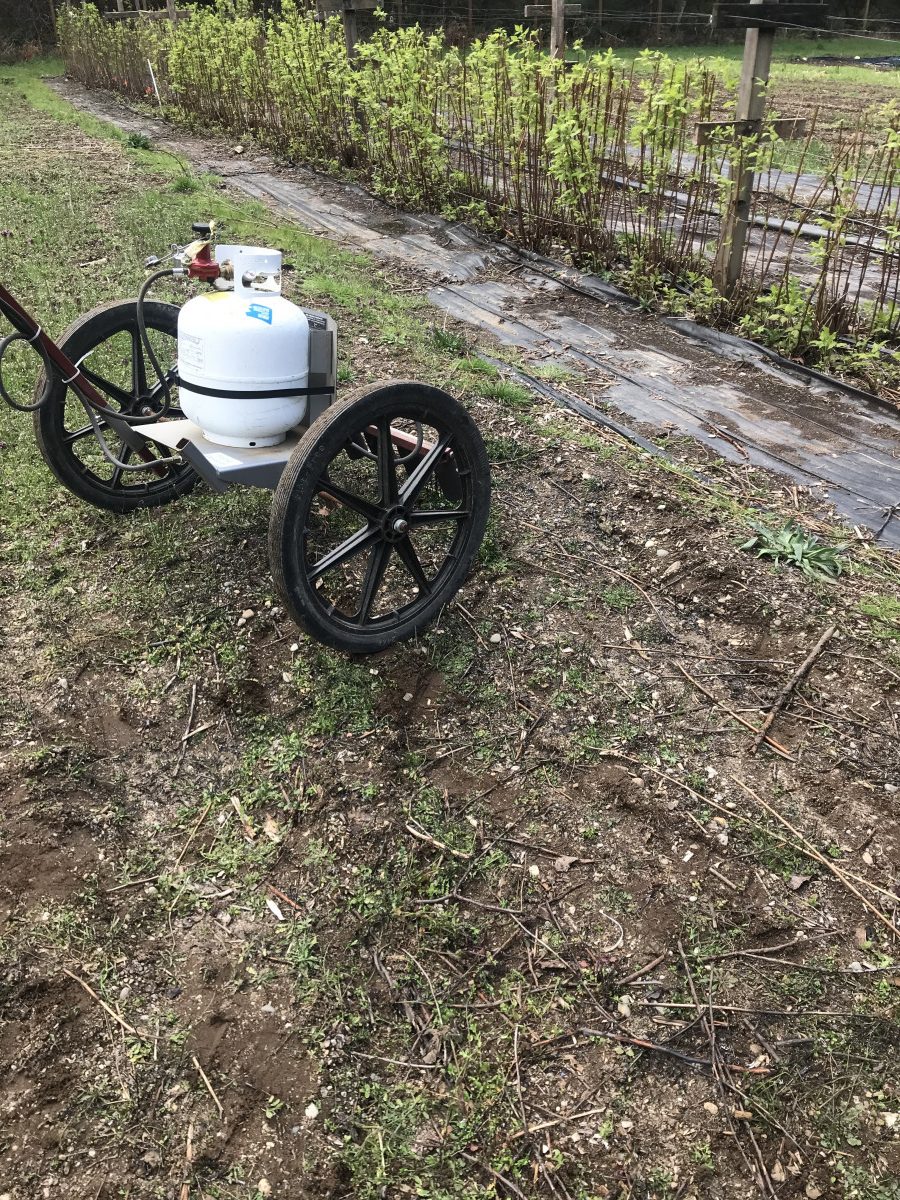
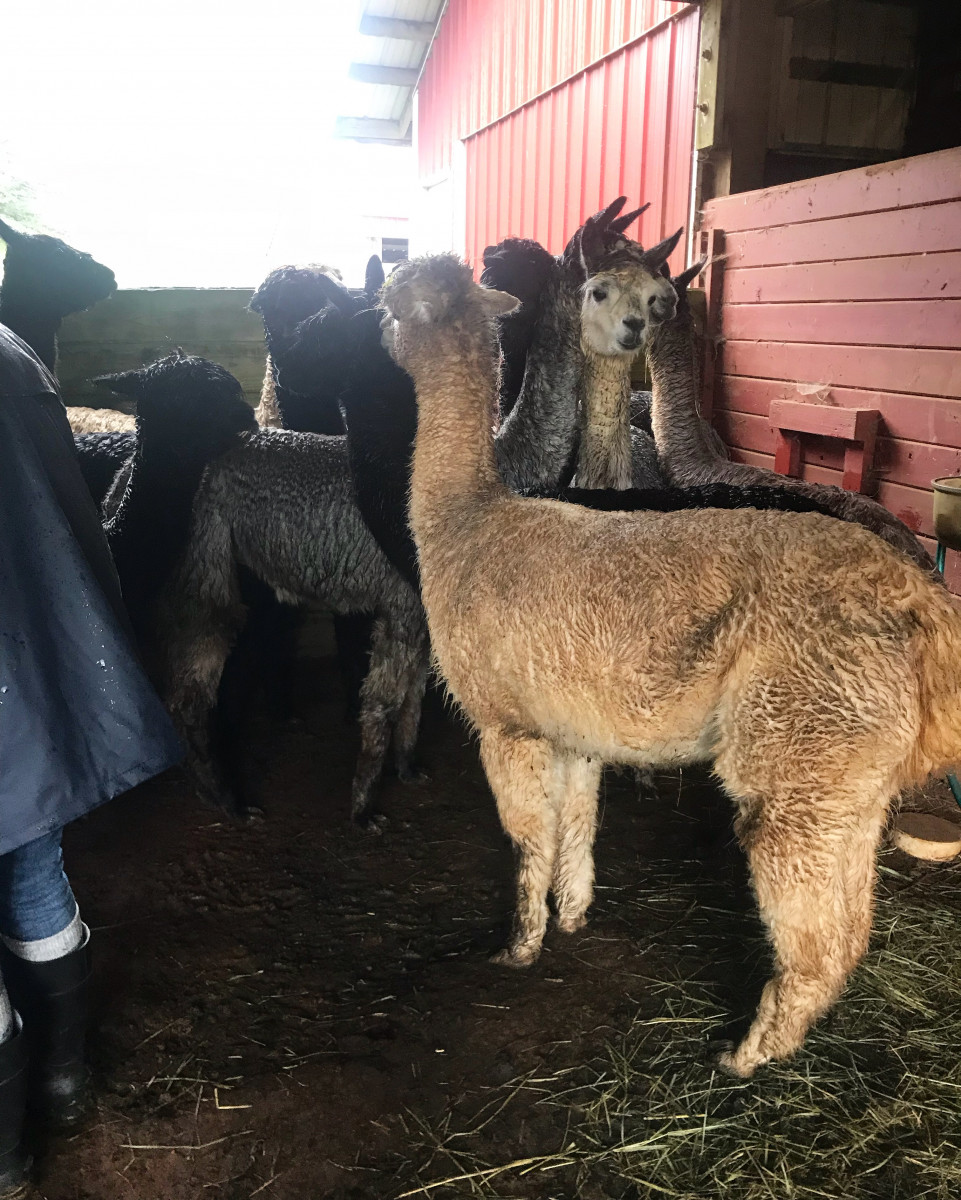
The bed that I chose is in full sun and was pretty full of weeds when I started, so I opted to flame weed. I know that once the flax begins to grow, it will crowd out all the weeds so I am not too worried about them further down the road. Looking back, it would have been more efficient to simply tarp the bed to eradicate weeds and would have used less resources from a sustainability perspective, but unfortunately I needed to get the seeds in the ground as soon as possible so I did not have the time to do so. The ground was a little wet which compromised the flame weeding a bit, so afterwards I went over the bed and hand weeded the tougher ones.

Seeds about to go in the ground!

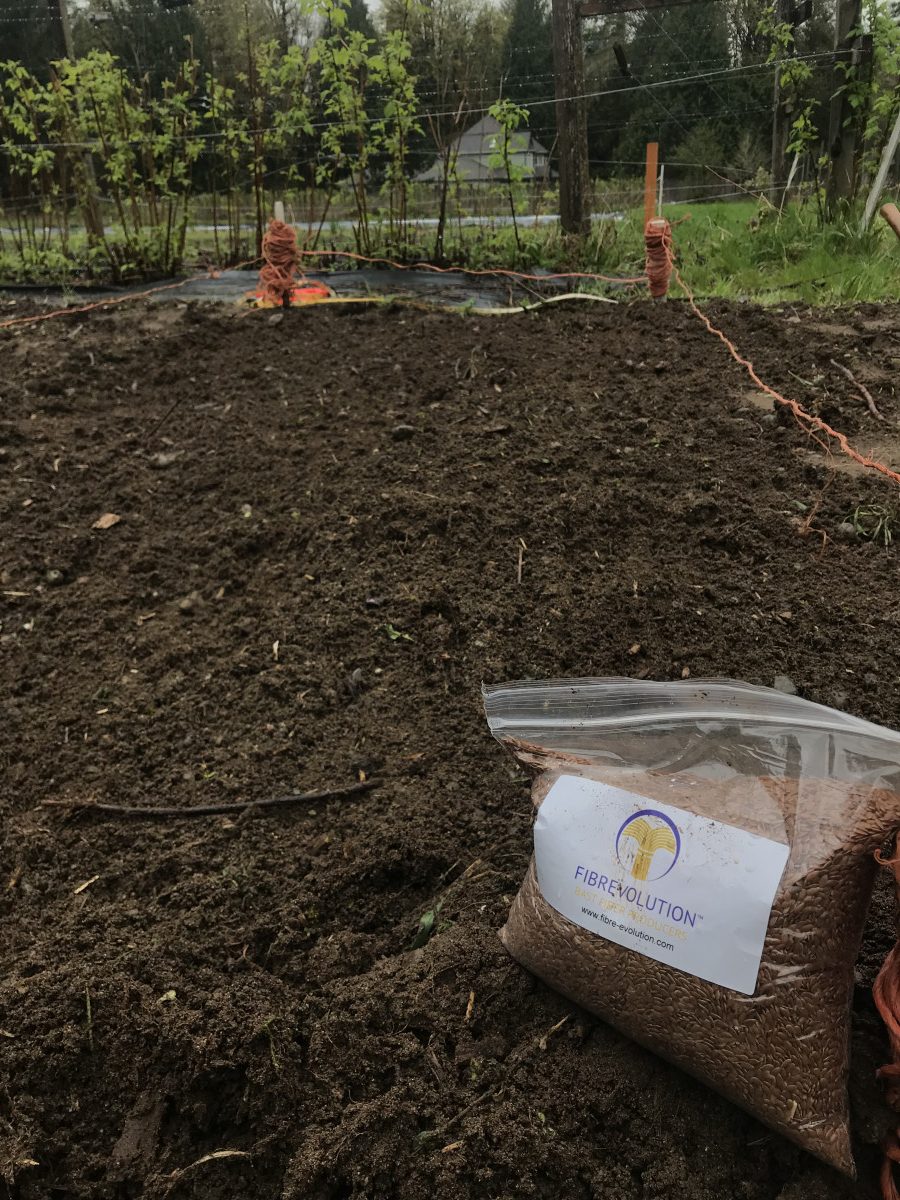
After weeding, I went over the bed with a rake to create indents in the soil in order to allow the seeds to better germinate. I weighed out 0.5lb of the flax seed and broadcasted the seeds evenly over the 5’x10′ bed and then used the back of the rake to cover the seeds. The seeds should take about 10 days to germinate and will be ready for harvest in 90 – 100 days.

I had originally planned to irrigate 1″ per week during germination, but we have received quite a lot of rain lately and are expecting more, so I made the decision not to irrigate at all. A great benefit to the sustainability of flax is the fact that (especially in the PNW) it requires very little water to thrive, so I am going to test that by not irrigating at all during its growth.

Week 1 – Nail Trimming & Fleece Sorting

For my first day interning at Olympic Yarn & Fiber, I jumped right in by helping to trim the toe nails of Lynn’s female alpacas. I learned that it is important to trim their nails because if they grow too long, they can curve under the alpaca’s foot and cause issues with joints and walking – this is particularly true for alpacas living in pastures with soft grounds, as opposed to the rugged terrain that they are native to.

The alpaca stuck together while we trimmed each one’s toenails.

Since I don’t have any experience handling alpaca, a lot of my work was observational. I made to sure take note of how Lynn interacted with her animals and how they responded to her movement. I noticed very quickly that the herd as a whole were very interested in the well being of each individual alpaca. We opted to keep the herd together as a way to keep them calmer while trimming. In order to catch each individual alpaca, we used a harness hold to keep them in place. This is done by grabbing their head and placing one hand on the back of the skull and one underneath the jaw. This way, the animal is unable to swing its head around and potentially harm itself or others. To trim the toenails, we gently lifted each of the animals’ legs and trimmed the nails to be equal with the padding on their feet. We got 6 of 12 done on Sunday, but decided to wait to do the other half so as to not make the herd too stressed. After we finished, we fed them and allowed them all to go back into the pasture.

The fleece before we pulled a lot of the dirt out of it.

For the second part of the day, I helped Lynn to sort through some merino fleeces that she purchased from a woman on Vashon Island. I learned that merino sheep are incredibly hard to find in this area due to their breed’s susceptibility to hoof and skin rot in wet weather, so the flock from which Lynn got her fleece is very special. The fleece was from two year growth, so the fiber staple was much longer than usual. However, this also meant that there was a whole year more opportunity for mud and twigs to get caught in the fleece, so we had our work cut out for us. In order to sort the fleece, we pulled out as much debris as possible and pulled it apart tuft by tuft in order to test how well it had been skirted and its overall quality. This also allows for dirt to leave the fiber more easily during the scouring process.

A close up after the fleece had been pulled apart – the fine crimping of the fiber was pretty clear after all the dirt was separated.

Overall, it was an incredibly successful first day and I feel like I learned quite a lot for the amount of time I spent there. I’ll be going back next Sunday to learn more about the mill machinery and to help with animal feeding.

Flax Cultivation Plan

For this student originated study, one learning object will be to cultivate flax for the purpose of processing into linen. This project will be completed over the course of Spring and Summer quarters.

Materials needed:

  • One bed at least 4”x4” (preferably with decent sun exposure)
  • Flame weeder
  • Drip tape (only during germination)

Seeds used: Fiberevolution organic “Agatha” flax seed

Cultivation plan for Spring Quarter:

  • Week 1: Flame weed
  • Week 1: Sow ½ tablespoon for every 5 square feet, use a rake to push seeds about ¼ inch into soil
  • Week 1 – 3: Water 1” per week until germinated, cease watering after germination
  • Week 3 – 10: Visit the crop at least every other day to keep an eye on weeds and crop health


Cultivation plan for Summer Quarter:

  • Week 1 – 3:  Visit the crop at least every other day to keep an eye on weeds and crop health
  • Week 4: Harvest crop by pulling stalk out by root, bunch and leave on bed for 10 days.
  • Week 5: Bunch flax and remove from field to begin retting process


Benefit for farm:

Opportunity to expose POF students to farming for a purpose other than food, flax plants flower continuously for 3 to 4 weeks which attracts many beneficial insects.

Benefit for student:

Hands-on experience cultivating one of the most common plant fibers, opportunity to analysis the sustainability of that particular farming practice.

Week 1

As with most Week 1’s for independent projects, this week was centered around formulating and finalizing a plan for this quarter’s SOS. I am intending this quarter to be much more hands-on and less researched based than the last quarter. So, I set about solidifying all of the different sectors of my work.

First, I began to plan for my independent upcycling project. I recently sourced a used, raw silk vest that is a lovely herringbone tweed and I am intending on using that as my first design. I have been reading different books on design and repurposing fabric to gain some inspiration on different ways to make a somewhat boring piece of clothing into something beautiful and unique. Tweed is actually a pretty commonly upcycled textile, since it adds a good deal of character to any more bland colors. I am, however, particularly pleased with the particular textile that I found since I believe it is a pretty special piece of cloth. The vest is 100% raw silk, something that is notably difficult to source nowadays. The herringbone pattern is very muted, it doesn’t scream ‘tweed,’ rather, adds texture to the garment on first glance. The way raw silk falls is effortless, allowing for a good deal of grace when it comes to alterations, so I am excited to see what I can do with it. As I was looking into design ideas for brown herringbone, I came across a lot of upcycled lace combinations and was originally inspired by that. But, as I started to consider my own taste and design style, I have come to decide that I’d like to keep the piece as simple as possible since the textile speaks so loudly. I plan to alter the shape of the garment to be more fitted, remove the collar, and change out the fastenings. If I feel it is lacking in its own originality, I may add a touch of lace or perhaps some embroidery. But, I do think there is a beauty in keeping the design simple and the hours of labor on the lower end. This, in theory, allows for a beautiful garment to be created at a low cost to both the maker and the buyer. Photos and more detailed explanations on this process can be found under my ‘upcycling’ category on this ePortfolio.

I also completed my first day interning at Olympic Yarn & Fiber and learned about safe alpaca handling, nail trimming, and fleece sourcing. More details about that particular portion of my study can be found in the ‘internship’ category.