Olympic Yarn & Fiber: Week 8

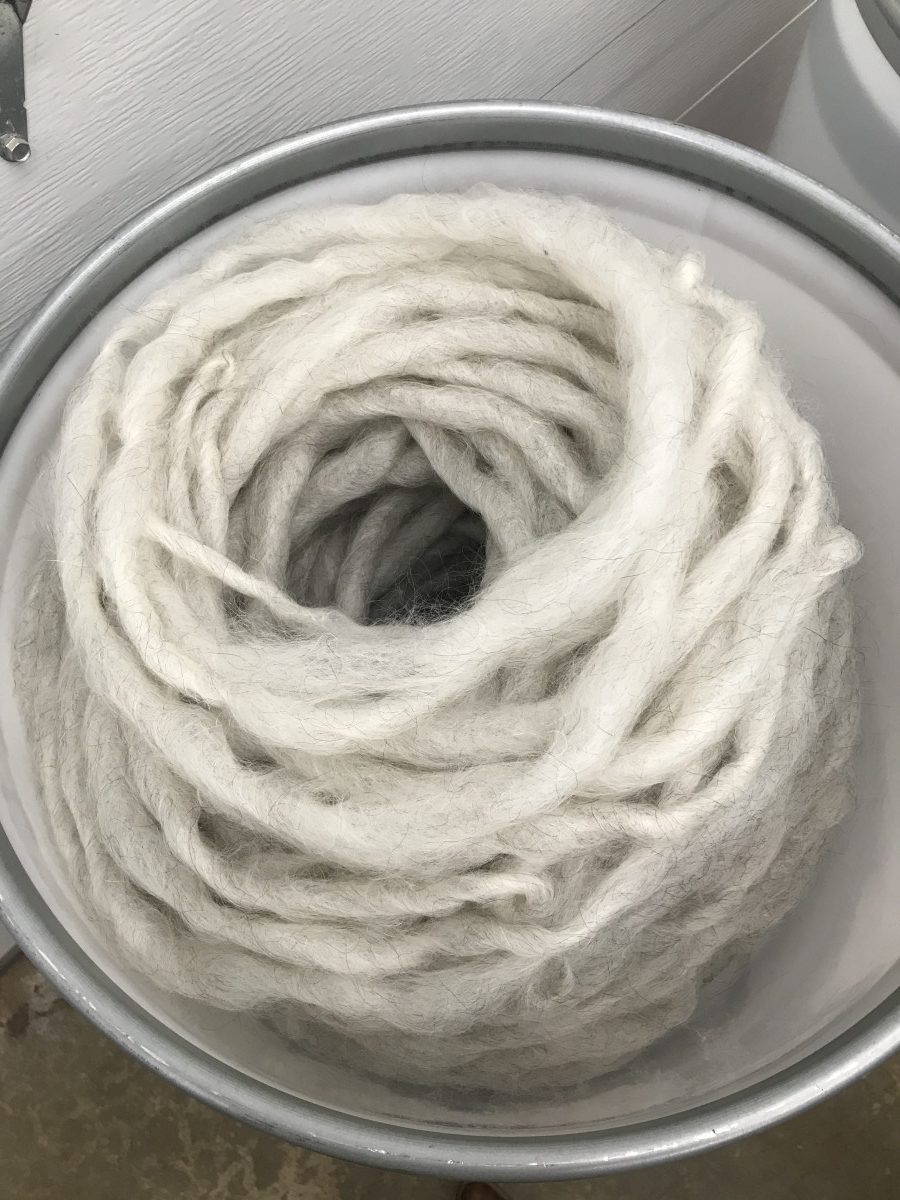
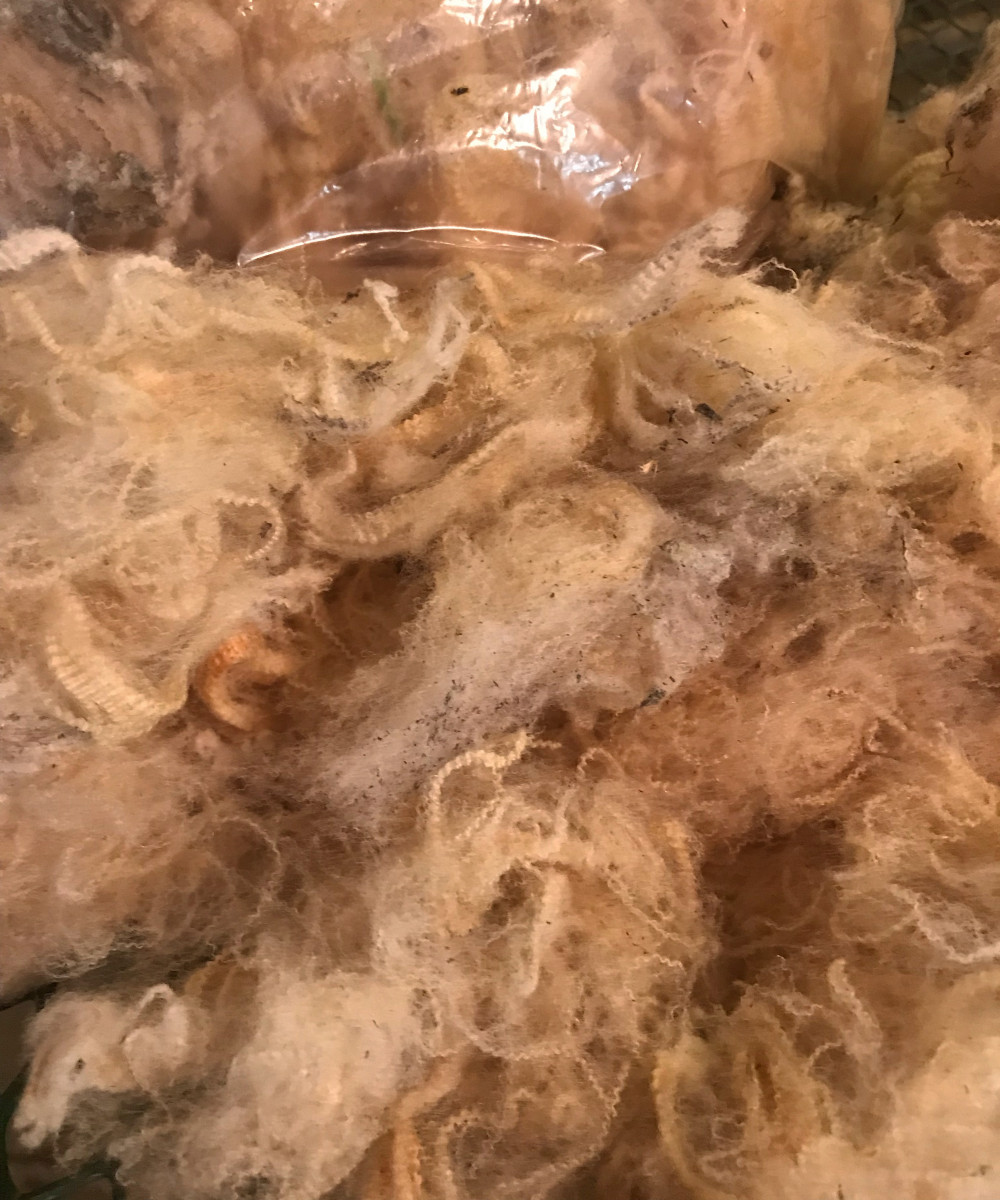
Due to travels and scheduling conflicts, this weekend was sadly my last at Olympic Yarn & Fiber. So, we tried to pack it full of as much information as possible! We started off with Lynn showing me the basics of fiber sorting. It’s actually such an exact science that it can be incredibly difficult to do by eye since the micron count of fiber can vary so slightly. But, it’s still possible to get a good idea of the fiber grade that you are working with by both sight and feel.

Holding dark fiber over a light piece of paper.

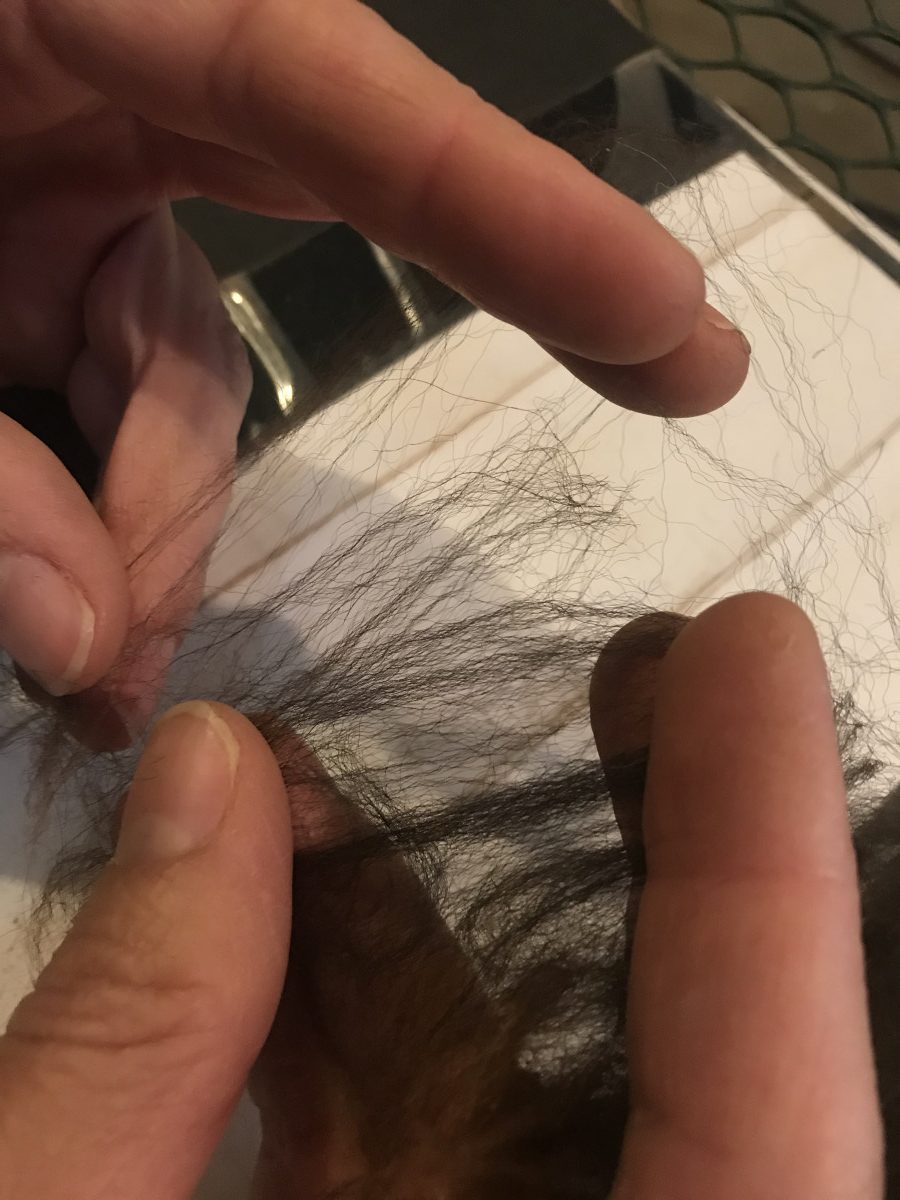
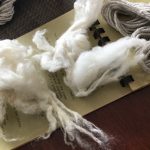
Fiber “grade” describes the micron count of a piece of fiber – that makes up the width and weight. The lower the grade, the finer the fiber and, consequently, the yarn. I learned that it is important to sort your fibers to be within a couple grades of each other because our bodies can detect discrepancies in the materials we put on us, thus, causing discomfort. In order to “eye sort” the fiber, it is important to have both a black surface and a white surface. For black fiber, you hold it over a white piece of paper and stretch it out. The contrast between the black and the white makes it so that you can see each individual piece which allows you to get a sense of how it would be sorted.

Related image
Diagram of primary hairs. (source)

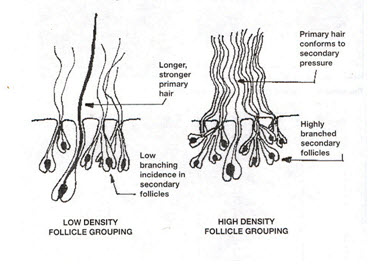
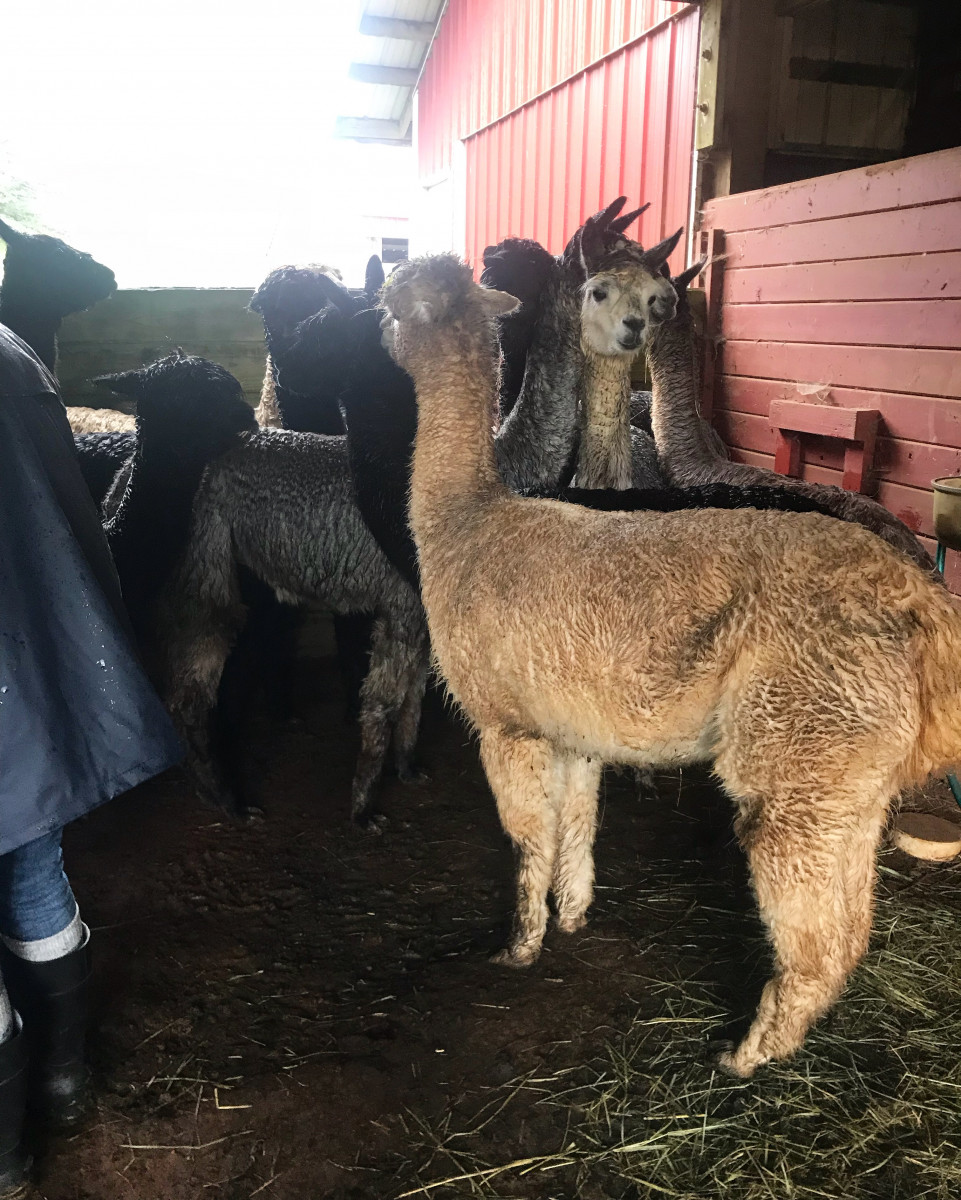
I learned most valuable animals have a pretty consistently low grade all over their bodies – this is especially true of alpacas since they have been bred with this in mind. Animals like goats and sheep often have “guard hairs” which are thicker, stronger and less present fibers that can bring down the quality of yarn unless they are taken out. Alpaca, however, no longer have guard hairs due to selective breeding and now simply have secondary hairs (finer) and primary hairs (what used to be guard hairs). The most high quality alpaca fiber will have primary and secondary hairs that are nearly indistinguishable.

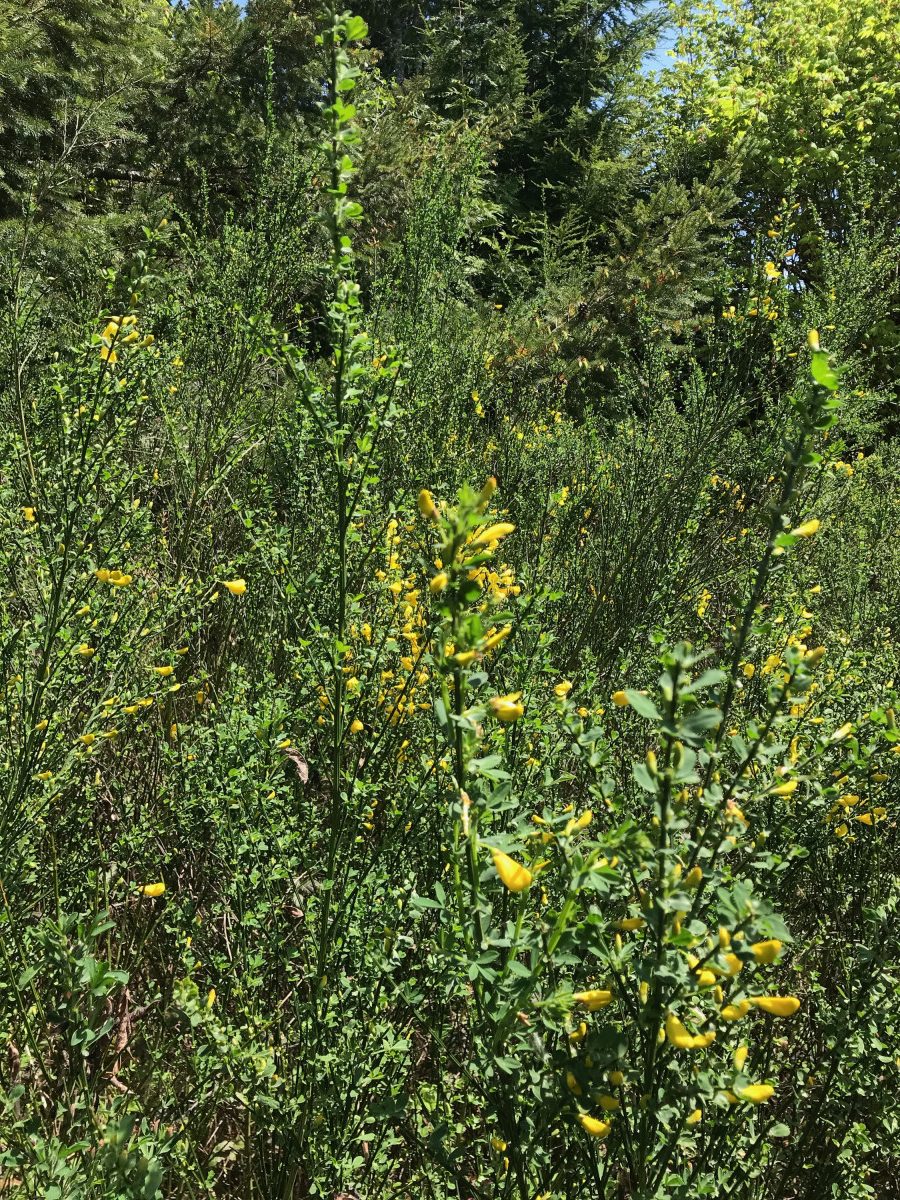
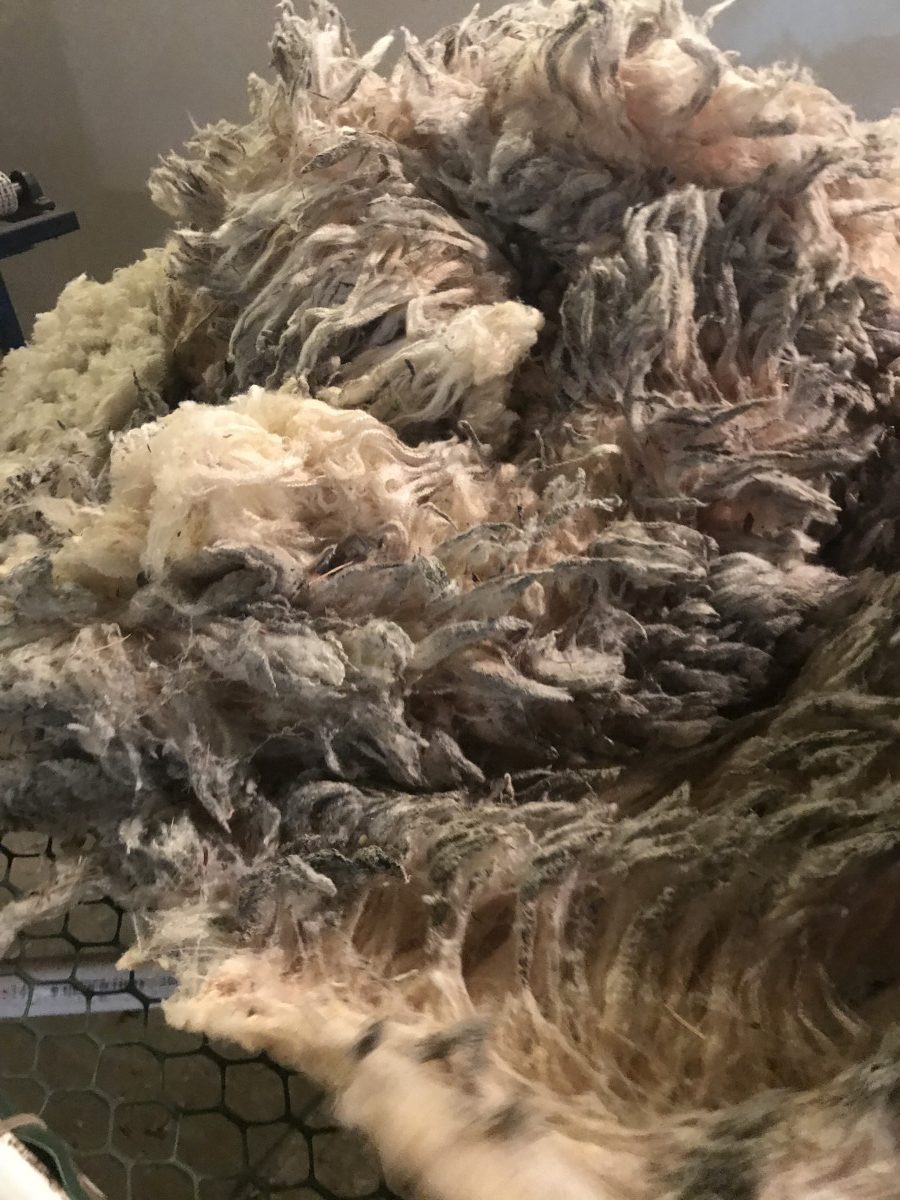
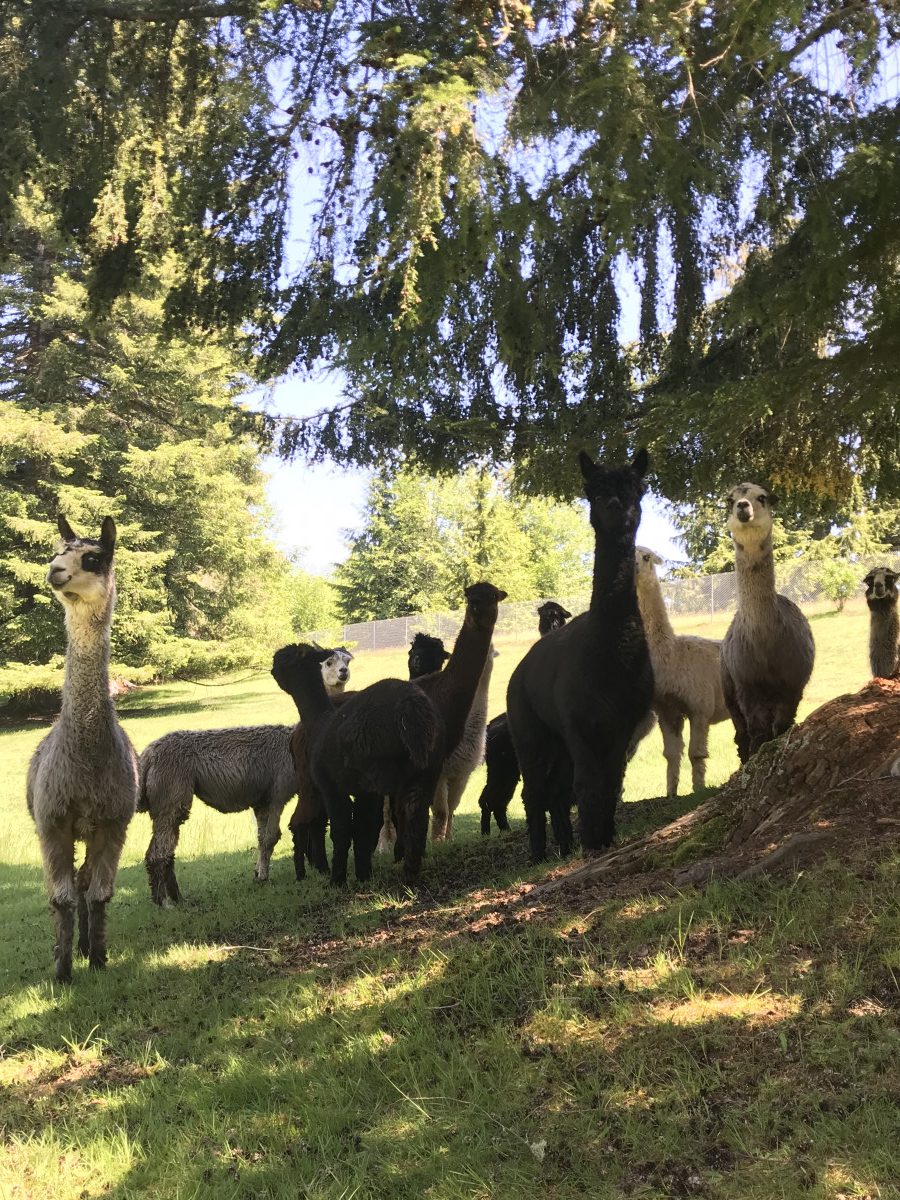
After we sorted some fiber, we walked around the pastures and talked briefly about pasture management strategies. I learned that alfalfa is oftentimes the highest cost in keeping alpaca since they consume so much in a day, so keeping pastures as green as possible for as long as possible is a top priority. This year, Lynn has a sprinkler system running and will be applying compost tea in order to help keep the alpaca off of pre-purchased food as long as possible. I also learned that in order to help keep fiber quality as high as possible, some owners will often opt to rake up various different sticks and pinecones in order to prevent them from getting tangled in the animals’ hair.

Female alpaca herd.

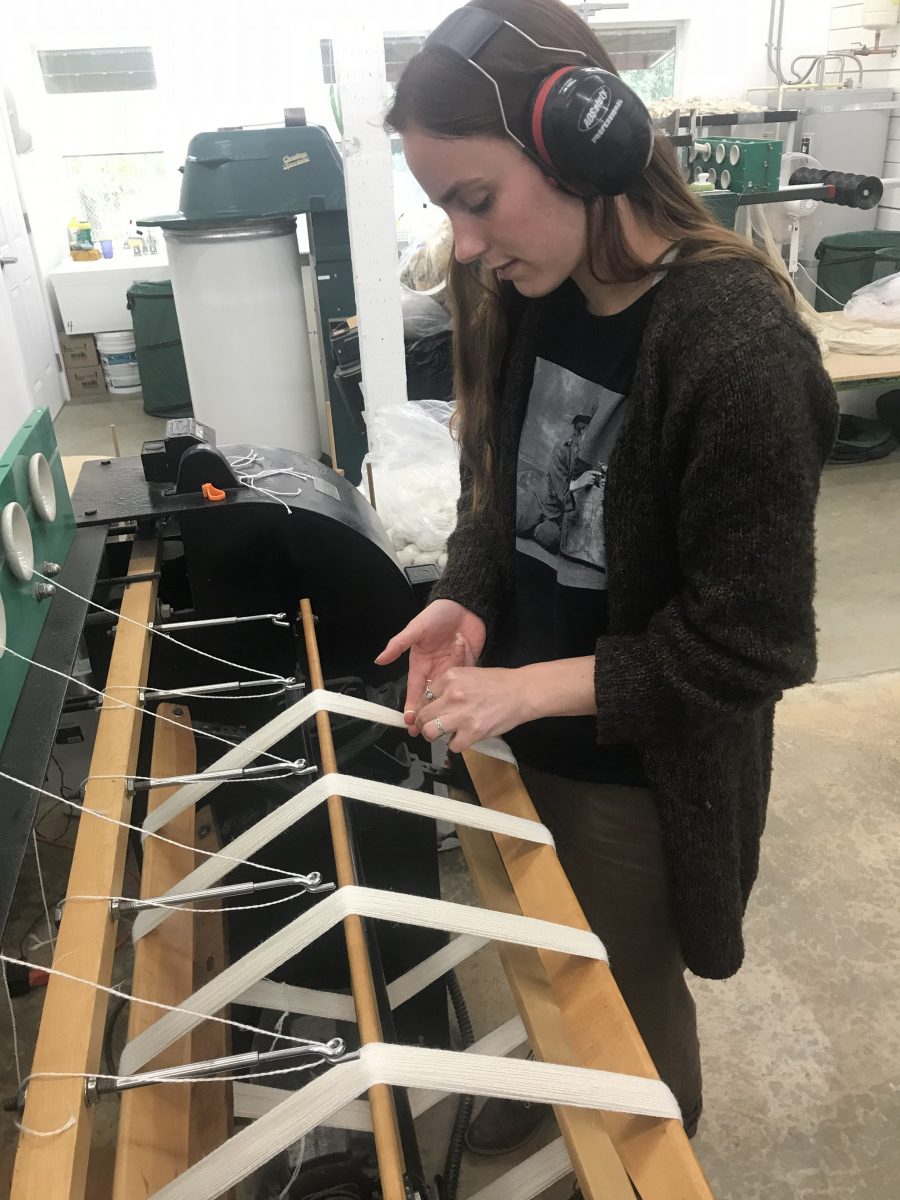
I’m pretty sad to see my time with Olympic Yarn & Fiber end, but I am happy to say that I’ve come out of this internship with a ton of new knowledge regarding fiber milling and animal husbandry. At the beginning of the quarter, I began with only basic knowledge of how yarn mills ran. But now, I can identify every piece of equipment and have a fundamental understanding of how they work/how to operate them.

Olympic Yarn & Fiber: Week 7

This weekend at Olympic Yarn & Fiber was particularly full of learning opportunities. To start the day, Lynn and I drove up to Aberdeen to visit with the woman who does the yarn dyeing for her. Valerie of Fiberplay has a small operation run out of the upstairs of her home that she was kind enough to let me tour and take many pictures of.

Fiberplay’s at home dye studio.

I learned that because she works primarily with protein (animal) fibers, she dyes with acid-based dyes. To do this, she adds citric acid to the dyes that she buys. Her dyes are synthetic, however, she is sure to make sure that the dye water runs clear (meaning all the dye has been absorbed) before disposing of it. Her process is as follows:

Dyed yarn hanging to dry.

First, she adds the proper amount of dye to water in a crock pot. She then adds the fiber to the water and puts the heat on high for a few hours. After that, she puts the fiber in a steaming container and places it on top of a pot of boiling water in order to fix the dye to the fabric. After that she simply hangs the fiber to dry. She has a variety of methods that she employs to create variations and overdyes, but she only (understandably) explained the basics.

I am still not convinced that I like the idea of dying anything, especially when disposal isn’t regulated. But, it was nice to get a picture of how small business work to regulate their own sustainability in their art.

Yours truly working on the skeiner 😛

After visiting Fiberplay, we went back to the mill and worked on plying and skeining. I got to learn how to set up the spinning machine in order to ply two pieces of finished yarn together. The first thing that I learned was that to spin you set the spinner to a “Z” spin, meaning that it spins clockwise and to ply you set the spinner to an “S” spin, meaning it spins counter-clockwise. Other than knowing the settings of the spinner, there isn’t much work to be done other than watching to make sure that nothing breaks during the process.

Olympic Yarn & Fiber: Week 6

This week at Olympic Yarn & Fiber I got to learn how to use one of the more important machines in the yarn creating process: the carder.

The carder is used to arrange the random, cleaned clumps of fiber into a parallel pattern that is even in thickness and cleaned of heavy guard hairs and vegetable matter. The Ramella carding machine that Olympic Yarn and Fiber uses is comprised of five different ‘workers’ or ‘flats’ that rotate on the base cylinder. The flats are made up of different small pin-like structures that rub in opposite directions to smooth out the fibers and cause them to lie flat. These diagrams from Fundamentals of Spun Yarn Technology by Carl A. Lawrence provide a great visual for the inner-workings of the machine:

Diagram of the carder as a whole.
Movements of each of the individual flats.

For this particular project, we were processing three different types of wool: angora goat, llama, and alpaca. The client only wanted roving (the finished product of carding) for hand spinning so we were able to run all three wools in the same run. In order to keep them sorted and even, we weighed out 8oz portions of the wools and loaded the carder by that weight.

Here’s a video of the carder in action:

An important part of the carding process that I learned about was how to remove static from the lighter animal fibers. For the llama fiber and especially the alpaca fiber, Lynn had me “re-hydrate” them in order to reduce static. To do this, I spread out the fiber on a table, sprayed both sides, and massage the water evenly through the wool. This allows the wool to move through the carder smoothly and without sticking to itself.

A photo of the finished goat hair:

By the end of the process, we had carded about 9lbs of wool with only 6oz of waste. The waste was hardly waste, however, because the client is a hand spinner and able to spin from “the cloud” (a tuft of wool). Overall, it took us a little less than two hours to process the clients wool. After having my own experience with a drum carder (which took me 20 minutes to process an ounce on), I’m actually pretty amazed at the efficiency of the machine.

Olympic Yarn & Fiber: Week 5

After a two week break from my internship with Olympic Yarn and Fiber, we finally got to get back into the swing of things. Today was a beautiful day, so we decided to walk around the property of the farm to see if we couldn’t find something to naturally dye with. Lynn has a PHD in chemistry, so it was very helpful to hear her explain the science behind natural dyes.

However, before doing that, we surveyed the back pasture on the farm to see if it was ready to let the herd of male alpaca graze in. We checked to see if there was enough grass to make it worth it and also looked to see if there were any plants that could potentially be harmful to the animals. We did come across one plant called tansy ragwort that can kill most livestock if ingested. I learned that there is a moth called the tansy moth whose larvae live on and destroy tansy ragwort, so if a moth is found on one it is actually best to leave the plant in tact in order to encourage the survival of the beneficial insect.

Flowering Scotch Broom

While walking, we noticed that the Scotch Broom on the property was flowering. Scotch Broom is incredibly invasive here in Washington, so we decided to see if we couldn’t find a use for it since the plant is everywhere anyway. We picked the flowers and branches and separated the two so we could discern where the color (if any) would come from. Then, boiled some water with vinegar to use as a fixative.

First, we added the flowers to the boiling water since we had a feeling that they would have the least amount of color in them. We turned out to be right since an hour of boiling yielded only the slightest yellow shade. We then added the branches to the mixture and saw that the color of the water darkened noticeably. We also decided to create a second dye bath out of red wine so that I could get an idea of the difference between a heavily pigmented and fermented dye and a freshly picked, lighter material.

We dyed one skein of light gray sheep’s wool in the Scotch Broom mixture, and one in the red wine as well as a sample of white merino wool to get an idea of the true color of the dye. While we waited for it to soak, we went over some samples of dyes that Lynn uses for her own yarn collection and I learned a bit more about the dying process. I learned that sheep wool tends to take color more readily than alpaca fiber due to their structure, so lighter dyes tend not to even be worth trying when it comes to the later. I also learned that different mordants tend to yield vastly different colors because they alter which aspects of the dye materials hold to the fiber.

After an hour or so of soaking, we checked on the samples and found that the red wine dyed yarn took very quickly, and the Scotch Broom only yielded a very pale yellow color. It wasn’t all that surprising since we expected that if there were a truly significant use for the plant, somebody probably would have figured it out by now, but it was still fun to experiment with it! The yarn is currently drying, so next week week I will be able to take a photo of the finished product.

Samples of other fiber dyed with natural dye.

Next week we are going to be working on carding for a client who would like their wool to be processed into roving, so I am excited to be working with more machinery.

Olympic Yarn & Fiber: Week 2

This weekend during my internship with Olympic Yarn and Fiber, we shifted a bit away from animal husbandry and I got to begin to learn how to use some of the mill equipment. For my first step into the never-ending world of textile machinery, I learned how to use the skeiner machine and how to steam the skeins in order to allow the fibers to relax for the final steps of the process.

I was unable to take pictures of the fiber/machinery I was working with because the yarn on it was a private project that the customer does not want published. Because of that, I am simply using a photo of the same model of skeiner that I was able to work with. It was really interesting to be able to see firsthand how much quicker the production process is when you have machinery to cover each step.

Image result for skeiner machine
An example of the same kind of model I got to work with. (source)

The steps that I learned go as follows:

  1. Attach end of yarn to the hooks on the inside of the skeiner, set spin dial back to zero.
  2. Press start – keep an eye out for breaks in the yarn/the bobbin running out.
  3. When the machine stops, pull wheel down to bring wheel hooks closest to you.
  4. Cut yarn off and secure bobbin end, then pull forward 1 length and cut off, set aside for second figure 8 knot.
  5. Pull yarn end from the hook and tie figure 8 knots on both ends.
  6. Release tension knob, slide off yarn.
  7. Put tension knob back. 
  8. Load yarn onto steaming rack.
  9. Weight bottom rack to straighten out pieces.
  10. Steam on all sides to relax fibers, let dry.
  11. Twist into final skeins.

Week 1 – Nail Trimming & Fleece Sorting

For my first day interning at Olympic Yarn & Fiber, I jumped right in by helping to trim the toe nails of Lynn’s female alpacas. I learned that it is important to trim their nails because if they grow too long, they can curve under the alpaca’s foot and cause issues with joints and walking – this is particularly true for alpacas living in pastures with soft grounds, as opposed to the rugged terrain that they are native to.

The alpaca stuck together while we trimmed each one’s toenails.

Since I don’t have any experience handling alpaca, a lot of my work was observational. I made to sure take note of how Lynn interacted with her animals and how they responded to her movement. I noticed very quickly that the herd as a whole were very interested in the well being of each individual alpaca. We opted to keep the herd together as a way to keep them calmer while trimming. In order to catch each individual alpaca, we used a harness hold to keep them in place. This is done by grabbing their head and placing one hand on the back of the skull and one underneath the jaw. This way, the animal is unable to swing its head around and potentially harm itself or others. To trim the toenails, we gently lifted each of the animals’ legs and trimmed the nails to be equal with the padding on their feet. We got 6 of 12 done on Sunday, but decided to wait to do the other half so as to not make the herd too stressed. After we finished, we fed them and allowed them all to go back into the pasture.

The fleece before we pulled a lot of the dirt out of it.

For the second part of the day, I helped Lynn to sort through some merino fleeces that she purchased from a woman on Vashon Island. I learned that merino sheep are incredibly hard to find in this area due to their breed’s susceptibility to hoof and skin rot in wet weather, so the flock from which Lynn got her fleece is very special. The fleece was from two year growth, so the fiber staple was much longer than usual. However, this also meant that there was a whole year more opportunity for mud and twigs to get caught in the fleece, so we had our work cut out for us. In order to sort the fleece, we pulled out as much debris as possible and pulled it apart tuft by tuft in order to test how well it had been skirted and its overall quality. This also allows for dirt to leave the fiber more easily during the scouring process.

A close up after the fleece had been pulled apart – the fine crimping of the fiber was pretty clear after all the dirt was separated.

Overall, it was an incredibly successful first day and I feel like I learned quite a lot for the amount of time I spent there. I’ll be going back next Sunday to learn more about the mill machinery and to help with animal feeding.