
IMG_3038 This is a link to a short video of what my fridge looked like through this quarter and where a lot of the colors you see above came from. check it out!

IMG_3038 This is a link to a short video of what my fridge looked like through this quarter and where a lot of the colors you see above came from. check it out!
An enormous amount of food is wasted globally. Just in the U.S. around 40% of all food is thrown away. Imagine walking out of a grocery store with a couple bags and dropping half of them in the parking lot and just leaving them there. With all the food security issues and poverty systemic in society one would think we could figure this out. While obsessing over food issues and discovering a love for natural dyes I found a wonderful and obvious connection. Making dye from food waste.
I cook a lot at home and I eat a lot of vegetables. But I am also guilty of letting food go bad in the fridge. Recently I cleaned out mine and a friends fridge, there was plenty in there to get creative with. Also as I cooked this last quarter I collected my waste and put it in jars or stored them in my freezer to make dye baths with. This post is a couple of highlights through my multitudes of food waste pigment experimentation’s… there were a lot of fails and some fun surprises along the way.
ONION:

Onions are a staple in all of my meals. I collected mostly yellow skins. I am still collecting red skins, as they can make an awesome green color if you get enough. Considering green is one of the hardest colors to achieve in natural dyes and my personal favorite obviously I am intrigued. I have recently began reaching out to local grocery stores produce departments about picking up their onion peels. So far I have gotten two large bags from Jays Produce Stand. Thank you Jay!

CITRUS: Orange and lemon peels

At first I didn’t think I was gonna get anything substantial from this dye bath. But after leaving the wool yarn, antique fabric and linen in this dye bath for a couple of days I was surprised by the results! Not sure if I would make this specific dye again, but it was important to see what my orange peels could do. I think they would serve better in an organic pesticide. If you have questions on that feel free to comment and ask.
COFFEE:

This was made with already used coffee grounds, I dried them out after I made my every morning, can’t live without, pour over coffee and stored the dried, used coffee grounds in a jar to use for dye later. Make sure to lay the wet coffee grounds out or expect a lot of mold.
BEETS:
This was my bad. I forgot about a couple of beets in one of my drawers in a paper bag, when I found them they were drying up and not looking quite edible. I used them to make this dye and have also used just used the water from boiling beets as a dye bath. I hadn’t read great reviews about beet pigment but I think there is a lot of possibility.

The finished results are much lighter, but still wonderful.
It is important to note with all of these projects that I would possibly be getting much deeper, vibrant colors if I was using organic high quality fibers. But for this study I am up-cycling everything.
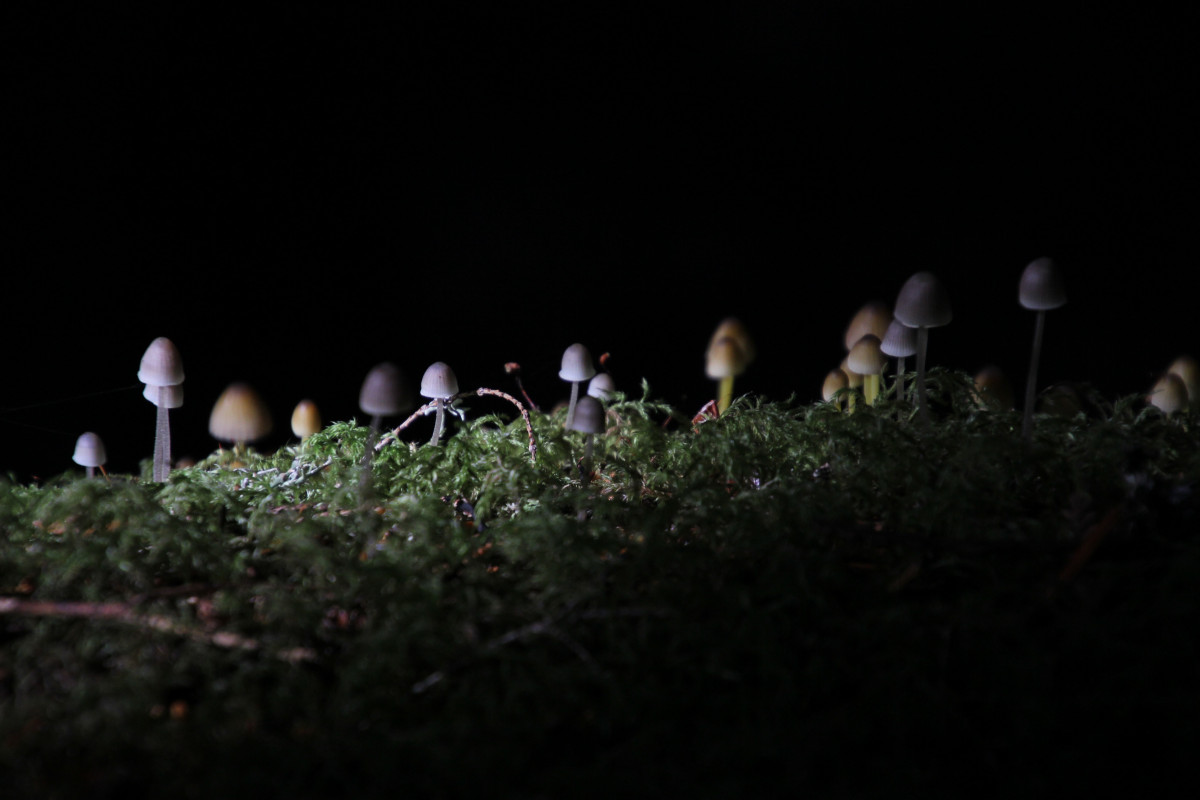
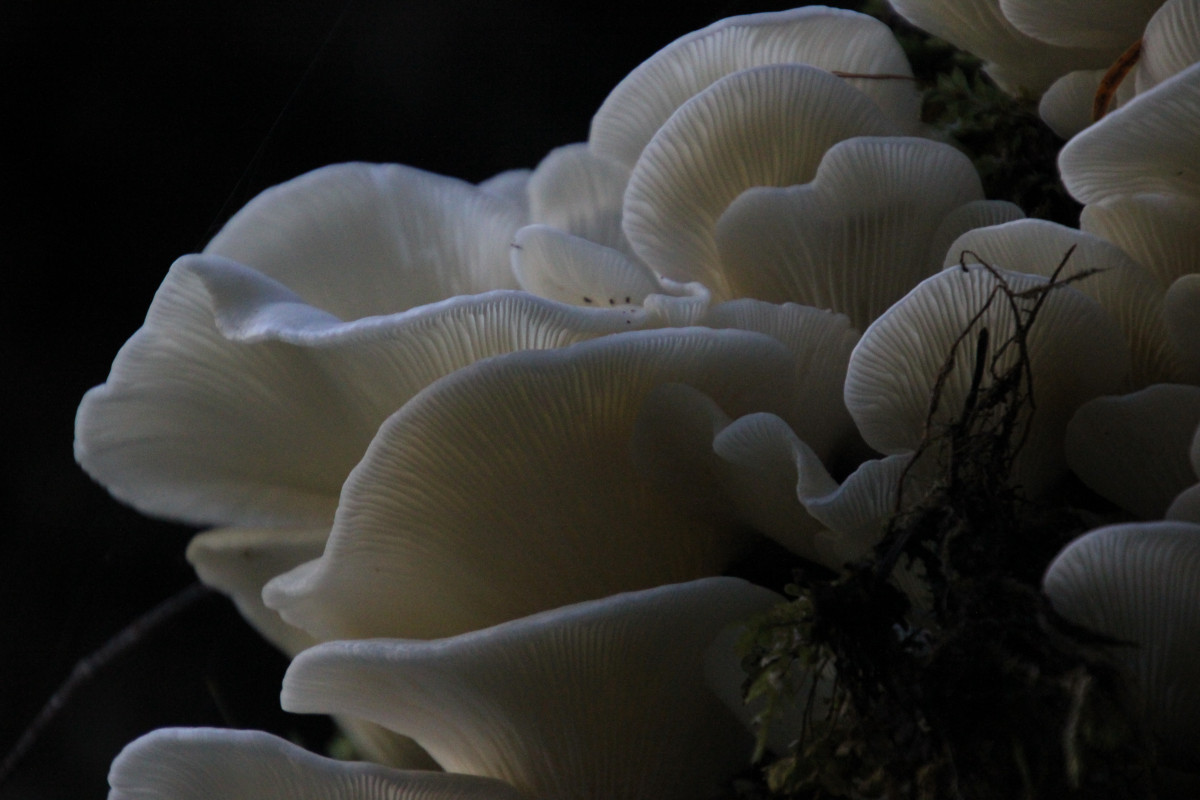
The flowers I was saving from farm grounds and the cabbage on the verge of rot are becoming mostly a thing of the past as winter descends on the Pacific North West. And while that means a lot of my dye plant dreams are coming to a short even (even though my freezer is still pretty full) it also means that there is room for a little more creativity and magic. Many different fungi’s, moss and lichen’s have been used to create pigment. I have been collected lichen for the past couple of weeks and have gone on some walks searching for the right kinds of mushrooms. While I have found some awesome fungi that could do that trip I am weary to try them out in my kitchen. Without proper knowledge on fungi making dye baths in a very poor ventilated kitchen could be a problem. I am also running out of pots to cook in, I actually can only use my wok at this point as I have used every other dish for a dye experiment. I have also taken pots from friends. So for now, considering the quarter is coming to an end I will just revel in the beauty and plan for my next dye creations with mushrooms tell next time.

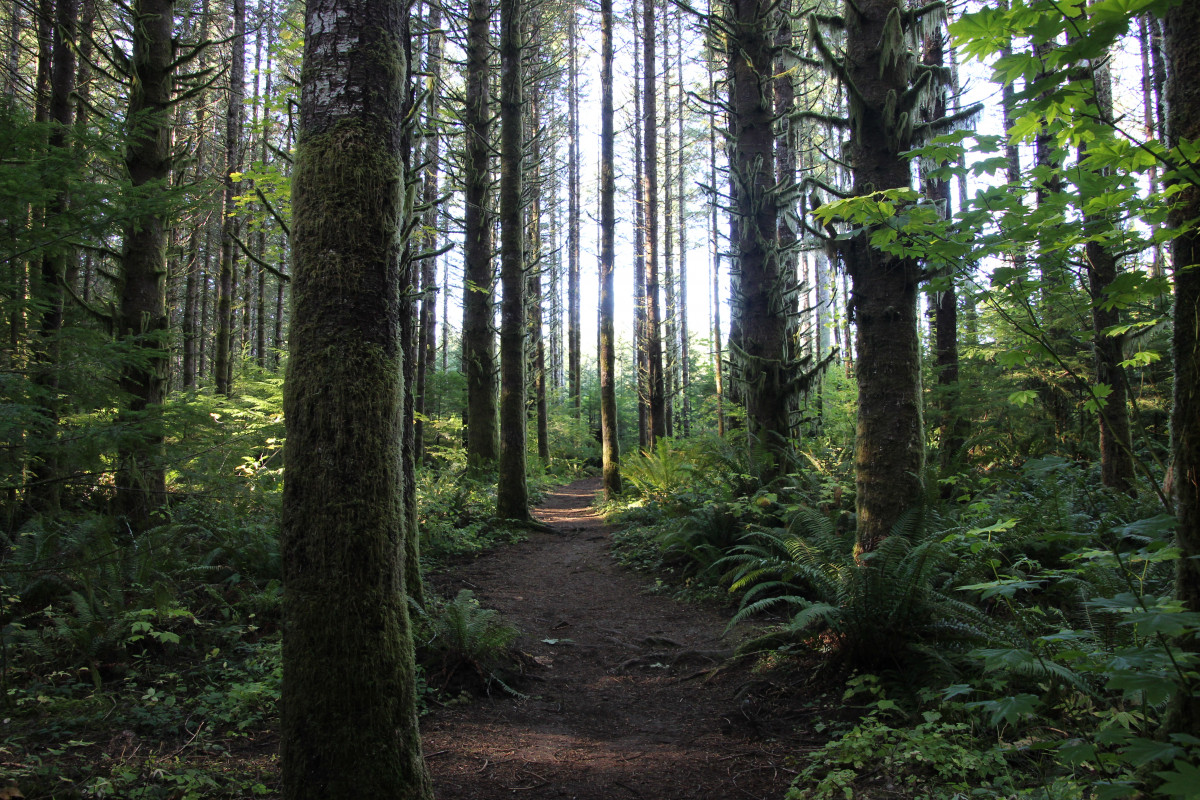
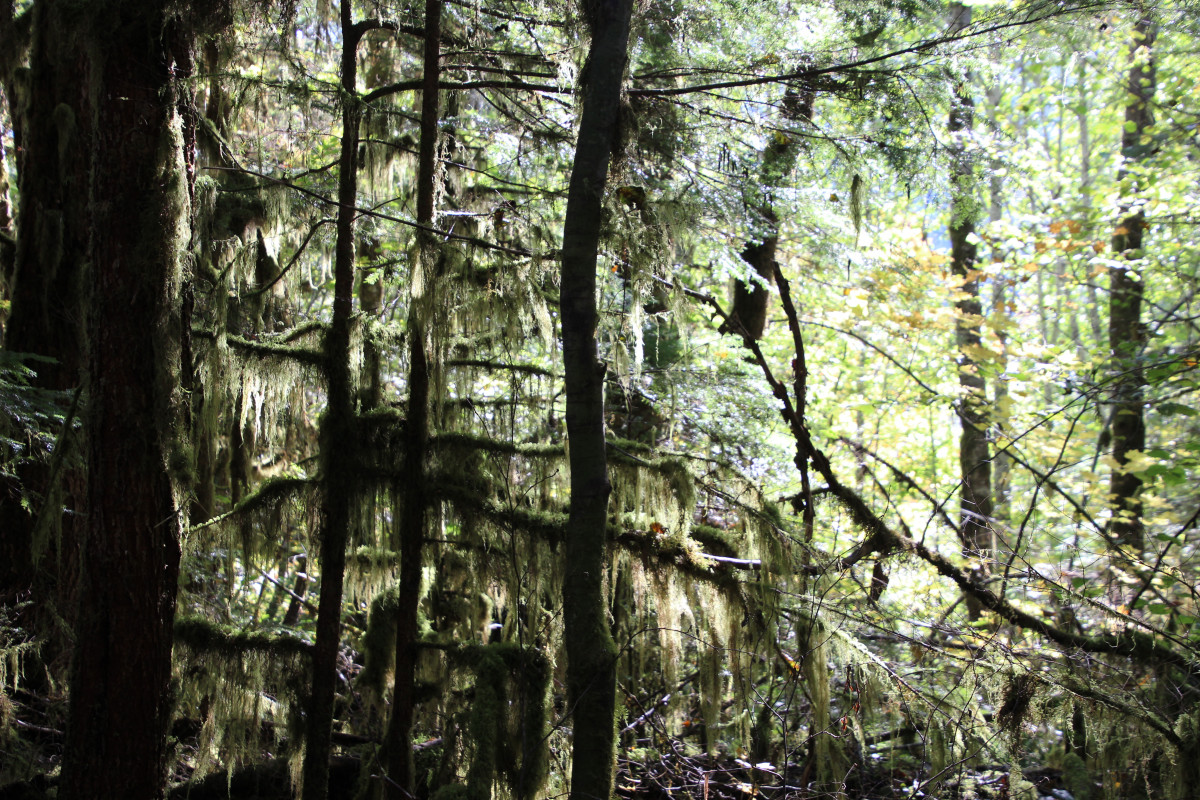
For this dye experiment I collected Wolf Lichen from the Tieton on forest service land near the Gifford Pinchot National Forest. I only collected from dead logs where there seemed to be plenty of lichen growing and made sure not to take too much from each spot. While this isn’t food waste, I still wanted to try this one out. Wolf Lichen is one of my favorites and I love knowing that when I see its neon colors coloring the wet forests that I got to explore the other colors it can make. I didn’t get to explore with different mordants and only made a simple dye bath, so I am sure you could get stronger colors with higher quality fabrics and more prepared dye process, but this was still wonderful.
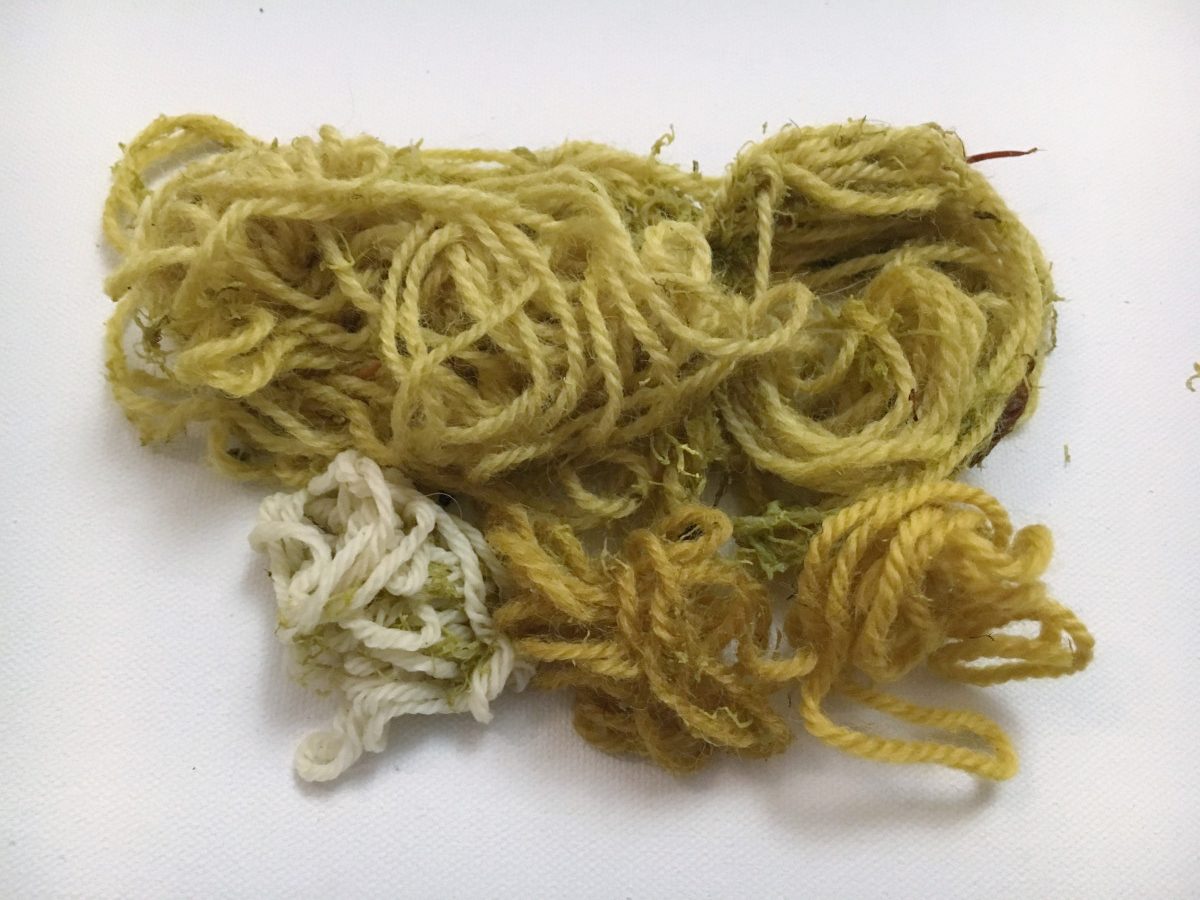

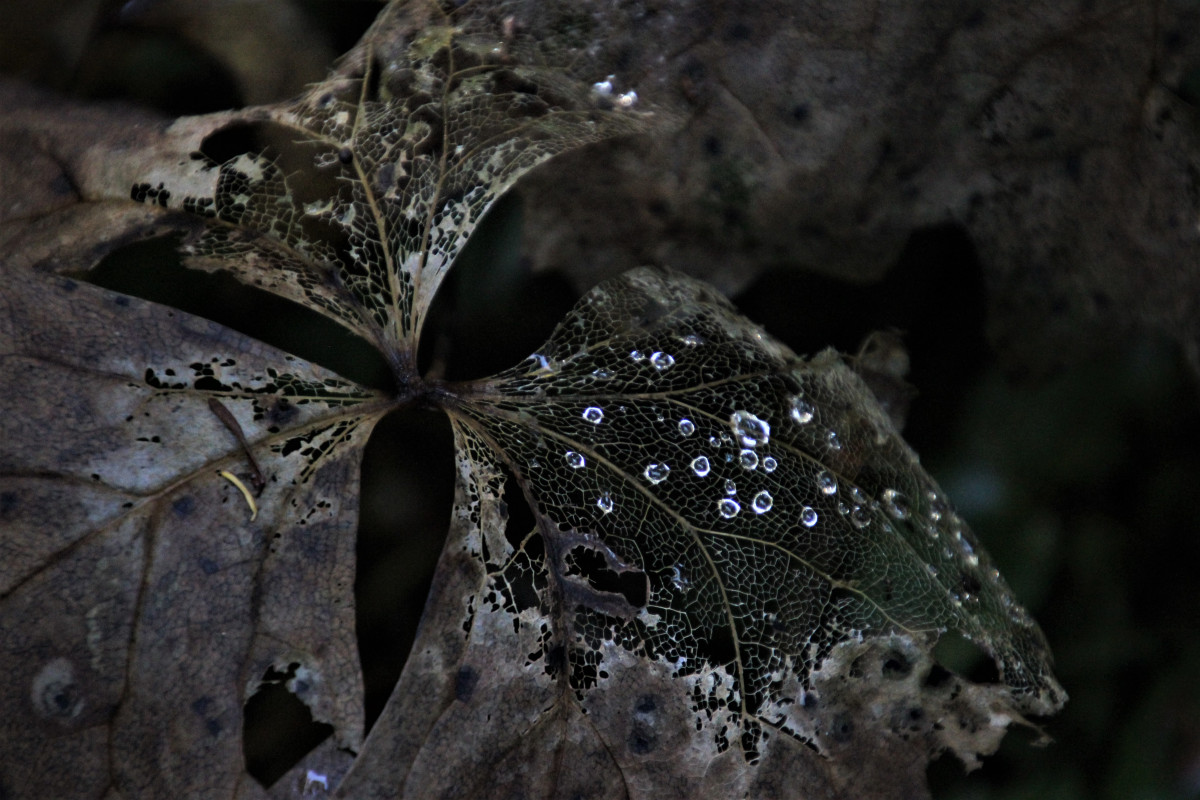
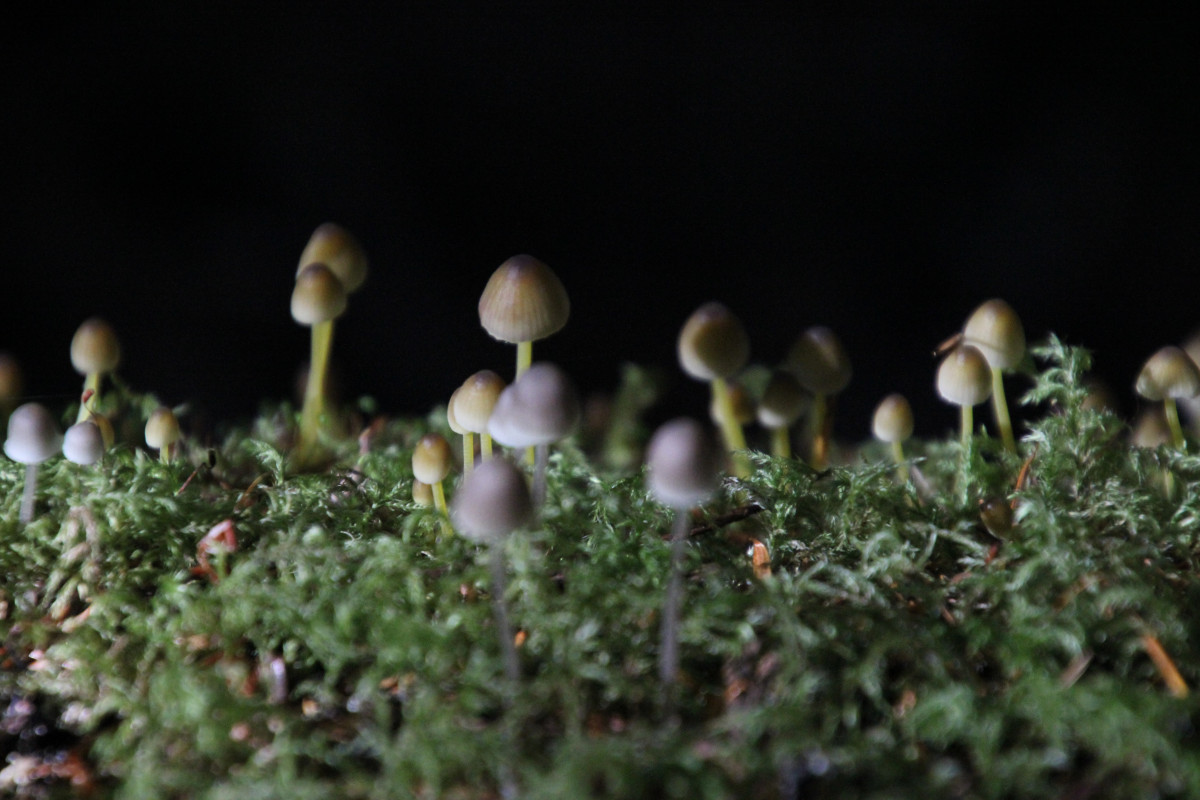
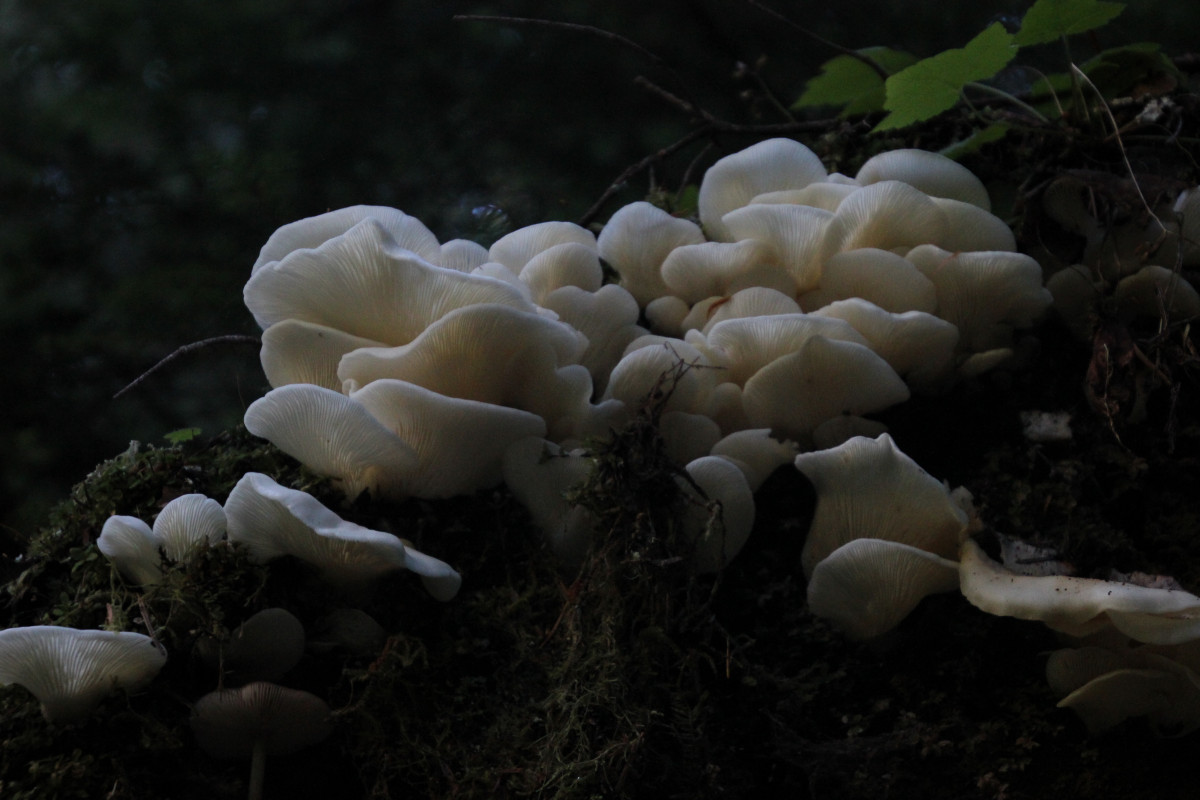 The best way to get vibrant colors from lichen, even hot pink, is to ferment it for at least a couple of months. While I would love to try this out I will be leaving the country by the time this dye would be ready for a dye bathe, but now I know!

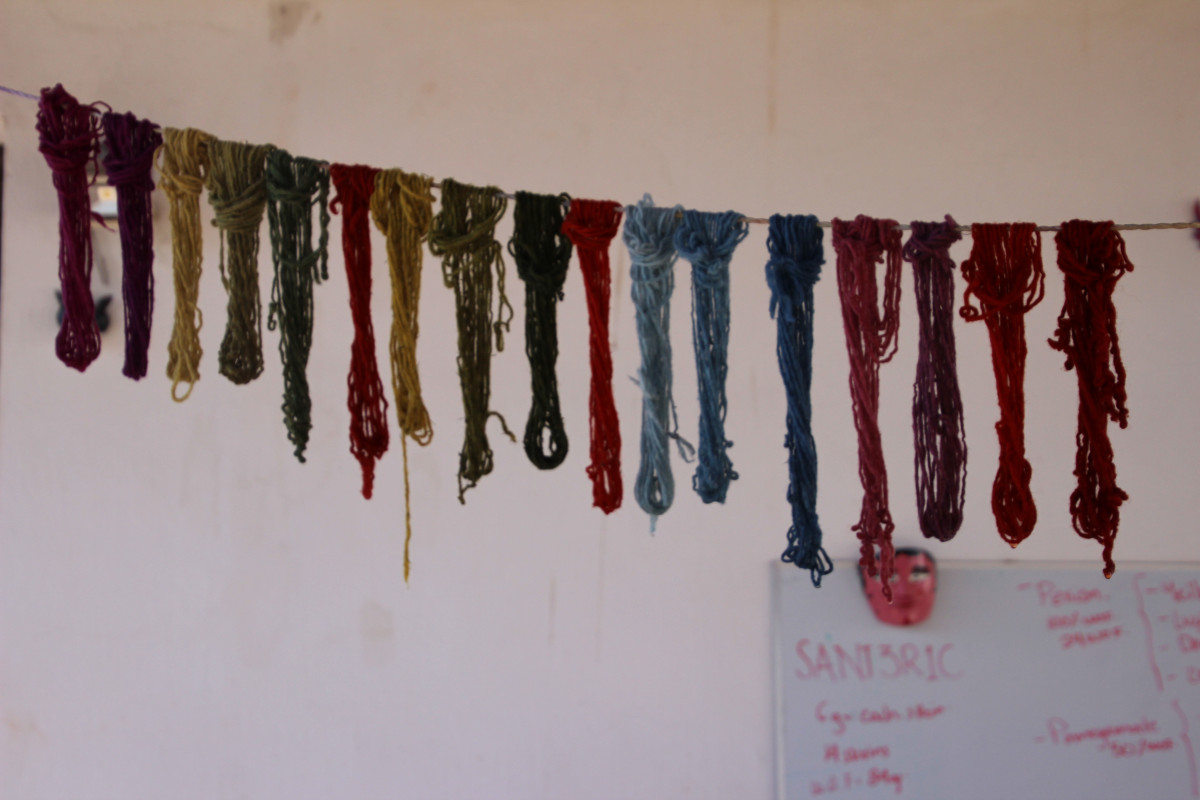
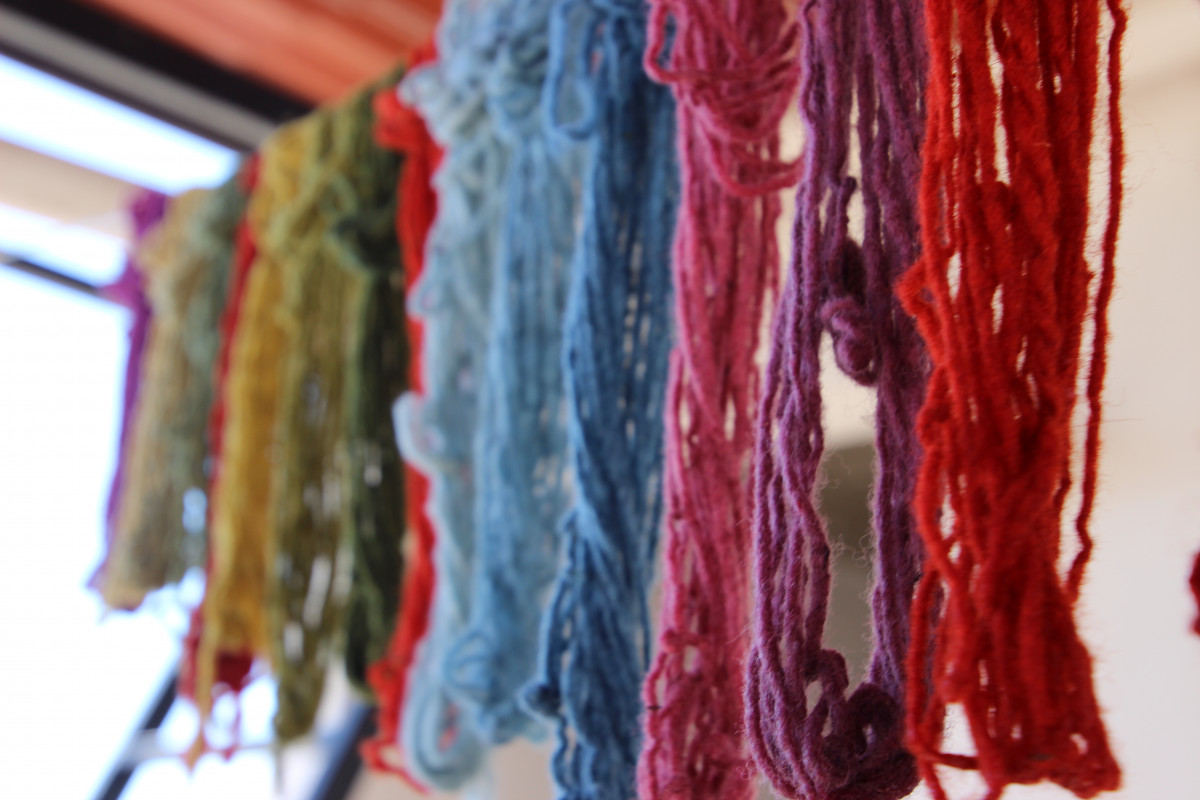 While my trip was about a month ago there is still so much more to share about the colors I got to explore while I was studying in Oaxaca. My busiest workshop was with Elsa of Taller Tenido a Mano, https://www.instagram.com/tenido_a_mano/who is today considered a bit of a natural dye wizard in Oaxaca. While natural dyeing is still done in the state of Oaxaca, it is used far less. And without places like the Textile Museum of Oaxaca or young people like Elsa keeping this important and beautiful tradition alive it could very easily become a tale of the past. After being lost for a good 20 minutes on the colorful streets in Oaxaca’s city center I found Elsa’s house, her mother was watching her newborn and her husband was at work with the Textile Museum. We ascended the stairs to her open air roof-top dye studio, a dreamy place to learn.
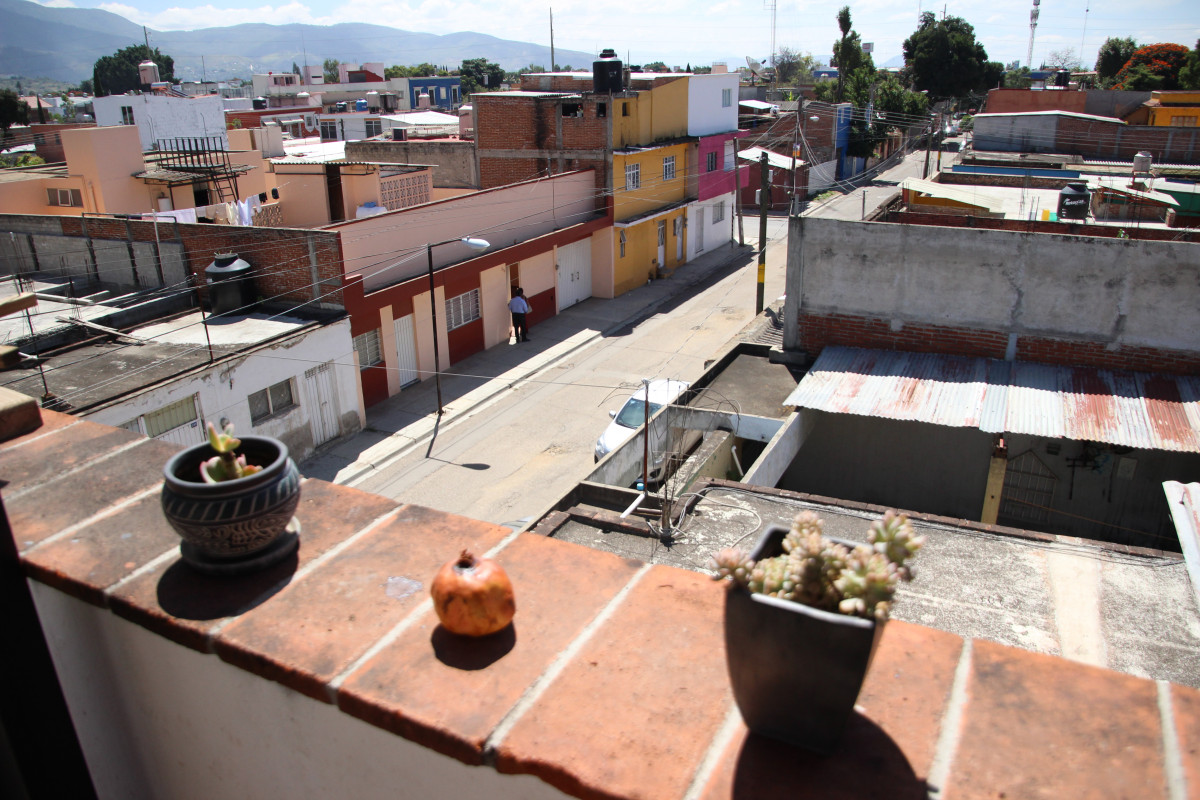
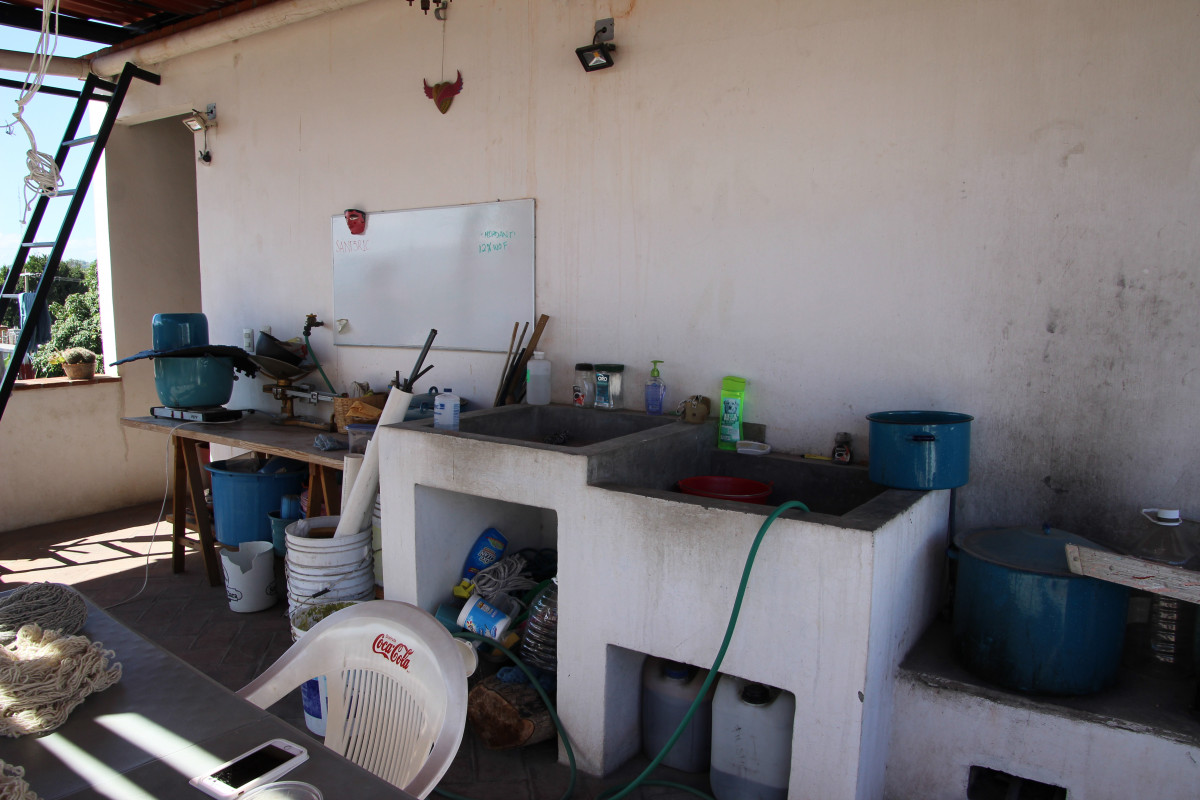
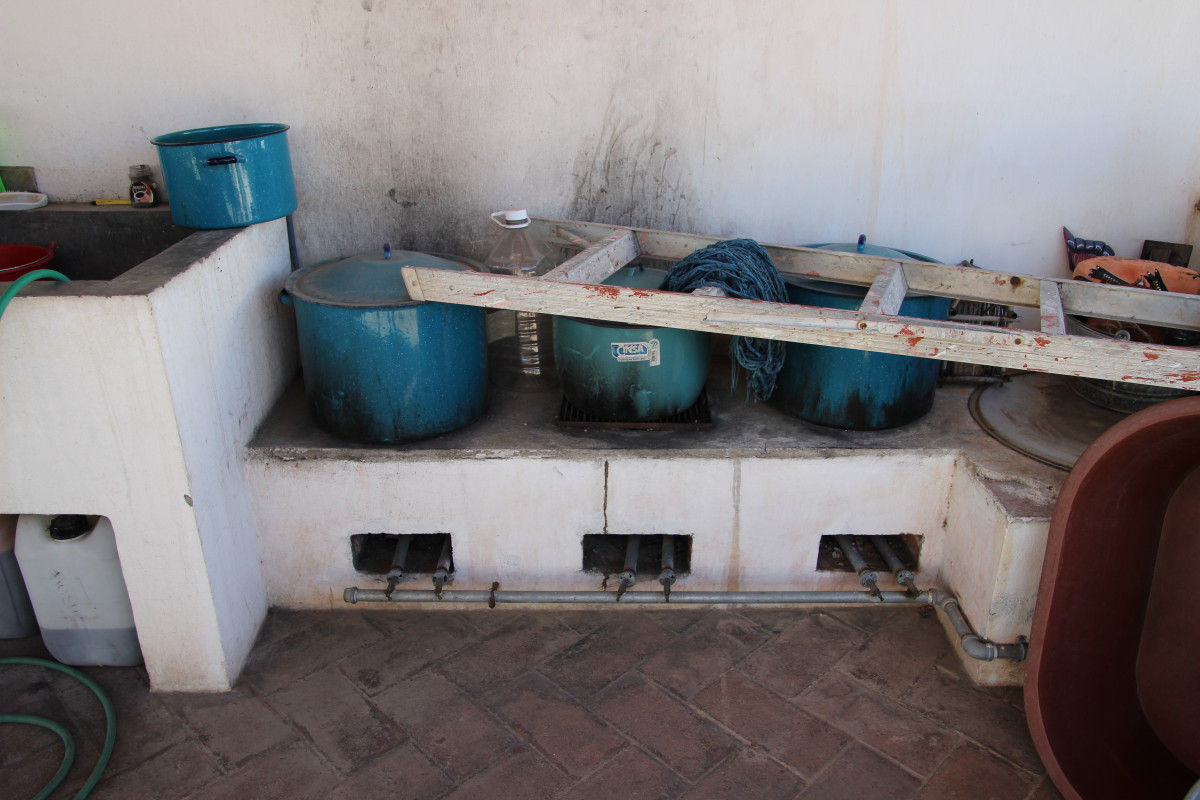
Recently Elsa and her husband had their entire rooftop made into a beautiful rooftop natural dye studio. This is convenient but also important because even natural dyes can be toxic, there is such a thing as too much of a good thing. You need to have clean surfaces and particular pots and tools to properly dye proteins.
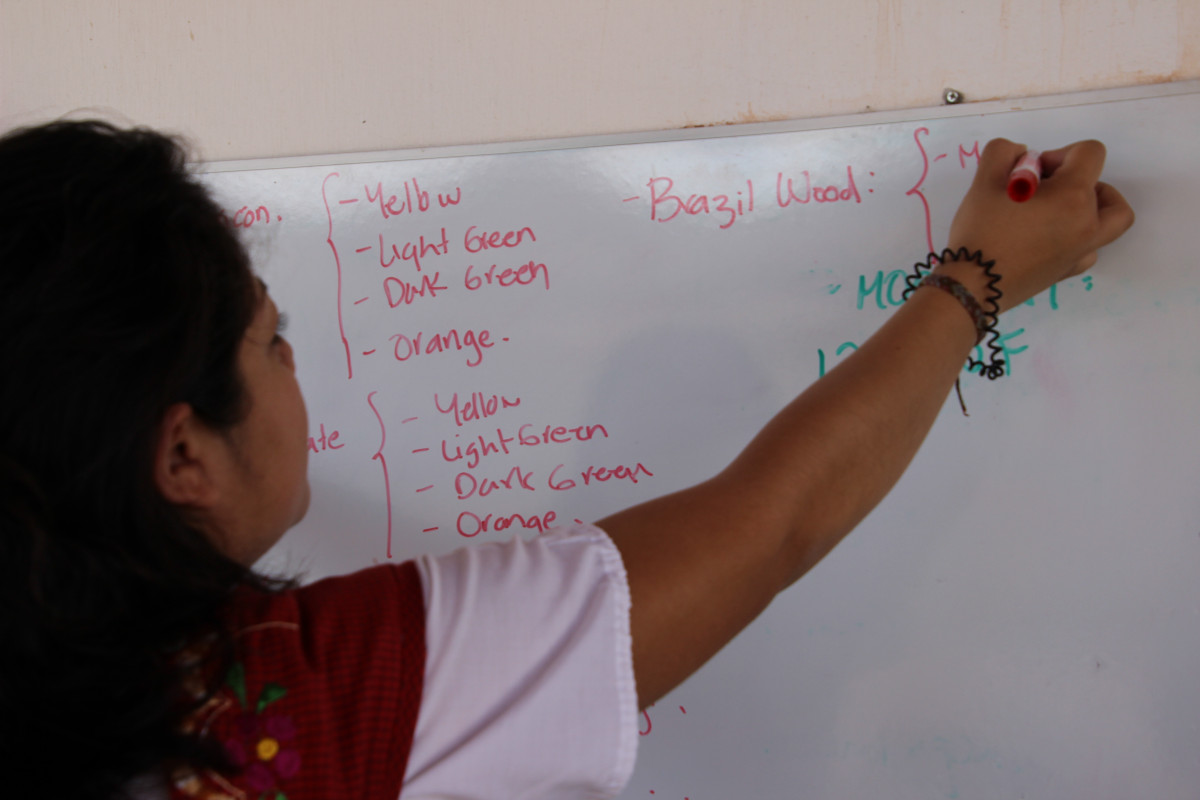
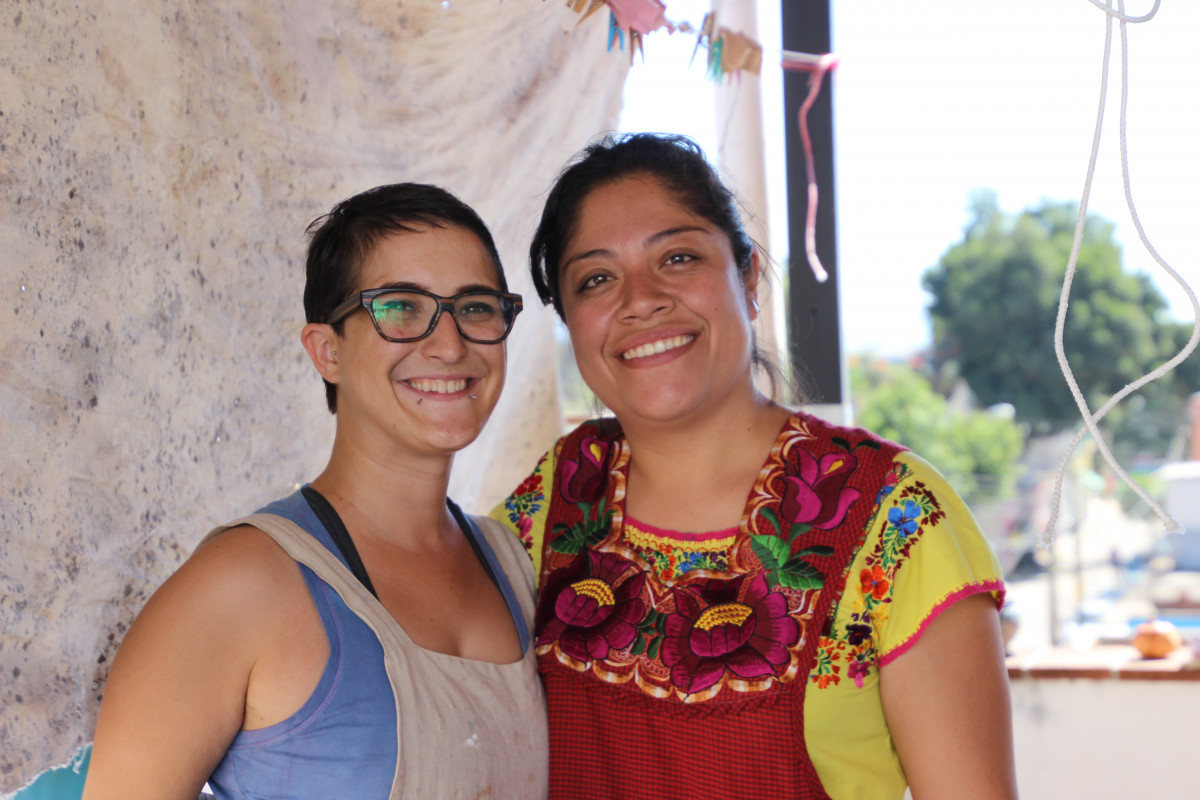
Elsa and her husband work full time in natural dyes and are partnering with local business and organisations locally, but also abroad. While I was taking this workshop with Elsa it just so happened that a past student of hers, Amy Taylor was visiting. Amy Taylor was stopping into Oaxaca to do some pigment tests with Elsa. They hope to partner in the future doing more workshops. Amy was on her way to Chincherro, Peru for an artist residency she was invited too. Amy, like Elsa now does natural dyeing full time as an artist, she makes amazing naturally dyed, organic fiber underpants. here is her webpage https://www.msamytaylor.com/
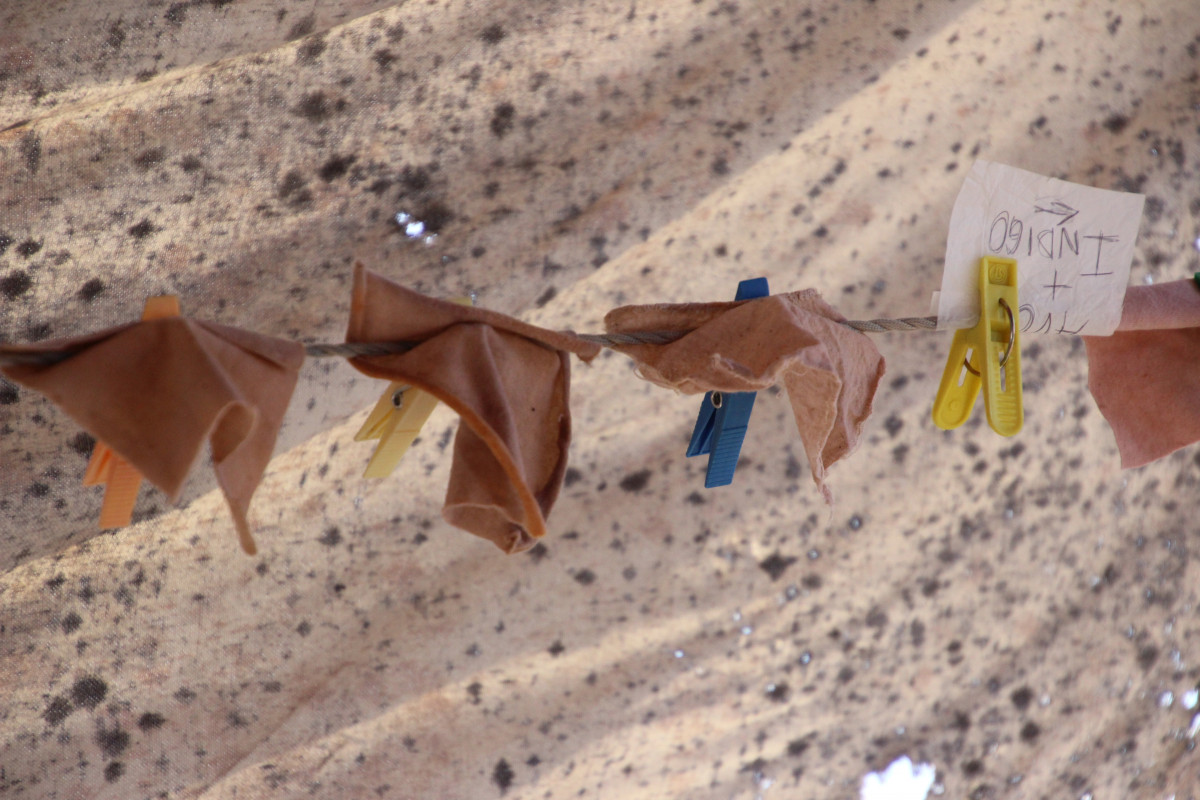
Elsa and Amy were doing a variety of experiments on different fibers in an attempt to get stronger colors. They were trying many different mordants and over dyes.
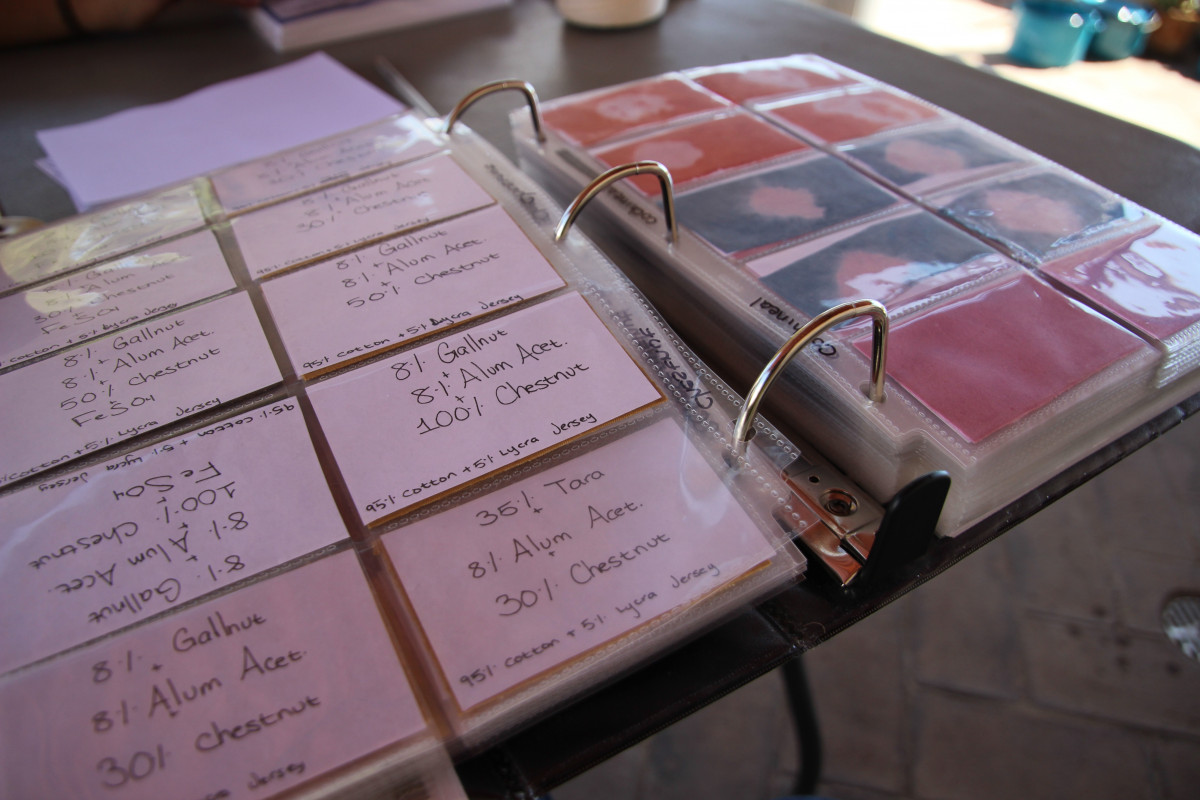
Elsa and Amy were amazing resources for natural dye knowledge and it was amazing to see how they have stayed connected over the years through their passion for natural dyes. It is also so inspiring to see two women entrepreneurs doing art, in a sustainable and international fashion.
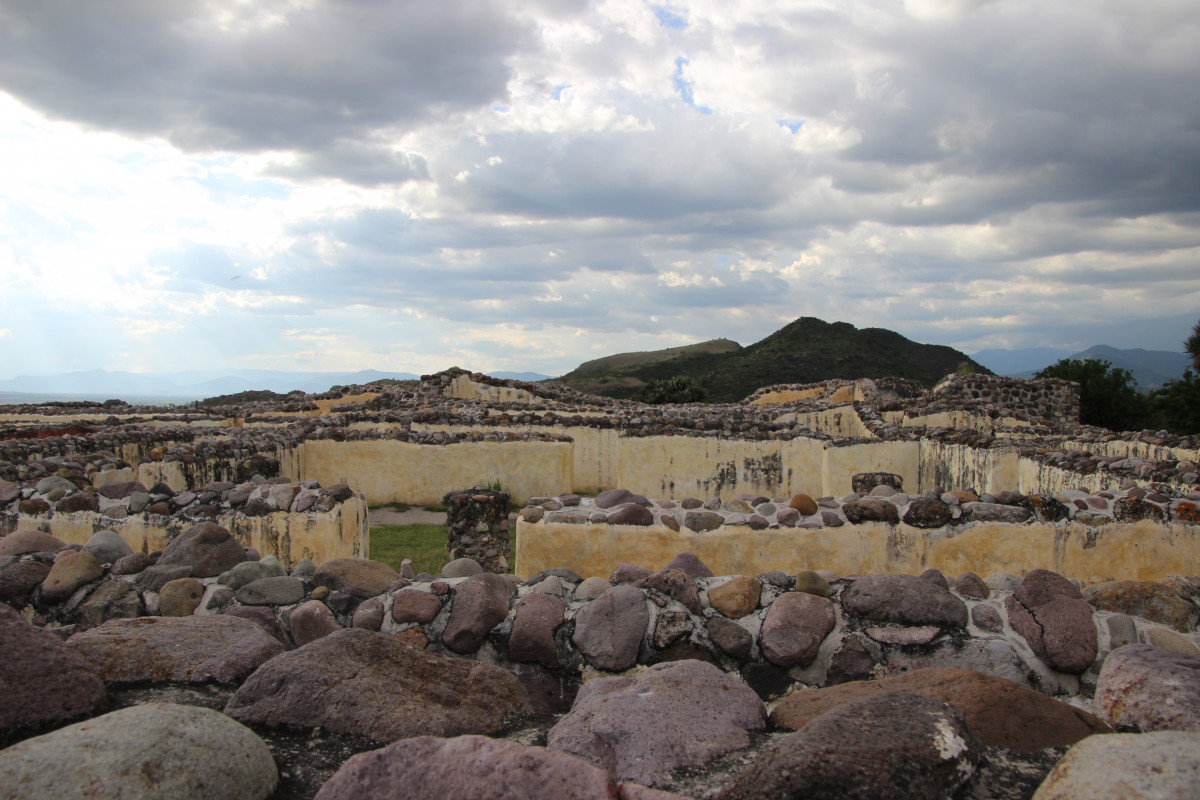
Oaxaca has been an agricultural center for hundreds of years and the history in this area is extremely interesting and diverse. Oaxaca was home to over a dozen different indigenous groups, the main being the Zapotecs and the Mixtec. The state of Oaxaca is spotted with amazing ruins, with 7 sites outside the city center, I have visited Mitla, Monte Alban and Yugul and each is worth a visit. But you can’t talk about Oaxaca without talking about Mezcal, a smokey relative of tequila made from agave. Agave is a major source of income for Oaxacans and an extremely important aspect in their culture. Other important crops for Oaxaca are corn, tobacco, fibres, tropical fruits, sugarcane, wheat and of course coffee.
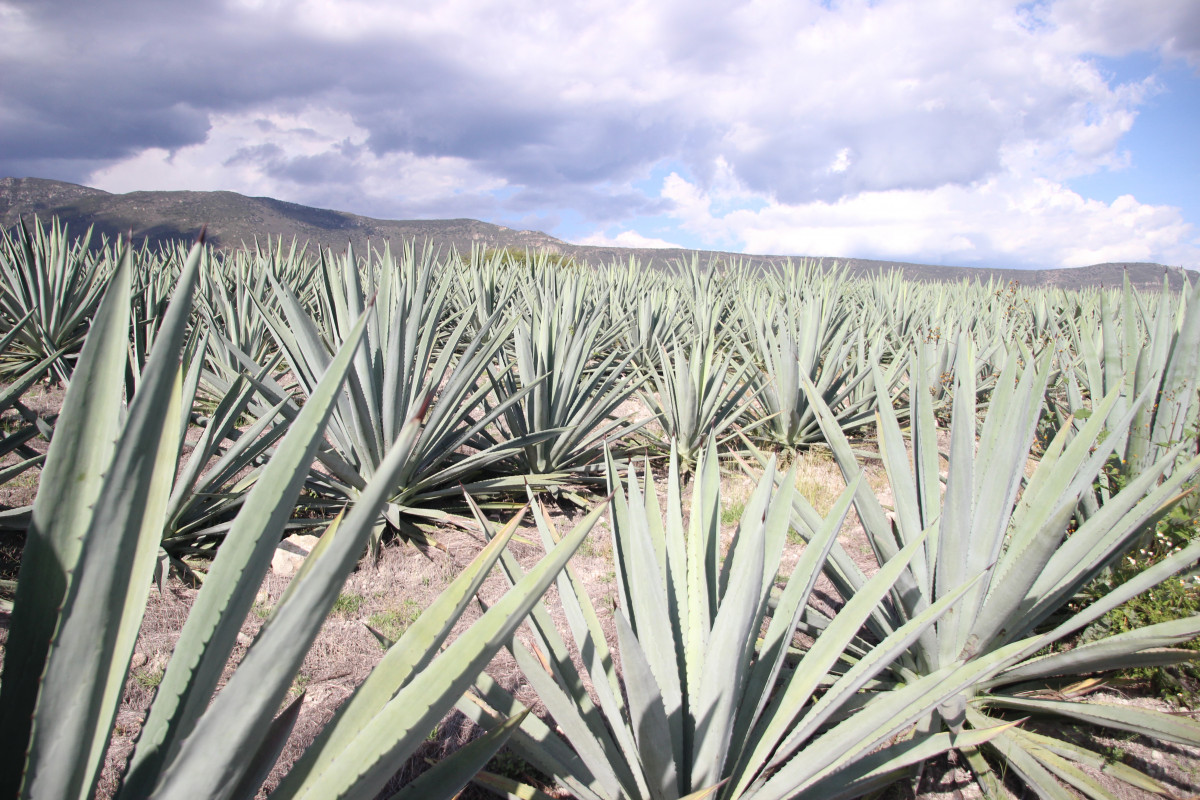
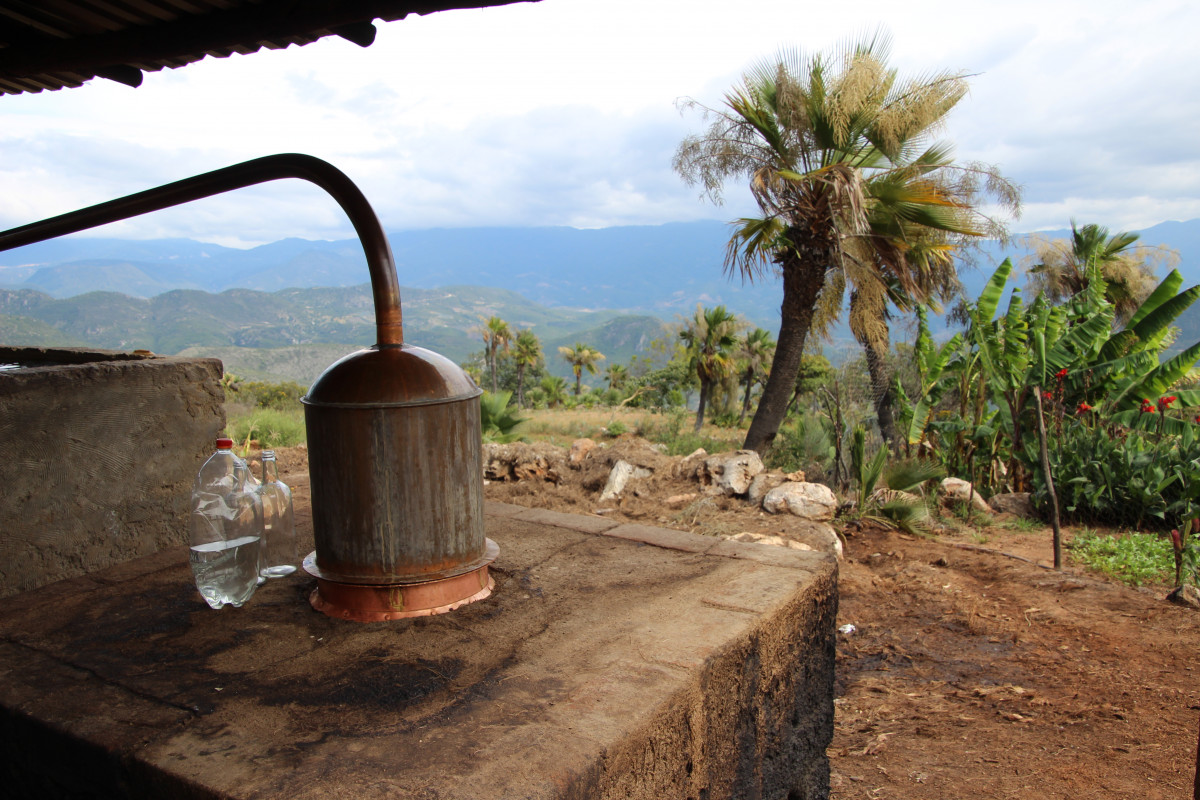
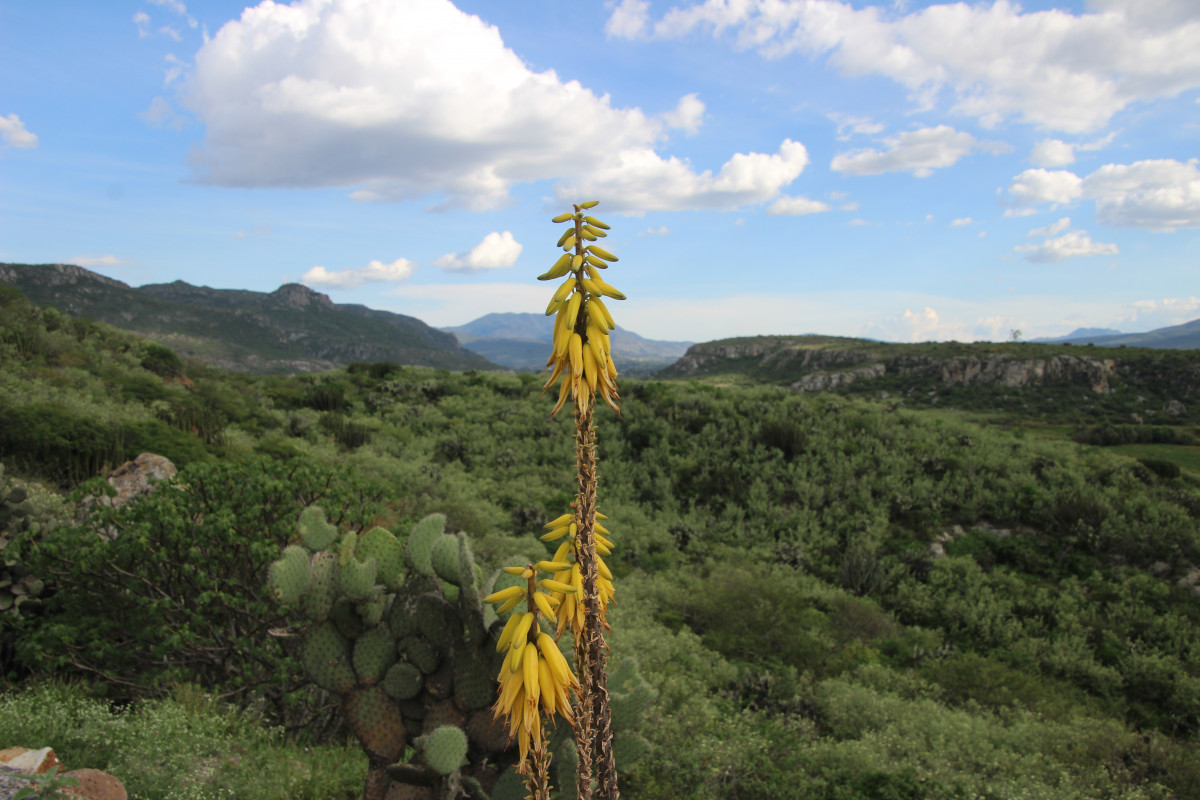
Today Oaxaca is still an extremely ecologically and ethnically diverse region. A large majority of the population is indigenous and are mostly subsistence farmers or miners. Two-fifths of Oaxaca residents speak their native language, which mostly include Zapotec, Mixtec, Mazatec, Chinantec, and Mixé.
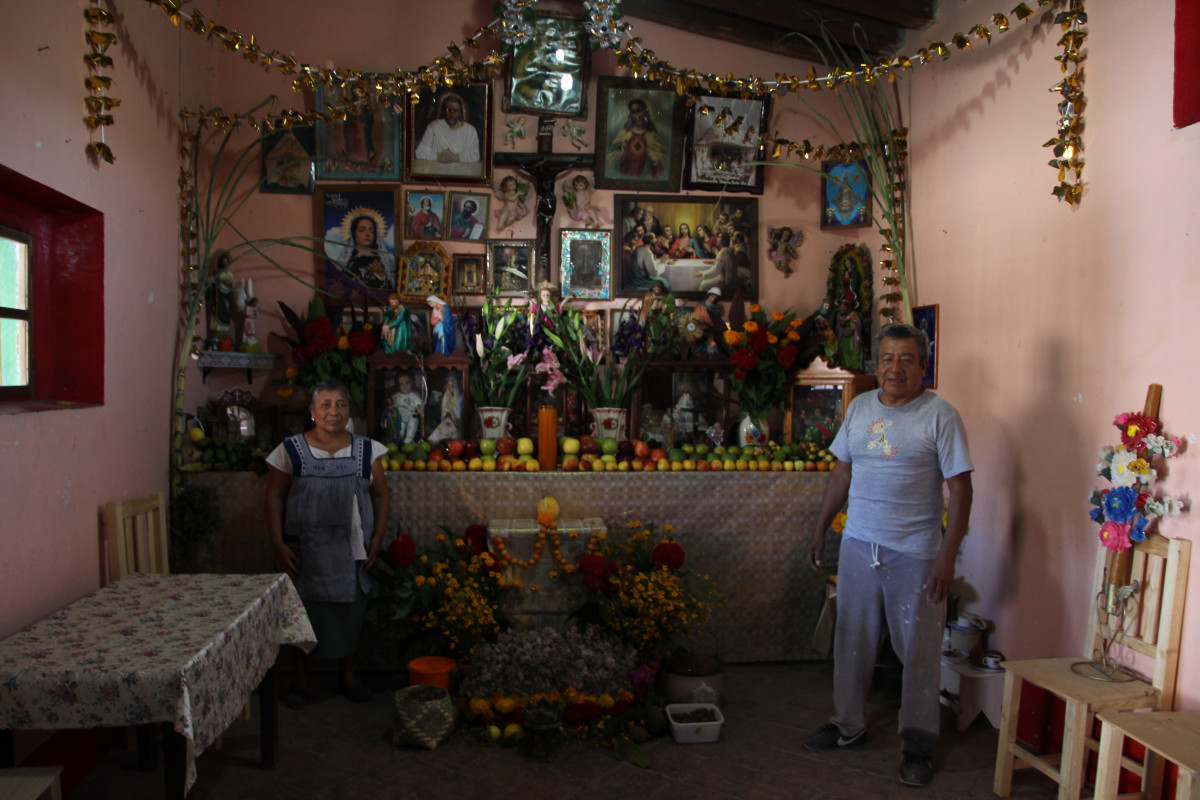
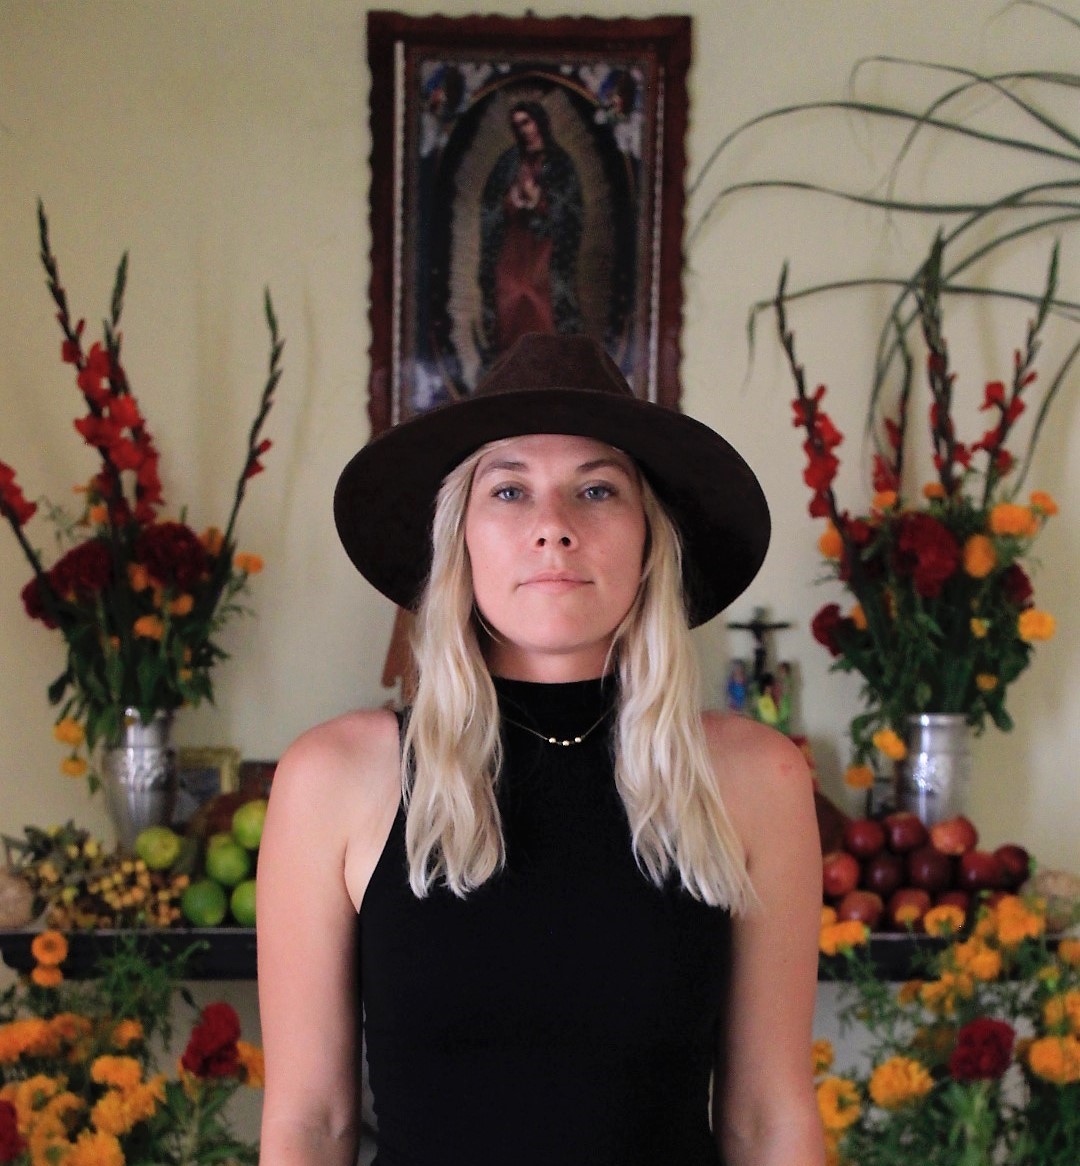
I arrived to Oaxaca, Mexico ready to start learning and exploring, unfortunately my body had other plans. Not only did I have farm visits and natural dye workshops booked it was Dia de los Muertos (the Day of The Dead) while I was visiting. This is probably the most important time to visit the state of Oaxaca, it is also the busiest. This meant I had no time to loose and plenty to see outside of my workshops. But as soon as I was settled into my airbnb in Oaxaca I started feeling ill. Before arriving in Oaxaca I had stopped by my families house to leave my car there for the duration of my trip and for a free ride to the airport. Only to find out that everyone in the house had a fever. Despite me telling everyone that they ‘better not get me sick’… they did. I got the flu for almost 3 days out of my 10 day trip in Mexico. This meant that I missed out on my opportunity to visit the only running cochineal farm left in Oaxaca. Luckily I still got to dye with Oaxacan cochineal at one of my later workshops, Ill just have to return to Oaxaca and try to visit the farm again. While I didn’t get to see the hands on farming and processing of the cochineal I still learned a great deal about this from the many Oaxacans I met.
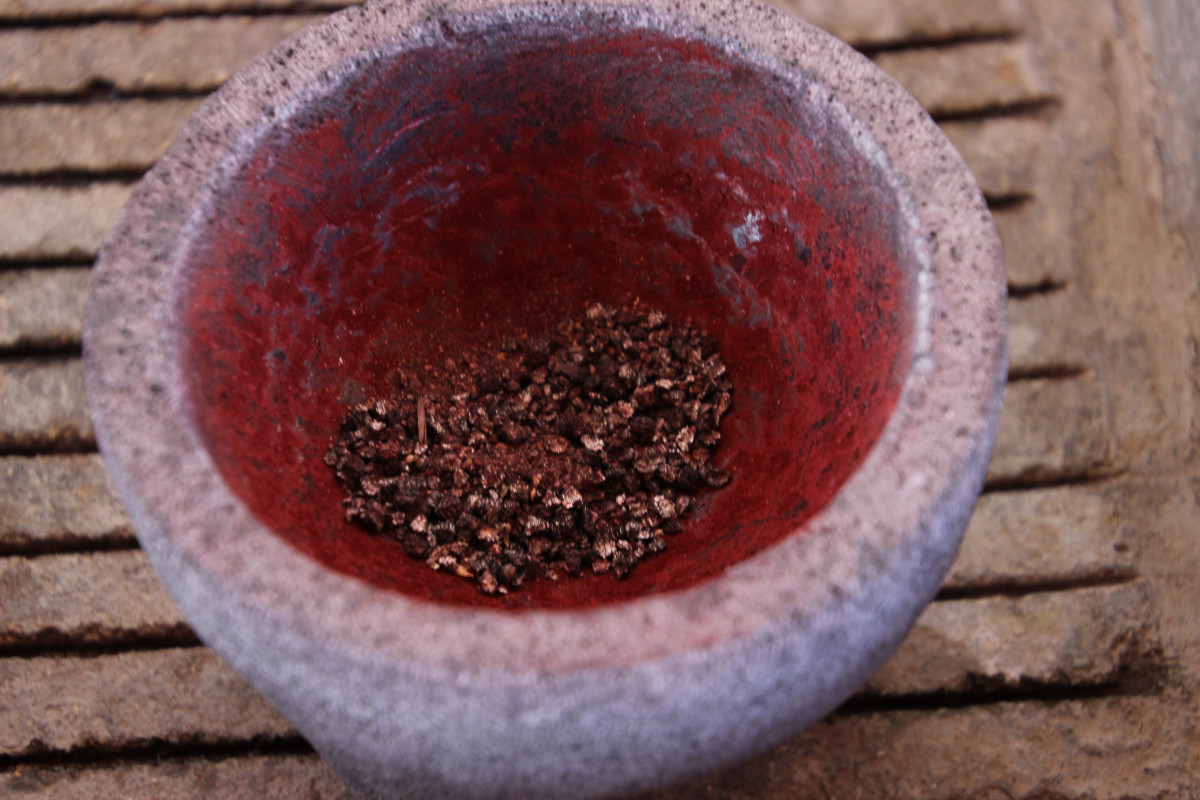
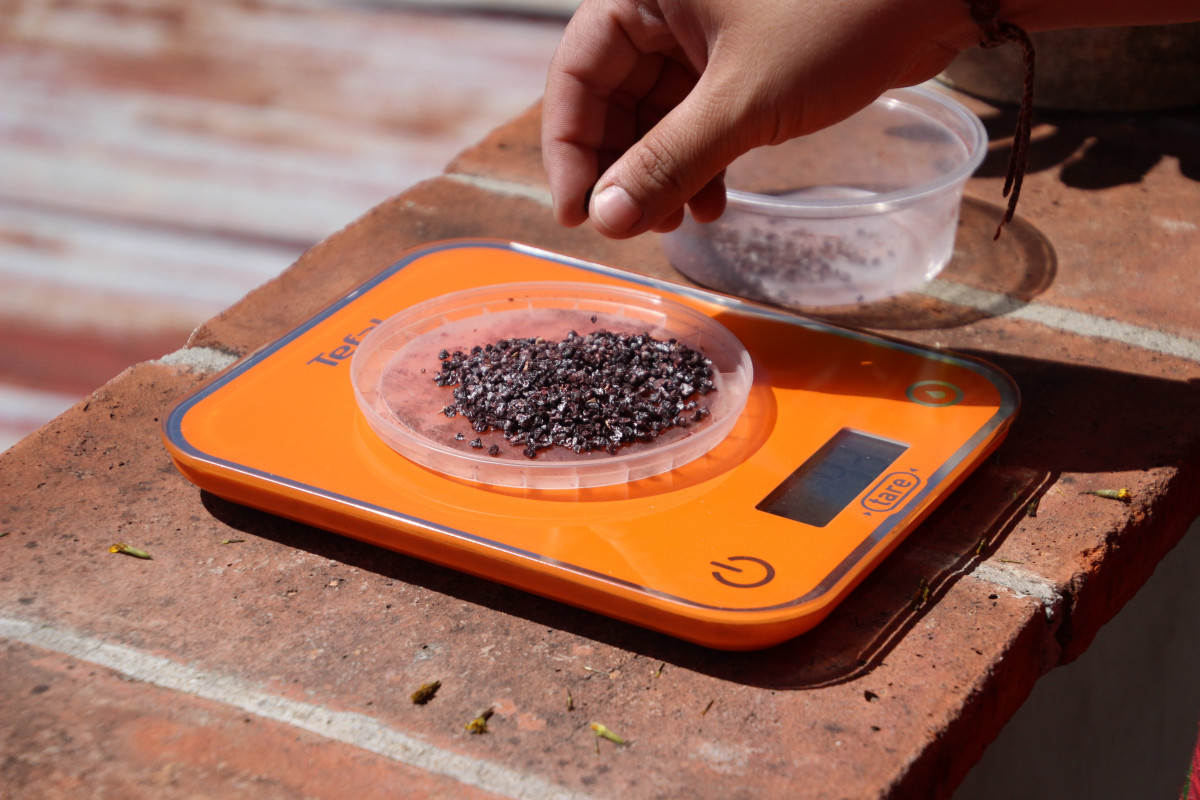
Cochineal:
Dactylopius coccus-Coccidae-Dactylopiidae. First off cochineal is a bug, native to the tropical and subtropical regions of the Americas. Many sources claim that cochineal is specifically native to Mexico’s highlands (Oaxaca) and the Andean mountains of South America. Cochineal are small, dark purple in color, soft bodied, oval shaped scale insects. The females are wingless and about 5mm long. The males have wings and are much smaller than the females. Cochineal feed on cacti, mostly the opuntia (prickly pear cacti). There life cycle is pretty interesting and amazing. Female cochineal cluster on the cacti while feeding, once they begin feeding they do not move again. They secrete a white wax over their body protection. The males fly around in search of a mate and only live long enough to fertilize eggs. When the new cochineal reach nymph (crawler) stage they create long waxy strings which are caught by the wind, hopefully carrying them to new host cacti. If this tactic does not carry them to a cacti host and they land on the ground they will starve.
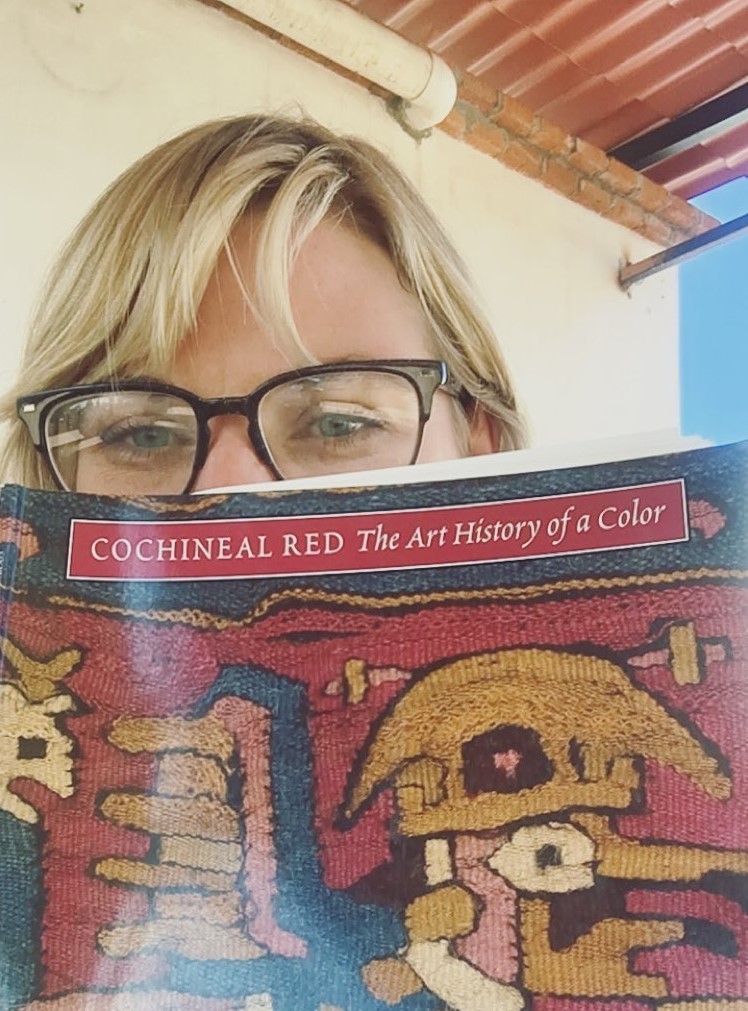
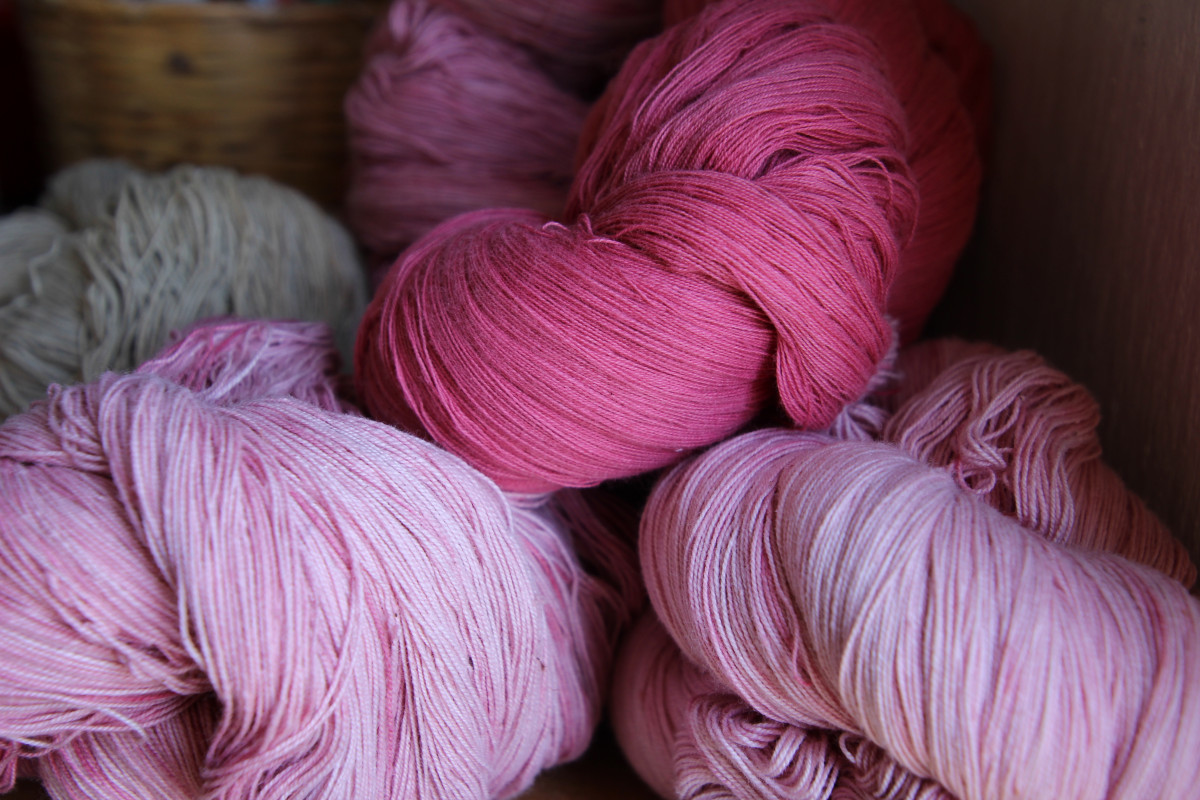
Cochineal are farmed by planting ‘infected’ cacti pads or placing cochineals on the cacti. Another tactic is to place small baskets called Zapotec nests full of fertile cochineal on the cacti. The dye comes from the female insect, to harvest these bugs for dye they are brushed from the cacti they are feeding from and either boiled in hot water, steamed, dried or baked. The entire body is used to obtain pigment and it takes around 70,000 insects used to make only one pound of cochineal dye. The outcome is a bright and deep red, crimson, orange, pink or scarlet color. In various studies it was found that cochineal evolved to have red pigment as a defense mechanism. The carminic acid is a repellent for predator insects, but some of these predators have co-evolved the ability to consume this chemical. A few of these predators now use this acid as their own defense mechanism, vomiting, defecating or secreting the red acid when they are threatened. There are a few other insects that produce a red color such as Kermes, but the color is known to be inferior to cochineal. Cochineal is boiled in water to obtain the cochinealin (carminic acid) which is what creates the pigment. Cochineal was a large part of Mexican culture and economy, yet once synthetic dyes were invented the cochineal tradition died out. Luckily there are still some families and businesses which believe in the importance of traditional Oaxacan textiles and have kept this pigment alive today. Cochineal is still used today, mostly to make the pigments named carmine, crimson lake, and ‘natural red 4’, but it is primarily used in cosmetics and cooking.
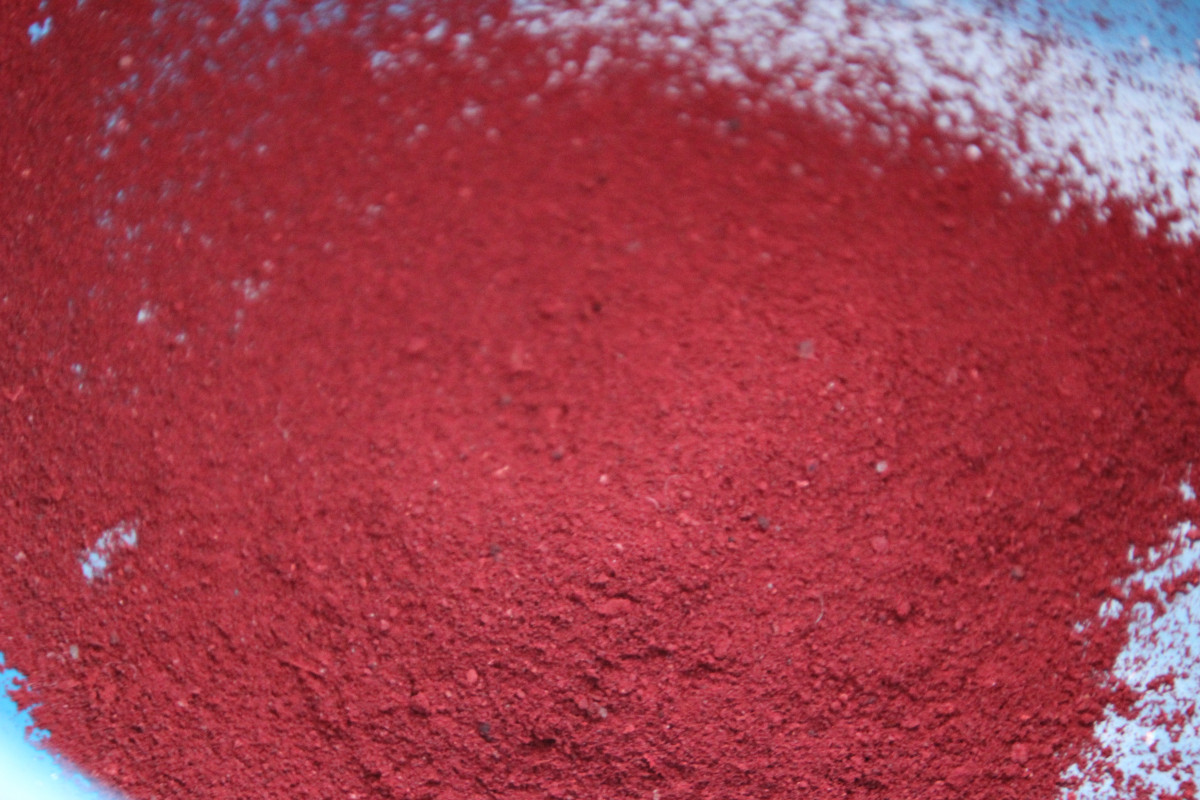

Historically Cortes was so impressed by the vibrant color produced by cochineal he took it back with him to Spain, where the dye became extremely popular and spread across the globe. Cochineal dye’s monetary value was so high that its production was a Spanish state secret and pre-Columbian codices describing its use were destroyed to prevent piracy. The high demand and value of cochineal required a great workforce to meet the global needs for the new invention of such a vibrant red pigment for textiles. This meant that those that sought to profit from this new industry enslaved the Mexican and African populations to farm and process cochineal. This almost demolished the spiritual, religious and cultural significance, market and traditions that cochineal held for indigenous populations. Currently with more concern about the negative effects of synthetic dyes, cochineal has become once again a more profitable industry since the 1970’s. Today Peru is cochineal’s biggest exporter.
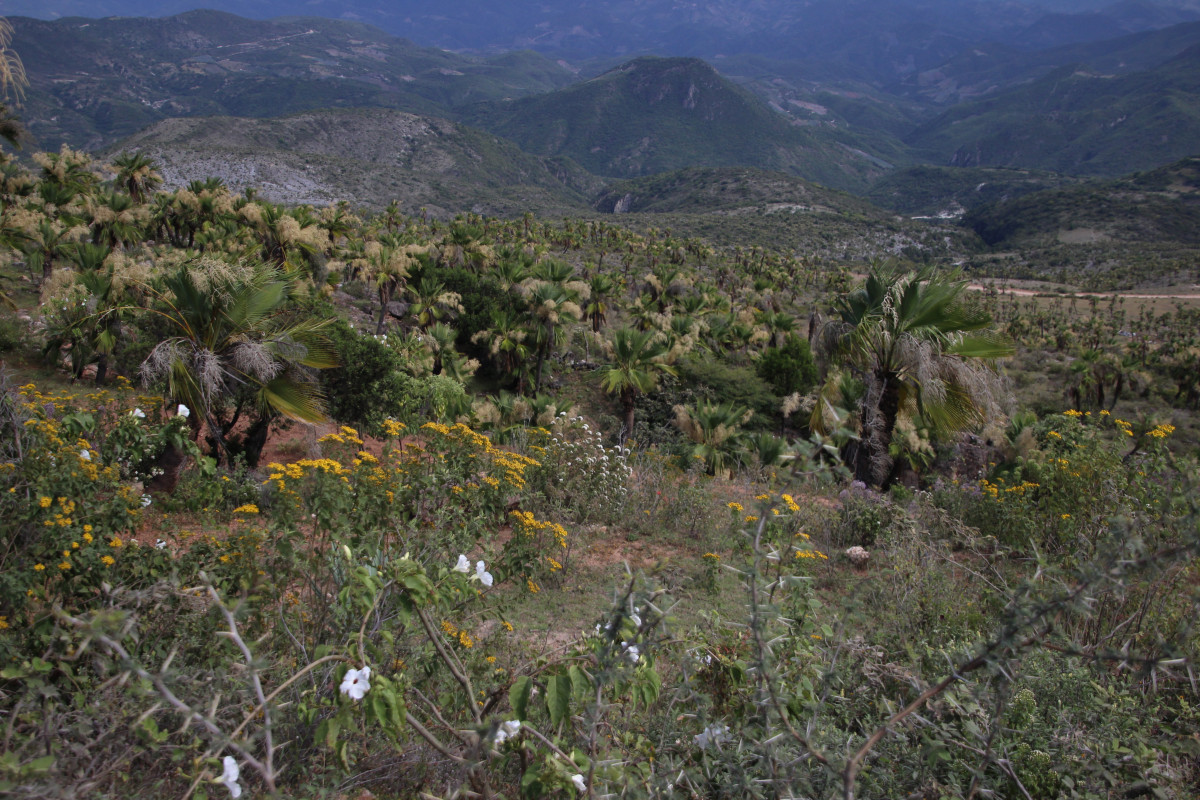
Out my window on the drive from Mexico City to Oaxaca the fields were filled with yellow, covered in Pericon (Marigolds). Pericon is an extremely important part of Oaxacan culture today and for the indigenous communities that have lived there for hundreds of years. When Dia de los Muertos, The Day of the Dead comes around, pericon covers the streets, churches, cemeteries and houses of Oaxaca. Pericon is used because of its bright colors and strong scent. It’s believed that Dia de los Muertos stems from an Aztec festival dedicated to the goddess Mictecacihuatl whose role was to guard the bones of the dead. The smell of pericon is said to be recognizable to the spirit world and is used to leave a trail for the dead to return home and back again. Pericon is spread across grave sites, alters and families leave trails of the petals into their houses to help direct their dead relatives for the night of November 1st, when they stay the night with them and then return back to the spirit world on November 2nd.
Today Oaxacan farmers grow the more common and non-native species of pericon. But the native pericon still runs rampant. Simply walk down the street or peer into the mountains that surround Oaxaca’s city center and you can’t miss these resilient, beautiful and powerful yellow flowers.
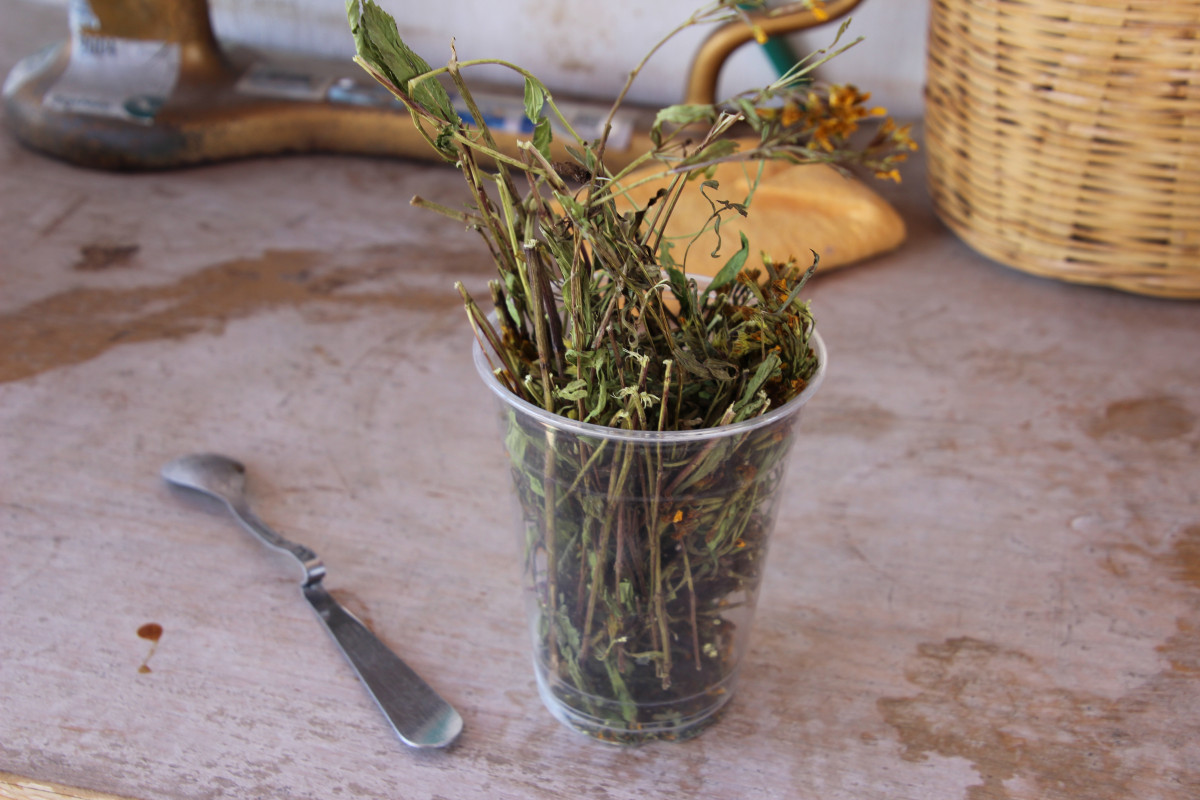
Pericon, Tagetes erecta, the Mexican marigold or Aztec marigold, is a species of the genus Tagetes is native to the highlands of Mexico and Guatemala. The Mayas and Aztecs have many uses for pericon, from medicinal to ceremonial purposes. The Aztecs historically have several names for pericón from yauhtli (the fog), cuaubiyauhtli, iyauhtli, tepepapaloquilitl and Cempoalxochitl, among many other names depending on the region.
Aztecs classified illness into two categories, hot and cold – when there was an excess of cold and/or dampness, pericon was the herb the Aztecs used to treat these conditions. The Aztecs classified pericon as a “heat” herb that would remove the excess cold from the body. Pericon is used to treat stomach pain, ease childbirth, diarrhea, sore throats, swelling, stop hiccups and even heal someone who was struck by lightening among many other ailments. Pericon is also used as sacred smoke, incense, tea and much more.
In mesoamerica pericon is used to flavor foods, such as chocolate drinks, water corn is boiled in and legumes. pericon was also used in many religious ceremonies. The Aztecs believed that pericon cleansed the spirit and used it to decorate their alters and temples. Pericon, known to some Aztecs as Yauhtli” is translated to “the fog.” It is said that ingesting the alkaloids from this plant ‘fogged’ the human brain. Aztec priests blew a dried, powdered form of the plant into their sacrificial victims’ faces to calm them before a horrific death. Aztecs dedicated pericon to one of their most ancient deities the god of rain, Tlaloc.
I had the opportunity to go and collect these wild flowers and then make dye out of them. Below are the steps taken to make a wild pericon dye bath:
Wool is temperature sensitive, shocking wool with too hot or too cold temperatures fast can jeopardize the quality of the wool. So make sure you let your fibers cool slowly when you take them out of the dye bath.
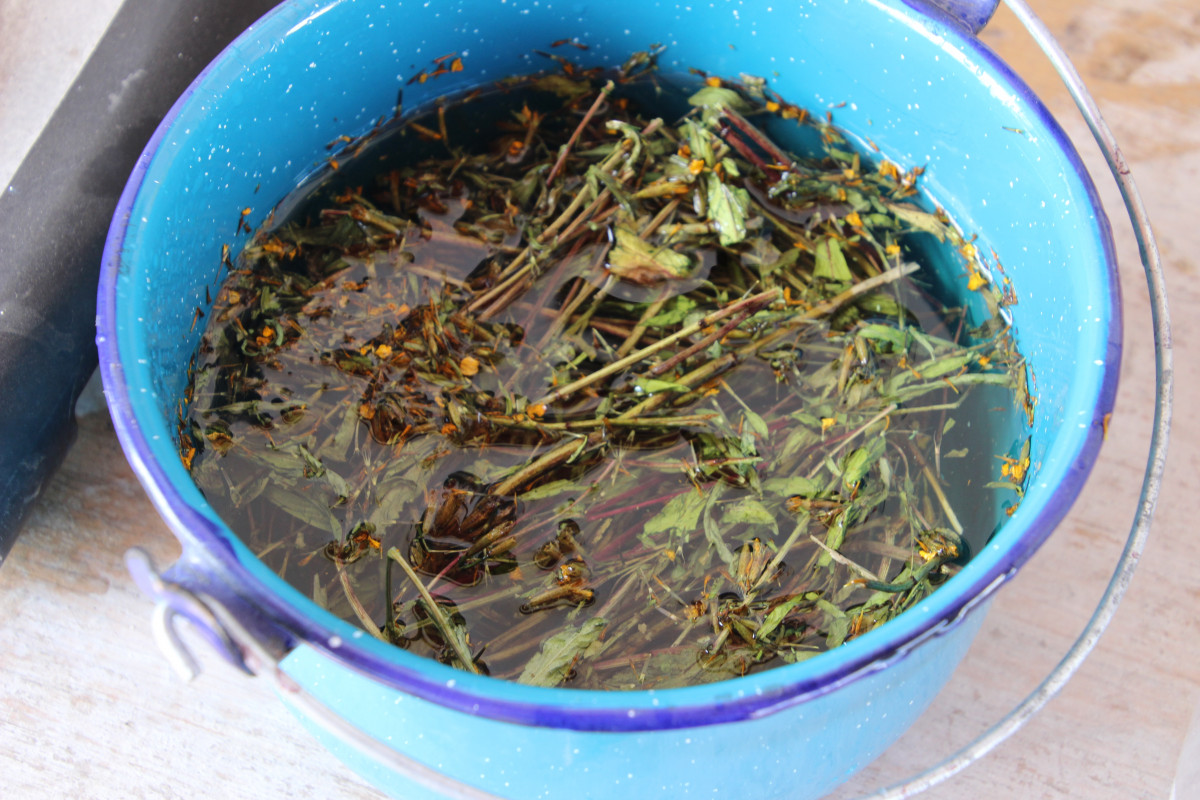
From here you can over-dye your fibers. Over-dyeing is when you do layers of colors on top of each other. In this instance we did two different versions of over-dyeing. One with marigold and then indigo and one with marigold and then cochineal. If your fibers have dried out and you want to over-dye them make sure you re-soak them in water before you dip them in your over-dye bath.
Lily Piecora
Mid Quarter Self Eval
Food and Ag. S.O.S.
October 22, 2018
This Independent Learning Contract has allowed me to explore an overwhelmingly large issue through various specific and unique forms of learning that I believe build a deeper connection to understanding past and current problems and solutions. These past 5 weeks have been outrageously full of opportunities for connections and inspiration. While it has been hard for me to synthesize my learning and projects into posts, I am getting better at this aspect and am allowing myself to let go and give in to a more raw process of showing my learning.
Overall I think I have accomplished what I set out to achieve, I just need to showcase it better. Specifically in my contract I state that I will be creating hands on projects that explore sustainability. I have done more than I expected in this area, which has been fulfilling and provides me with ample examples of my progress. I have noticed that my hands on dye projects connect people to the idea of clothing, food waste and pigment issues better than just telling them about it. Something happens when we can see and hold, or create and imagine with such heavy issues. It gives our brain a break and allows us to talk and think about issues without being completely overwhelmed. This is a learning aspect I did not intend to discover, but has been wonderful and extremely valuable.
As also stated in my contract I proposed I would be in partnership with local farms and gardens. This has been the most fluid and exciting part of the project so far. Small farms and community gardens have been more than willing to let me take their ‘imperfect’ food, passing flowers or left overs. An important aspect to this is that most the gardens I am volunteering on that day, or have worked with them previously. Most people love the idea of using food ‘waste’, natural dyes or some other aspect of this project, but I believe giving back my time is what has made resources plentiful these past 5 weeks.
I have researched and read many articles on food waste, the clothing industry and pigments. What I am focusing on now is showcasing that. I have continued my dye book (working journal) and have kept good notes on each pigment/food.But I have floundered in general with technical issues, such as my instagram. I want to spend more time on the historical context of pigment and the impacts that has had. I think I have neglected this area a bit these past 5 weeks. I do not think you can understand a current issue without comprehending the past, so this will be another area to focus on.
I will be traveling to Oaxaca, Mexico this friday and I am as ready as ever. As for visiting other farms, companies and individuals that are involved in sustainable alternatives to our current textile industry and conducting interviews I have not completed this task. I am understanding that I set out a lot of goals, and the ones I have been focusing on take a lot more time than I anticipated. I still plan on interviewing some individuals and will complete that in my last 4 weeks. My trip to Oaxaca will be a great starting point for this as I will be talking with and learning from indigenous communities about their pigment process. This will provide many opportunities to learn historical contexts and sustainable practices, as well as the challenges these communities have had and continue to face around producing pigments and textiles.
As for the remaining 5 weeks I need to focus on documenting and writing about the projects I have already completed. I am interested to see if I hear back from any of the large companies I emailed about food waste, otherwise I think I will try to not spend much more of my time harvesting or collecting food waste to make dyes and experiment on fabrics as this is very time consuming. I would like to try and sew and possibly sell something with the fabrics I have dyed as a way of completing a cycle. I would also like to visit a landfill and possibly interview someone there. I have so many ideas, but for the last half of the quarter I need to be able to present my work professionally and completely, so focusing on that is imperative and takes time! I also will be working on a final paper to recap what I have learned in connecting food waste and clothing waste. Overall I am extremely happy with what I have accomplished and feel certain I can finish every aspect as outlined in my contract in the next 5 weeks. I have learned more than anything, that creativity is the answer. In creating solutions to our planets environmental crisis and in alleviating the hardships of emotionally facing these issues, creativity is a necessity.
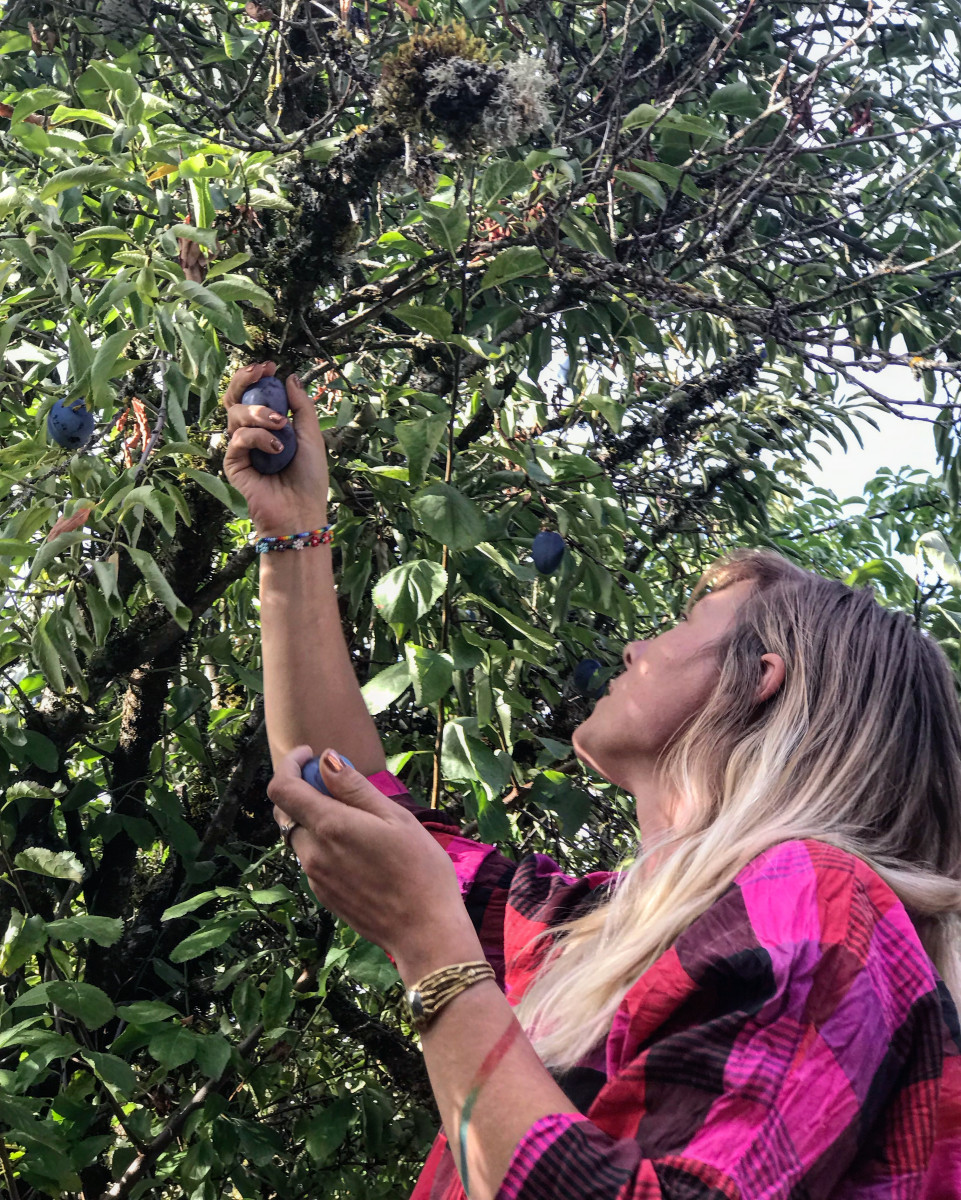
PLUMS Genus: Prunus Family: Rosaceae
The neighbors plum trees hang over my mothers fence, dropping ripe fruit on the side walk to be squished by an unassuming passerby. For years most of these plumbs would simply become earth again. But this year would be different, this year we harvested, the ripe, overripe and the rotten. Because with a little creativity most everything can be used.
A bit about plums… The two most commonly grown plums are The European plum (P. domestica) and the Japanese plum (P. salicina).
Each plum bud has one to five flowers, the flowers have a hypanthium a cup-like structure that holds the petals, sepals and stamens on the outside surrounding the pistil. Once the flower is fertilized the hypanthium falls off leaving the ovary to slowly turn into drupe fruit. Drupe fruit, also known as stone fruit is categorized by its thin outer layer of the ovary skin, with a usually a fleshy middle section and a hard pit. Other examples of drupe fruit are coconuts, almonds, mangoes and cherries.
Plums are resilient plants, they can grow in many regions but prefer a warm and dry climate. Plum trees begin bearing fruit 4 years after they are planted. Like many fruits plums need cold winter temperatures, nights with 45 degrees or below to produce fruit. Generally plum harvest begins in August and Japanese plums are ready for harvest approximately 2 months after the last winter frost. While American plums are generally ready in midsummer and other European varieties follow a couple of months later.
We harvested our plums in late September, which meant many were going ‘bad’. But we did manage to grab some ripe pears as well, in order to make a cobbler with the sweet flesh after the skin was cut off. I attempted blanching the plums as this makes the skin come off much easier. This entails putting the plums into boiling water for a short time then immediately putting them into an ice bath. While this did make the skin come off easier I noticed the water turning purple immediately after the first dip. I switched to cutting the peel off in order to not loose any precious color during the blanching process.
When I was straining the plumb remains through a cheese cloth I was amazed to see the beautiful bright pink that came out.
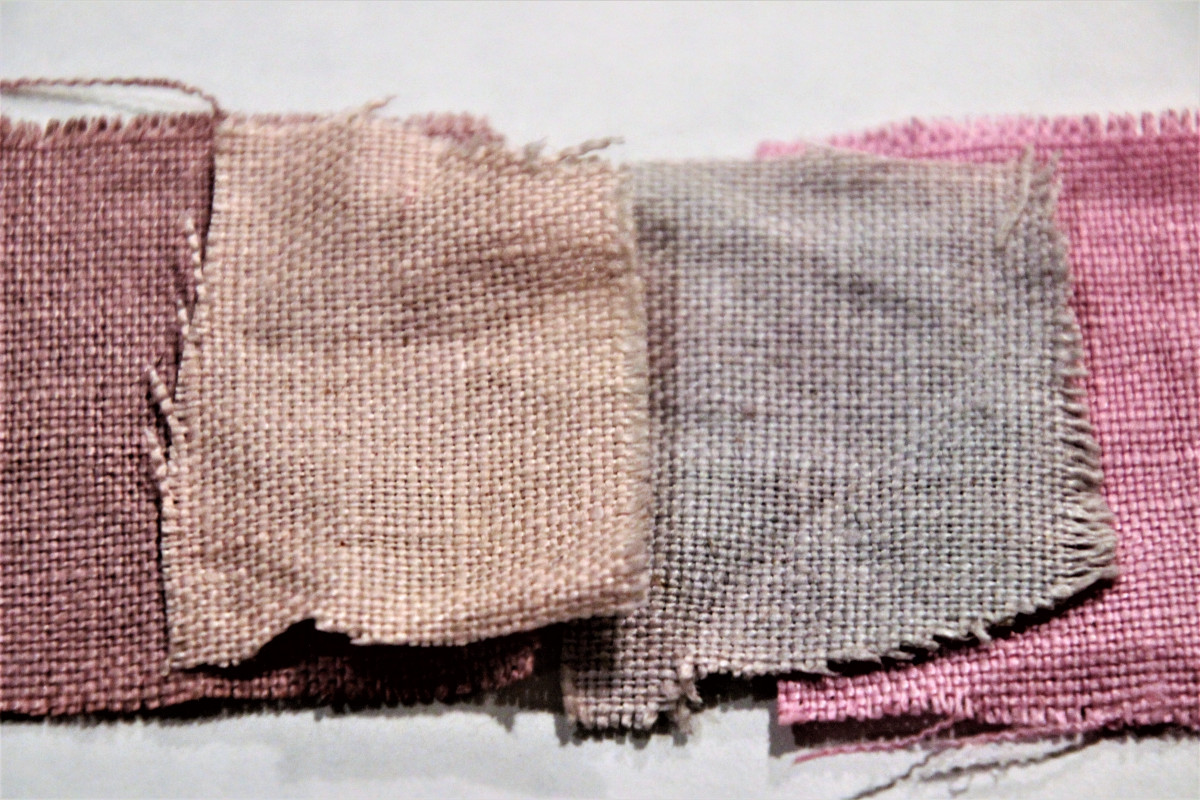
Once the dye bath was complete I put in multiple unknown synthetic fabrics and yarns, along with some 100% cotton fabric and yarn, wool yarn, polyester yarn, as well as 100% linen.
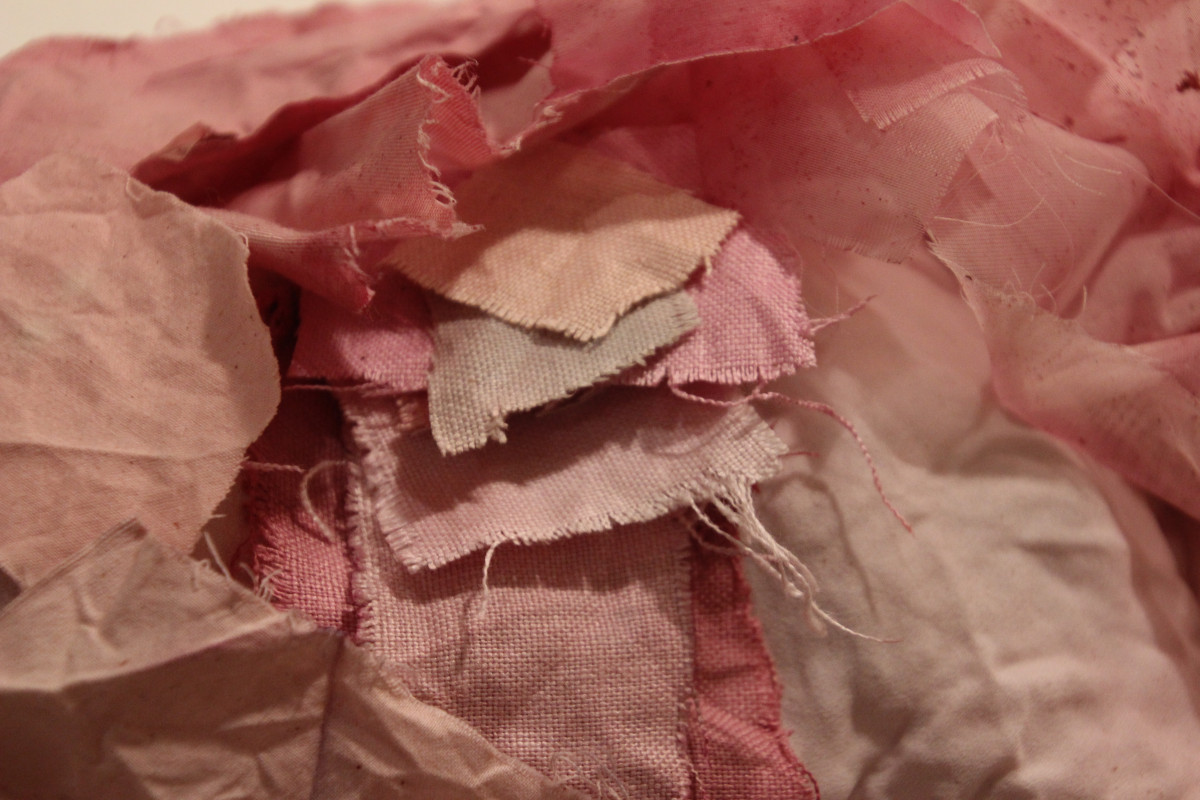
I experimented with different mordants with the linen and cotton fabrics. There are 3 different ways you can mordant fibers, post-dye, pre-dye and together with the dye. In order to see proper before and after results I did my mordants post-dye. I used lemon, apple cider vinegar, pomegranate vinegar and salt.
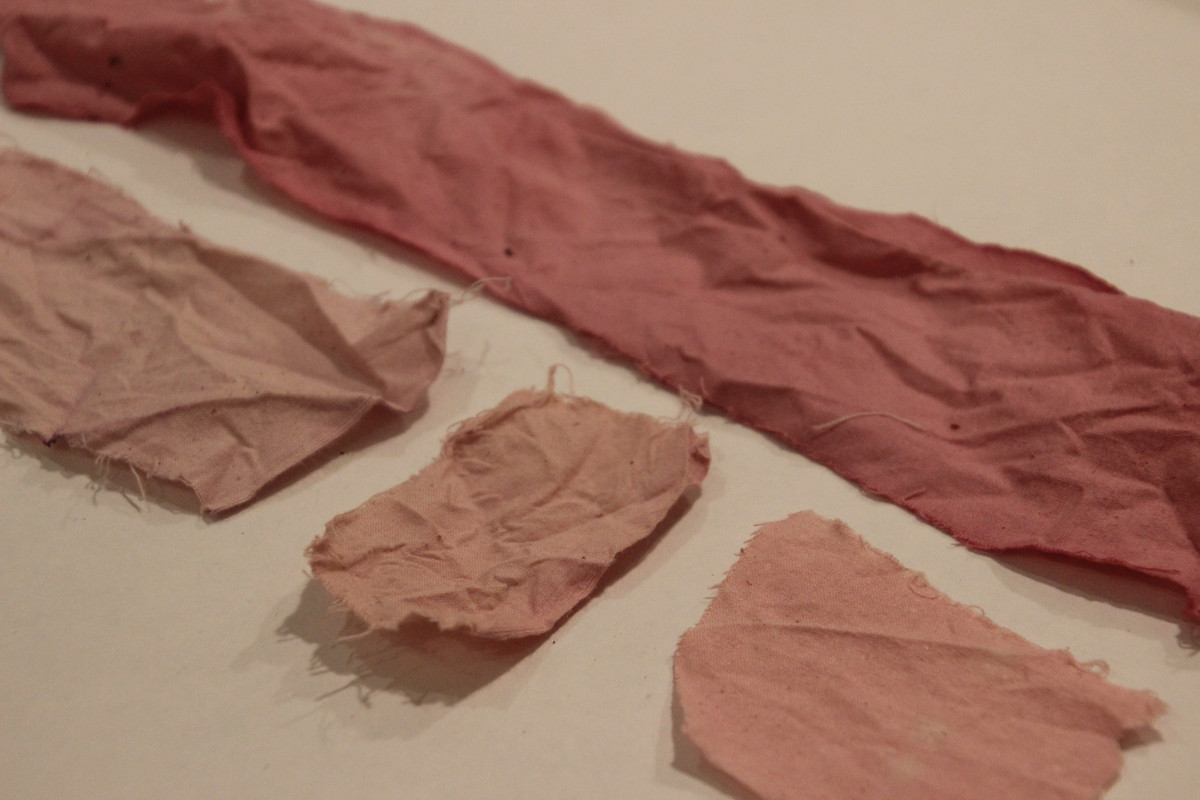
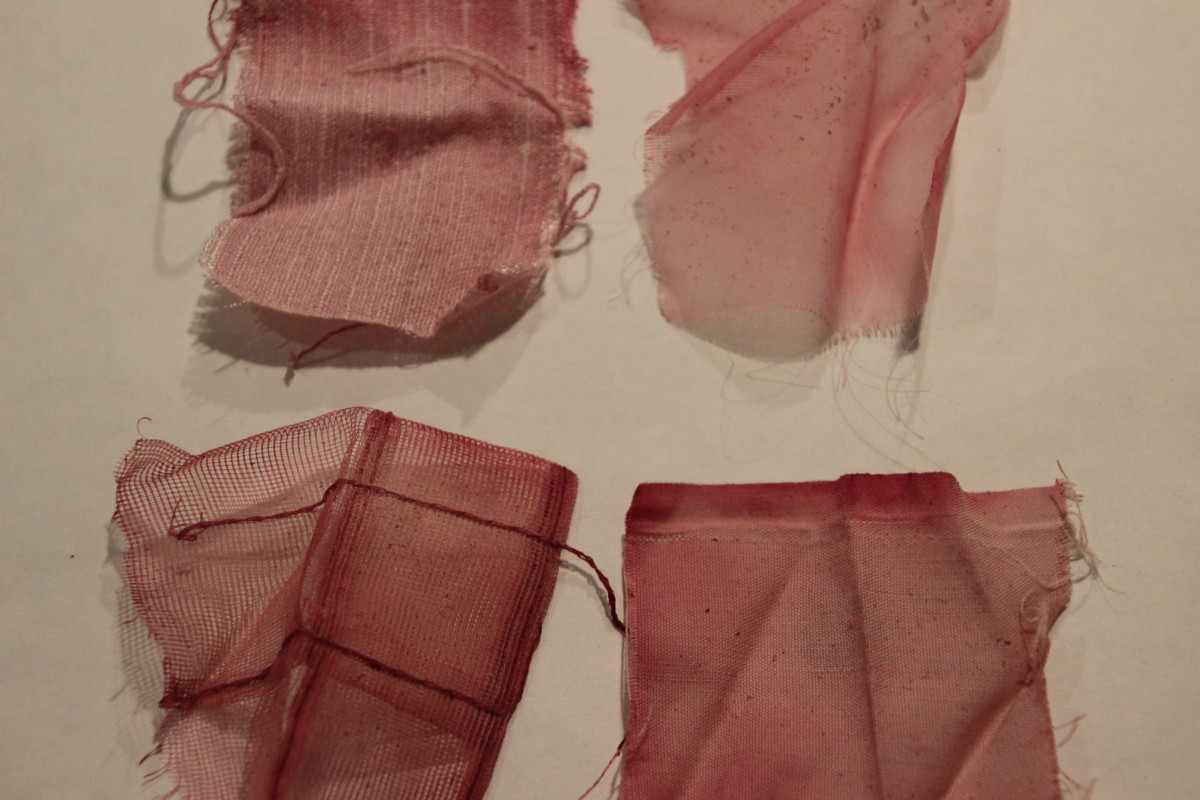
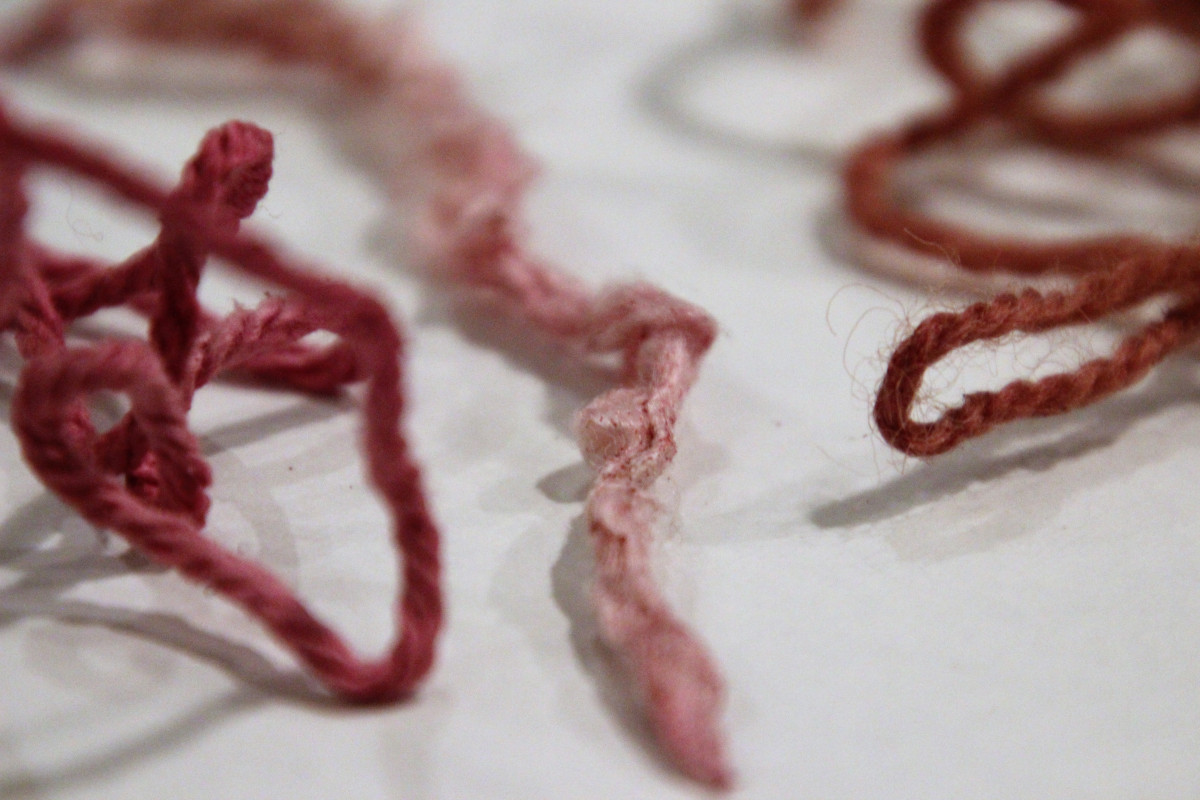
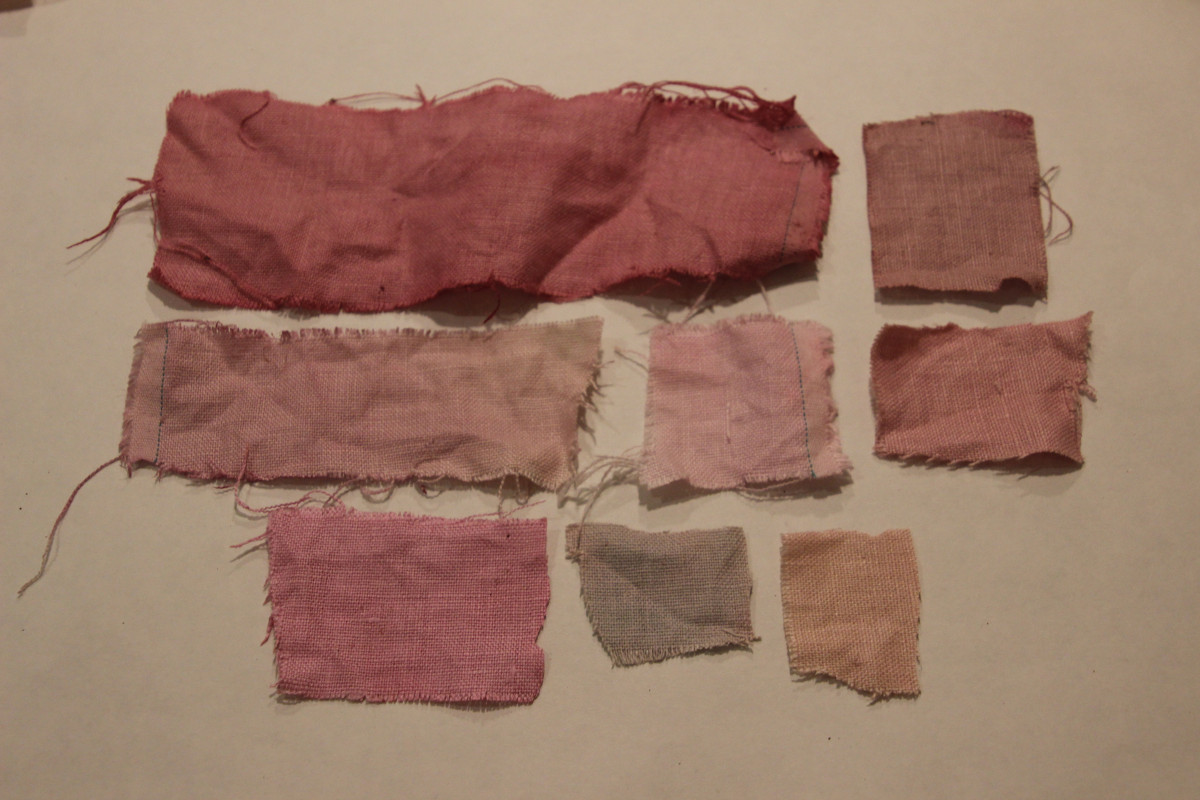
All the while making these dyes we snacked on ripe plums, which are not only delicious but healthy. Fresh plums are a good source for vitamin C, vitamin K, copper and fiber. Plums are full of antioxidants, mostly from a substance called Phenols. Studies on these Phenols have proven to help fight dangerous radicals and to prevent oxygen-based damage to fats. Plums have also been shown to increase iron absorption.
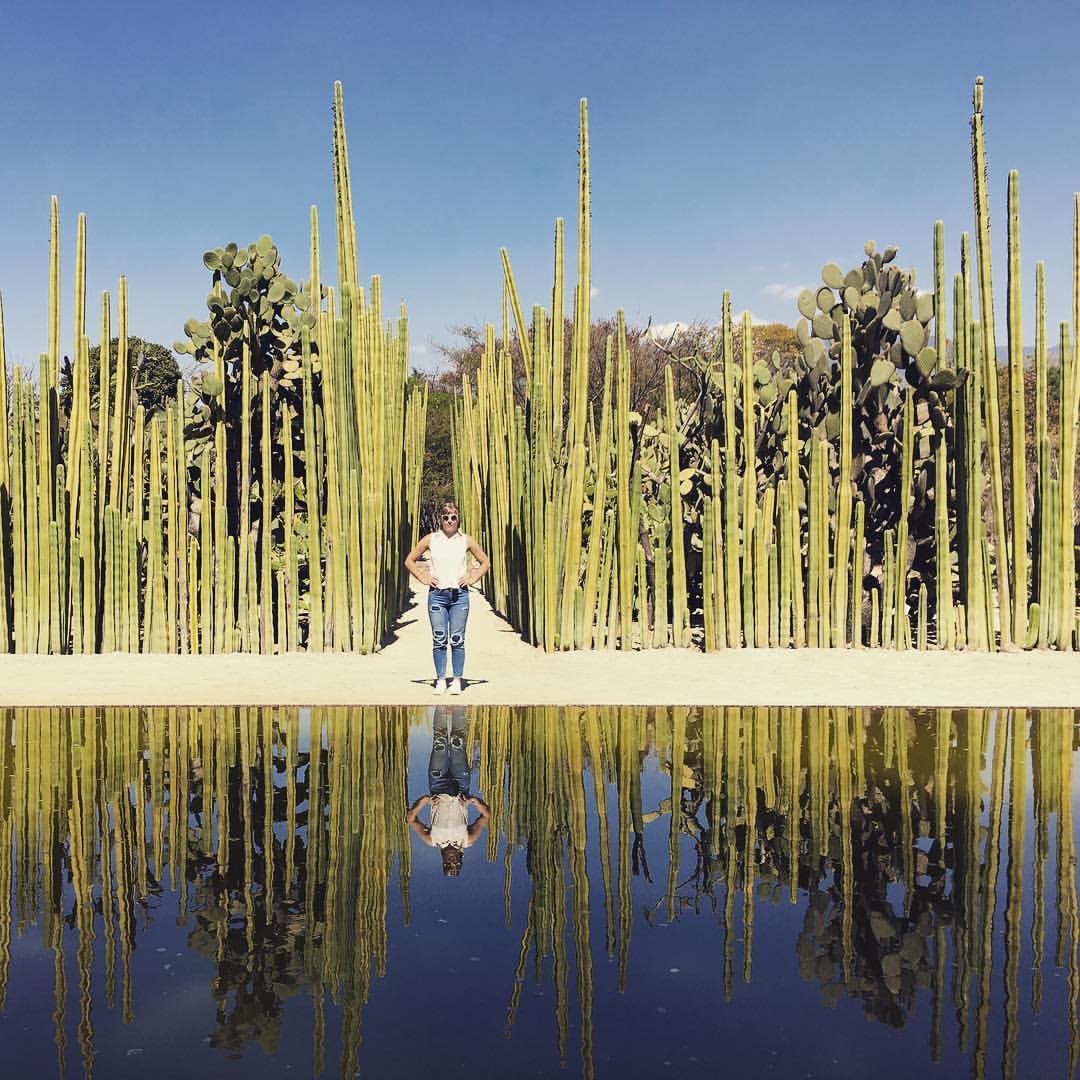
So you wanna study abroad? Great Idea!
I’ve been lucky enough to do my fair share of traveling independently and through a study abroad so I knew wanted to integrate an aspect of travel into my Independent Learning Contract (ILC). There is a lot of planning to do this safely and smoothly. First I’ll go over my personal steps in planning my trip and then I will go through the step by step process with the Evergreen State College Study Abroad program. You’ll have to be approved by them in order to count your trip as a part of your ILC.
First Off…
From my personal travel experience I knew there was a lot of history and resources surrounding my studies of textile and natural dye techniques happening in Oaxaca, Mexico from my trip there last year. But you could easily find an area that fits your ILC focus through a simple search on the web. What I looked for in this trip considering I had a time limit for traveling was…
I’d recommend taking a good look at your bank account and deciding a minimum and maximum amount of money you can or are willing to spend. This a called a budget, but that word personally scares me. Make sure you’ll have money in your bank account for when you return. You’ll want to be able to experience the area fully, having the funds to try food and experiences while staying at hostels/hotels that have good reviews and feel safe in my opinion is imperative, especially for studying. Traveling around the world is a fun adventure, but just like in the states, anything can go terribly wrong anywhere so having a secure plan, definitely if your traveling by yourself is imperative. I’ve done it both ways, and its been very good and also very bad. Better safe than sorry.
From here you can make a decision about where to visit for your study abroad!
Here are some sites that I check first when picking/planning my trips…
For flights: Kayak, google flights or Cheapoair. I search on all the sites and usually book through Kayak because they have 48 hours for you to cancel for free which is nice while your securing everything else. Hopper is an app I’ve used to track the best price for flights.
For basic country/region costs: Lonely Planet is a good go-to, their website has costs/safety and tips all laid out for most regions. Download their app, they have awesome maps that include restaurants, hostels, sites and experiences you can use without phone connection, don’t forget to download the actual map and not just the app or else it won’t work once your out of internet. This is been a life saver, but they don’t have one for every city. From here check out individuals recent blogs.
Hotels/hostels: HostelWorld, bookings.com, Airbnb. Read all the reviews, if a place doesn’t have any reviews and you don’t know anyone who’s stayed there before, please do not even bother. Always make sure when you are reading reviews you are looking for area safety and accessibility to the sites/area you are trying to spend time in. Ideally you don’t want to be walking in dangerous areas or at night by yourself. Always google that area/hostel/hotel as well to see what else is said about it.
Other things to know:
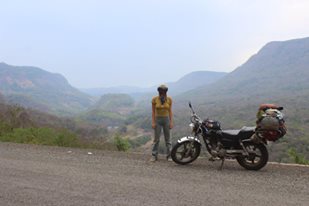
TAXIS/TUKTUKS/travel: Know what color/type of taxi is safe, you are most likely arriving into a bigger city and either staying there or traveling to a more rural area eventually, there are normally accredited taxi’s people trust and ones that locals do not trust. Always have a specific plan for getting off the airplane. Ask your hotel or hostel if they provide transportation, this is a relief until you an become more accounted to the area. Transportation is where a lot of scams or even more dangerous things can happen, so spend a good amount of time researching this. For example in Mexico city there is a que(line) that you wait in at the airport for a reliable fare priced taxi, just wait. If you rent a scooter or buy a motorcycle, always wear a helmet. seriously ALWAYS wear a helmet, I have been in a motorcycle accident abroad. WEAR A HELMET. Also its always good to put a small first aid kit on your handlebars.
Money: Have back-up debit cards, credit cards are good too, but they need to be able to work in ATM’s so you can withdraw money. Also exchange your money in the airport. Keep your money/cards in various spots, a little in your pocket, in your small bag and some spread in other areas in your bigger bag. If something gets stolen you HAVE to have back-ups. Also in my experience it’s good to carry some quick cash in case you are in a situation where someone wants a bribe. You want to not pull out all of your money, just a bit.
ID’s: make copies of your ID’s, including passports, keep these hidden in a safe place separate from your actual ID’s. I always scan a copy/take a picture of each, including my debit cards and send this to my parents and a friend that I know will be there if I need them.
Plan by the time change– If you are traveling far the first day you might be too exhausted to do much and need time to acclimate to the time change, have a place to stay and rest before you make your next journey. Also plan for the same when you return back to the states, it takes a lot of time to re-adjust to different time zones… and life.
Pack light: bring clothes that you might totally destroy or loose. Bring clothes for the weather, always have a rain poncho. Don’t bring too much, your going to find things there you want to buy and can hurt your back carrying around huge bags. Be yourself but respect the cultures you are visiting. RESEARCH this.
—-It’s good to make friends and go on adventures with them, but know where you are going, sadly people we think we can trust can still turn out to not be who we thought.
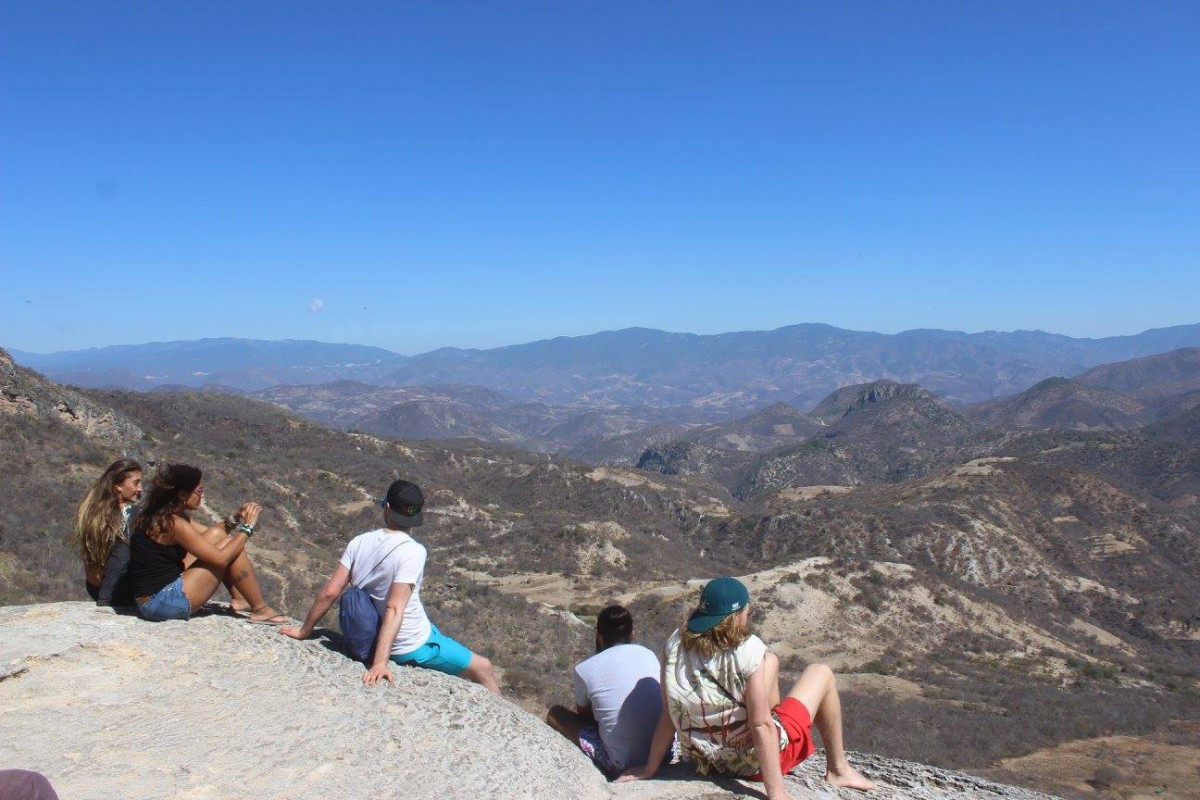
How to get approved for your travel through Evergreen:
To know/bring for your Study Abroad meeting:
After your meeting you will need to pay a 100$ fee for studying abroad. Once you’ve paid and your contract has been approved by the study abroad program
Getting approved to study abroad can be a fairly simple task if you really want it to happen. Start working on all of this as soon as you have the idea to travel for school. Take advantage of this unique opportunity and adventure with a purpose. Feel free to reach out to me if you have any questions!
Brazil Wood, Madder, Butterfly Bush and Indigo on upcycled fabric

I have been told multiple times that dyeing on fabric that isn’t 100% a certain type of fiber, whether its cellulose or protein, isn’t worth my time. Mixed and synthetic fibers don’t absorb pigment as good as a 100% cotton or silk would. It When dyeing with any fabric it is extremely important to pre-treat your fabric before you dye it by ‘scouring’ it. There are a variety of scouring ingredients to use, depending on what fabric or what kind of dye you are using. For instance some people use Soda Ash or salt, I use a Ph neutral organic soap because that is what I was originally taught although I would like to explore more. (note: if you use salt it can affect the Ph of your fabric changing the color, I like to use salt as a Mordant instead!) While it is important to treat all of your fabrics, it is extremely important to scour your synthetic fabrics. Scouring the fiber helps remove chemicals, waxes, oils and starches that have been added to the fibers through the manufacturing process. Without scouring your fabric your pigment will attach to the chemical compounds or wax coatings instead of the actual fibers, causing them to not last long or be as vibrant. You can experiment with this by weighing your fibers before and after to see how much weight is lost through the scouring process.
While I understand that knowing your fibers are 100% provides a better pigment, I also understand that the production of any fibers, organic or not are having a negative impact on our planet and culture. I see upcycling clothes and fabrics as an important alternative to this. While some fibers are clearly better than others, the real problem is that we are producing too much, creating large quantities of waste. Today, on average, each person throws away 80 pounds of clothing each year, that’s 14 million tons in total. Throw away culture has tremendous effects on our environment, the EPA recently stated that taking all of these “trashed” clothes and putting them into a recycling program would be the same as taking 7.3 million cars off the road. Not too mention these fabrics are heavily treated with chemicals that will no doubt leach into water supplies or become air pollution in an incinerator.
So I search the thrift stores and garage sales for white to beige fabrics on sale. While some of my results have been less than impressive, some have been outstanding.
I think all of this is worth my time. But I understand if I was trying to make a business, to sustain myself or a family, this might be different.
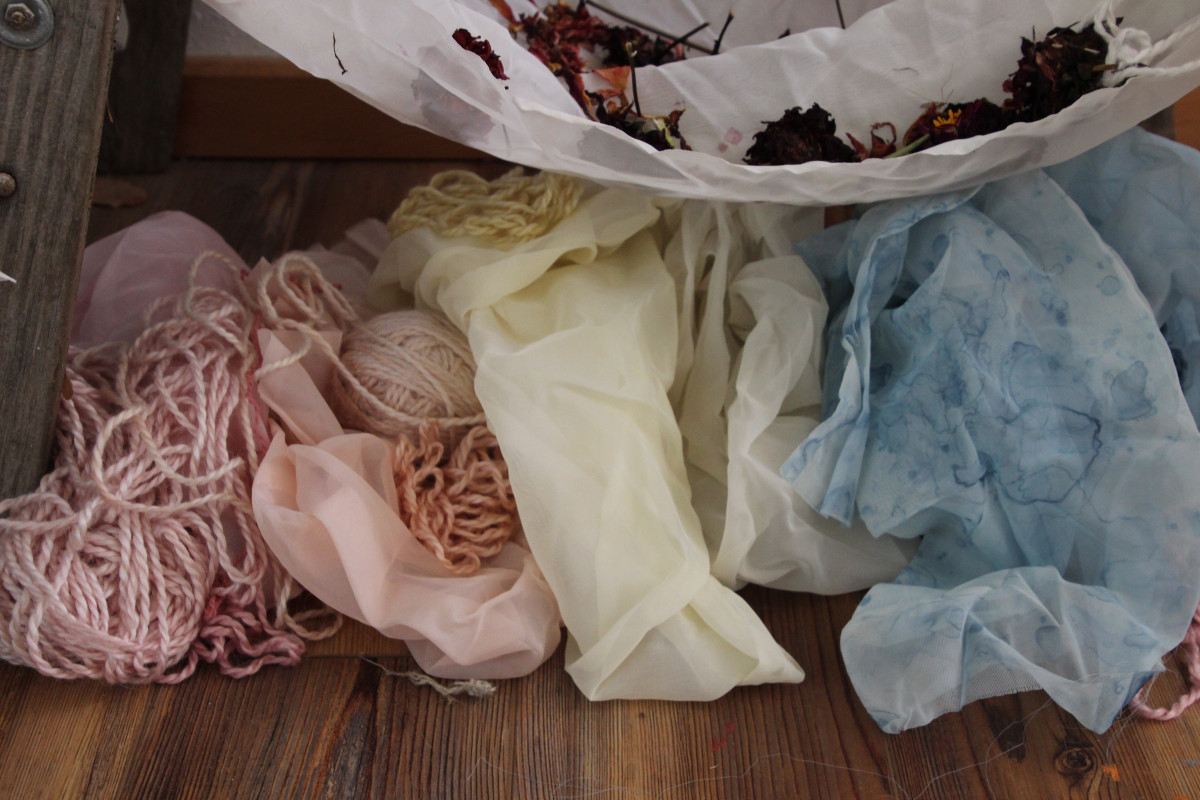
All of these dyes were sitting in my fridge for some time and I left the fabric and yarn sit in a dye bath over night.
Indigo:

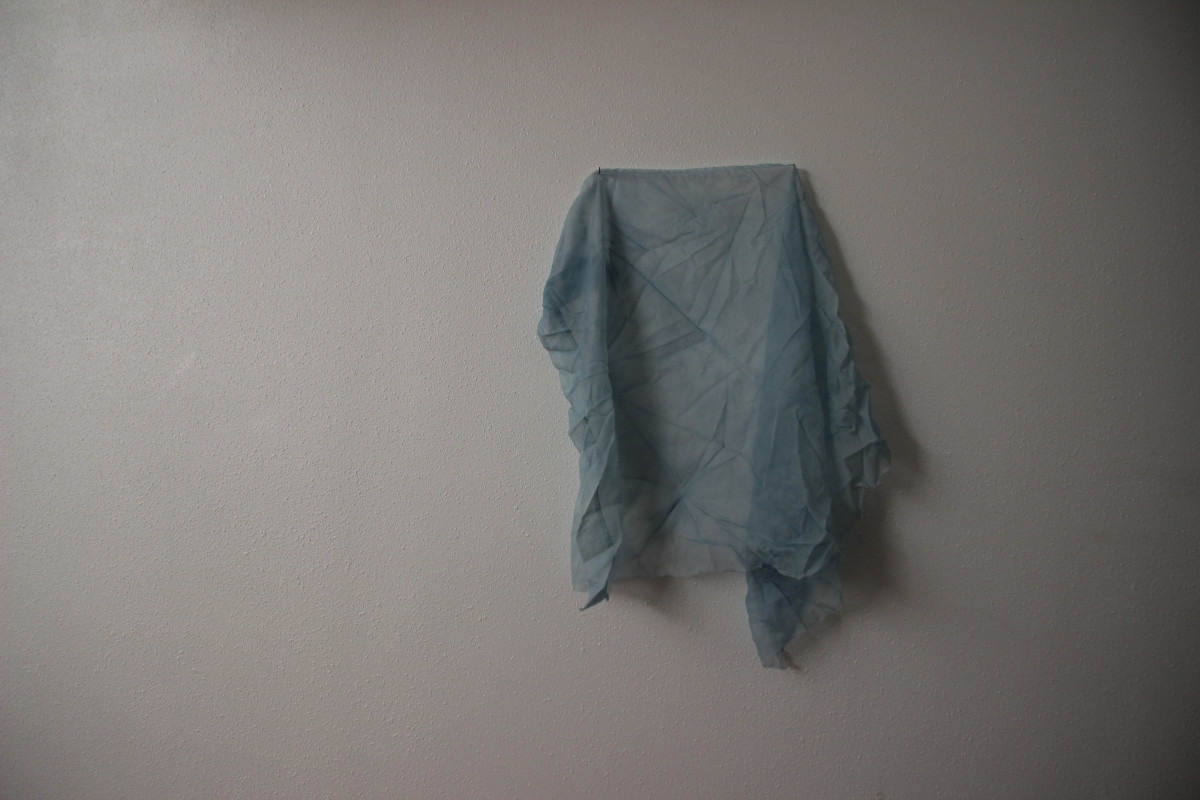
Butterfly Bush Buddleia Davidii :
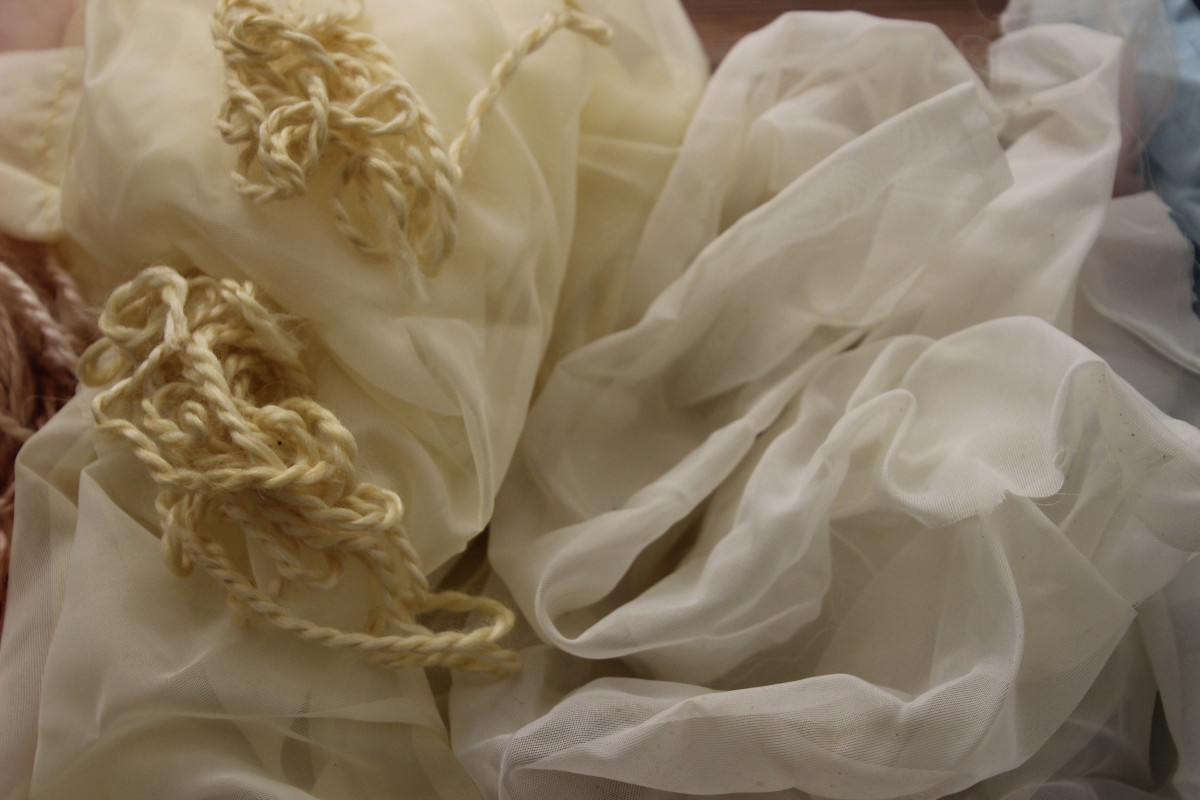
Madder:
Brazil Wood:
This was my first experiment with upcycled fibers that I did not know the content of.