We have lots of milk from the dairy everyday, and the best way to use it is to make cheese! Maddy and I, as beginning cheesemakers, started with Halloumi, because it is one of the most forgiving cheeses you can make. It will still turn out well even if you make a mistake here or there. We also did some Ricotta because it’s a good way to use up the excess whey from other cheeses.
Maddy and I each did our own batches and they both turned out a little different since our procedures ended up varying a little bit.
The first step for Halloumi is to heat the fresh, raw milk to 32 degrees Celsius. For Halloumi, we used a sheep and goat milk combination. Our batches will also turn out slightly different because my mix happened to contain more goats milk than sheep, and Maddy’s was more sheep’s milk than goat.
Anyways, my batch was already off to a shaky start from the beginning because I accidentally underestimated how fast it would heat and it shot up to 34 in a minute. Cheese-making is a precise art and even one degree can totally change the final outcome, although thankfully since Halloumi is flexible Lyndal assured me I didn’t ruin it. After the milk is heated, we added the calf rennet. Calf rennet is an extracted enzyme from the stomach’s lining of a young cow, and it contains compounds called Chymosin and Rennin which curdles the casein (main protein in milk). Calves, goat kids, and lambs all have these enzymes in their stomachs because it helps them digest their mothers milk. Traditionally, you choose which animal’s rennet to use to match the kind of milk, but goat and sheep rennet is much harder to come by and lots more expensive so Lyndal typically just uses calf rennet. The calf rennet is strong so it was dissolved in water, and we added 4 drops of rennet for every liter (mine was 5.2 liters of milk so I added 21 drops). To incorporate it into the milk properly, we very slowly used an up and down motion with a whisk. When handling milk, it is absolutely key to be incredibly gentle with it. Also, for proper cleanliness it’s critical to give any utensils that touch the milk a cold rinse immediately after contact, so we washed whisks right after they came out of the milk. Once the rennet is mixed in it needs to sit for about an hour to set and coagulate.
While we waited, Lyndal talked a little bit about milk production and composition. We discussed the curve of lactation over a season. When a baby goat or sheep is born, they will require about 1 liter of milk each day. The mother will always produce a little bit more than this a day to ensure the baby always has some in the udder for them. It’s not bad for us to milk the mothers because they usually produce more than their babies want. Sometimes they do have empty udders, but we don’t mind because that just means their children are drinking plenty and growing fast! After the first few days, the milk curve rises. At 21 days old, a baby will require the most milk, so the mother reaches her peak production. The milk is also at its peak nutrition wise, it is very full of proteins which is great because when we use that milk for cheesemaking the curd yield is incredible since there’s plenty of casein to curdle. After the 21 days have passed, the milk production starts to very slowly curve downwards over the course of the next months. If you keep milking the animals regularly everyday, they can produce for a very long time! The lambing/kidding season is around September or October here, and most of the dairy animals keep on milking well into April or May.
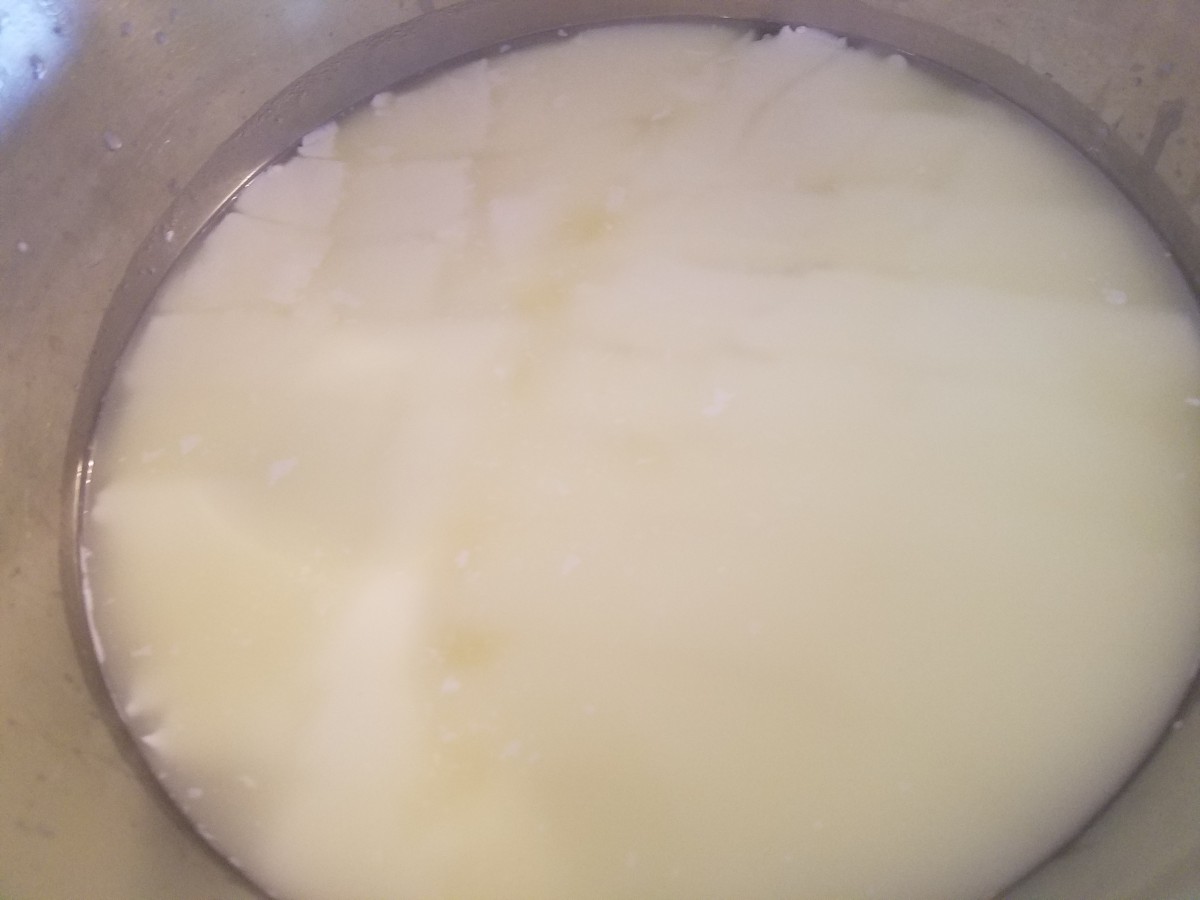
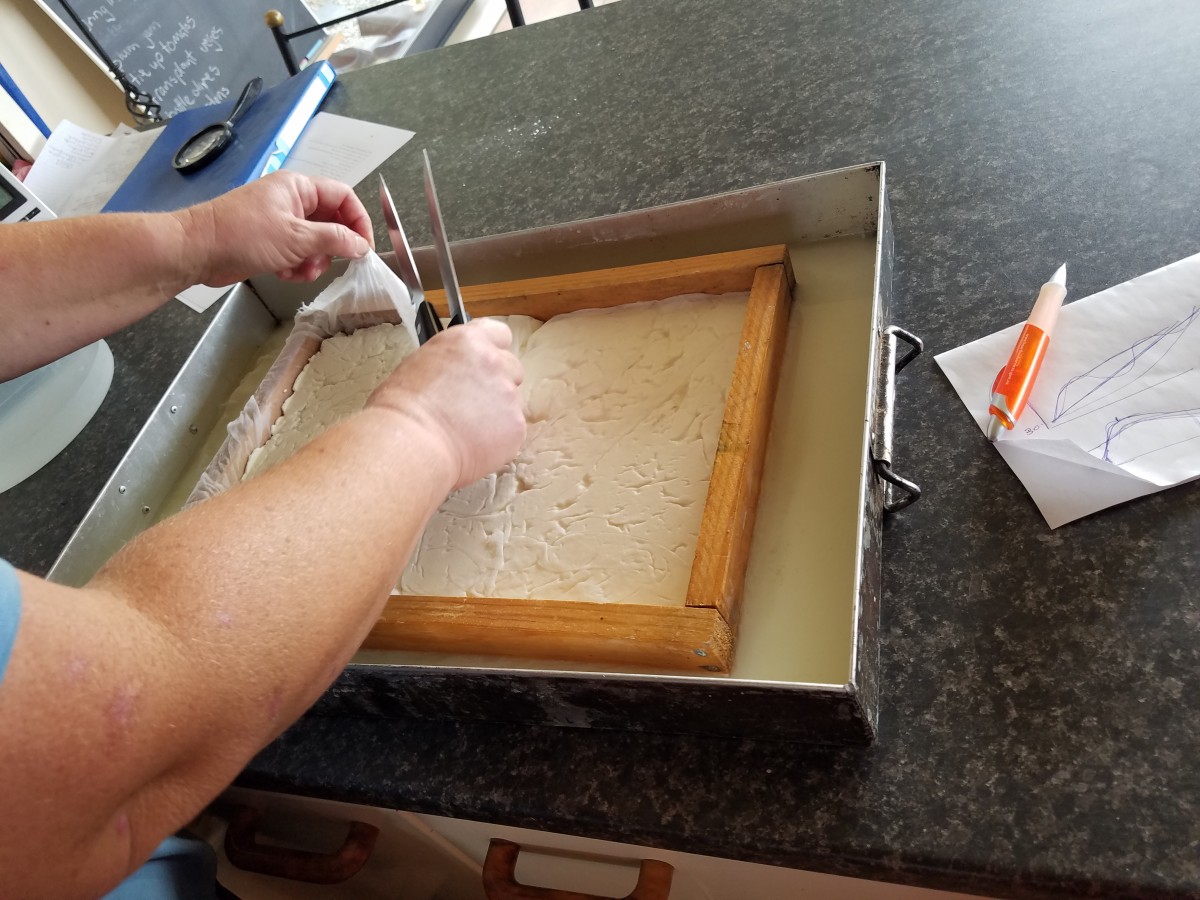
In an hours time, the milk was much thicker and we could tell the rennet had worked its wonder. As soon as the half hour was up we cut our curds. The size for Halloumi is 1/2 cm^2 cubes, and we achieved this by taking a knife diagonally each way across the curd mass. The idea is to make sure the knife reaches the bottom of the pan so that there aren’t big chunks at the bottom, and to then holding the knife as horizontally as possible to also slice the curd through that way. The end product wasn’t perfect but we did end up with small, decently consistent size chunks.
We then heated our batches up to between 35 and 38 degrees Celsius. The temperature is usually more precise than that, but like I mentioned, Halloumi is a lot more flexible than most cheeses. It does need to be heated very gradually and steadily, however, because if heated too fast it won’t press properly and you could scorch the milk at the bottom. Heating needs to be done because it expulses the whey from the curds, separating the two and and concentrating the curds. The milk was 30 degrees before heating, and according to the typical rate (one degree every 5 minutes) we set out to bring it up to 36 degrees over the course of a half hour, stirring all the while. While the best case scenario is this controlled, steady rising, the second best possible scenario is that it starts off too slow and then gets faster at the end. The worst possible heating would be temperatures that are fluctuating up and down multiple times, or rising up really quickly and then flattening out.
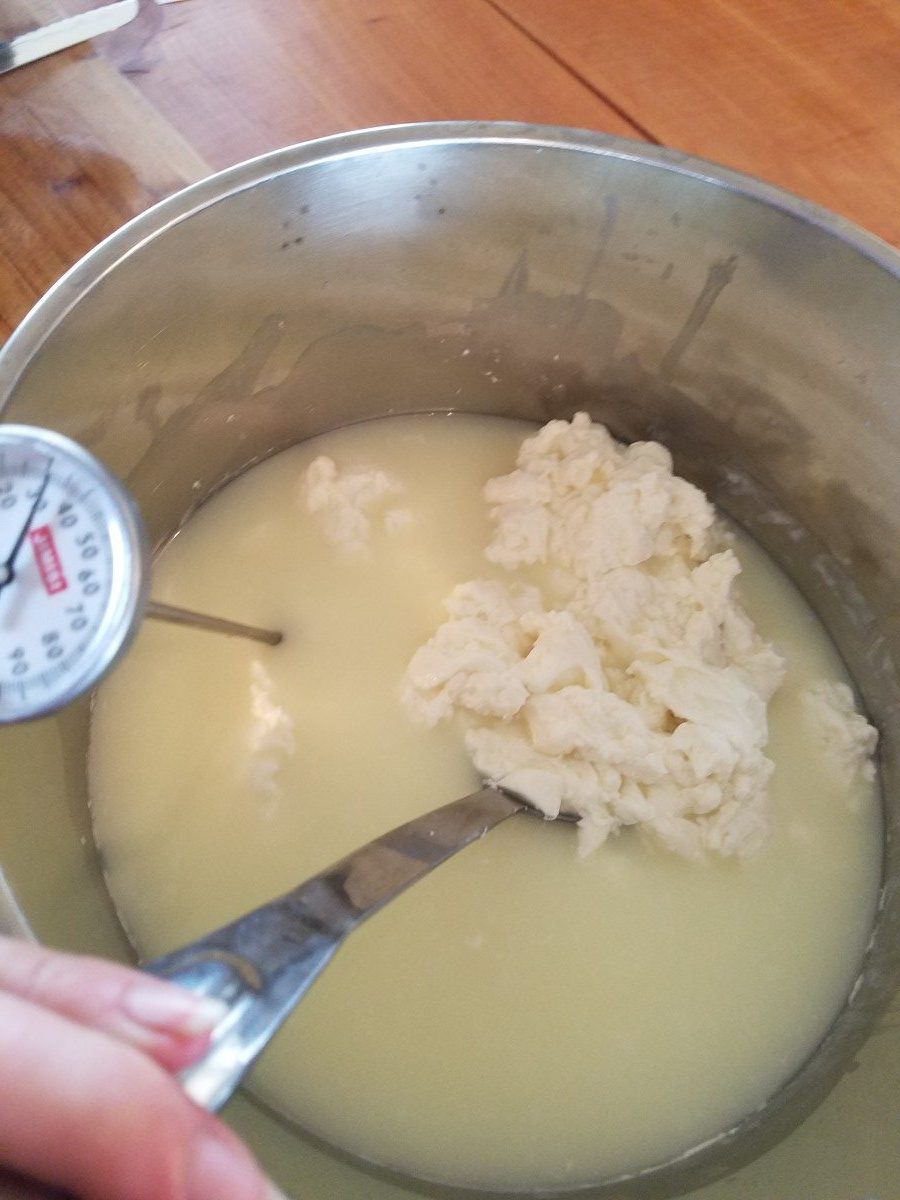
We managed to stay focused and control the temperature just right so that both Halloumi pots heated up nice and steadily. Lots of taking the pot off the burner and putting it back on was involved but it worked out well. Our curds ended up looking like little lumpy blobs floating around (no longer nice cubes).
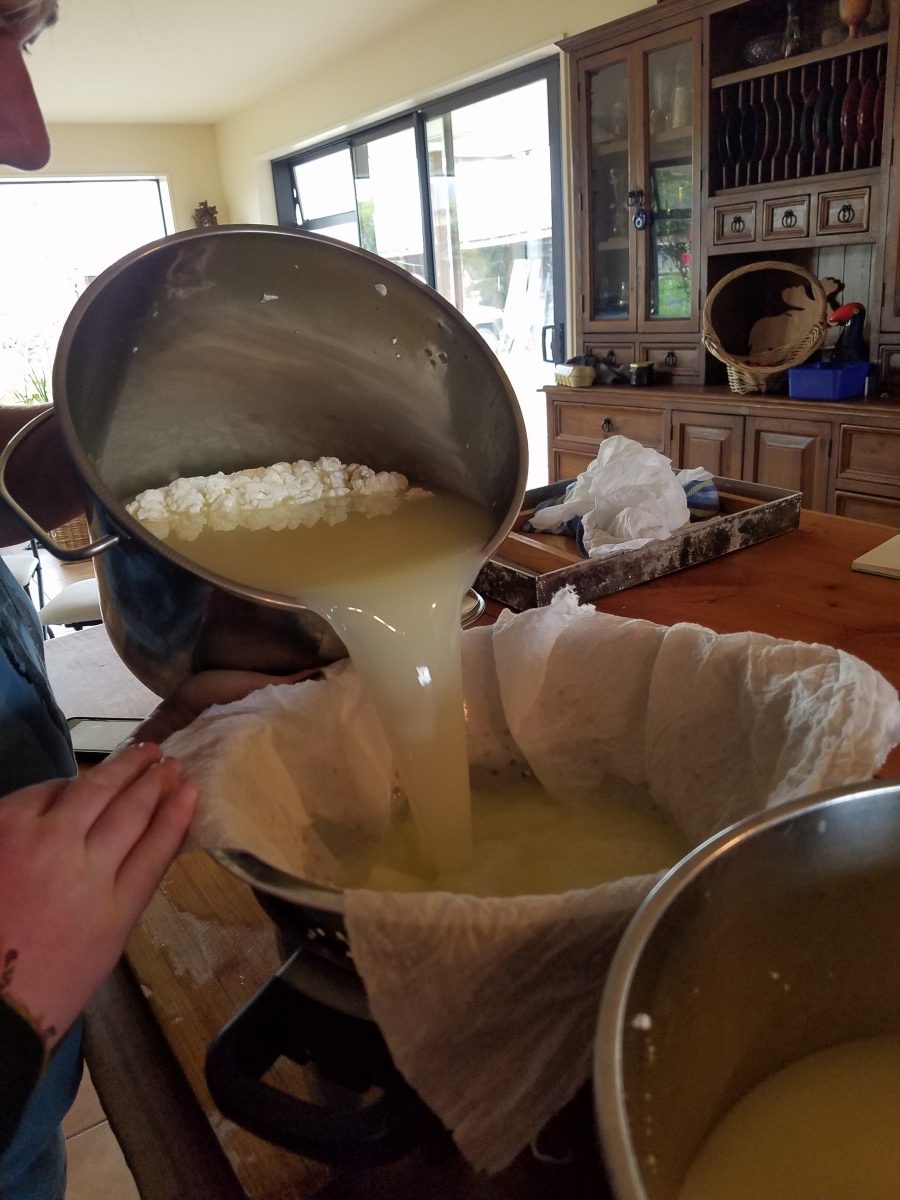
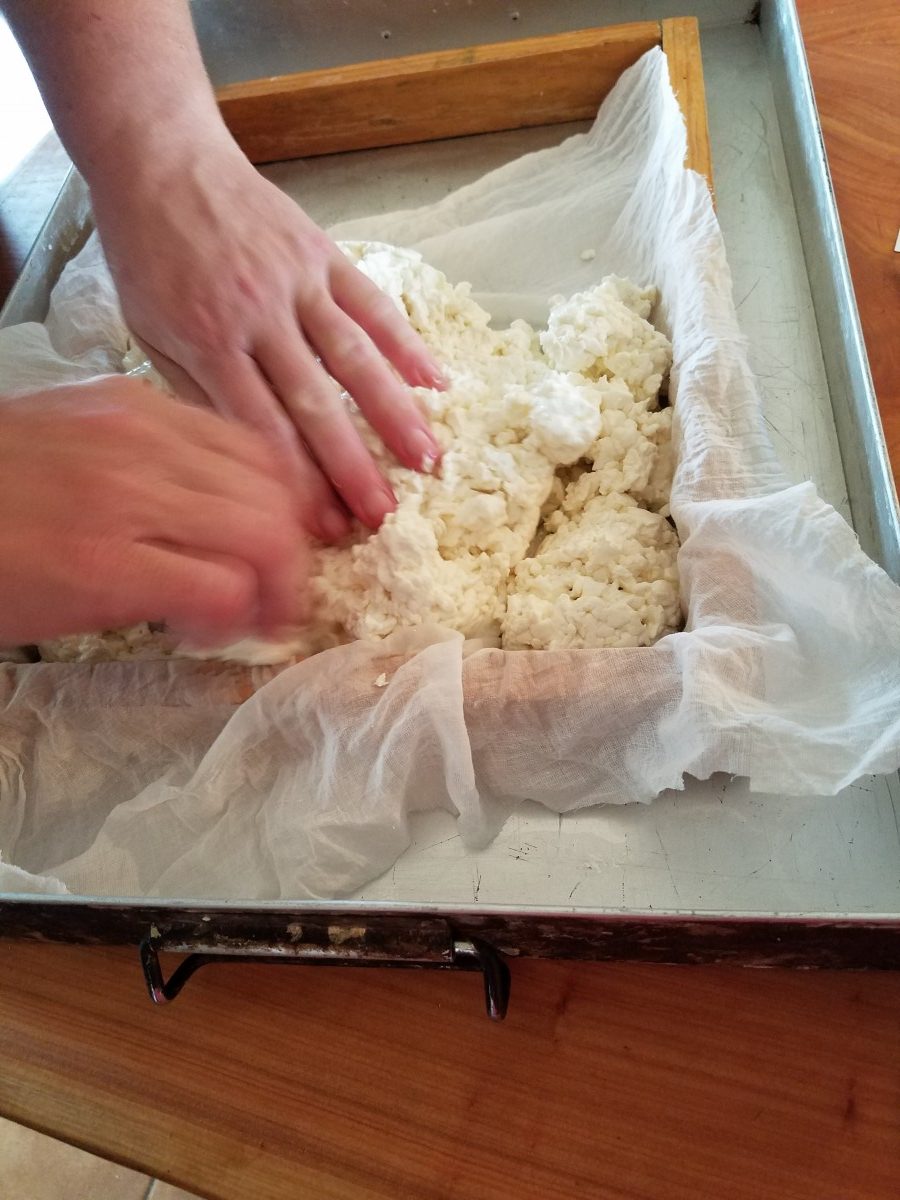
Next, the lumpy curd blobs just sit in the whey for 5 minutes in order for them to shrink a little bit and sink into the whey. Once time was up, we drained out the whey in a double-lined sieve.The whey buckets were immediately put back on the stove for Ricotta making, because it can’t dip back down in temperature and needs to rise up to 90 degrees fast. We spread out the curds into the press, still in the cheesecloth. We arranged the curds so that there was no significant air patches, and so that all the curds were evenly distributed and pressed up tight against the edges of the wood frame. We wrapped up our curd sheets in the cheesecloth, ready to be pressed.
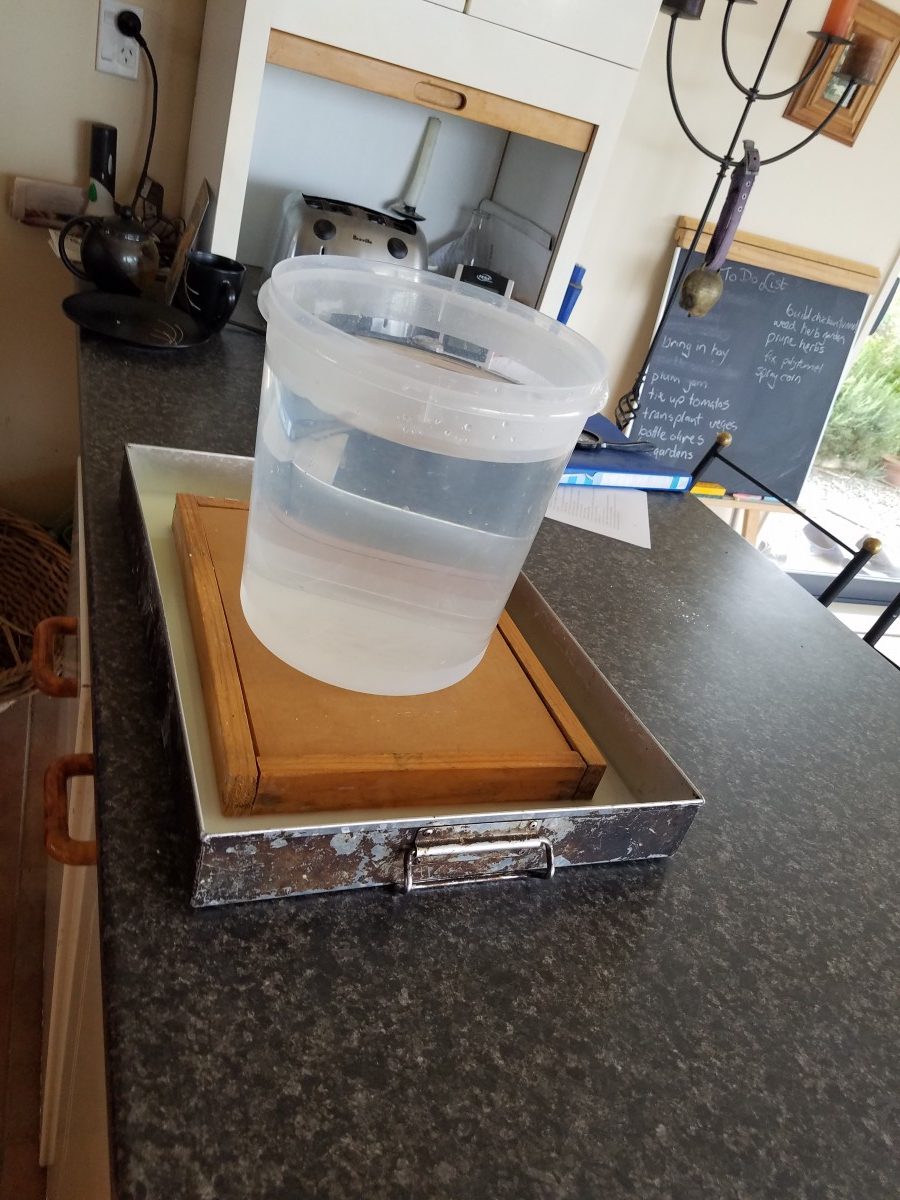
A cheese press can be complicated (a designed machine) or very simple. In our case, we don’t have any special “cheese press”, we use a very easy method that anyone can replicate at home. First, we put a sheet of flat wood over the frame. The cheese needed the pressure of 1 kilo applied onto it, and since 1 liter of water weighs 1 kilo we just placed a bucket containing 1 liter of water on top of the press.
It’s worth noting that my yield of curds was a little lower than Maddy’s batch. Mine took up a little less than half of the press. This was likely due to the fact that mine overheated by 2 degrees initially, and we believe there may have been too much rennet in it as well (I may have used a little less than 5.2 liters of milk, our records aren’t perfect). An additional reason is that my goat to sheep milk ratio was a little higher in goats milk than Maddy’s. In terms of milk composition, sheep have the best curd yield, goats have less of a high yield, and cows milk yields only about half the curds that sheep milk can produce. It’s kind of interesting that most cheese in America is made with cows milk when its really not as effective as sheep or goats.
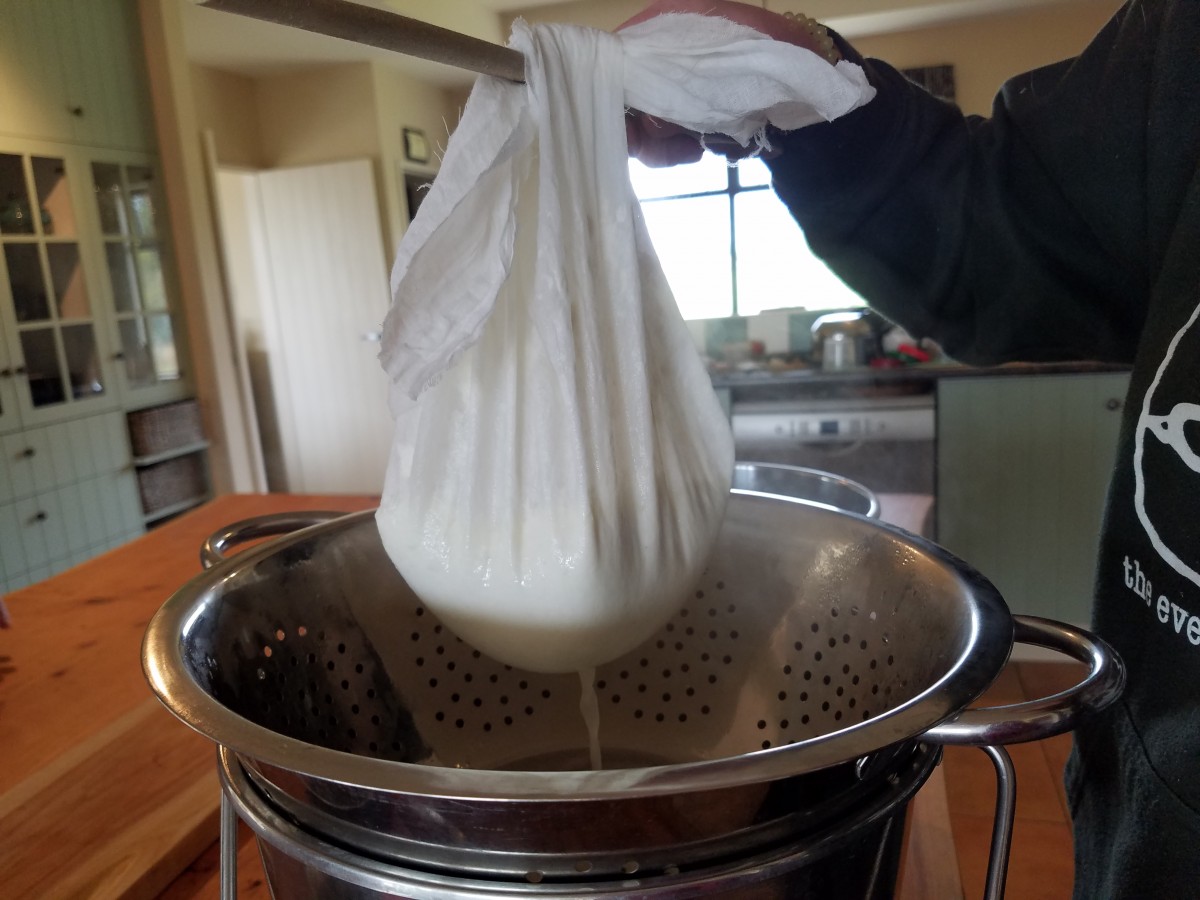
Almost right after we finished getting the press situated, the whey for our Ricotta was heated to 90 degrees. Lyndal then told us that alternatively, my batch of Ricotta would likely be richer and better yielding since I had more whey drain from my curds. The whey from the ricotta had curdled into finely grouped cheese bits. All we did afterwards was add 2 teaspoon of vinegar and 2 teaspoons of salt to each batch, stirring gently after each addition. Then we let it sit for one minute before draining. For the draining process, we practiced a technique called the cheesemakers knot, where we held 3 corners of a sheet of cheesecloth in one hand, the fourth corner in the other, and tied it around a spoon which we let sit across the pot to drain for quite awhile. Voila! We had 2 big cheesecloths full of Ricotta. It’s a super easy cheese to produce, and we just stored it in plastic containers in the fridge after all the whey drained out. The remaining whey got fed to the pigs (who really love it), and a bit was saved for preserving the Halloumi in.
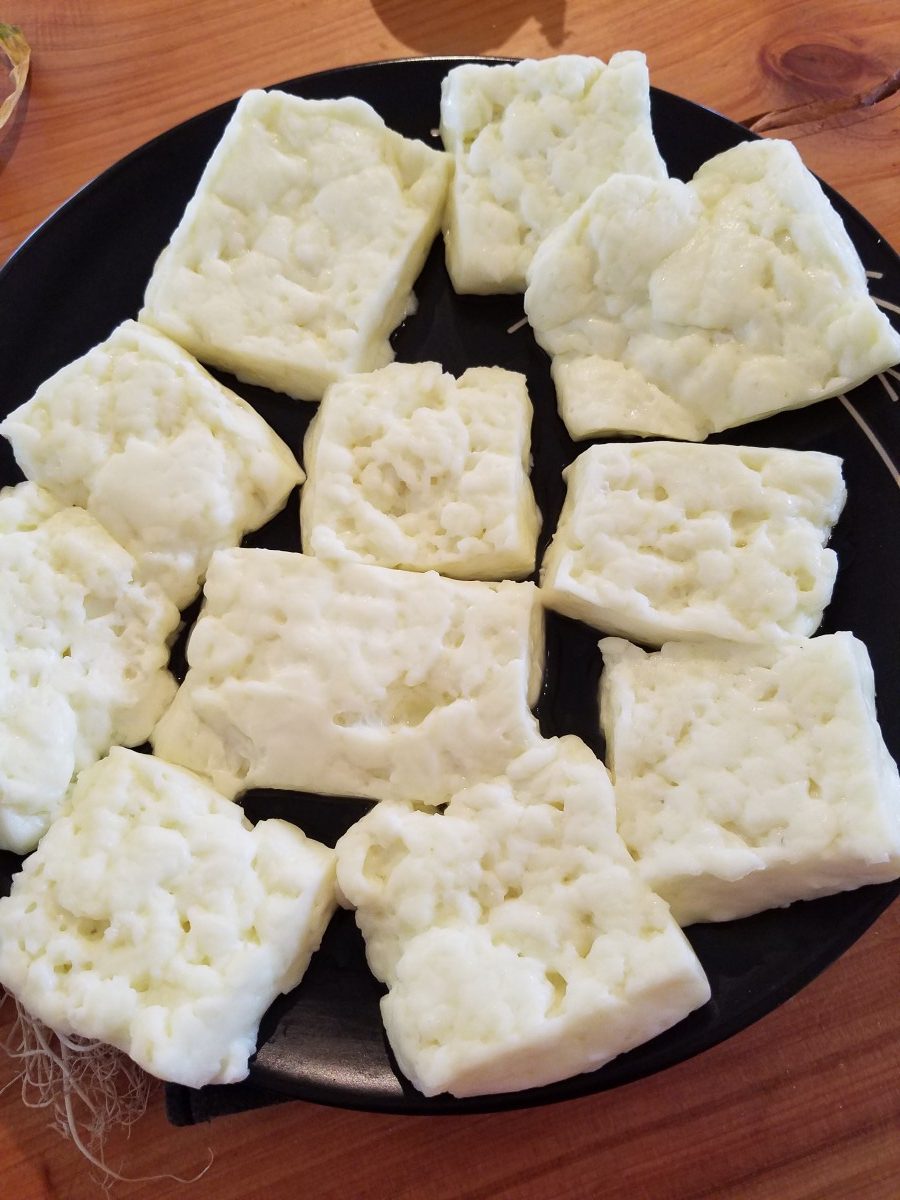
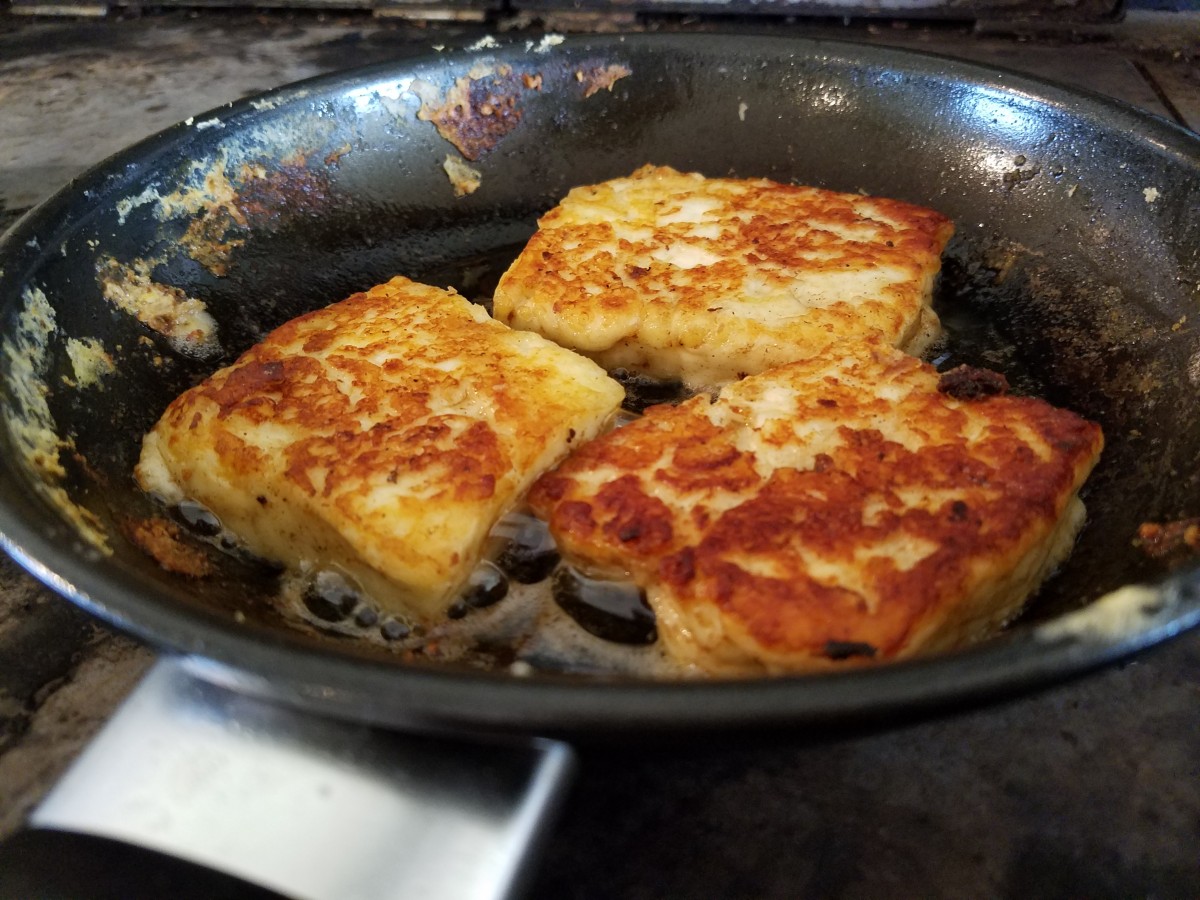
Just after we tied the Ricotta the Halloumi was ready to be dealt with and had finished pressing. When we removed the sheet of wood from the press the curds had solidified together and formed one sheet of smooth, spongy, delicious looking cheese. My batch was just a little bit more condensed than Maddy’s but overall the finished product looked and tasted very similar. The final steps were easy, all we had to do was cut it into squares and use a slotted spatula to drain off any residual whey. Some of them went to be stored in the fridge, sitting in a brine we made that was 500ml of leftover whey mixed with 500ml of 20% salt solution. A few squares went into a pan of sizzling butter, so we could eat fried Halloumi!
The taste was fresh and creamy, a little bit salty but most of the flavor was sweet like the milk it came from. It had a squeak sound when you bit into it, and the texture was similar to chicken. I think I would absolutely love to eat nothing but this cheese for every meal. I think our dairy animals would be proud to know that their milk got turned into something this yummy. We’ll be cooking with it over the next couple days. One of Lyndal’s favorite ways to use Halloumi is to fry it and then put it in curry with vegetables. How exciting!
Unfortunately, AislingQuoy is facing a bit of difficulty with worm issues in the goats. Quite a few of them are looking rather thin and off-color, have low appetites, and we’ve noticed a big drop in milk production. Once the animals seem to reach an uncomfortable level of illness it’s important to get further data on their conditions and treat them as needed.
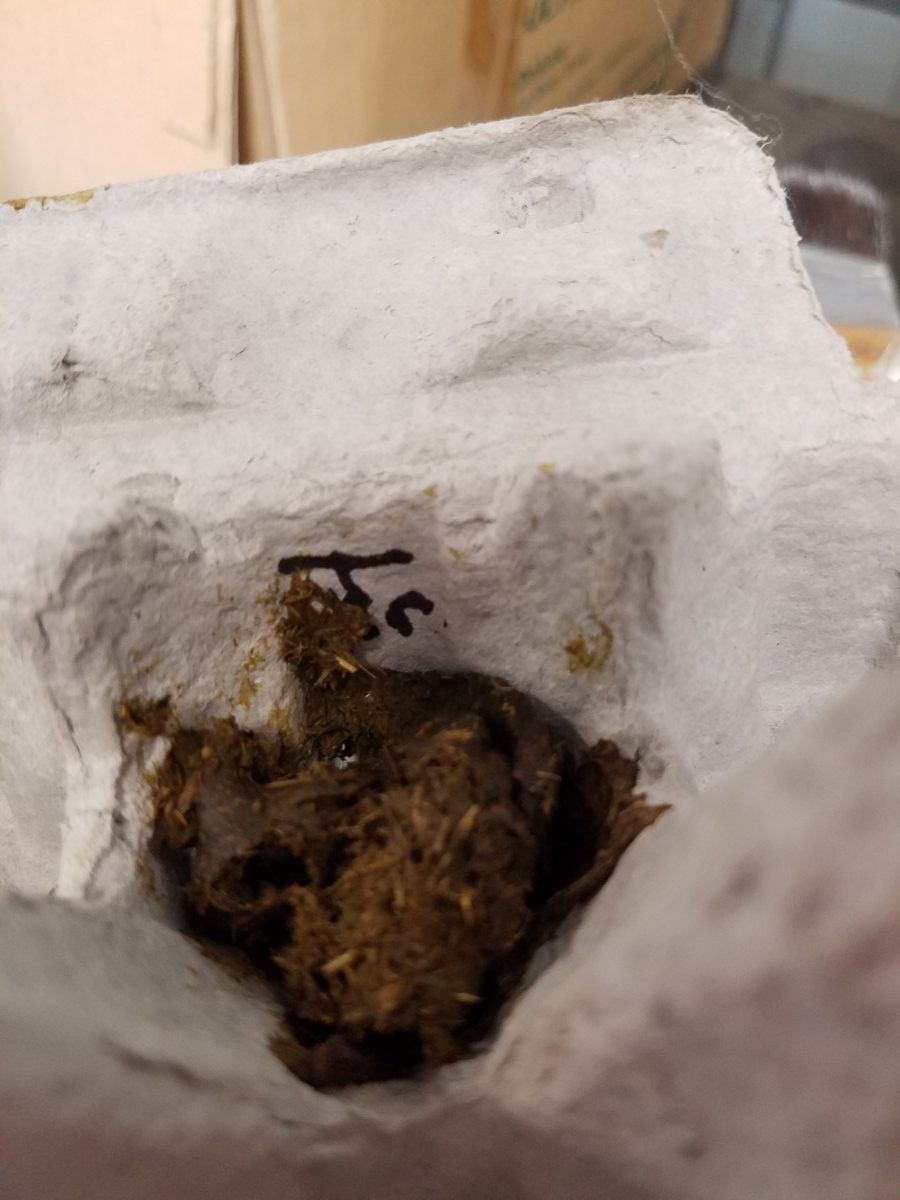
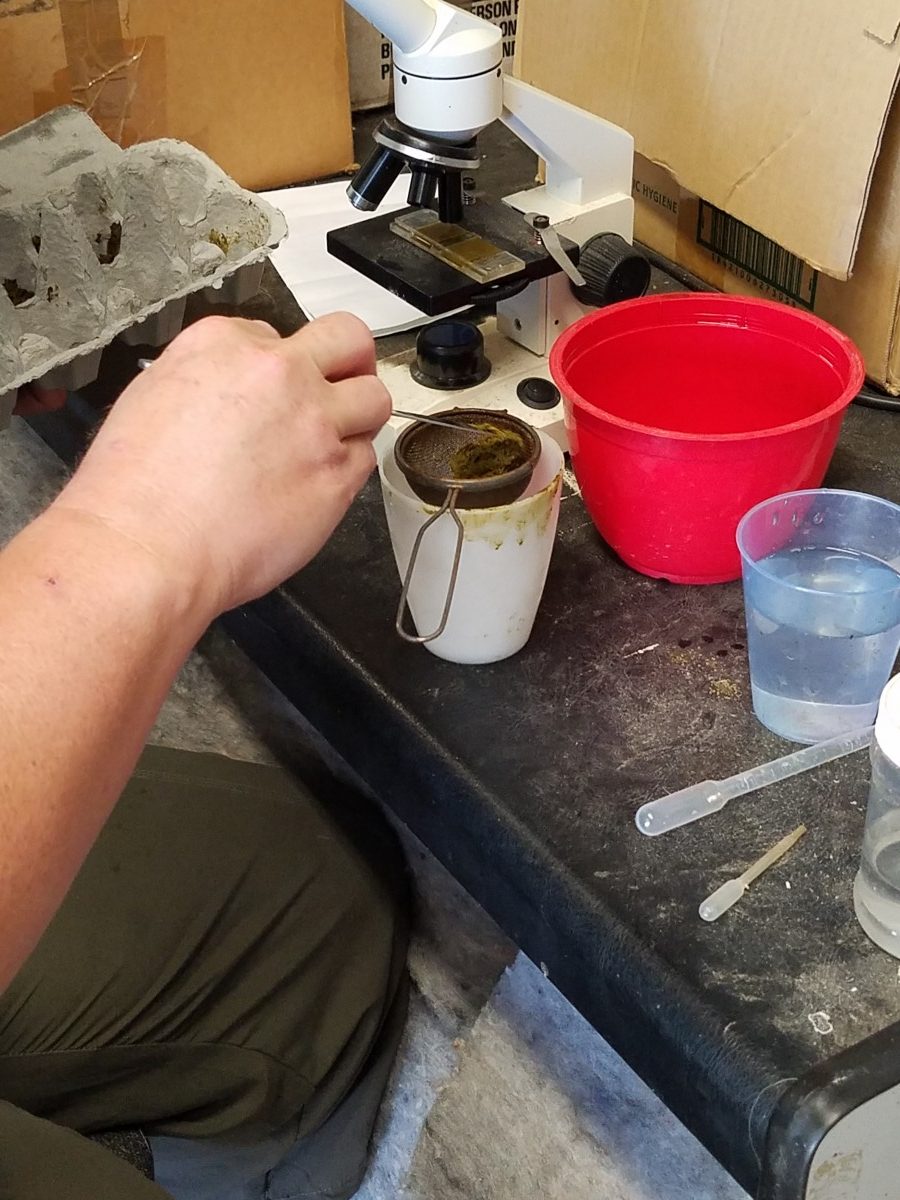
One way to tell how an animal is doing is to lift up their eyelids and check for paleness. A healthy goat will have a nice pink color, and a sick goat may have a pale eyelid because worms cause anemia which in turn lowers blood flow. A few of the goats didn’t check out to be too good so more testing was needed. Alas, we decided to do a fecal exam and get an egg count. The worms spread by releasing eggs into the feces, which hatch on the grass and then the other animals in the paddock eat the larvae off the grass. We sat around their pasture and carefully waited for each one to poop so we could collect and label it for the count. After gathering samples from all the ill goats we prepared them for microscope slides. This was done by placing 2 grams of each feces in a small strainer and slowly adding 28 mls of saturated saline solution. We worked the saline through the sample and got a bunch of brown goopy water in the bottom, full of eggs. We then used the dropper to fill the slides with the feces solution and let it sit for two minutes so the eggs could rise to the top of the slide.
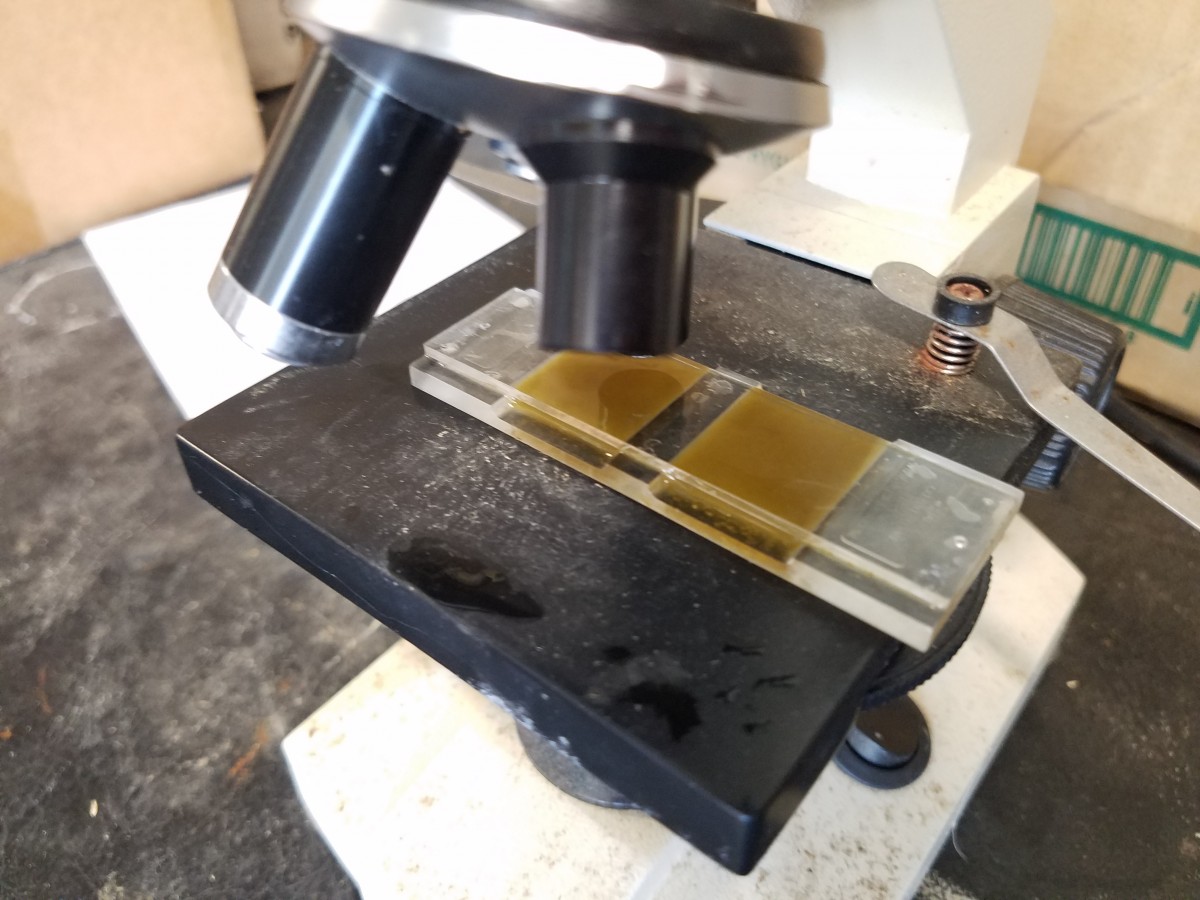
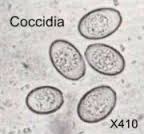
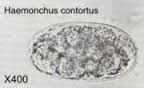
Once the sample was in the microscope we used the grid lines to count how many eggs we saw and noted which kind of worms they were. The two kinds we found were Coccidia and Barber Pole (Haemonchus contortus). They look kind of similar, both oval shapes, except that the Coccidia were much smaller.
Sadly our results were that almost everyone we tested had ridiculously high counts. We decided to treat 3 of our milkers who had serious issues. The treatment is a really gross chemical called Matrix and it looks like purple paint. We had to feed it to them with a plunger syringe and they all turned away and tried to avoid it because they know it tastes really bad. It made Lyndal, Maddy and I all pretty sad to give it to them because we all believe organic practices are to be followed, but it was for their own good and animal welfare is always the most important thing to remember. It’s just not moral to keep an animal suffering. There is a milk withholding period of 35 days associated with the medicine. It’s going to be hard because we have to keep milking them and just discarding the milk because if we don’t, their lactation season will end now until they have another baby because their bodies won’t see a reason to keep production up, and then after the 35 days we’d lose some useful milk down the road. If we keep milking them morning and evening now they will produce milk for another couple months. For now we are just going to be feeding the milk to the pigs but we’re looking into other options for milk use, like potentially storing it in a friends freezer and bottle-feeding it to baby goats next season.
Anyways, we learned a decent bit about assessing severity of parasite problems and what treating them means. Not one of the best days on the farm but that’s what life is like raising animals sometimes.
The dairy animals are a big component to the farm as they provide milk for drinking and cheese-making. They also occupy a few hours of our time both morning and evening!
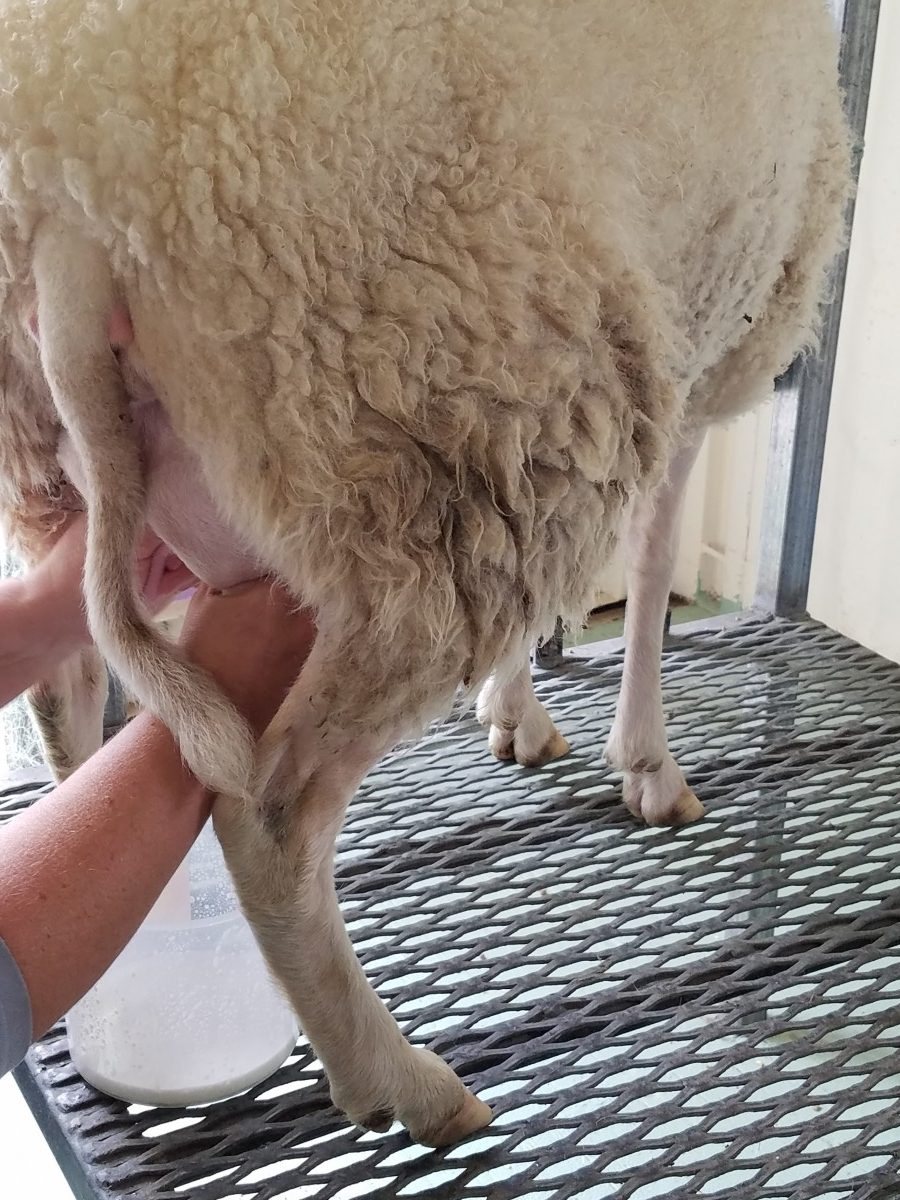
Maddy and I are just learning to do the actual milking, and there’s a bit of a trick to getting it just right. Every animal has different lengths and widths of their teats, along with different sized orifices so it takes individualized practice with each one to get it right. The general idea is to close off the top of the udder with your thumb, and firmly apply pressure flowing through each one of your fingers like the scale on a piano down to the base of the teat with your pinky. This motion is repeated over and over, with a hand on each teat, switching off in a melody. It’s important not to pull on the teats or they won’t like it, and to make sure you’re not putting too much squeezing pressure on the udder tissue. It’s also good to get every last drop of milk out in order to preserve the long-lasting health and production of the udder. When the milk stream starts to get down to a trickle, we take a break from the squeezing and give their udders little massages with the back of our hands. This imitates the head of the babies nuzzling them, and is my favorite part because it seems endearing and sweet. They usually have a bit thicker of a milk stream right after you do that too, so it seems as though they enjoy it. There’s certainly a melody about going through the whole process, and it’s a rather lovely time so I’m having fun getting into the rhythm of it.
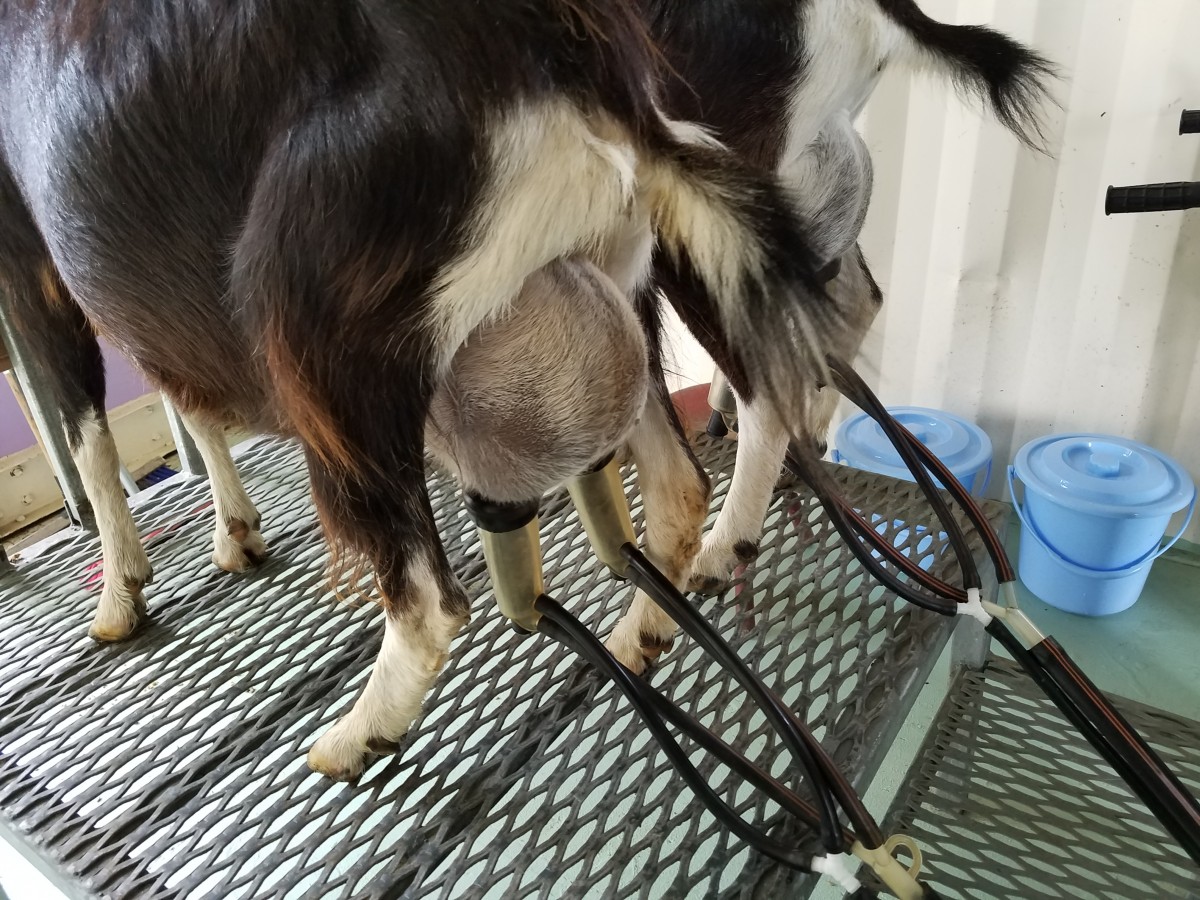
In the morning, the goats get milked by the machine. They have more milk in the morning so it’s more efficient to do it that way. The machine is really easy to use, other than cleaning it at the end with a few different washes which I’m still getting used to since it’s a lot of steps. Basically for milking, the machine has tubes that are connected to an alluminum bin on one end, and have suction cups on the other. The cups just grab right on to the teats when you place them firmly there, and a section of the tube is clear so you can see when the milk is flowing nicely. After the milk turns to just a dribble, it’s time to take off the cups and massage the udders a little. The cups slide off pretty easily when you stick your thumb in between their teats and the cups edge, although sometimes the goats don’t like the feeling and stamp their feet a bit. While the machine is convenient, I do prefer hand milking as it feels more personal and I like to give the animals lots of touch.
Lyndal really loves each of her animals and it’s so inspiring to see the care she takes with each one during milking. The animals all love it too, they’re very loud, persistent, and eager to come in for their turn each morning and evening.
When I drink their milk, it’s another magical moment. I know that the milk has been loved, tenderly, and happily drawn out from happy creatures. It’s nothing like drinking hormone-injected, pasturized plastic-jugged milk that tastes factory made. It’s real, true milk, raw and straight from the source. It tastes of bliss, and I don’t know that I’ll be able to go back to drinking “normal” milk in the States as I’ve grown attached to the white, silky rich fluid that my new good friends provide.
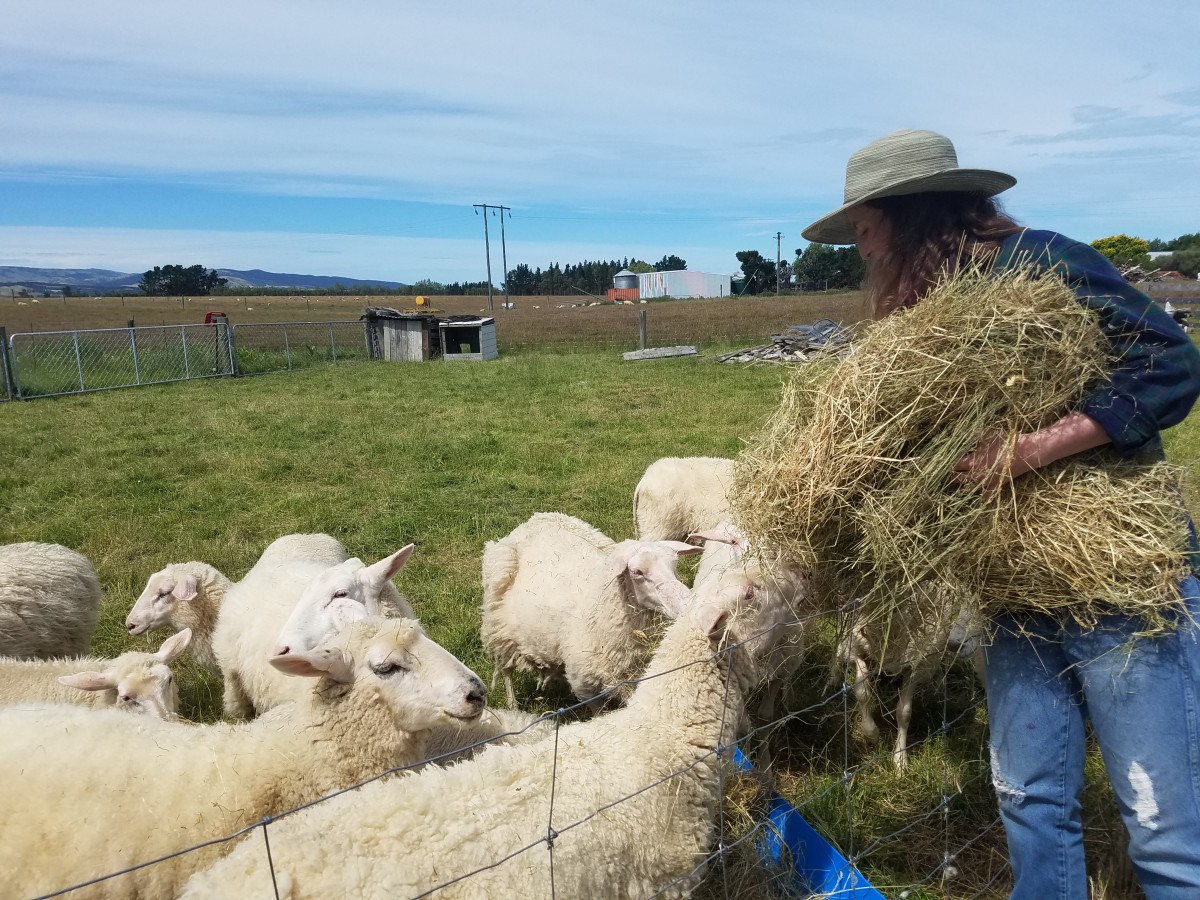
Probably the most necessary thing to do on the farm is make sure all the animals are fed. Nutrition is essential to their health, growth, and production, so it is key to ensure they are getting plenty of it through a diversified, strong diet.
Feed Recipes:
Dairy Animals Mash –
Morning (there is 2 more milkers in the morning so the recipe feeds more) – pot of barley (4 scoops of barley pre-boiled), one scoop malt, two scoops corn, two scoops oats, two scoops peas, sprinkle of kelp
Evening – 3 scoops barley, one scoop malt, two scoops corn, two scoops oats, two scoops peas
-Notes – All the dairy goats and sheep get two heaping scoops of their feed to eat during milking, in addition to a few big handfuls of lucerne put into bins outside the dairy room. The goats get treats after milking, which are different most days but usually small bits of veggies and/or fruits. They also have developed an order of who goes in for milking/feeding when, and need to be let inside accordingly. First comes the goats, in the order of Clochette and Gevrik, Gien and Truckle, then Picodon. In the morning Gem and Kunik get milked too, although not at the moment because they’ve both had chemical medicines and are in a milk holding period at the moment. Sheep get milked one at a time, and the order is Cara, Meira, Emelett, Brocciu. Clochette gets one scoop of just plain barley and one of the feeding mash since she doesn’t like rich food. Cara gets a bit of a special herbal breathing tea (sage, red clover, lemon verbena, lemon balm) to help with lung complications poured into her mash, along with a mineral tablet supplement and occasionally some paprika.
Light Green Bucket – for the male goats who are separated to prevent unwanted pregnancies – Half of leftover dairy animals mash, barley, malt, and occasionally a handful of goat mineral mix which is high in copper, drizzled over a few big handfuls of hay
Blue Bucket – for the non-milking sheep – The other half of leftover dairy animals mash, and a couple scoops of barley, drizzled over a few big handfuls of hay in each manger
White Bucket- for the ducks – One scoop barley, one scoop malt, 1/3 scoop corn
Dark Green Bucket – for the chickens – One scoop barley, one scoop malt, one scoop corn, one scoop wheat
All of the animals also have access to wide paddocks of pastured grasses and various plants to snack on all day!
Today we went out to get a few things done off of the farm, which gave us a chance to get to know more of the farming community here.
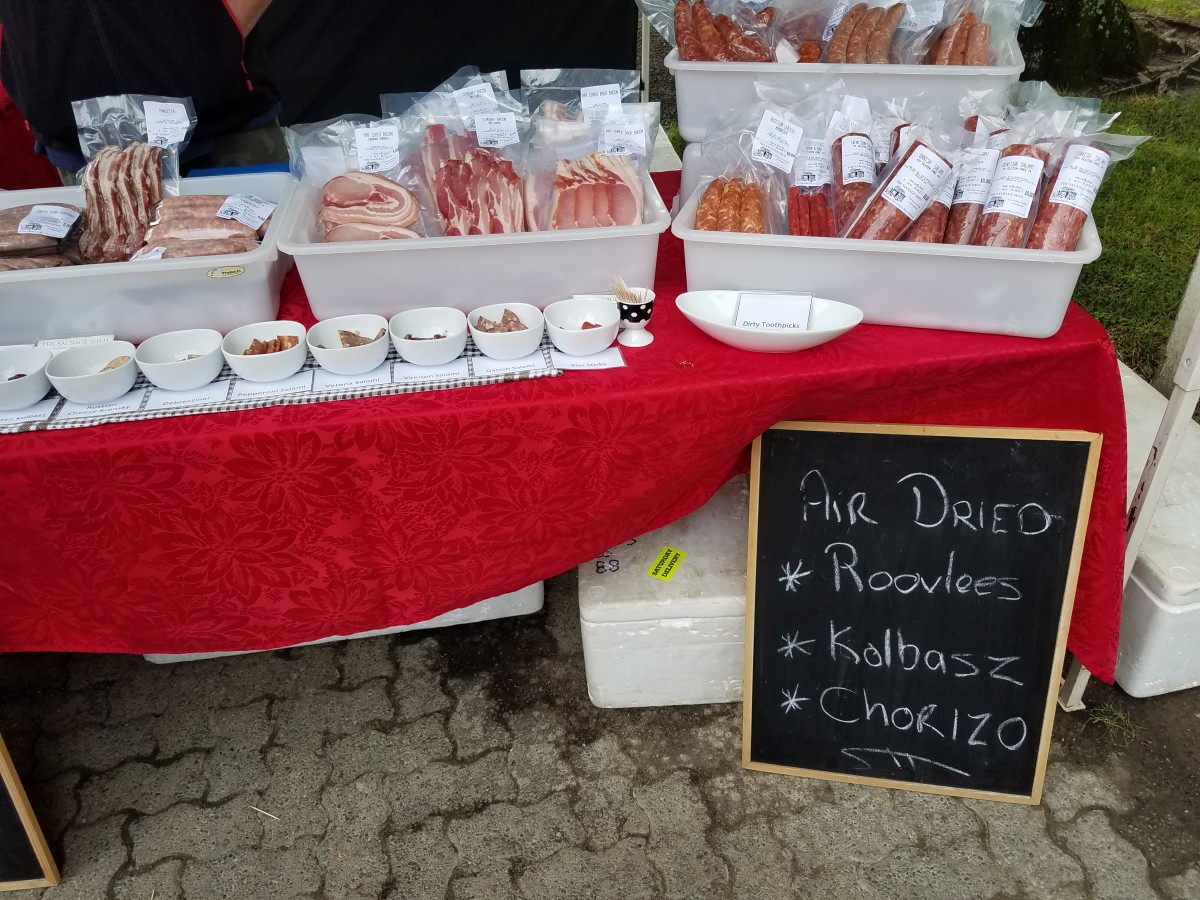
We started off by going to the local farmers market in Amberley. It was small, sweet, and charming. Everyone I saw had a smile on their face and greeted me kindly. There were a myriad of things I had never seen or tried before, and all of my senses were fully perked as I witnessed and tried new delicacies.
Quark- a soft cheese made from warmed sour milk, similar flavor to cream or cottage cheese
Meat Stand: Rouvlees (Sausage Cakes), Kolbasz (Hungarian Sausages). They also had yummy venison.
Leydon, Masdam, and Kombre Kaas are all dutch cheeses, and the rest represent local areas in New Zealand.
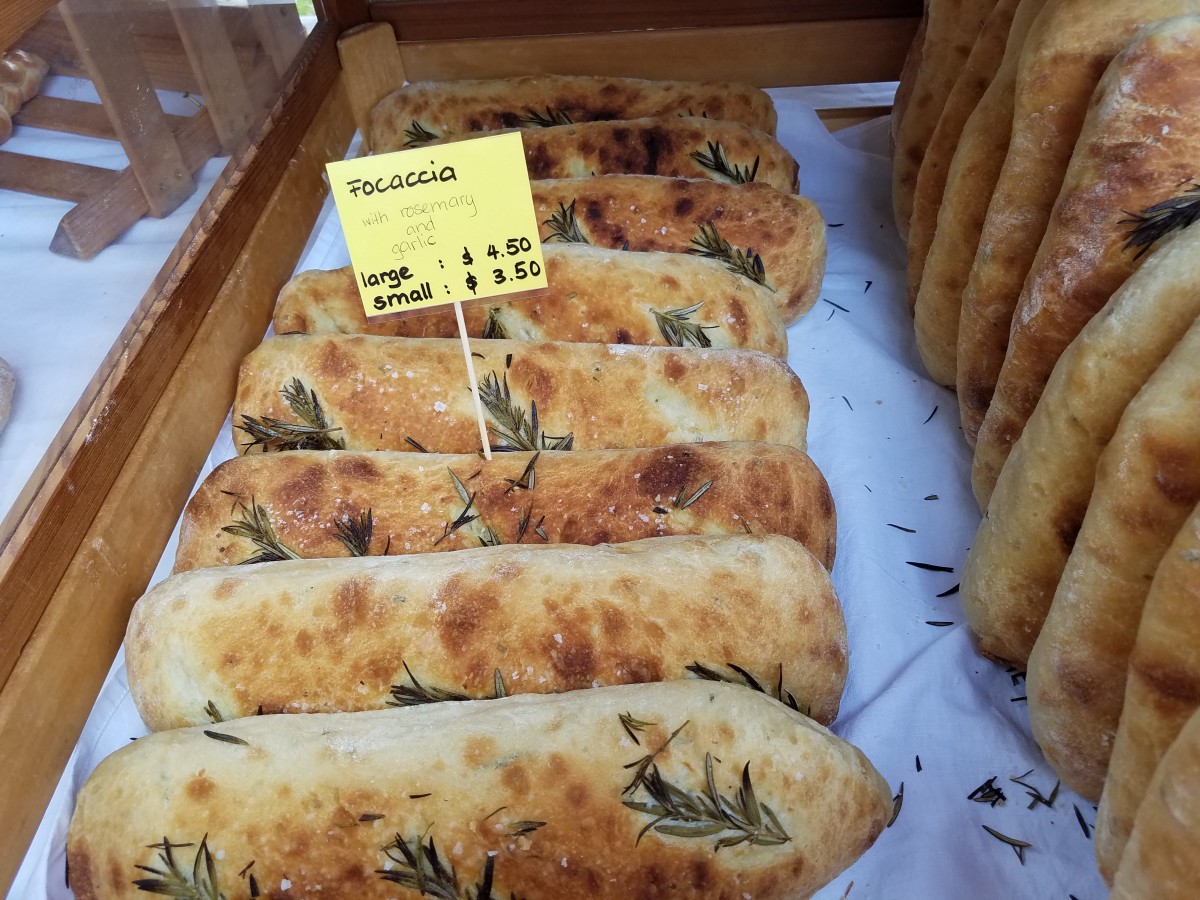
Last, but certainly not least, we picked up some marvelous Foccacia bread with rosemary and garlic.
All the people in the area seem to really enjoy these fresh, created products that belong to somewhere rather than the placeless sense we get in America at our oversized superstore. It has been refreshing not spotting any Walmarts or Targets anywhere for a few days.
One interesting thing I noticed about the people is that a number of them were completely barefoot, walking in and out of stores and banks and such, particularly very young children. Lyndal tells me it’s quite common, and that she rarely wore shoes until she was about 5 years old. How strange! I bet they all have insanely strong feet here, and it was warming to think that they have a closer connection to the earth because of it.
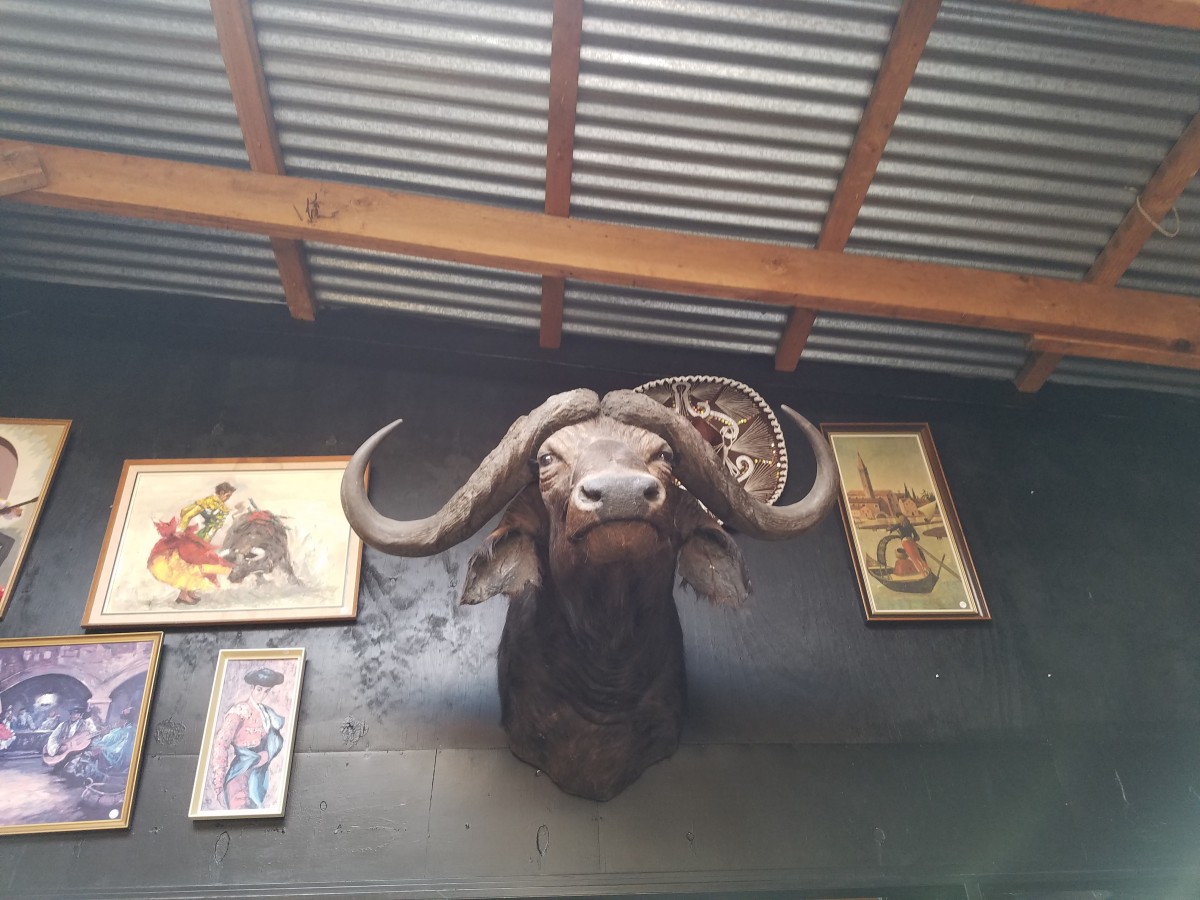
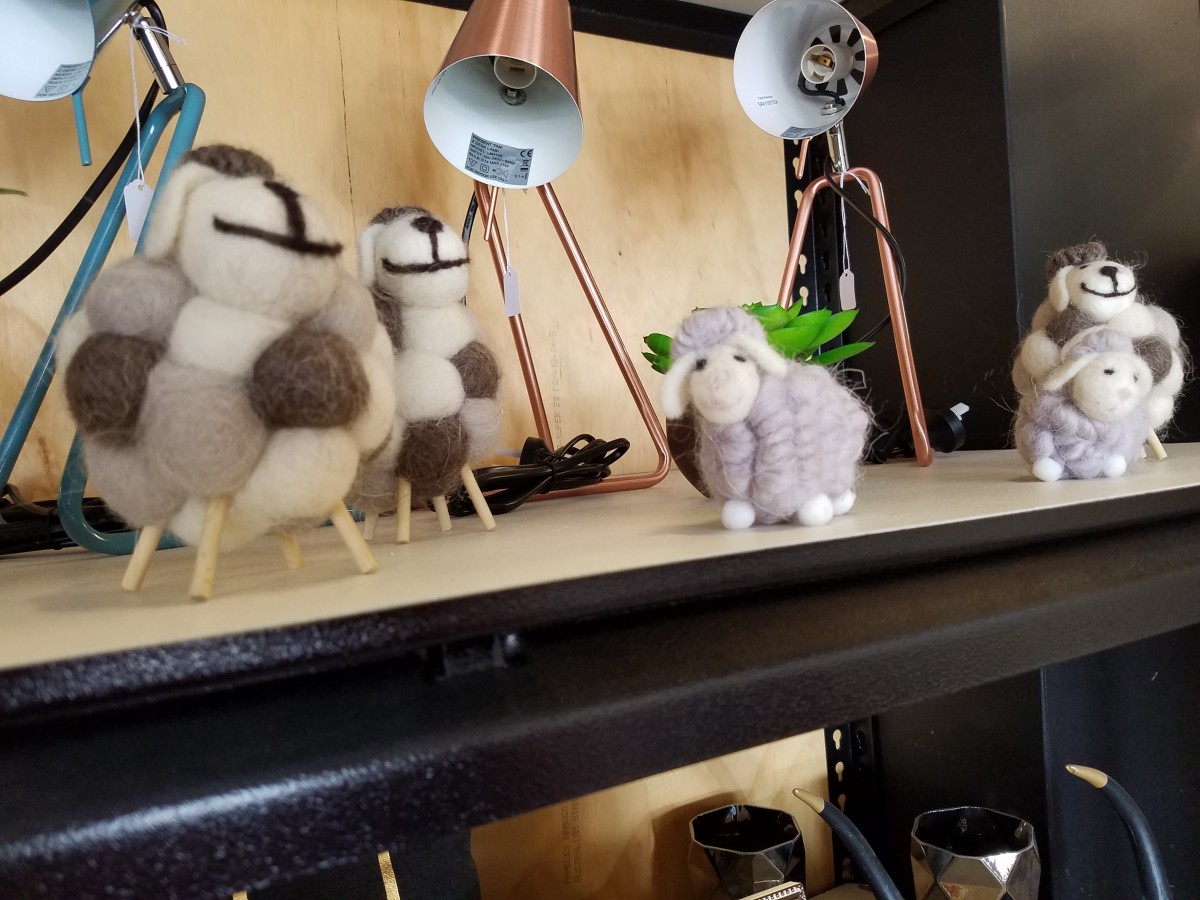
Next, we went to an antique shop, where we saw more cool things. Some included a water buffalo head and some hand-crafted miniature wool sheep.
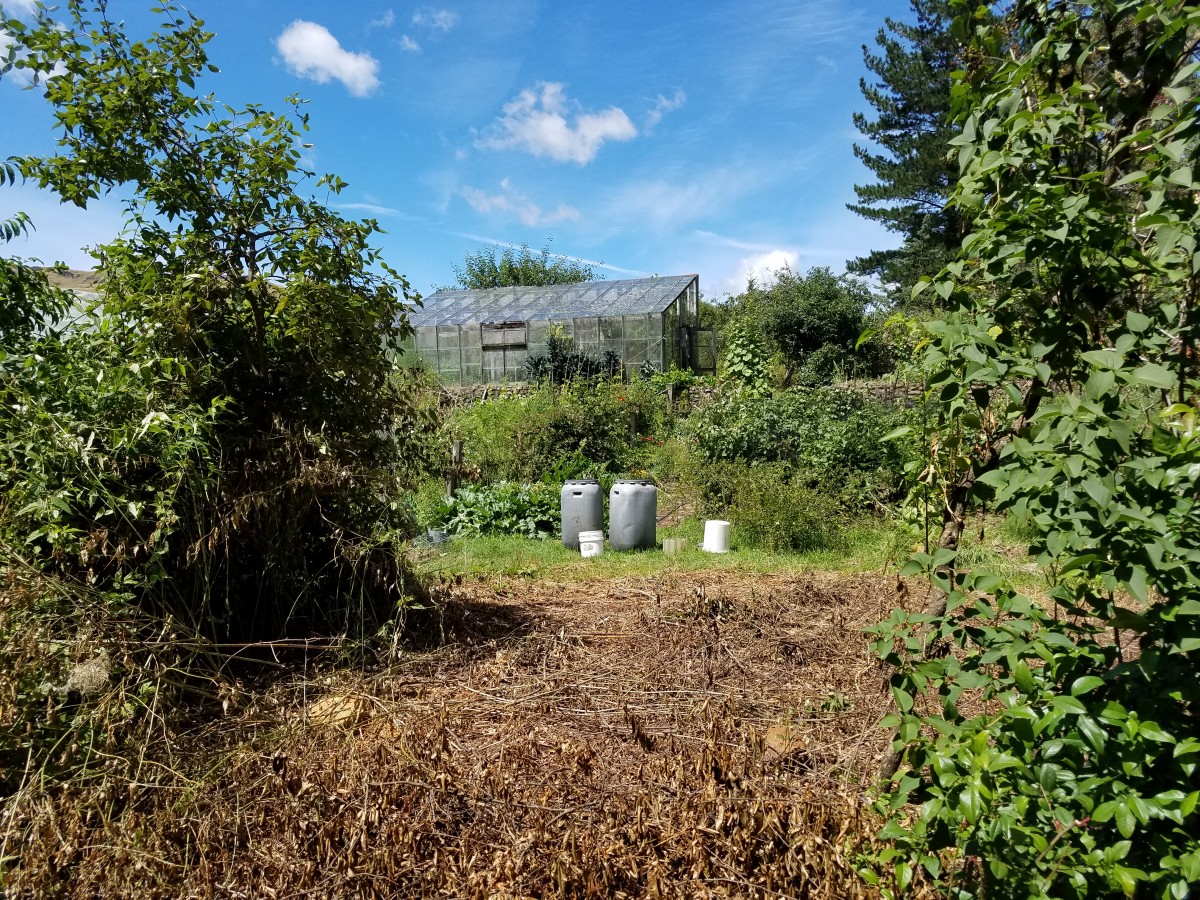
After checking things out here, we preceded to drive about 40 minutes north to a place called Scargill to pick up some black oats from Lyndal’s friends who had extra. We got about 30 kilos in total, which is 10 really full bags worth! I felt my heart melt a little as they tenderly gave away something they could have sold. The animals will certainly be very happy about that. Since her other good mates Sue and Neville live nearby, we paid them a visit. They are almost entirely self-sustaining, off-the-grid, and have one of the most lush gardens in the world. Like Lyndal and Steve, they have what I might call one of the most peaceful lives in the world. Living away from the looming pressure of corporate companies taking over and free from some of the disgusting pressures of civilization, true courage and accomplishment is found. I have a deeper respect for their lifestyle than I have known I could come across.
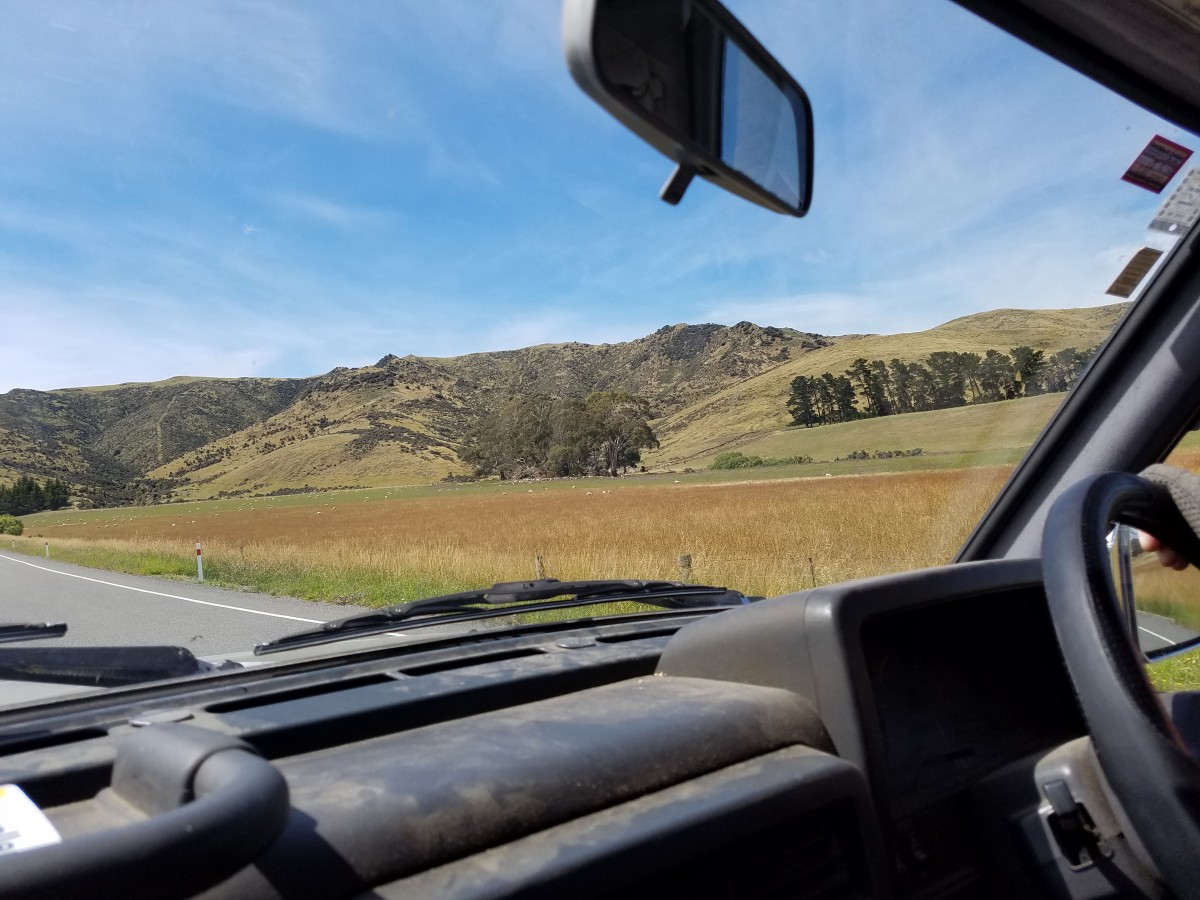
In transit
Sue and Neville’s Greenhouse
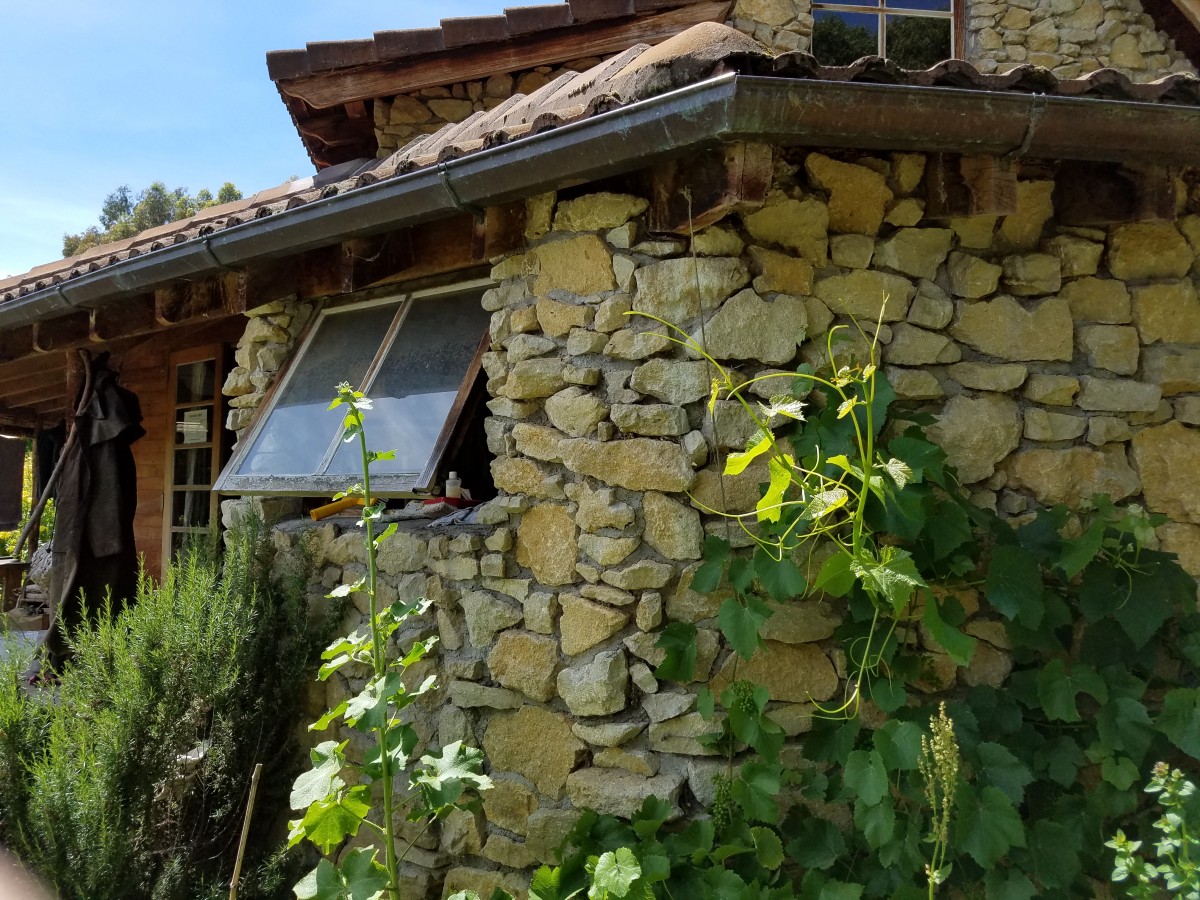
Stone house they built themselves
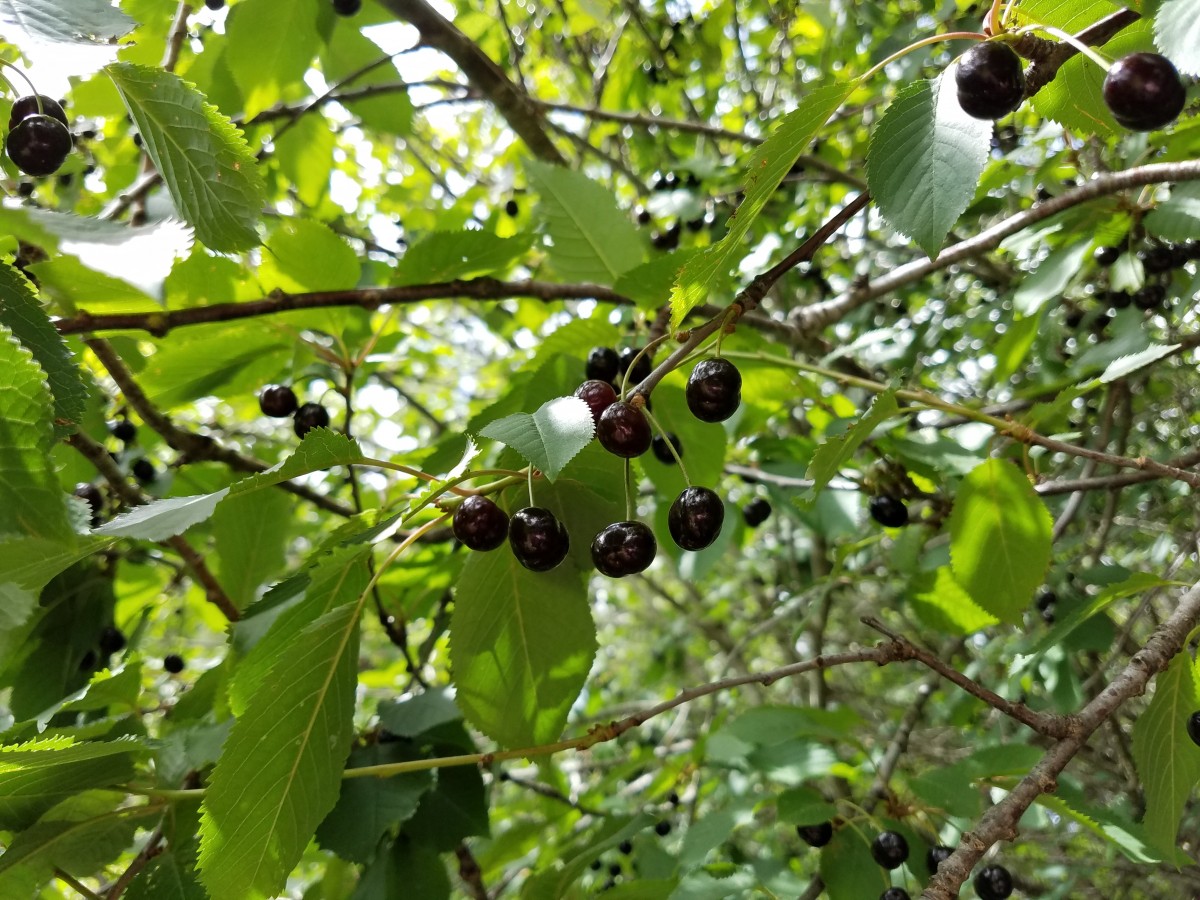
One final stop on the way back was to find some wild cherry trees. Sue knew a plentiful spot along the road where her family goes to pick on Christmas Day, and reccomended we take a look to see if there were any left. Our mission was successful! We found a load of both tart (red) cherries, and sweet (black) cherries, then foraged blissfully. We were careful to not strip them too much to leave some for others, and since lots were on high branches we decided to save a good portion of the lower lot for smaller folk. Lyndal put me on her shoulders while Maddy stood on a fencepost to reach the ones closer to the sky.
Maddy picking
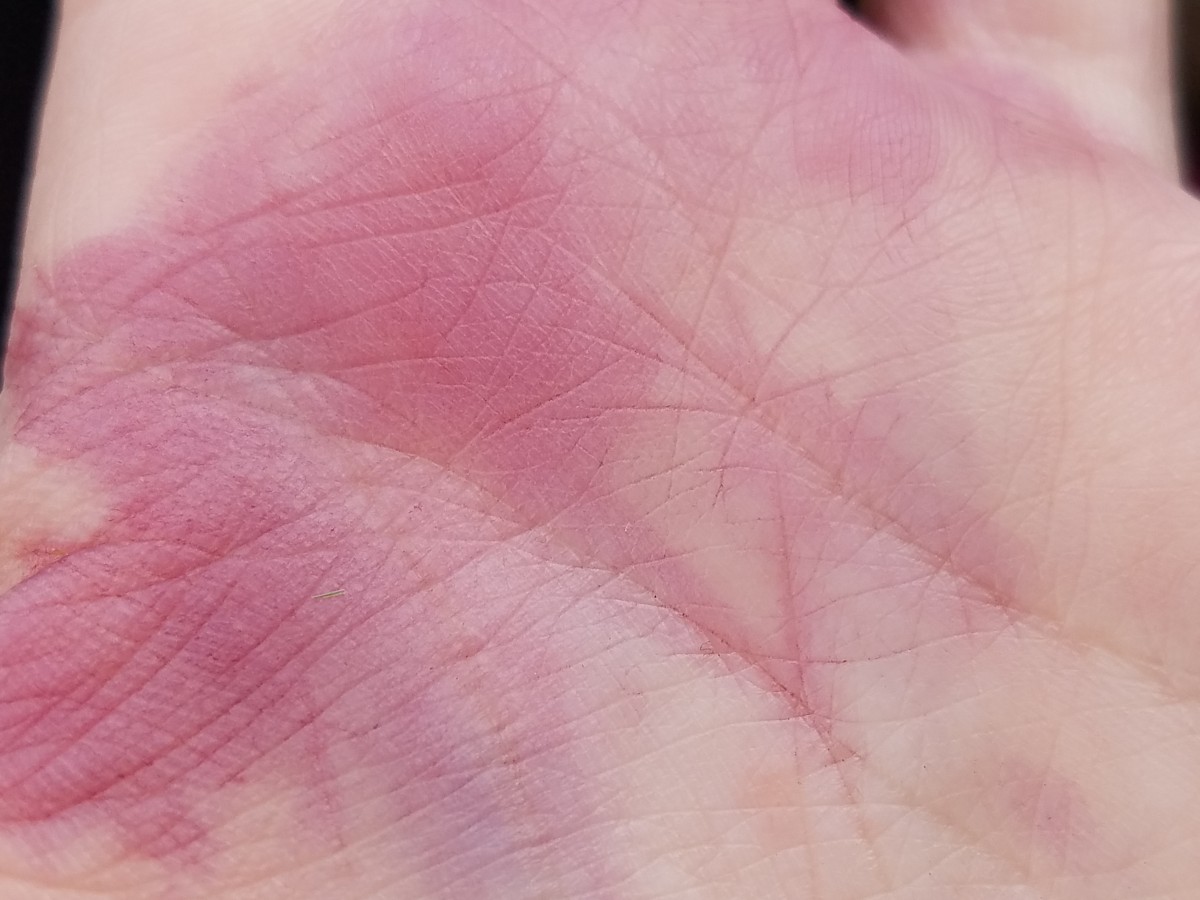
Colorfully stained hands
Inexplicably sweet cherries
All in all, today was unforgettable and I can’t wait to interact more with the farming family around me.
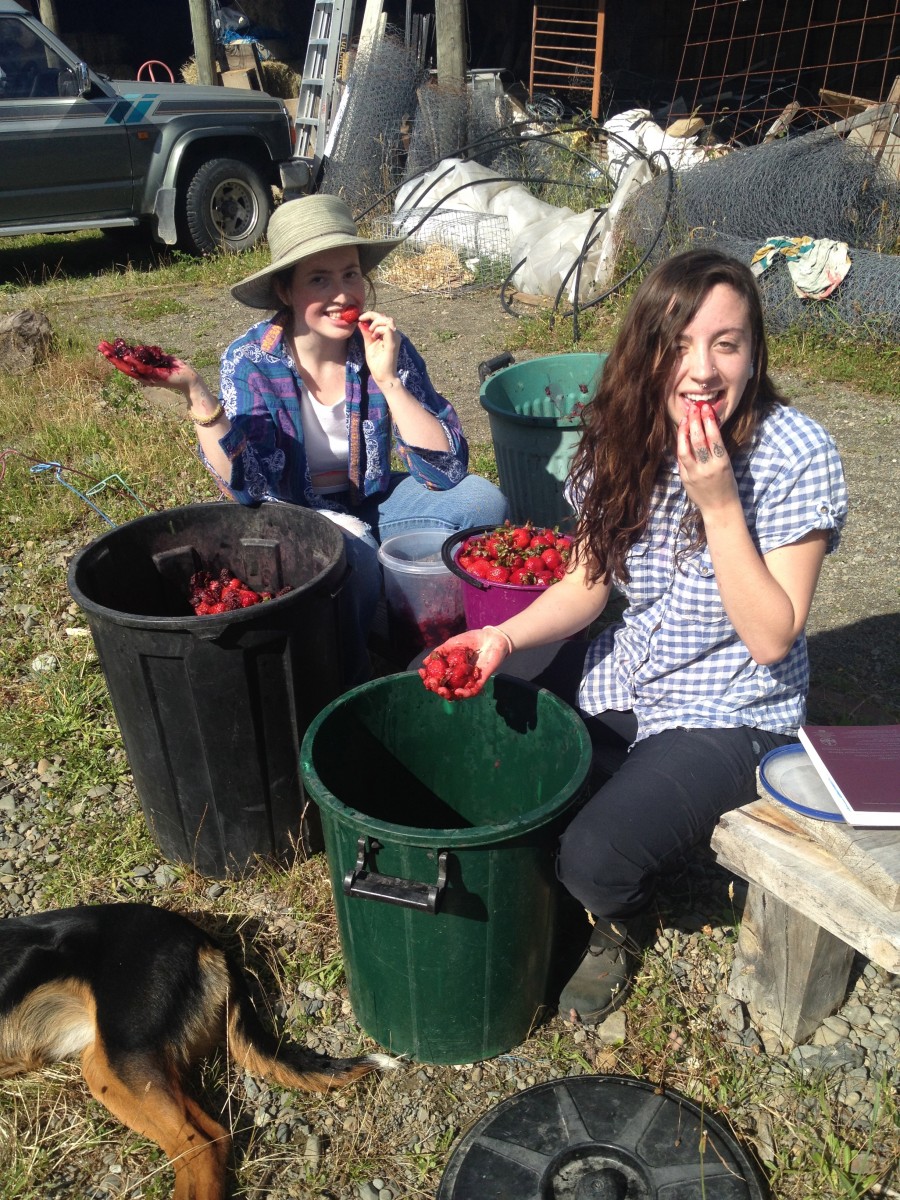
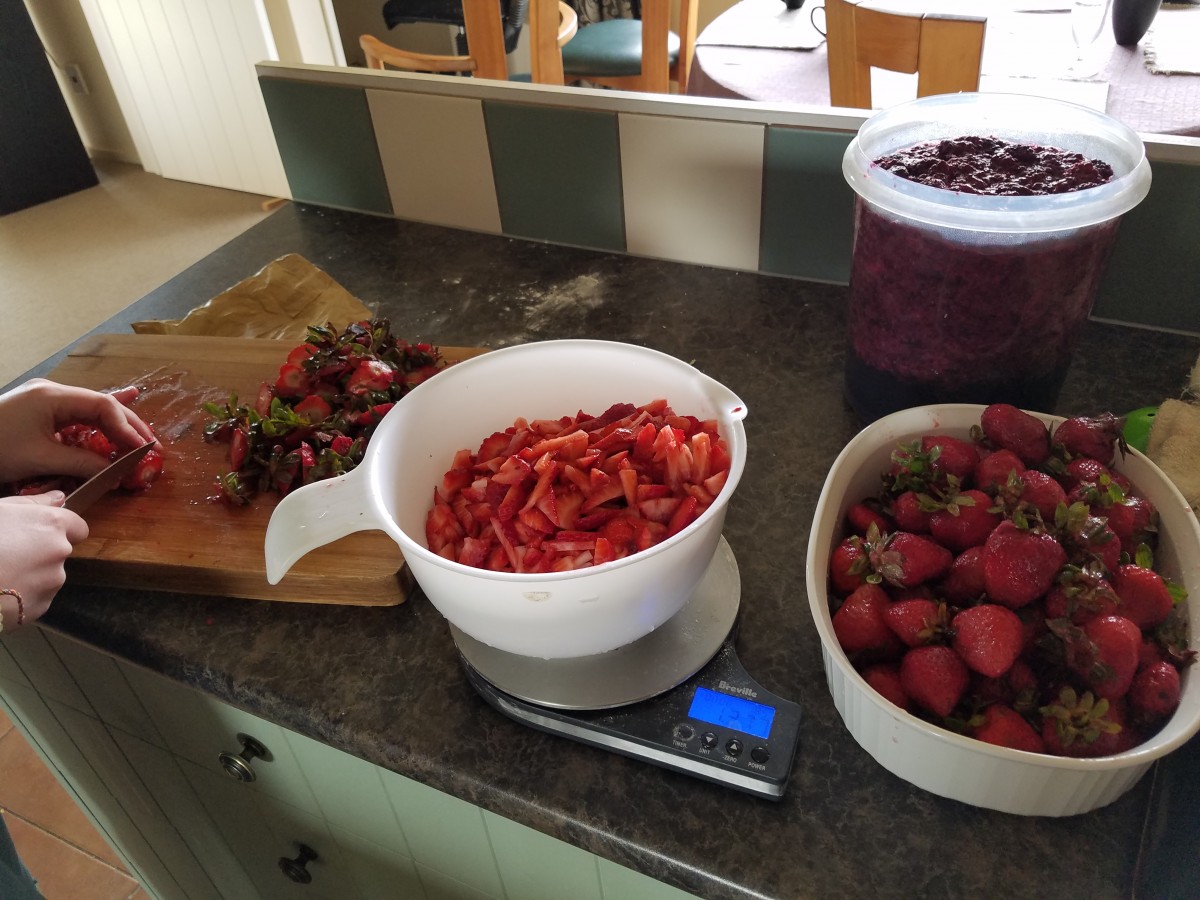
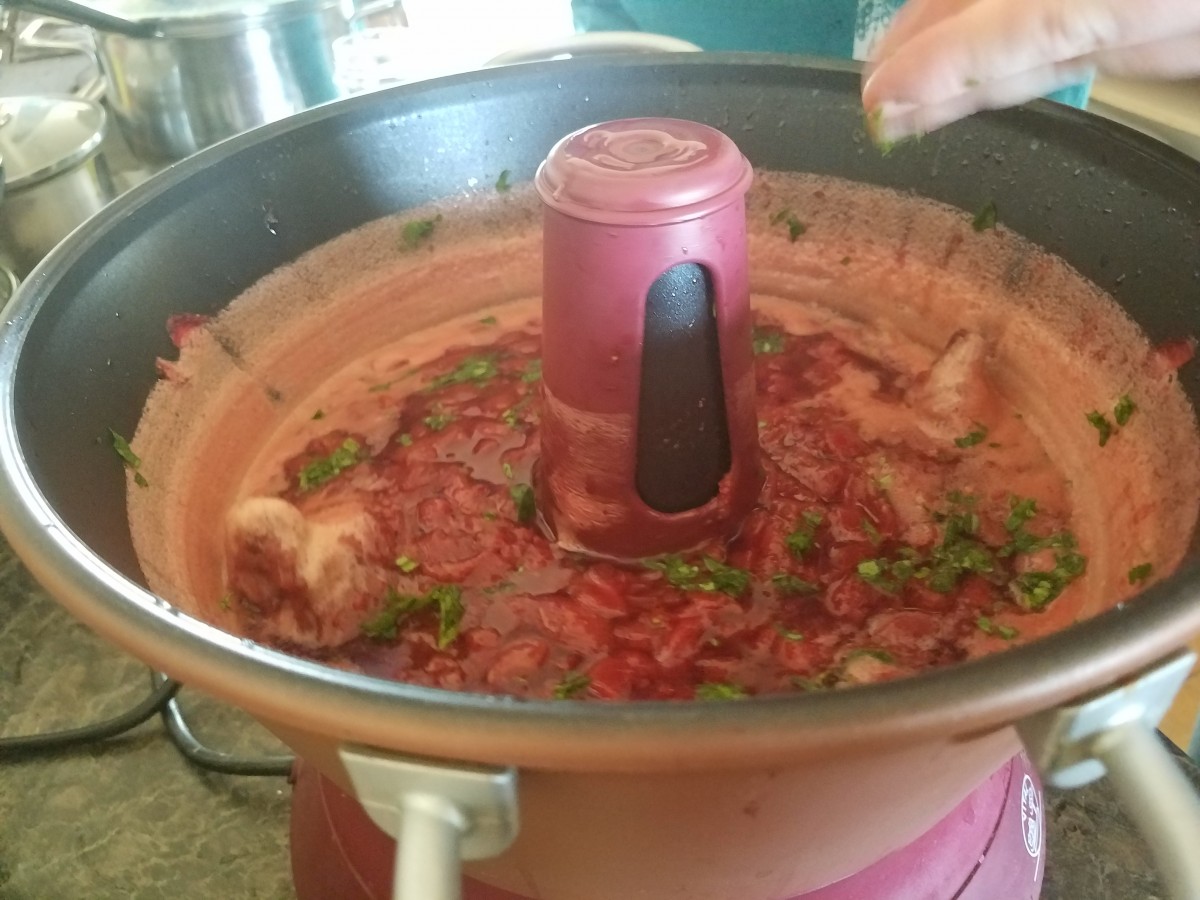
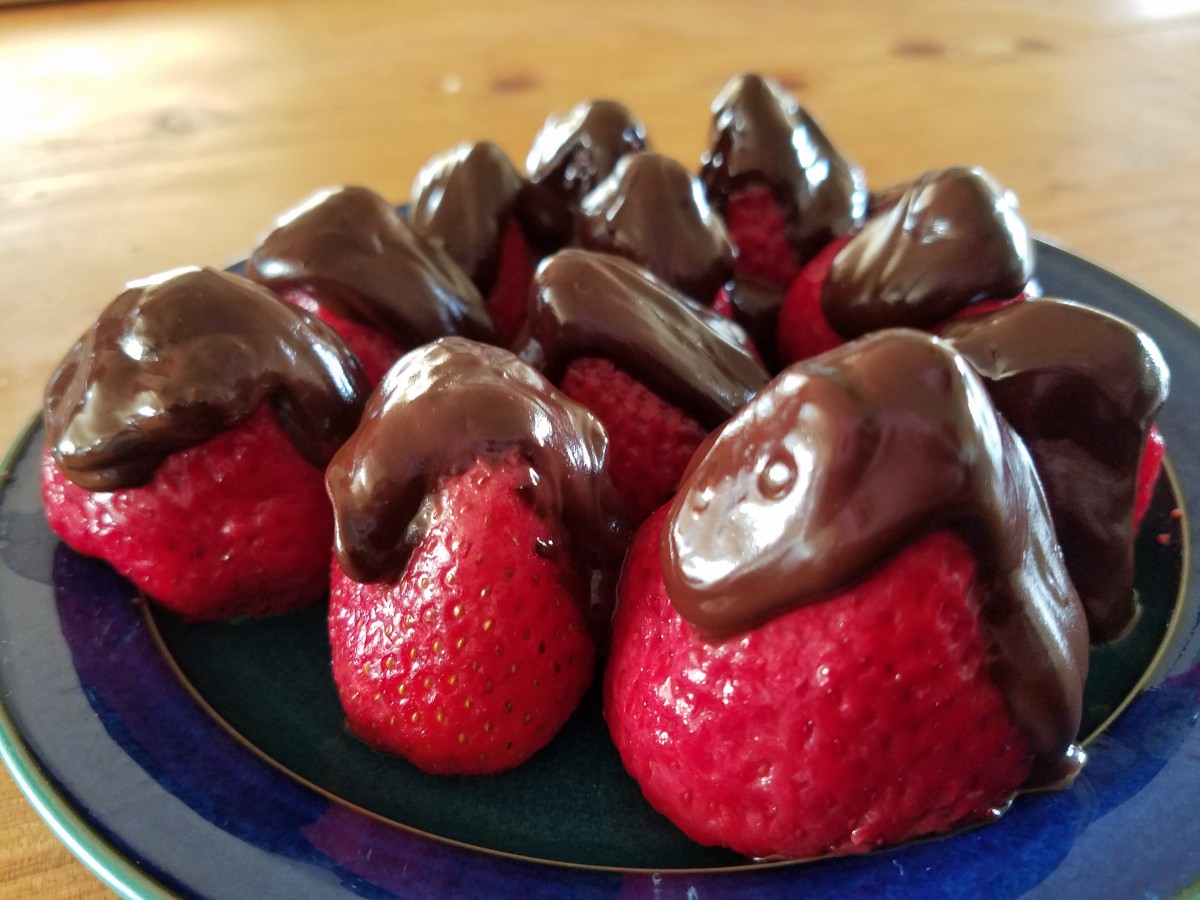
One of the first things we do after our tour is have some fun with berries. There are two big barrels of them, and we begin by sorting out the mushy ones to feed to the pigs, separated from the human-grade ones. There is a lump of mushy boysenberries, which we collect into a bucket to make something out of later. Under them lies a tasty looking harvest of strawberries! We bring them in to wash, chop, and process. Some become covered in Whittaker’s chocolate (an NZ brand), some are made into strawberry-basil jam, and others are to be frozen for later. It seems so very simple and peaceful to create your own jam, and I wonder why products like Smucker’s even exist when crafting some homemade jam is this rewarding.
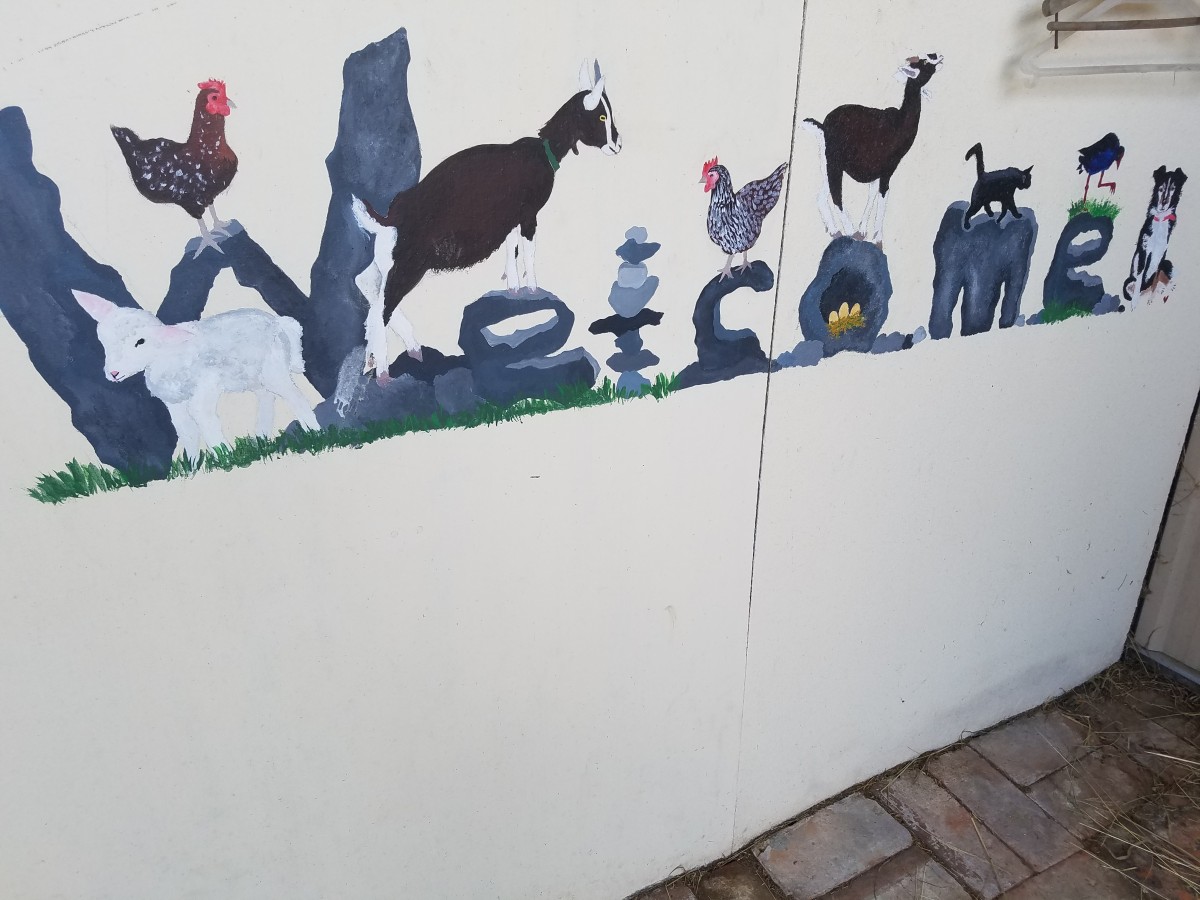
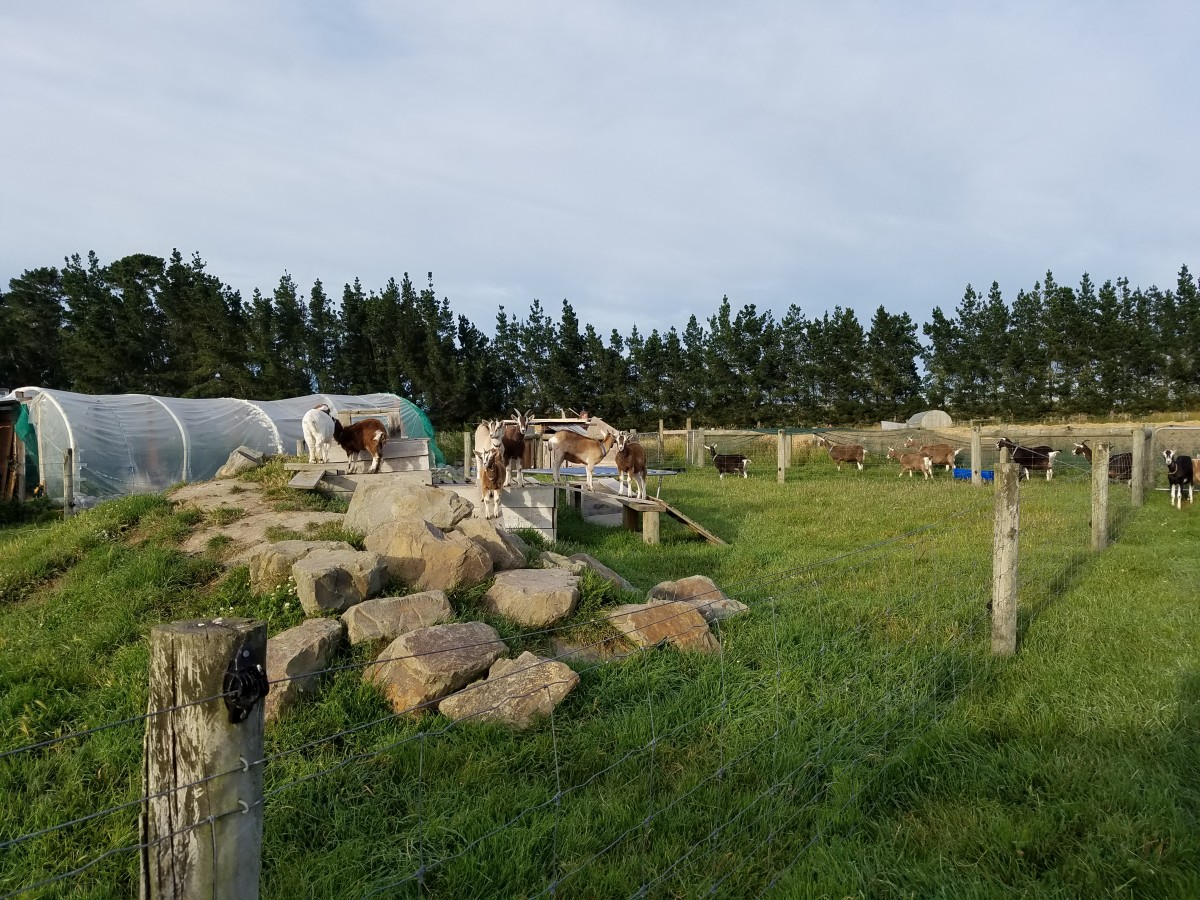
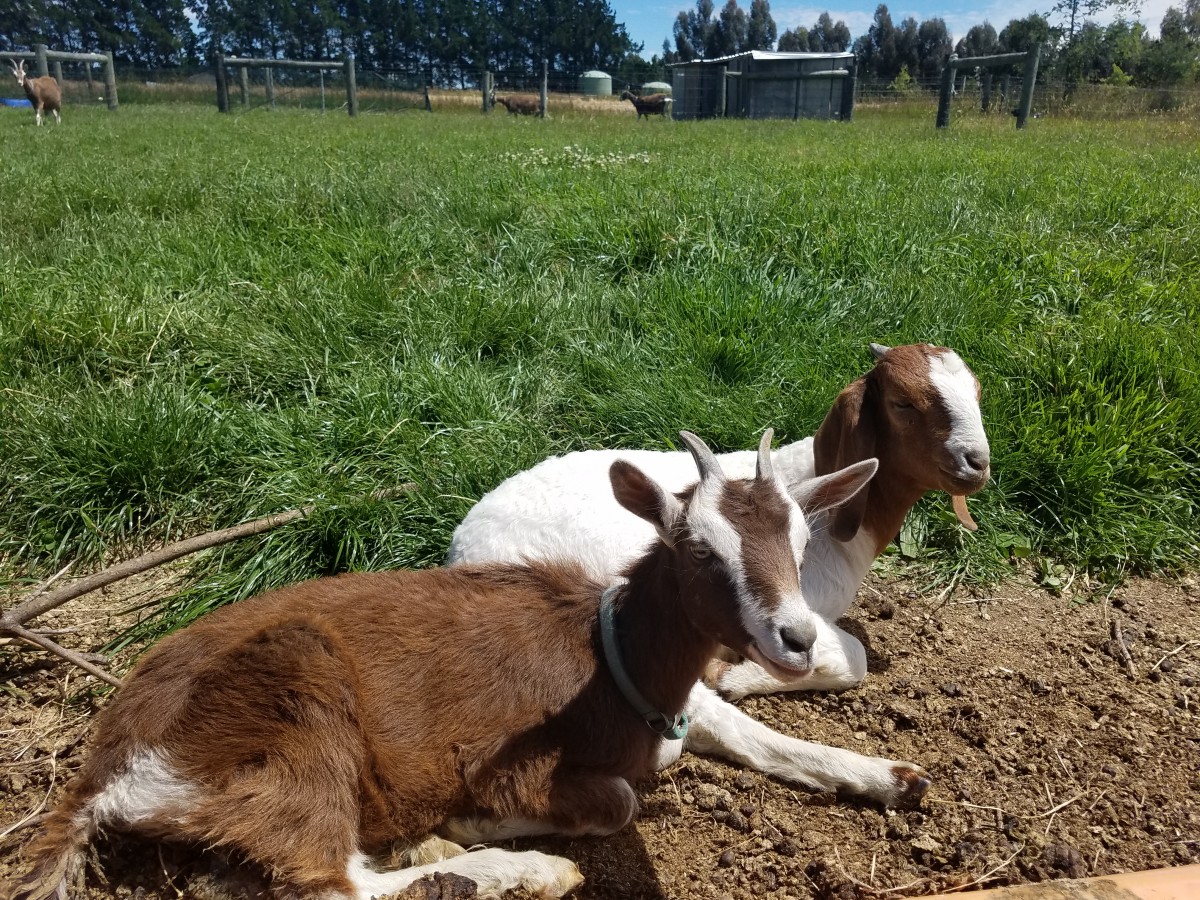
Arriving at AislingQuoy was quite literally entering a little slice of paradise. The smell of hay filled my brain and washed over my body, giving me a shiver of pleasure down my spine. I can already tell that Lyndal and Steve are brilliant, lovely people and I aspire to absorb as much knowledge from them as humanly possible. We take a stroll around the property, meeting all of the animals and getting to know just a bit of background about them. The passionate care that Lyndal has for family of animals is truly beautiful to see, and I am excited to become best friends with all of them.
Lyndal teaches me all of their names, and I take notes but it will take some time to remember all of them. I am shocked by how much personality they have, each and every one is quite different. As I pet them I think of how amazing it feels that here at this farm, they are incredibly in touch with where their food comes from. In fact they get to know it well, and these animals are so very respected in every aspect of their lives.
Lip quivering and hands shaking, I fly over the equator as the sun fills the sky with pastel pinks, yellows, and oranges. I can’t help but shed a few tears (both happy and sad) as I leave life as I know it behind and start on my new adventure.
I embark on this journey to find hope. I yearn to gain a grasp on the concept of sustainability, and acquire skills necessary to build a more wholesome food system. My mind, heart, and soul thrive openly within me, waiting to see how they will grow and all they will learn.