Tag Archives: Journal Entries

Shooting

Hey there everyone, just figured I’d give you all an inside look at what a shoot for me generally involves.


For a simple equipment list, I have a small piece of white poster board I use as a reflector, a Panasonic Lumix GH3 with 12-35mm f/2.8 lens, a Tiffen polarizer and .6 neutral density filter all held up by a Manfrotto tripod.


For the past few shoots, I’ve had a few props such as journals and quarters, so that has been a huge part of my preparation and execution. The most notable thing about this is that I keep forgetting these props and I have had to reschedule specific shoots maybe 3 or 4 different times. With my actors all in classes of their own, it makes it very difficult to coordinate everyone effectively. There have only been a few days where the weather has been uncooperative but even then I was able to make accommodations. Too bad it decided to really only rain well enough three days out of the last four weeks. That means whatever I got on those days… well that’s pretty much it. I’m finalizing a few of my main shots right now and have begun vigorously editing. This isn’t the project I had imagined when I first entered this class/fabricated my proposal, but I’m liking the direction it has taken.


When I’m looking to shoot a scene, I’m always looking for the most interesting angles, viewpoints and depth of field. I love advanced camera techniques and it makes me sad that I couldn’t find the required parts for my steadicam system because I am now having a lot of trouble deciding whether or not those shots are really important enough. One of my friends recently invested in a legitimate Glidecam system but he hasn’t expressed interest in letting me use it so we will see if tomorrow I can throw it all on and get some of the shots I had hoped for.

I love the look and feel of sprawling landscapes, same with dilapidated buildings. I love wide shots to death, but I’m beginning to see that my camera just looks a little too digital for me while the closer shots look much more cinematic. Of course this has to do with depth of field and a few other things but I’ve always had a big problem with close shots as they require absolutely meticulous planning both on the director’s and actor’s part. I’m not sure how to rectify my feelings other than color correcting the shit out of all my footage, so I guess that’s what I’ll do.

I have a bunch more to add here but I’m running a tad late for a shoot today. Ta ta!

Hope everyone has a good week preparing for their presentation!
Week 8: The Ground Work For A Kitchen

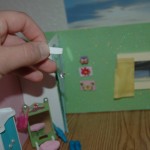
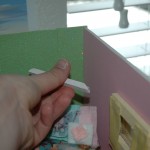
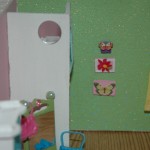
This week was probably the most different than any of my weeks yet. It’s getting close to the end of the quarter and I still had a few things to finish up on my two previous models before I could move on to the kitchen. I knew that I was only going to have two weeks for this model because I would need time at the end to take and develop my black and white photographs. I started this week by going back to my bedroom model and adding a few things that really rounded out the feng shui of the room. I added mirrors on either side of the closet corner. This will help with the flow of the room as well as added a crystal on a red string which was recommended by Nancy SantoPietro in her book Feng Shui and Health: The Anatomy of a Home. I then added a piece of wood, (meant to represent bamboo shoots) over the bed to help easy the flow since the bed is facing the door but is angled in a corner.

989233_624303107598012_1933665126_o DSC_0253 DSC_0256 DSC_0262 DSC_0259 DSC_0255

I then focused on my bathroom model, it still needed a few finishing touches to make it complete. I needed to create an alone space under the three windows on the right wall. I started by taking basswood and measuring and cutting it to the right specifications. I then cut and glued it in place. I also wanted to create a vanity on the opposite side of the bathroom. I wanted a metallic vibe for the top of the vanity so I made the counter top out of grey clay, fitted it with legs that I measured and cut from basswood. I painted them white so they would blend in with the rest of the bathroom. I still need to create a few pillows for the alone space, to give the feel of a window box where one might go to get away.

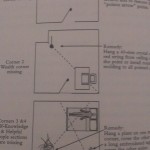
It was now time to focus on my Kitchen. I decided that I wanted to get all my reading done before I even attempted to draw a floor plan. I need to have all my information about design psychology before I decided how the layout would look. I started by reading Some Place Like Home: Using Design Psychology to Create Ideal Places by Toby Israel. This book focuses on how we feel in the spaces of our childhood. How we look at our surroundings when we are growing up and how that can affect what we consider safe places in the future. He talks about everything from the past in architecture and how it shaped where we are today, to the future and where architecture can go if we take a look at how our past has shaped our lives. I still have one chapter left to read and that is “chapter 5: applying design psychology” which I will use to help me plan my kitchen model. I look forward to finishing this book and beginning my kitchen constructions process.