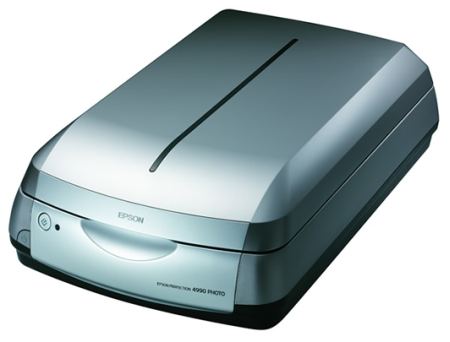
Scanning is a very useful tool that allows you to save or make copies of hard-copied documents and pictures. Mac OS X makes scanning easy. Here’s how:
Using Image Capture: Image Capture is the easiest built-in application for simple single-page scanning. (For multiple page scanning refer to Acrobat Pro)
- Open “Image Capture” in the Applications folder.
- Select the scanner from the list that appears on the left side of the pane.
- On the right side of the pane, there are several options. You can choose Color, Black & White, or Text under the “Kind” dropdown. You can dictate the “Resolution” of the image; keep in mind that lower dpi means lower image quality. This can aid in creating a smaller file size. You can also select where you want the file to be saved. I recommend selecting the desktop for your “Scan To” destination. This way you can easily find your file and move it to your desired end location. Choose the Format that works best.
- Click Overview. A Dashed-line box will appear allowing you to adjust the size of the image.
- Once you finish cropping click “Scan”!
- The scanned image will appear on the desktop (or the destination you selected on Step 3.)
Using Adobe Acrobat X Pro: Adobe Acrobat X Pro is a great application that allows you to create PDF files, add forms, create searchable PDF, etc. It is better to use Acrobat Pro when you want to scan multiple pages and create one file.
- Open “Adobe Acrobat X Pro” in the Applications folder.
- Choose “File” > “Create” > “PDF from Scanner”
- The Scan dialogue box will appear. Select scanning options in the Scan dialog box, as needed.
- Select Prompt For Scanning More Pages if you want to scan multiple pages.
- Click “Scan”!
- The scanned image will appear on the desktop.

Comments are closed.