What is it?
XBMC is a home theater software system. XBMC is open source, free, and constantly expanding. XBMC, it must be said, and this is not a minority opinion, is amazing. Attach a second monitor to your Windows, Linux, or Mac machine, preferably an HDTV and you now have a media library that is not only organized and streamlined, but now rivals any of the notably not free products like the Apple or Google TVs. XBMC fully supports digital surround sound up to 7.1 channels, web content streams such as Hulu.com or Netflix, remote control via iOS, iTunes libraries, Apple Movie Trailers, Youtube, and much more.
We all have our preferred method for organizing our respective desktops, naming folders, storing pictures and attempting to keep all our digital work in some kind of order. Some of us arrange over used folders with “date modified” so as to keep the newest clutter most accessible. Others are rigorous with folder to subfolder perfection, naming each week of the quarter for their academic work. But what about digital video content, be it Blu-Ray rips (the legal kind of course), mpg, avi, or .mkv files? This is where XBMC comes in. Short for Xbox Media Center, upon which it was based, this piece of community software is created and updated by a non profit group of programmers. The original Xbox by Microsoft featured a media player library that was the inspiration and foundational source for what is now a cross platform, python based program. XBMC goes well beyond just playing media of nearly any kind, it replaces your “double click, make full screen, hide mouse” routine with an immersive visual experience.

Let’s run through what you will need to get started. XBMC is compatible with a whole host of systems, but what is of key importance is having a video card capable of playing the media of your choice. Most computers built within the last three to four years can handle standard video up to 720p high definition content. 720p is the highest quality current broadcast on television, meaning that all that fancy cable/satellite stuff your dad pays for to watch the Superbowl 2012 in HD is merely 720p, and a common quality now on the web. You may have watched the most recent movie trailer in HD on Youtube for example. 1080p, the current highest level of screen definition readily available requires a little beefier hardware but most mid level machines made in the past two to three years should have no issue with it. Since XBMC is available for the Mac OS (both Intel and PPC based), Linux, Windows, and even as a software mod for the older generation Apple TV, chances are, you can run it. Finding a machine that can power XBMC for your home theater is not expensive and most likely that laptop you bought for class is more than enough. System requirements are listed here.
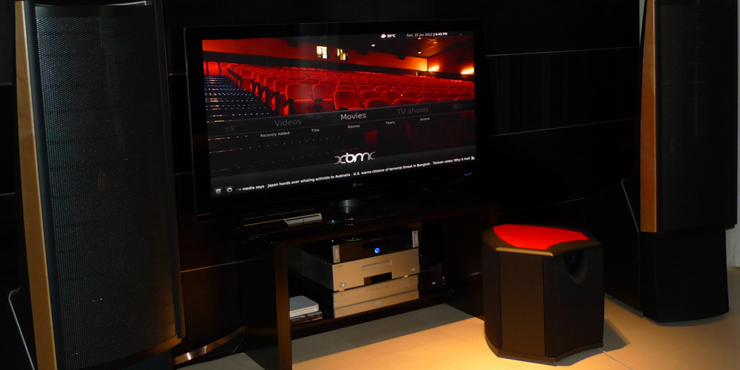
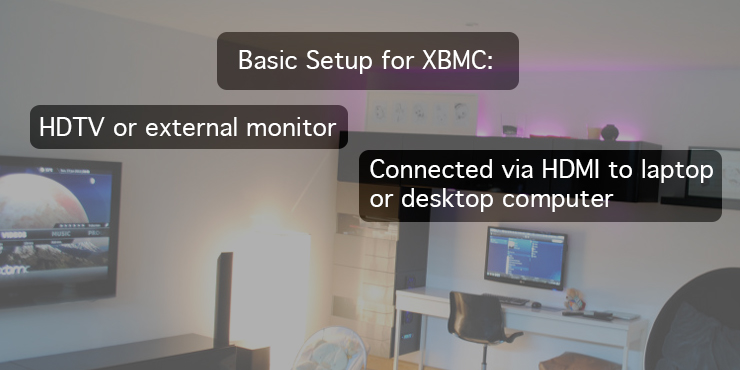
Note: you do not have to have an HDTV or external monitor to use XBMC, as it will happily use your laptop or desktop monitor to display content. However, the most common setups for XBMC utilize a second screen as seen below.
The Setup
1. Download XBMC from: http://xbmc.org and install
2. Connect your external display if using one
3. Open XBMC
4. Begin adding content
Content
Adding content properly will ensure full functionality of XBMC. You are able to manually tell XBMC each time you want to open a video file, where it is located, but that is not the experience you are after. By following this guide you ensure that XBMC is doing all the work and providing the user experience you’re after. Remember that XBMC doesn’t require you to have your movies or tv shows in one folder, or on one computer. XBMC will happily gather TV shows from your desktop while looking for movies in your network attached storage drive in the basement. Adding shared network drives can free up your media library, and using external hard drives helps keep the clutter off your personal machine while allowing you to keep an expansive collection of videos. Read more about File Sharing over your local network here.
1. Navigate to the Videos section and select Files
2. Select Add Videos
3. The “Add Video Source” browser will be displayed. Select “Browse”.
For best results, you’ll want to have TV sources separate from Movies so that the “scrapers” (services that auto locate media info for your files) do not get the wrong information. The folder in which you keep your TV shows should be named “TV” just as your Movies folder should be simply named “Movies.”
4. Now browse to where you keep your videos stored. Once you have found the folder you keep your videos in, click the “OK” button.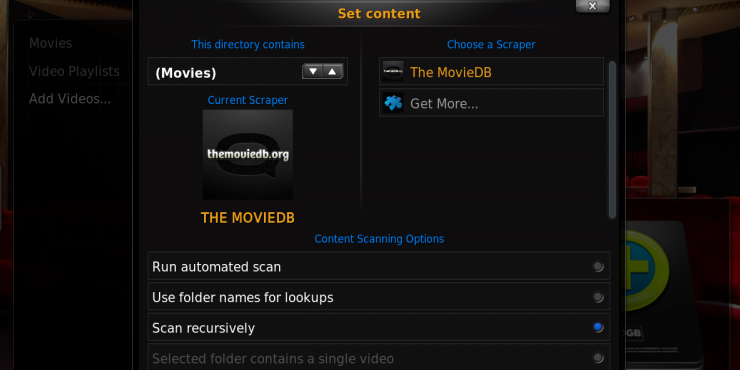
5. Once you’ve chosen a folder, you will need to designate what kind of source it is (Pictures, Movies, Television, Music, etc). For your TV folder you’ll want to select Television and ensure the proper scrapers are engaged.
6. After adding a source, XBMC will ask if you want to refresh the content for that area. Say “Yes” and navigate back to the home screen. You should now be able to select Movies or TV and be greeted with a beautiful layout of your current content.
Repeat these steps for each new media source. Read more about setup and troubleshooting from XBMC.org
File Naming
File naming becomes extremely important when using this program, as it tells the scrapers and XBMC the basic data and numeric order by which to define your video source. However, nearly all files created for download now following a naming structure, similar to “showname.season/episode.videofiletype.” If you are having issues with XBMC mismatching video files or not recognizing one of your TV shows or Movies, this is where to start. Read more about naming files and mismatched content here.
Updating Content
XBMC by default, only updates its media content information when it is first opened, meaning that you will not see a new movie or TV show you added until you either close and open the program again, or tell it to “Update Library.” There are add-ons available that will make XBMC check every few minutes or hours for new content.
Remotes
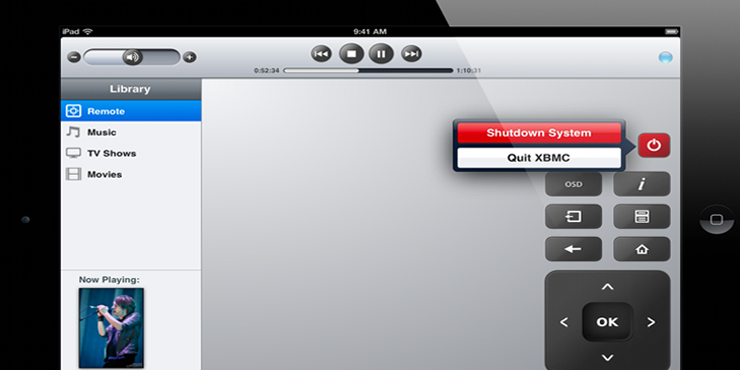
XBMC is best controlled via a remote, however, you can continue to use your keyboard and mouse, with some themes requiring keyboard only. Free remote control apps are available for iOS and Android, connecting to your XBMC machine via WIFI and controlling it remotely. This allows you to sit as far away from your tv as you want, and the apps themselves are full featured and easy to use. You are not bound to merely mobile devices, as you can use Bluetooth or even standard infrared remotes so long as they can interface with the computer running XBMC. Find the apps in the iTunes Store and Android Market by searching for “XBMC.” More info on remotes here.
Customization
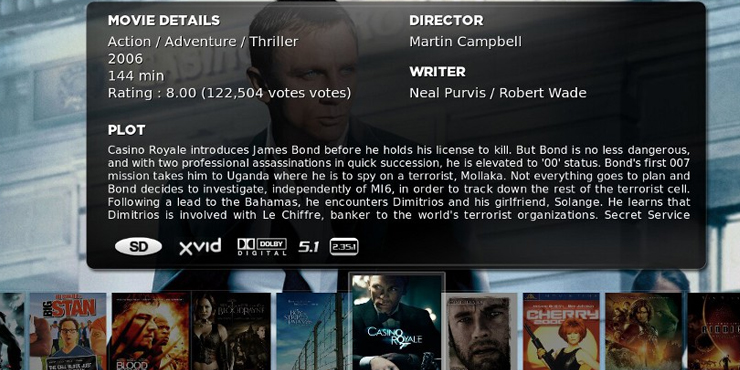
XBMC offers many “Skins,” detailed layout and user interface modifications that are all visually stunning.
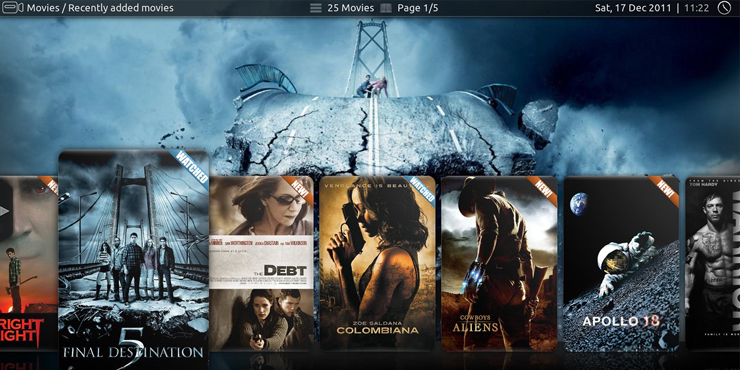
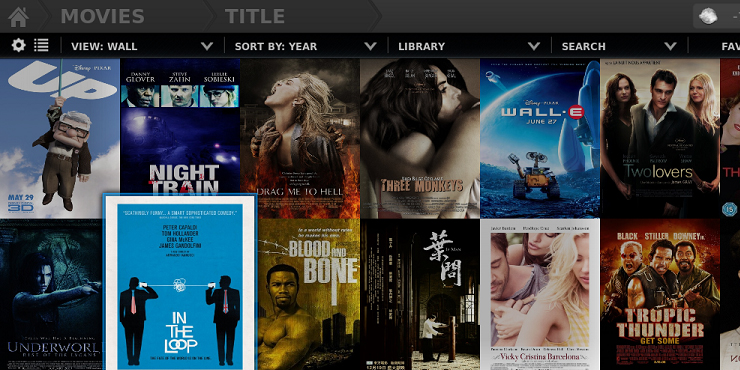
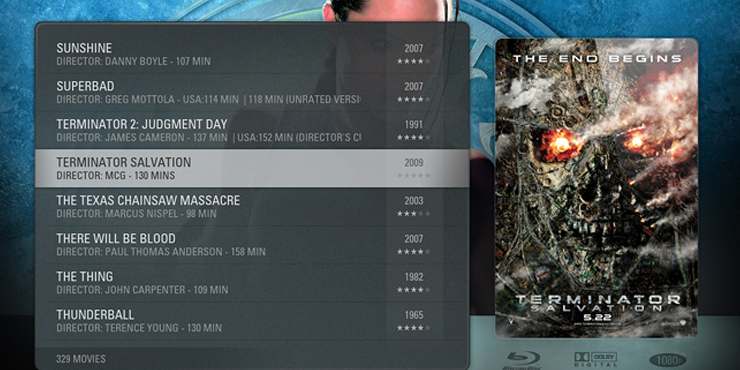
Within each skin there is the ability to change the view types for your selected content region. For example, you can have movie posters or icons, or a flat list of movie titles displayed.
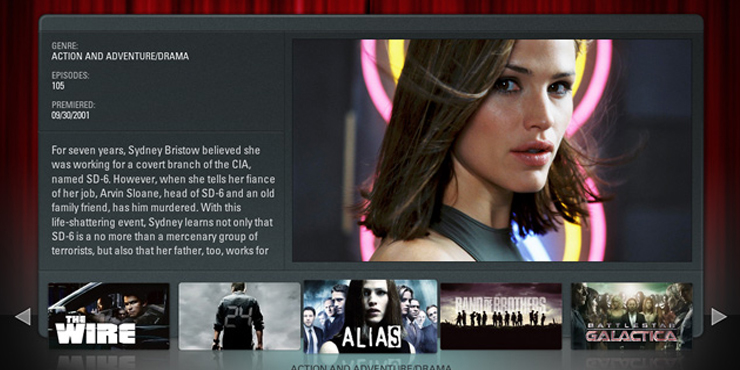
The Aeon theme supports many types of layouts.
Add Ons
There are a multitude of add-ons for XBMC, from auto library updater to built in Hulu Web TV, as well as Nintendo Rom Emulators so you can kick back with your remote and play Mario Bros. The list is immense and some add ons take a little technical tweaking to work. However there is a detailed wiki on how to install and use each one, so read more about add ons at xbmc.org.
Netflix Support
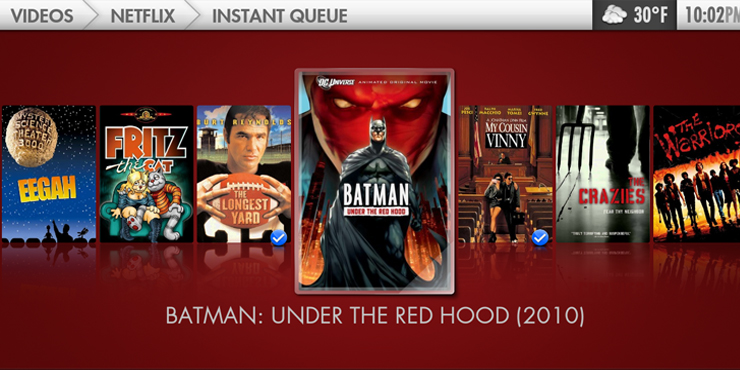
One of the most notable add ons is Netflix, granting you access to the uber popular streaming content site from within your XBMC setup. What this effectively does is replace the need for Netflix boxes, internet connected video players such as The Roku. Ready to add Netflix to your XBMC setup? Read more about the add-on here.
Resources:
XBMC.org maintains a detailed and easy wiki site for setup and troubleshooting. You can post your issues to their forums, which are filled with knowledgeable users and some of the founding members of the program. If you are interested in viewing some of the more amazing user home theater builds, check out the “show off your setup” thread here.
Comments are closed.