Week 7 – Weaving Reflection

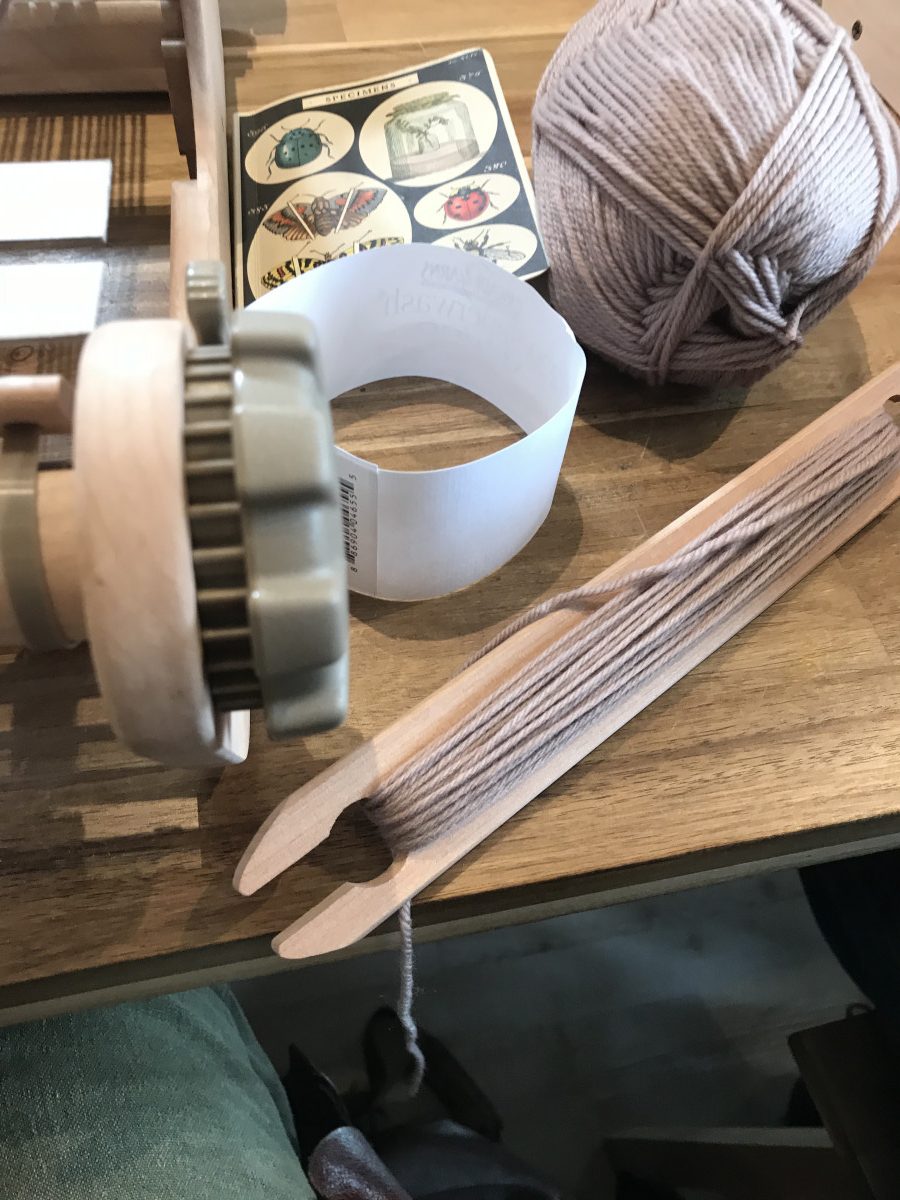
During weeks 6 and 7, I was able to attend a two part weaving course at the Nifty Knitter in Issaquah. It was a very introductory level course, but I found the teaching style/community to be much less welcoming than what I had experienced at Arbutus.

The loom after being warped – a simple task that the instructor made sound like the end of the world.

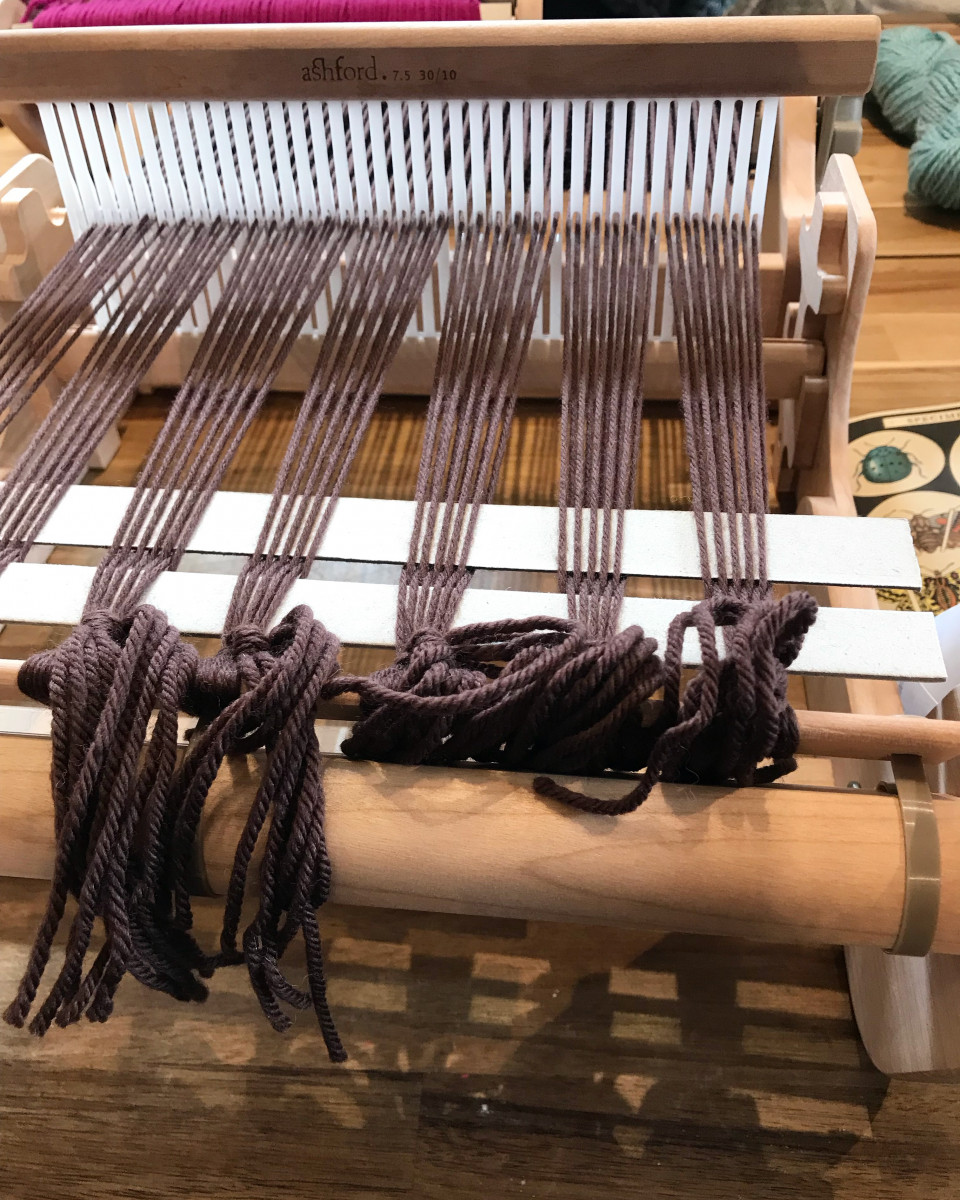
I successfully wove my very first scarf and was super pleased with the outcome and the level of ease that is associated with simple weaving, however I was not thrilled with the approach that the teacher took in instruction us beginning weavers. For the past seven weeks, my work has led me to the conclusion that in fashion and textiles, visual perfection and symmetry will always be overrated. I believe its one of the main reasons we have so much waste with textiles being produced on an industrial scale, and also the reason that small craftspeople cannot compete with machine-rendered textiles. While I was at the weaving class, the teacher kept emphasizing perfection, symmetry, cleanness of lines, and other aspects that actually had nothing to do with the structural integrity of the garment and instead, in my opinion, wasted time and material. She kept stressing how difficult weaving is and how much work it takes you to be perfect, but the whole time I could not stop myself from being incredibly skeptical about her comments.

The shuttle used to guide the yarn through the loom.

Overall, I felt like the craft world in this particular community was one reserved for rich old ladies who needed something to fill their time and pour their excessive disposable income into (I was the youngest in the room by 30 years), it was not meant to be a useful task. This is unfortunately what I think a lot of the craft world in the United States is saturated with. It is not made to be a practical, attainable skill – if it were, there would be no lucrative market for it at all.

Why do the lines need to be perfectly lined up? Why can’t there be little snags or fluffs here and there? Sure, a machine wouldn’t do it that way, but if a machine can do it better, why are we even doing it at all? I think the answer to that last question goes back to what I have been finding to be the most prominent theme in the conclusions I have been making: human interaction with fiber and fabric creates a narrative that industrialized machinery is sorely lacking.

Some rows into my personality-less scarf.

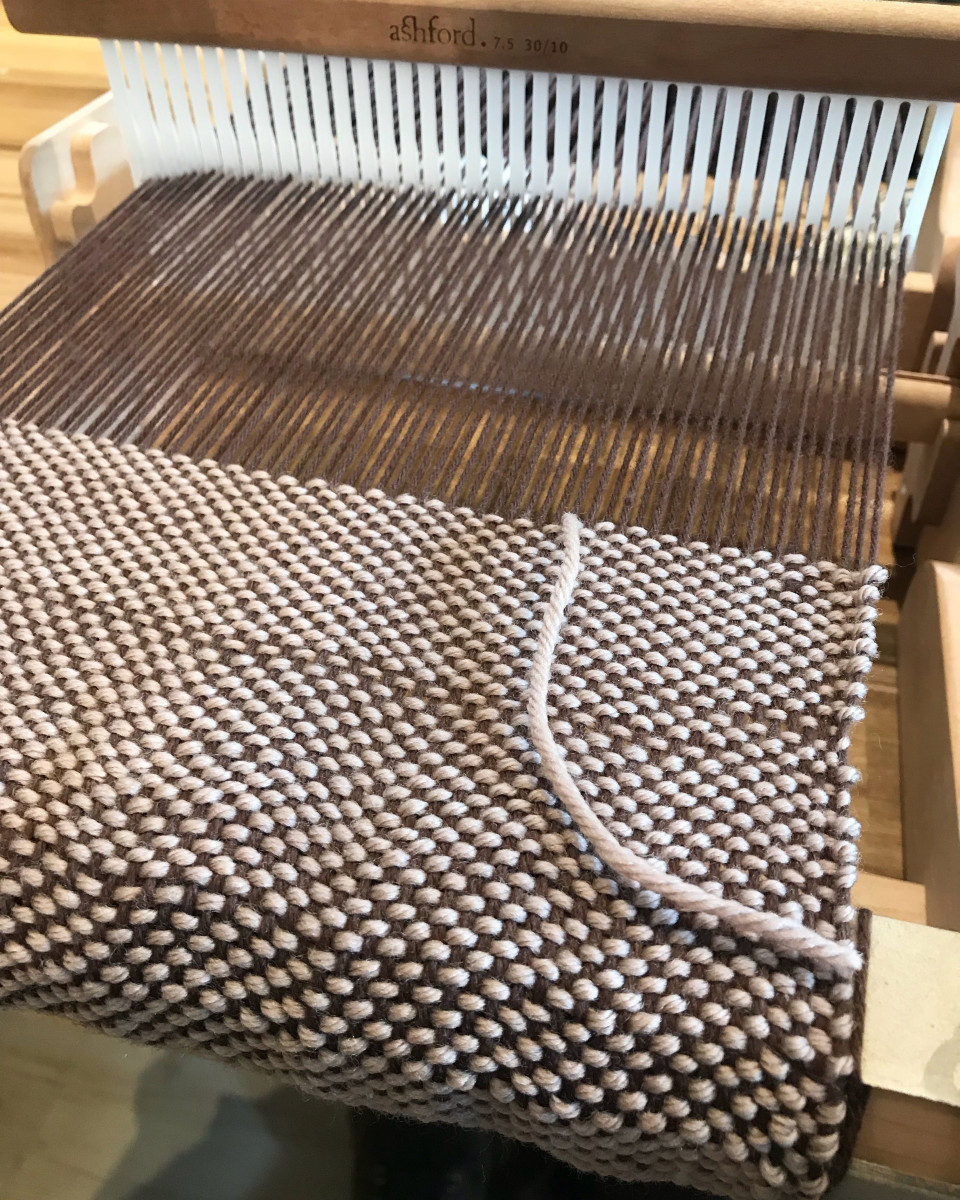
Overall, it took me about 13 hours of weaving to finish my scarf. In order to make the minimal living wage from that amount of work (let’s say $11/hr), I would need to charge about $150 for it. To be honest, with the scarf that I made from the boring, textureless, perfect yarn that I was given alongside instructions to be as precise as possible, I would not in a million years pay $150 for that scarf. I do believe, however, that there is a way to create something that is totally unique and quite priceless when you allow your work to have personality in every step of its life cycle. From the methods employed to spin, weave, finish, dye – each and every stop allows for an opportunity to create something completely and entirely its own story.

Spinning from the Beginning Week 3

The drum carder next to the alpaca wool that I used for the blend.

This past week at the spinning class at Arbutus Folk School, we began to dive into carding and picking fibers. We started class by going over the basic tools and equipment used in carding. Emily was kind enough to bring both her drum carder and hand carders with her to class, so we were able to get hands on experience.

The drum carder is just a mechanized version of hand carders – instead of manually brushing the two up against each other, you simply turn the knob that spin circular carders against each other, thus creating the same effect in a much more efficient manner. I also found that the drum carder was easier for keeping the carded fibers together which then makes it a bit more simple to draft from.

Hand carders and pickers.

While experimenting with the carders, I was able to blend alpaca, Jacob’s wool, and linen together and I’m pretty excited to try spinning it. I learned pretty quickly that I much prefer spinning alpaca to sheep’s wool, but the alpaca was a bit elastic and didn’t want to come off the carder – that’s where throwing the Jacob’s wool into the blend helped a lot.

I actually had no idea how versatile and easy it is to blend different materials, and its actually led me to wonder why we don’t do more of that in the modern day fashion industry. Surely utilizing even a little bit of many different kinds of readily available fibers makes much more sense than only using two or three crops for the entire world’s textile market.

I’m really excited to have had the opportunity to have this hands on experience – I’ve come up with ideas that I never would have even begun to dream if I had not gone back to the basics of textile production. Over the course of the next week I will be spinning, plying, and hopefully (if I have the time) dying the alpaca blend that I created.


Spinning From the Beginning – Week One

On Monday evening I attended my first class on wool spinning at Arbutus Folk School. To start the class, we went over the basics of protein fibers and discussed the various different methods of processing and prepping the fibers for spinning. This being my first time actually interacting with wool and a drop spindle, I was actually incredibly surprised by how much knowledge I had retained from the reading I have been doing on the subject over the past couple of weeks.

I did, however, learn quite a few new concepts that I will list here:

  • When spinning, there are two different kinds of spinning techniques: the “Z Twist” and the “S Twist” (Basically clockwise and counter clockwise)
  • When plying, you must spin in the opposite direction that the wool was spun in
  • When buying “roving” (cleaned and carded wool) you should look for fiber that has a staple of at least 3 inches, anything less than that probably is not worth your money
  • Good fleece makes a “ping” noise when you hold it up to your ear and tug
  • Just like humans, wool producing animals exhibit health issues in their fleece, so an animal that has undergone a hard winter, pregnancy, stress, etc will have sections that break when tugged

We then went through the life cycle of wool and what steps need to be taken in order to create spun wool most efficiently. This is exhibited in the diagram Emily showed us from the book “Textile Tools of Colonial Homes”

The wool cycle from “Textile Tools of Colonial Homes”

Finally, we got to spinning our first wool. We began by “pre-drafting” the roving we were given. We did this by gently pulling the roving apart in order to create a thinner, longer piece. This is done in order to make the spinning process go a bit quicker and smoothing.

After that, the act of spinning itself was actually surprisingly intuitive. It was comprised of using the drop spindle as sort of weight that lead the twist and pinching of the roving at certain points in order to control the width of the wool. I’m really pleased with my first attempt at spinning:

My first attempt at hand spun wool!

At the end of class, we were given some roving to practice with and the homework assignment to spin 4 nights out of the week and to spin all of the materials we were sent home with. Next week we’ll learn how to ply our yarn so that we can have a finished product.

Visit to Olympic Yarn & Fiber

Today I had the privilege of visiting Lynn at Olympic Yarn & Fiber and getting the opportunity to ask her questions about her process and business. She was incredibly helpful and happy to talk about her convictions as a small business owner as well as to share her extensive knowledge of fiber processing.

We went through her mill and she walked us through each of the steps that she takes to process animal fibers.

First, she scours the fleece to clean it and lets it sit out to dry. Here’s a photo of some Suri fleece after being scoured:

Then, the wool is place in the picking machine which straightens out the fibers and loosens them up.

A video of the picking machine in action:

A photo of the contrast between pre-picking wool and post-picking (the one on the left went through the picker):

Next, the wool is placed in the carding machine to separate and straighten the fibers (unfortunately I wasn’t able to get a video of the carding machine as it wasn’t in use)

After carding, the wool is sent through the drafting machine to turn the wool into a continuous line of fiber

A video of the drafting machine:

Wool after going through the drafting machine:

Finally, the wool is placed on the spinner to be spun onto spools

A video of Lynn setting up the spinner:

And here’s what the finished two-ply yarn looked like:

Overall, it was very helpful for me to see the mechanized process all the way through. After weeks now of reading about the history of spinning and its evolution from hand processing and spinning, I was really pleased to have the opportunity to see just how efficient industrialized processing is.

More importantly, having the opportunity to talk to Lynn about her views on sustainability and locality was pretty eye-opening. She described her business has “cottage-esque,” meaning that it is a family-run business operating from home, but it still utilizes modern day advances when proven to fit in with her idea of sustainability. Lynne explained that she believes strongly in having family businesses that fill the role of specific tasks that a community needs done – her place is to process both her own fiber and that from others.

This was an interesting idea for me since oftentimes the only time I’ve seen business models that utilize heavy machinery are ones that also rely heavily on importing and exporting their products. Visiting Olympic Yarn & Fiber, however, helped me to see that mechanization does not necessarily have to mean globalization, just as efficiency doesn’t necessarily have to mean profit over quality.


Using Computer Algorithms to Generate New Patterns for Antique Lace

Lecture given by Dr. Veronika Irvine

Notes:

  • Computer scientist & fiber artist – using both to create art
  • “tatting” – lace making

Bobbin lace –

  • 500 year-old art
  • Portrait of Margherita Gonzaga – lace collar constructed of bobbin lace, much of original bobbin lace has been broken down
  • The only way to know what historical bobbin lace looked like is through paintings
  • Chantilly lace is a specific kind of bobbin lace
  • All one continuous piece that take on different appearances in different spots
  • 100,000 people left that know how to make bobbin lace – most over the age of 60

Science and Textiles:

  • NASA turned to traditional textile weaving techniques so that the material on the cone of spaceships would not stretch
  • Carbon fiber – New material for architecture – Lightweight but strong – 3D printing uses this material – can code lace-like designs to print and fill spaces

Practice of Lace-making

  • Always work with 4 threads at a time – either do a cross or a twist
  • Cross – cross over two middle threads
  • Twist – twist left thread over right
  • Does not matter what combination of cross/twist you use, threads will always have over and under pattern
  • Threads always travel in pairs, lace piece can have hundreds of threads

Comparison with weaving –

  • Weaving – threads are always vertical or horizontal, decision is which is on top and which is on bottom – creates a pattern based on which color is on top and which is on bottom
  • Jospeh-Marie Jacquard – created mechanism to lift one thread at a time for weaving, each thread segment represents a pixel
  • Only need one color with bobbin lace
  • Use “holes” to add different dimension and color

Mathematical model –

  • Single line for each pair of thread for pattern
  • Arrow to indicate the direction
  • Dot indicates some combination of cross and twist

5 Key properties –

1) Two pairs come in and two pairs leave – directed graph

2) Patterns repeats to fill any shape – doubly periodic, wrap around a torus

3) Lace is one connected piece – connected graph with combinatorial embedding of genus 1

4) Lace is a braid – crossings have a consistent partial order. No contradictable directed cycles

5) Threads are conserved – use the top of the thread all the way down to the bottom, no broken parts – partition graph drawing into a set of osculating paths, each path homotopic to a (0,1) torus knot – requires knowledge of topology, graph drawing, homeomorphisms 

  • Infinite number of lace patterns
  • Glueing together lattice paths creates a lace pattern
  • Increasing the number of rows and columns creates increased number of patterns
  • Auxetic material – hinging effect where holes change, difficult to do with weaving, lace makes it easier

Reflection:

This lecture was incredible intriguing and actually quite a lot more relevant to what I am studying than I originally anticipated. Dr. Irvine gave a brief history of bobbin lace and the significance of it’s versatility as well as it’s difference from traditional weaving methods which proved to be very useful to my deciphering the different textile practices.

The comparison between lace and weaving was particularly interesting to me because I realized that what I had been doing with my hand-stitching pattern last weekend was actually a very, very simple lace pattern that I was stitching down onto a piece of material. Through this, I noticed that the art of creating knotwork and that of creating lace are actually quite similar – in fact one could argue that quite a lot knotwork patterns are just enlarged segments of lace that aren’t necessarily always represented on thread. This is because both arts follow the same basic properties: An “over/under” pattern, a single thread runs through the whole design, and lines that function in pairs.

I also was very intrigued by the complexity associated with creating designs through weaving and the comparative simplicity of lace making. It’s quite easy to think of textile crafts and mathematics/computers as mutually exclusive entities. However, when you really look at the mechanics behind those crafts, it’s very obvious that textiles are, in fact, their own form of mathematics. With this knowledge it’s suddenly easy to understand why and how that particular craft was industrialized so quickly as well as how the knowledge behind how things have been made in the past in fading at a rapid pace.


Cancelation Improvisation – Hand-Stitching

This weekend, I was meant to attend a wool felting workshop at a local farm using wool from their heritage breed sheep (a breed originating in the British Isles), but unfortunately the event was canceled at the last minute. Felting happens to be one of the oldest forms of textile art found in Ireland, so I was incredibly disappointed to have missed the opportunity to learn a bit more about the art. But, I improvised and still completed some hands-on work with an art that I had a bit more experience with.

I began by reading the book Contemporary Irish Textile Art: The Women of Annaghmakerrig, small anthology of textile art done by women of different backgrounds at the Tyrone Guthrie center. The book shows pictures of the women’s work alongside explanations of the history behind different techniques and inspiration used in each piece. I was particularly inspired by the decorative stitching used in many of the pieces, as well as the themes of knotwork that were present. With this inspiration in mind, I decided to try my own hand at decorative stitching in the form of Celtic knotwork.

(some very messy freehand drafting of knot work patterns)

I chose a faux sheepskin vest that I had thrifted the week before and began drafting a pattern to follow on the back of it. It seemed appropriate for me to transform something that was originally created to be worn a few times and then disposed of into a piece of wearable art (a concept called “upcycling” that I’ll be looking into more over the next 10 weeks). Over the course of the weekend, I dedicated roughly 12 hours to drafting and sewing and not too surprisingly only barely scratched the surface of the vision I have in mind for the piece.

`

(Progress after drafting the main knotwork piece – about three hours in.)

The Women of Annaghmakerrig talked of the hours of solitude that is often accompanied by hand-rendered textile art. That is an experience that I have not been unfamiliar with in the past, however this weekend it was particularly poignant. As I was locked in my room, completely absorbed in the work I was doing while the hours flew by, I thought a good deal about the transformation of these crafts into social scenes for women of the Irish islands. I thought about the spinning circle that I attended myself when I was in Ireland earlier this year and the quiet presence that everybody enjoyed while absorbed in their own craft. This experience made it even clearer why those arts were able to endure through the industrial era and onto modern times. The shared culture and vision of people together but separately working on their own artistic vision does make for a very enjoyable and very nearly meditative experience that machines cannot replace.

(Progress as the weekend came to a close – almost done with the centerpiece at 12 hours in)

My lack of expertise in the area of hand-stitching was definitely responsible for the amount of time it took me to get the measurements of the design just right. However, even if I had more practice and was able to cut the production time in half, the amount of labour involved in the finished design that I have in mind would likely put the price of this garment at well over $200 in order for me to hypothetically make a living wage off of this particular art. As I continue to hypothesize about and participate in hand rendered crafts, I will keep the hours of labour and pricing in mind.

(the completed main piece after putting a couple more hours into it)