MONDAY
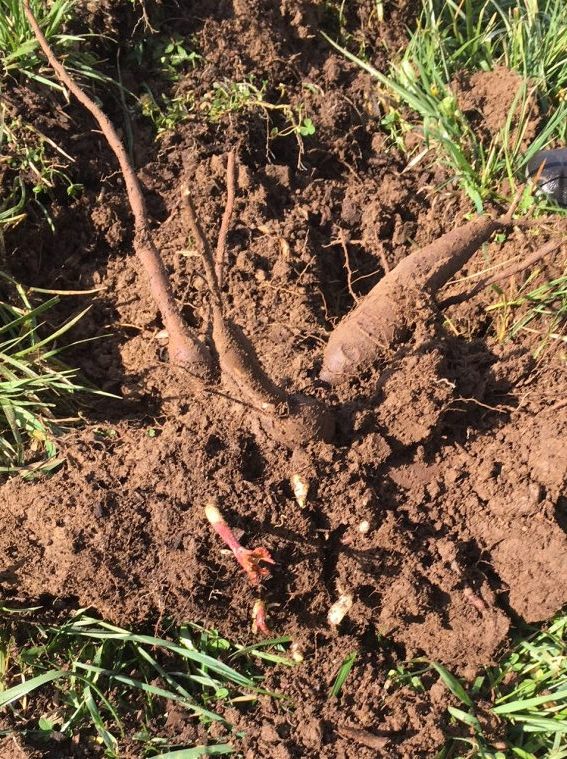
Photo: Allie Kuppenbender
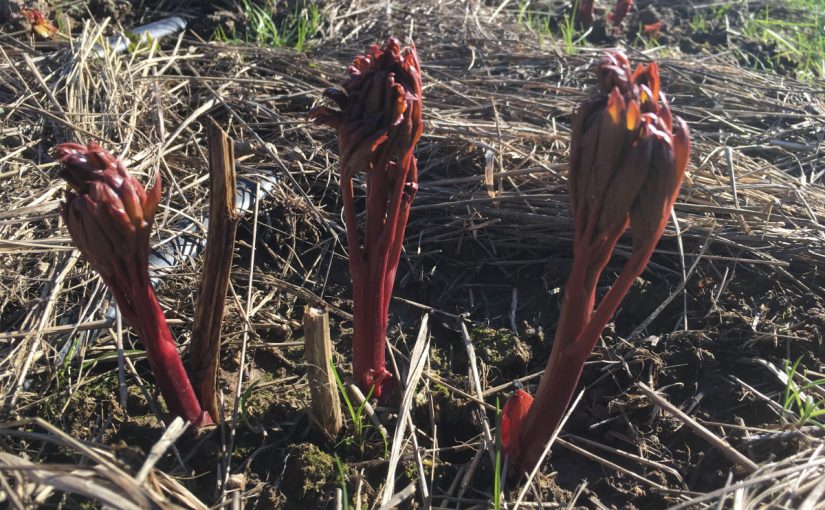
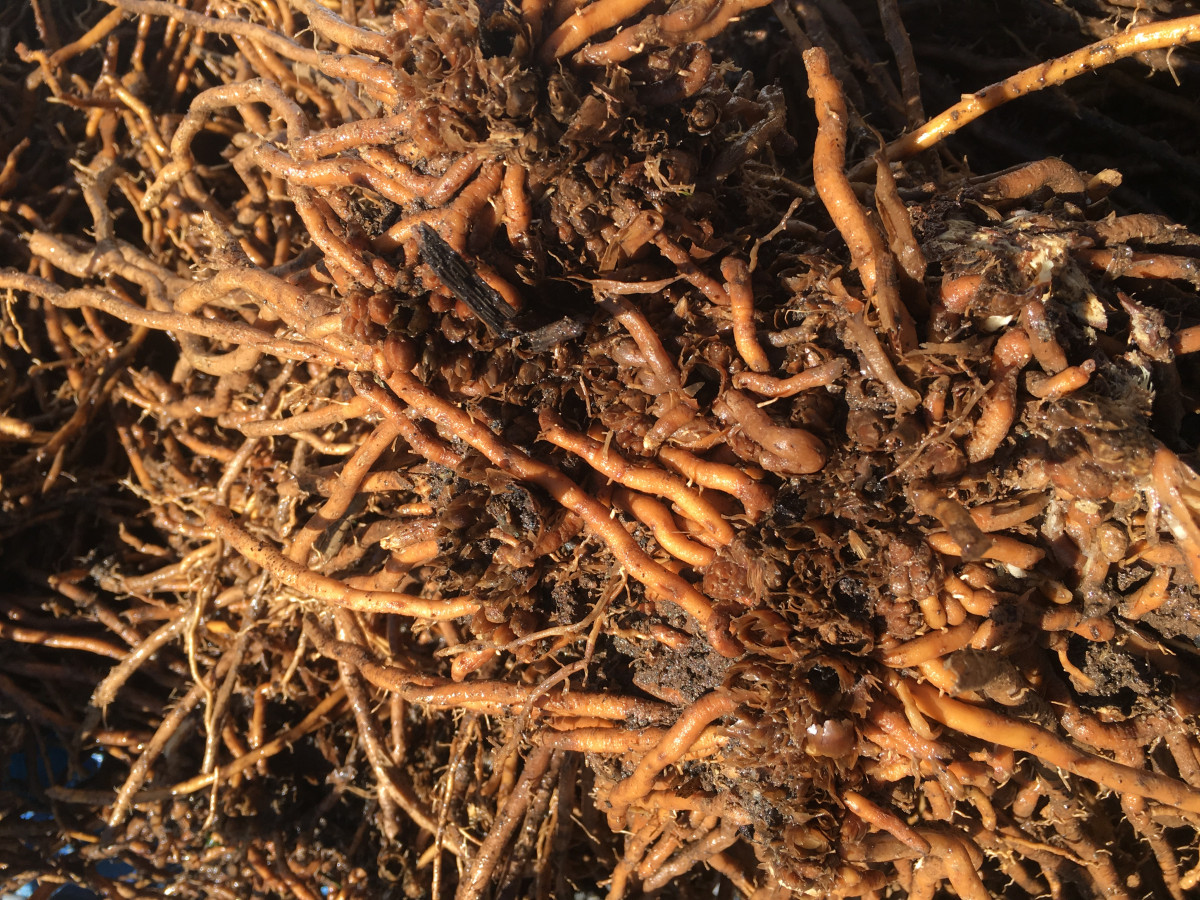
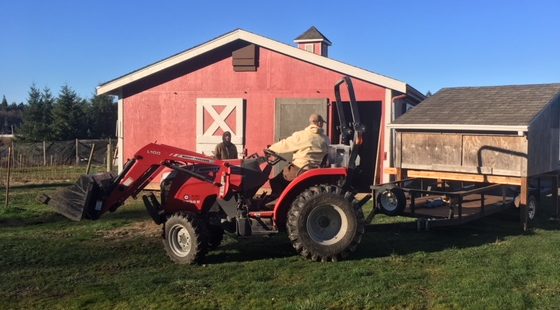
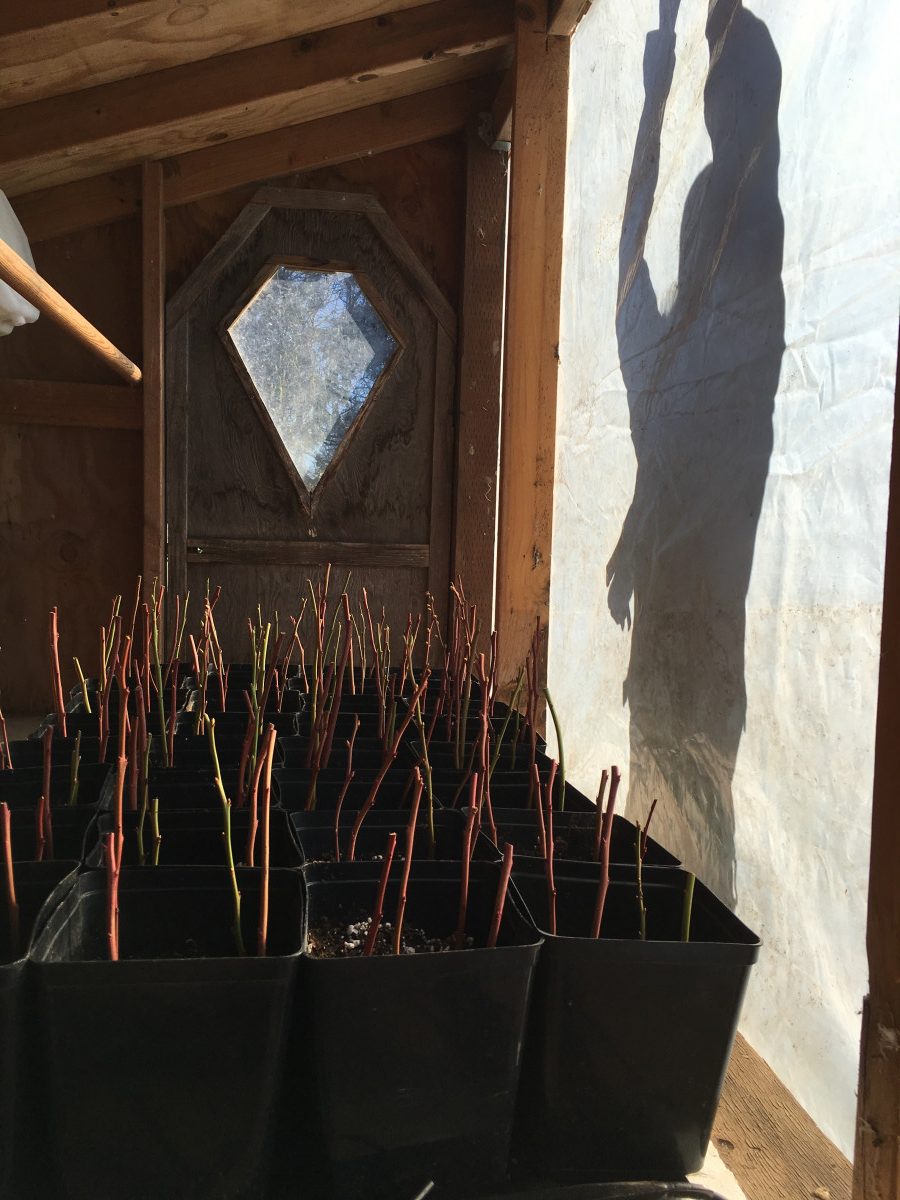
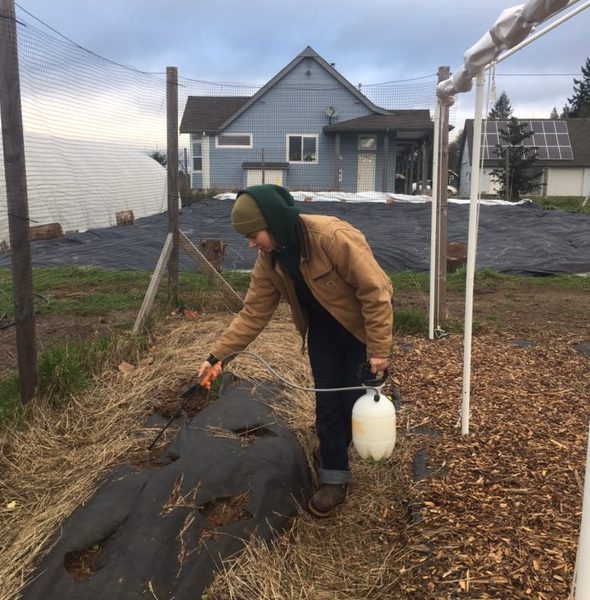
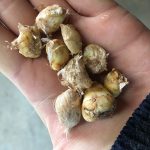
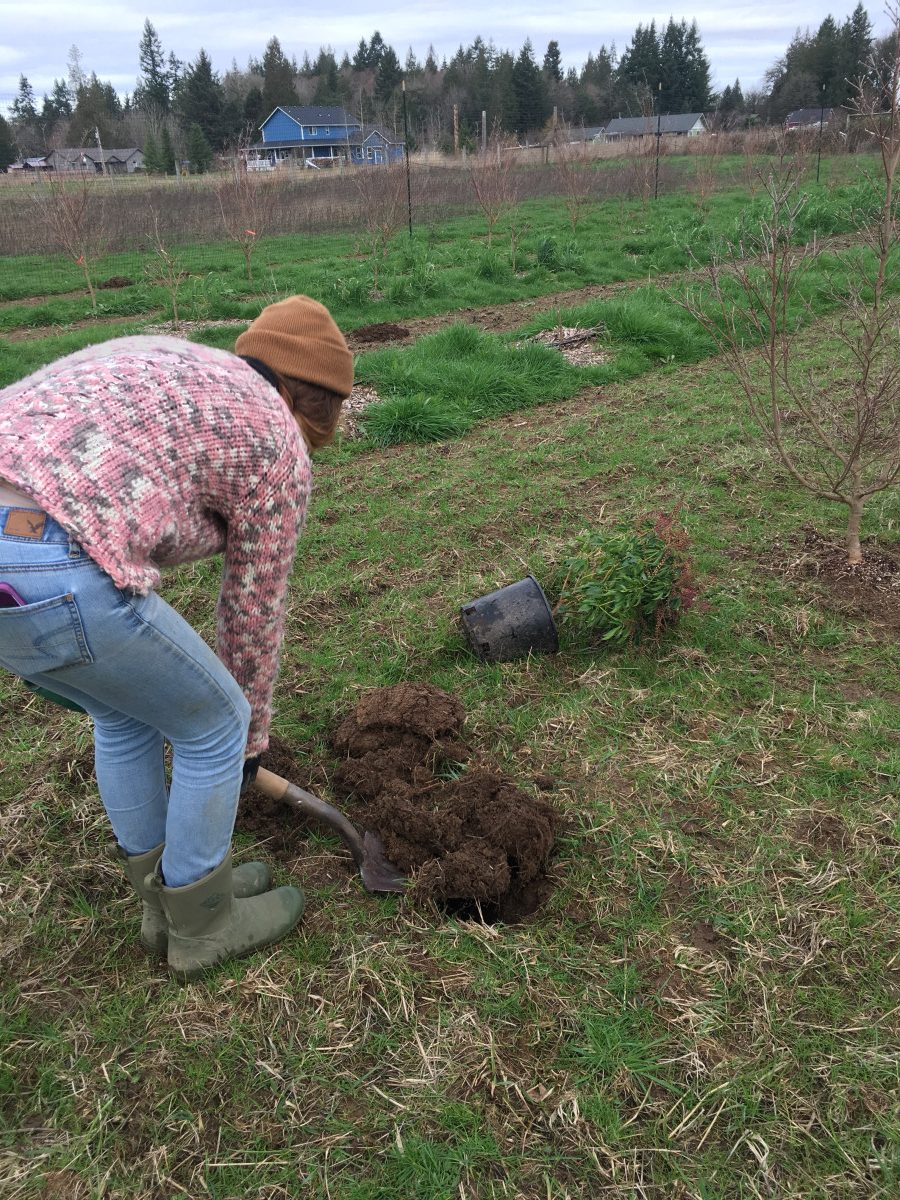
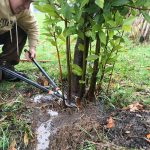
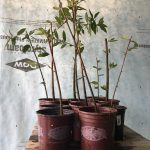
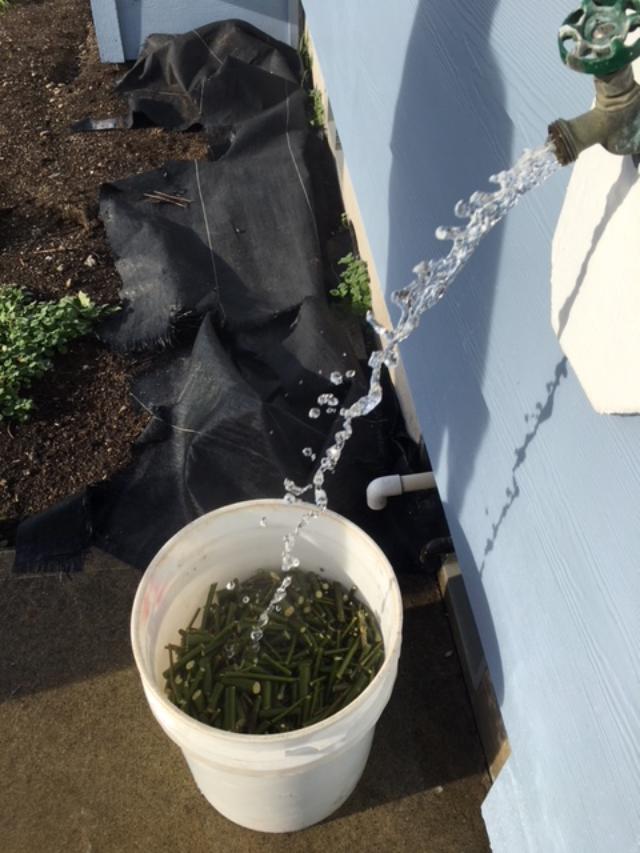
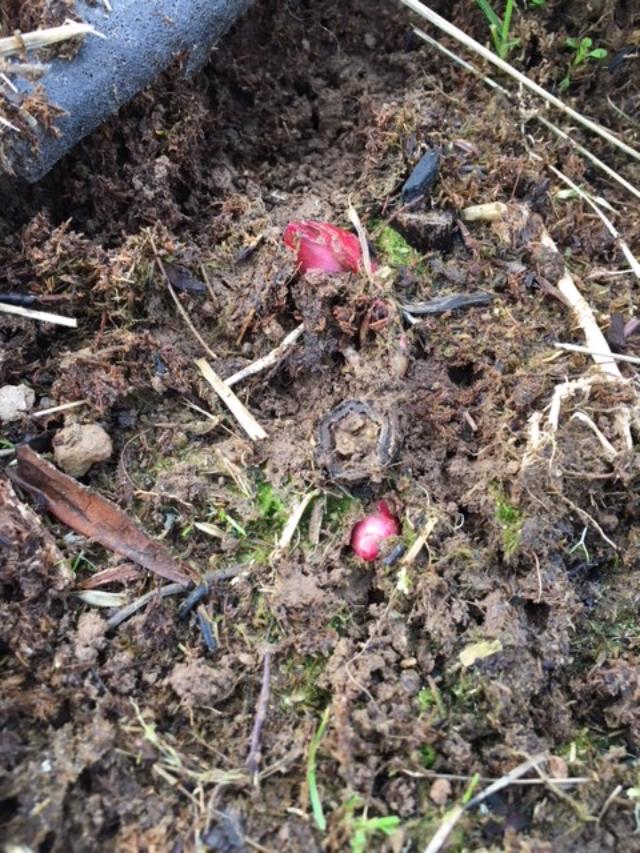
Monday Anika wasn’t feeling well on Monday so I was flying solo. The temperatures started out below freezing but ended up being in the seventies by the time I left at 3PM. Doug and I started off in the greenhouse, watering all of the seedlings. We also finished weeding bed 5 (the orphanage, where all of the misfit and mystery peonies were planted) of the peonies. Doug also found a random peony growing in the lawn by his house. Apparently, every year he finds a new couple of eyes popping up around there and every year he digs it up, thinking he has gotten the last of it, but they still seem to keep popping up. Either way, I got to see how a peony is lifted and what it looks like after being dug up and how to divide them. We squished our divisions into the orphanage bed.
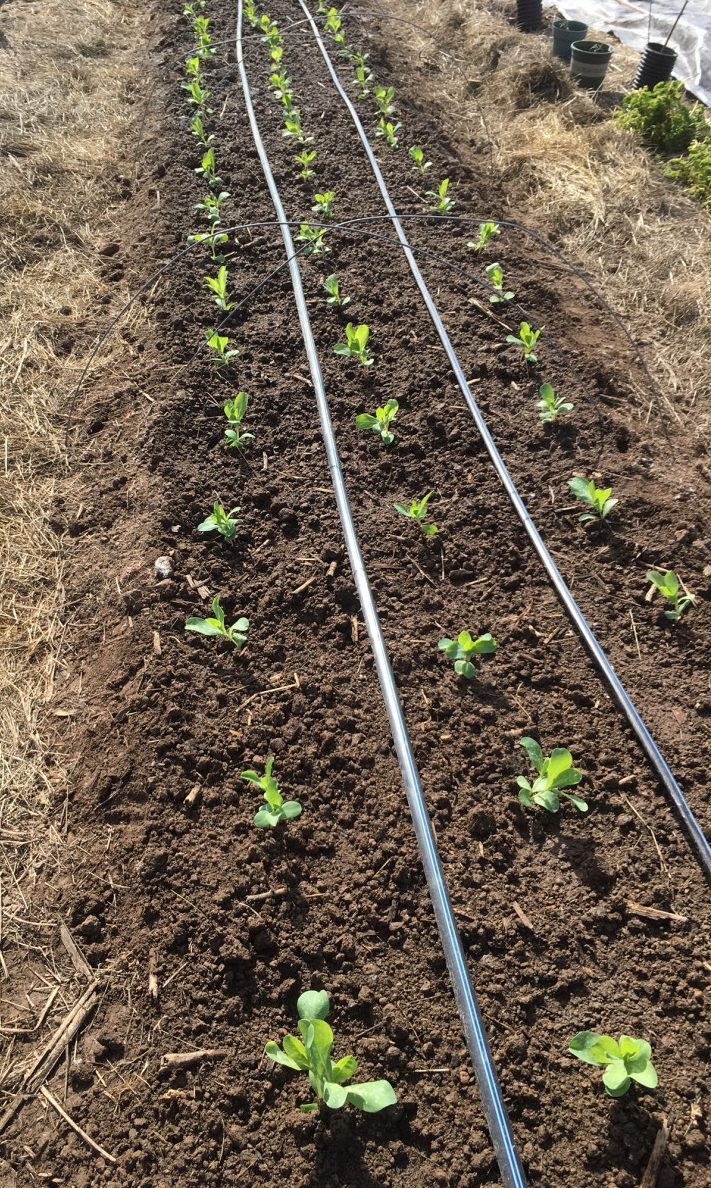
Photo: Allie Kuppenbender
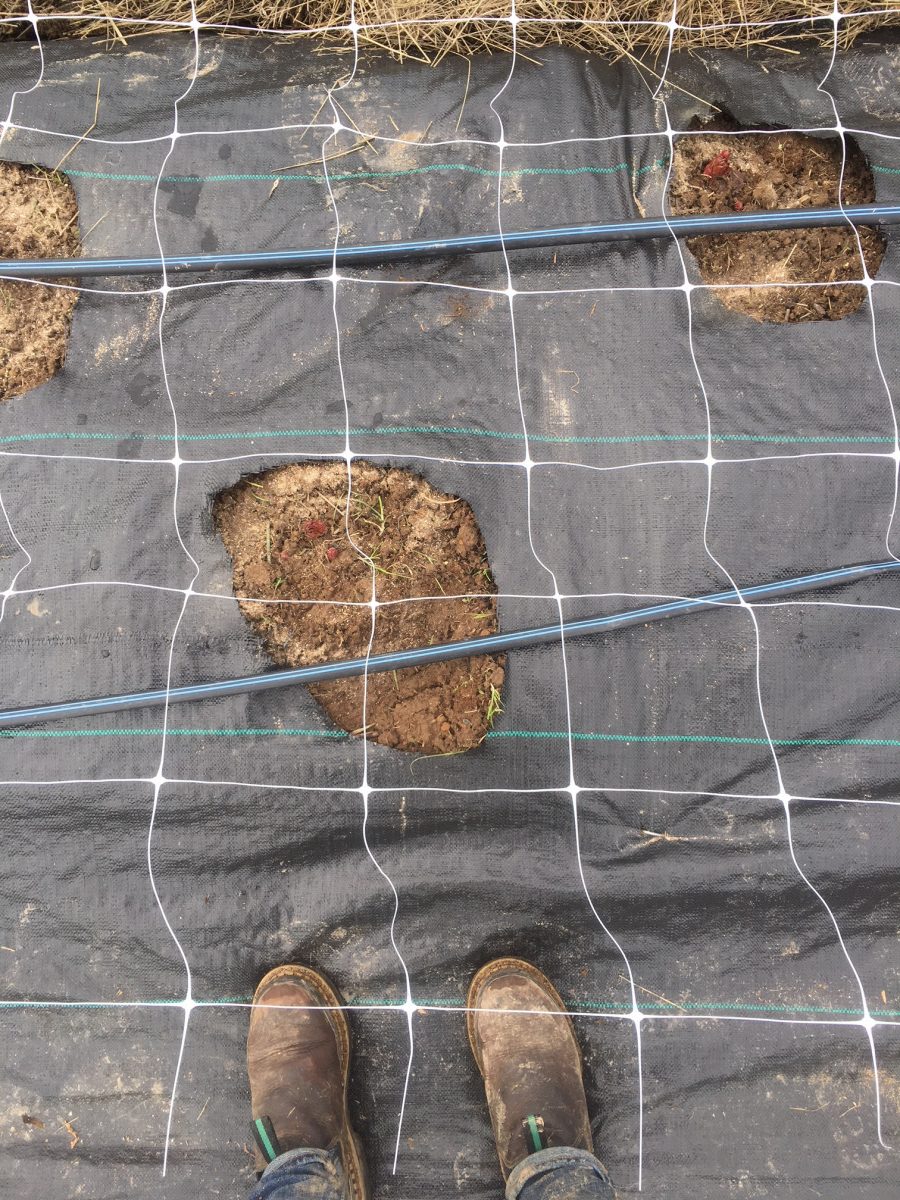
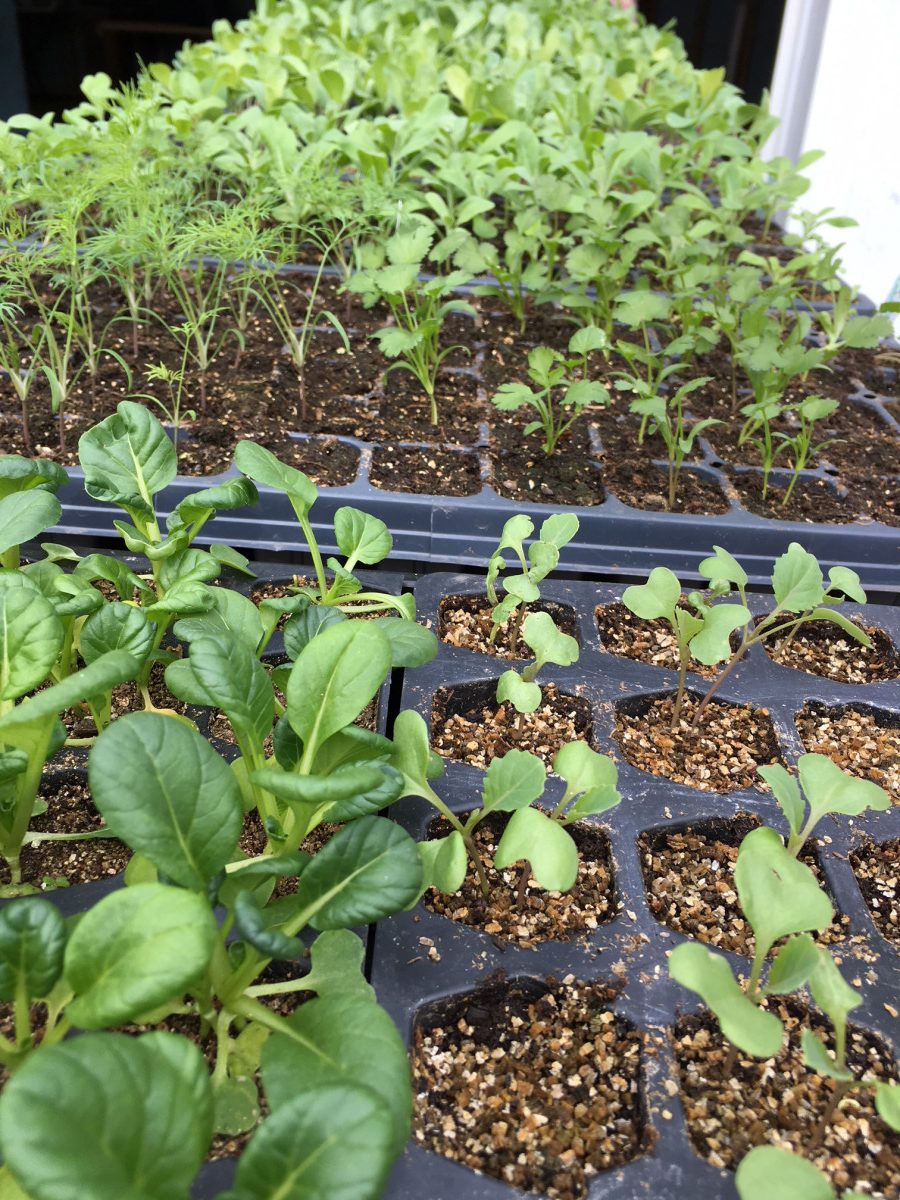
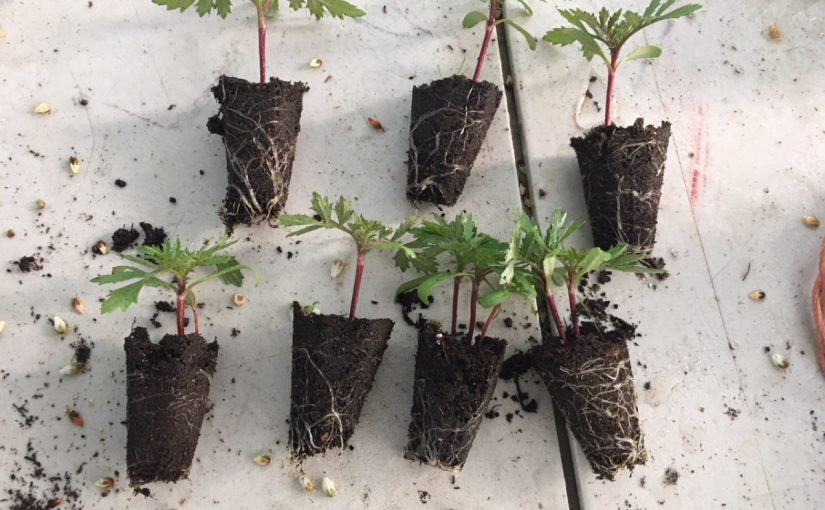
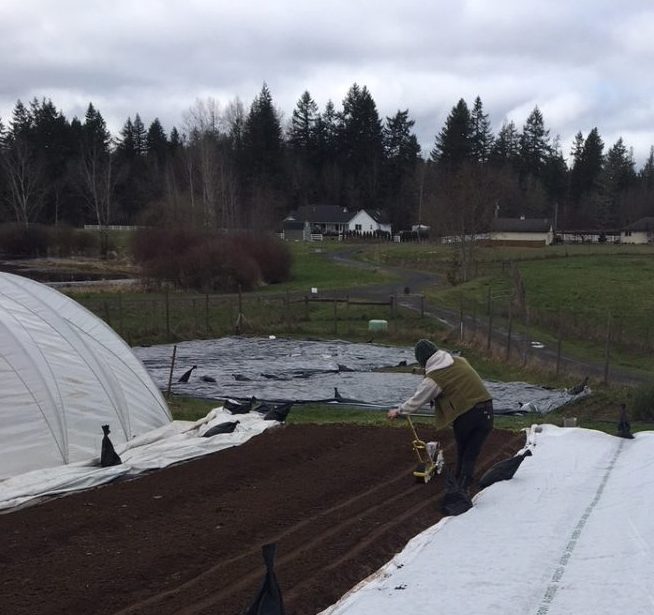
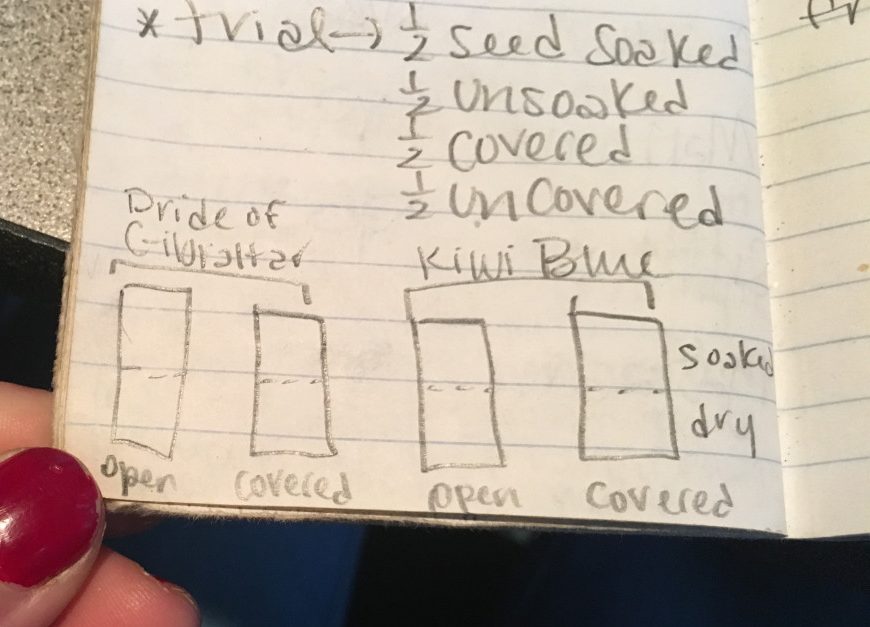
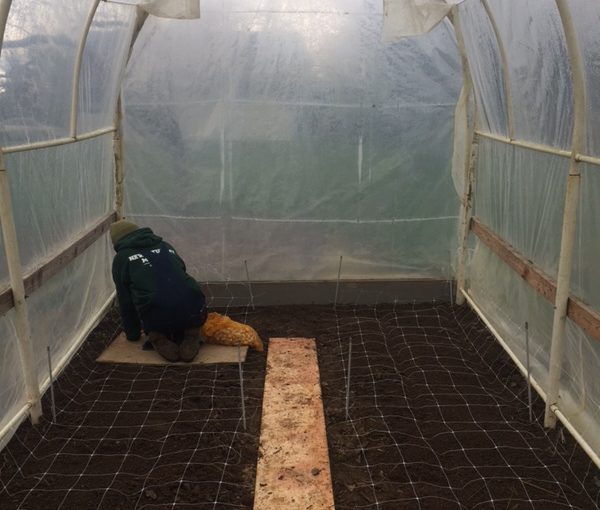
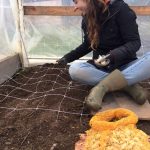
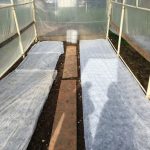
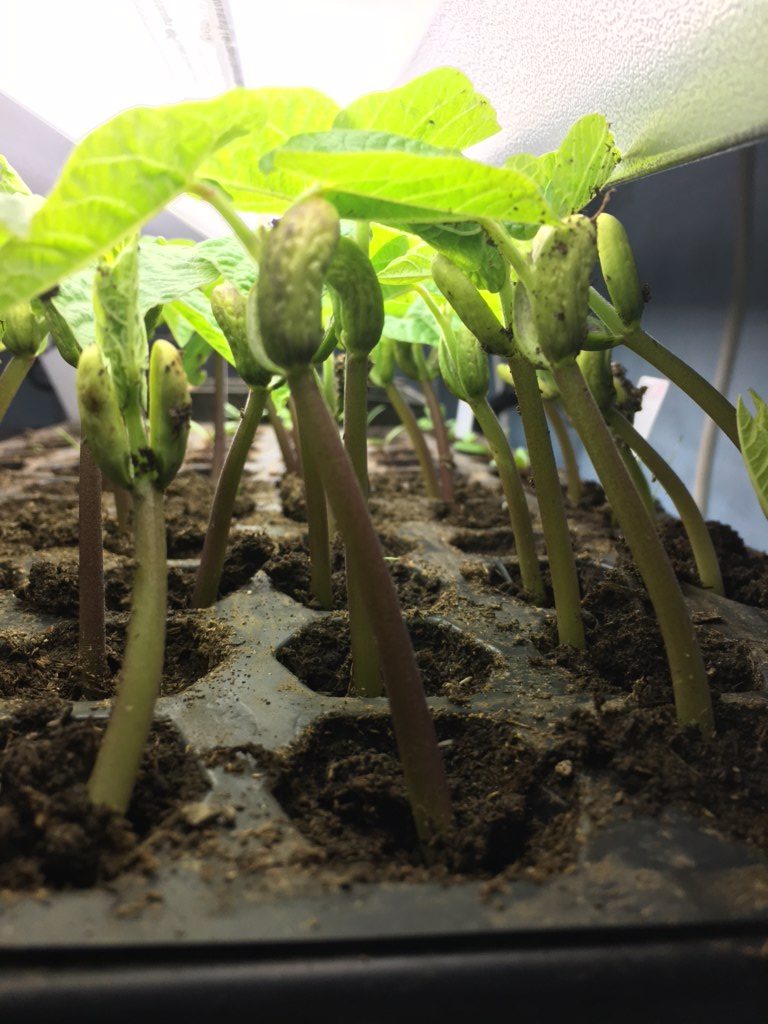
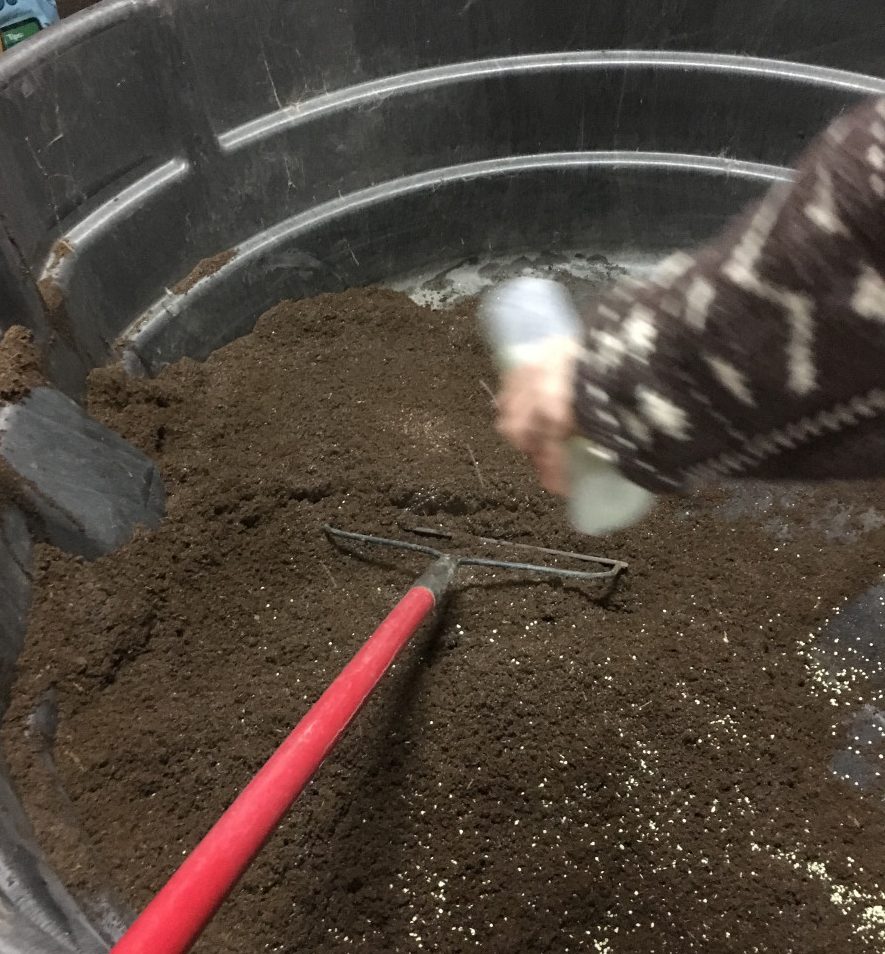
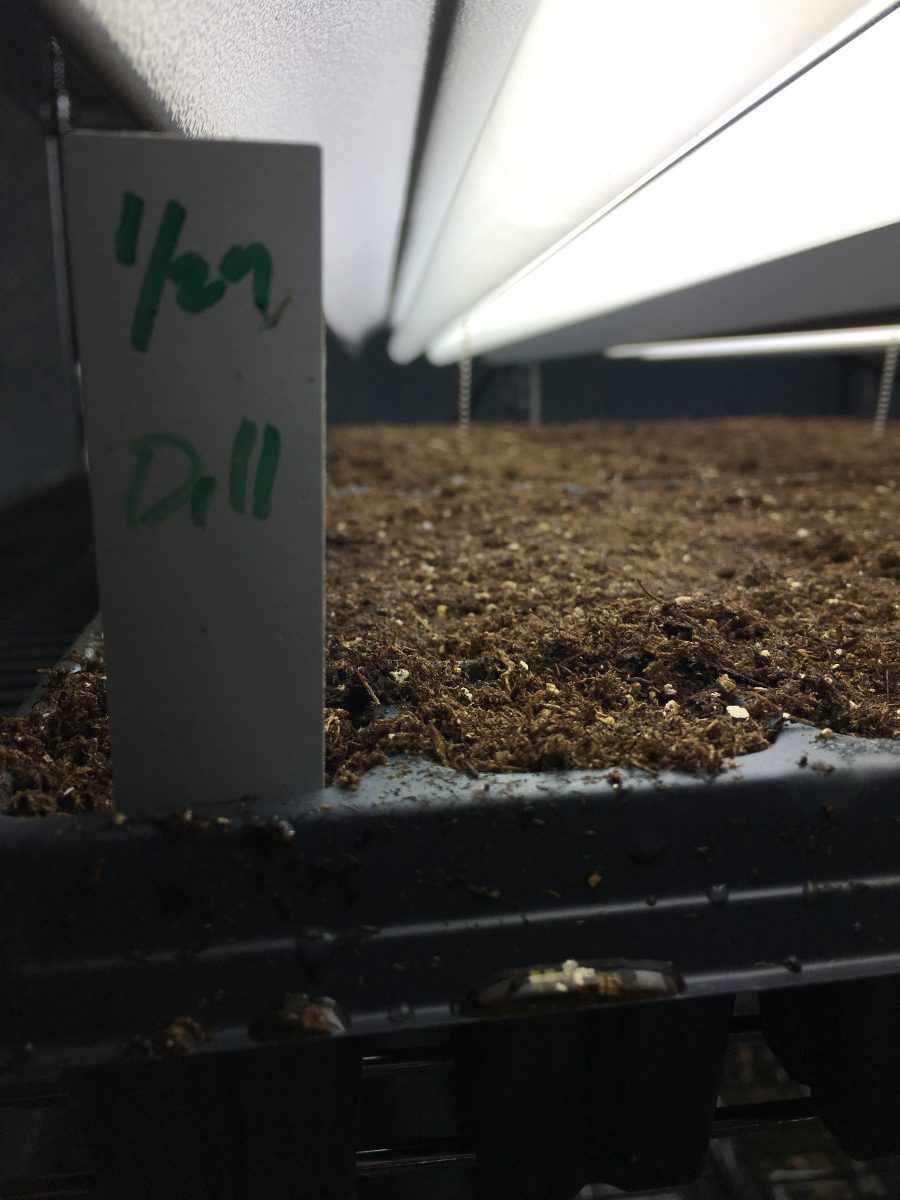
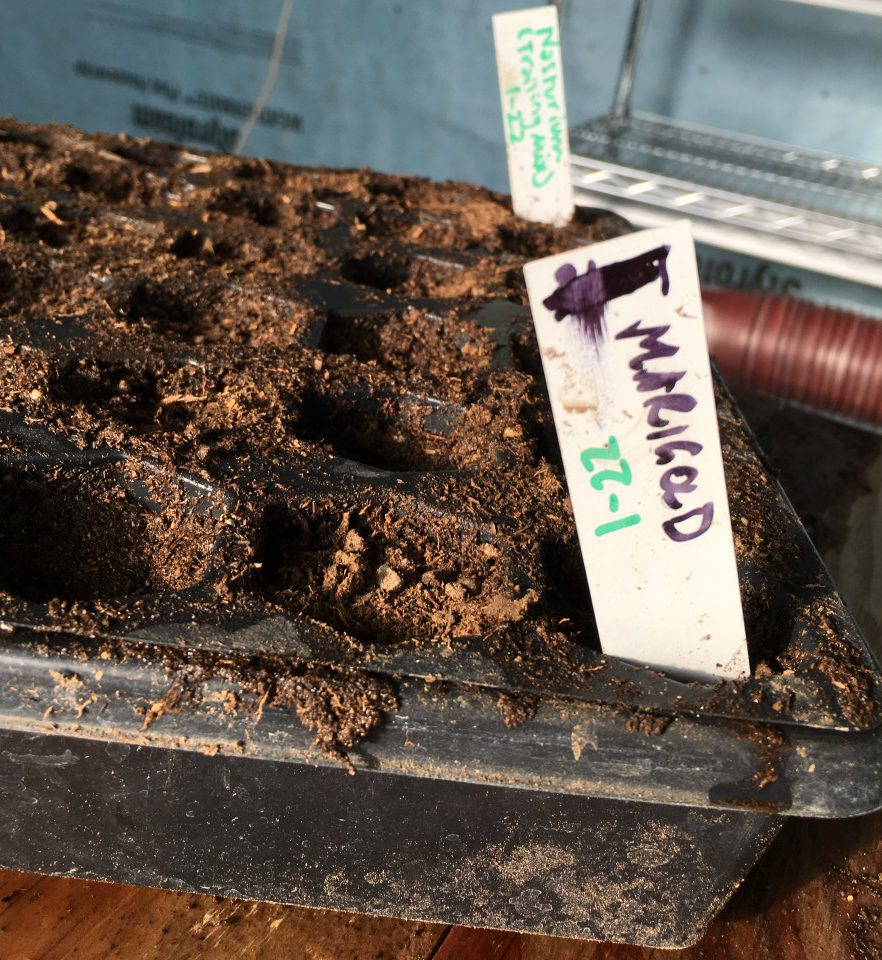
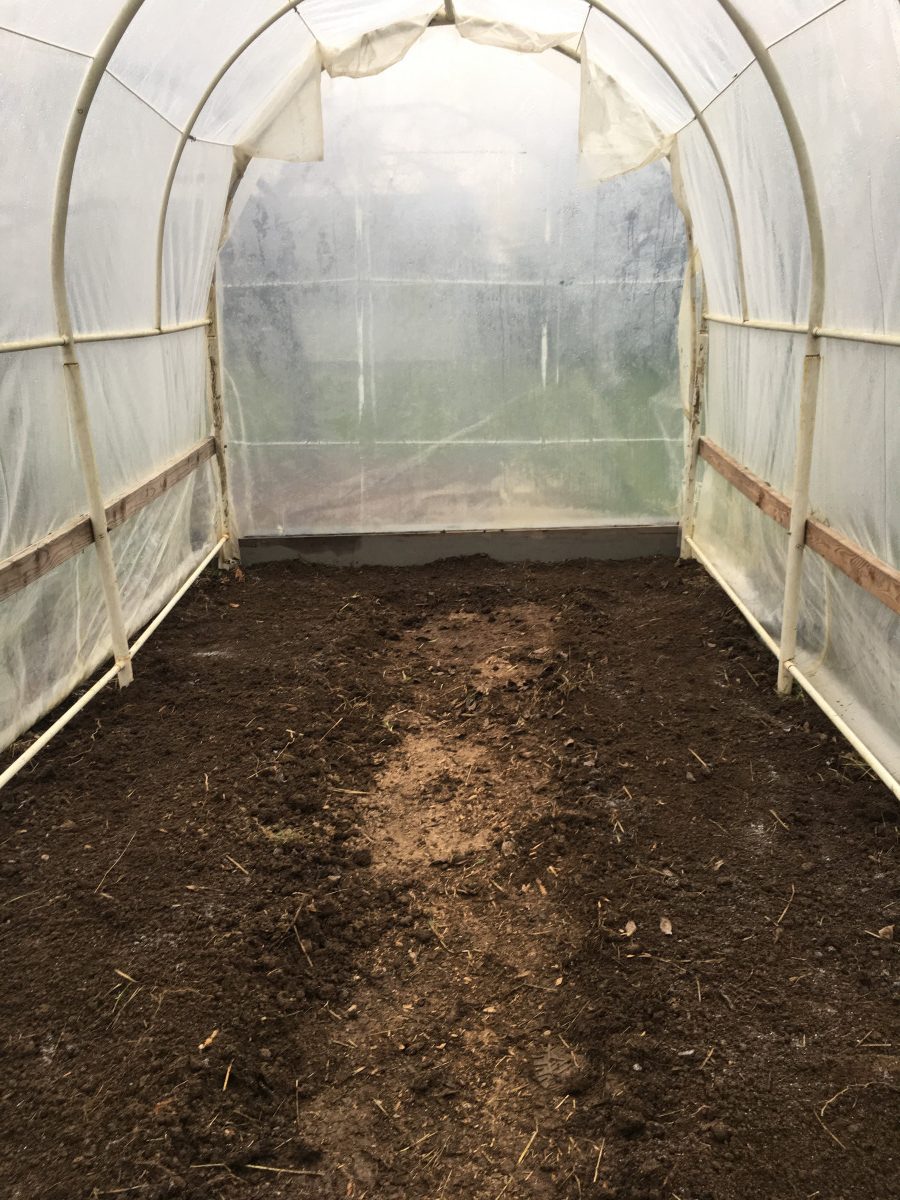
Once it got into the mid-40s outside, we transitioned to preparing the bed where the Matthiola and Cerinthe were to planted. Doug had already removed the occultation tarp over the weekend to let the bed dry out and had Phalin power harrow the bonemeal in. We set up drip tape and put up the support for the row cover that will keep the plants warm and pest-free. Then we got to planting. We planted out two trays of Matthiola (one of each variety, Glory Lavender and Noble White) and two and a half trays of Cerinthe (Kiwi Blue variety). The bed is 75 feet long, and we planted three rows of each. The Matthiola spacing was 6-8 inches apart and the Cerinthe was a foot apart. The Matthiola’s roots were not as mature as the first two flats of Cerinthe which were nearly pot bound, meaning the Matthiola takes a little longer than the Cerinthe in terms of days to maturity in the greenhouse. It was also interesting to see the first two trays of the Cerinthe (seeded 2/5) which were just past prime for transplanting versus the half flat of Cerinthe we stuck into the bed (seeded 2/13) which were not quite ready to be put out into the field (roots not quite long enough, stems kind of flimsy).
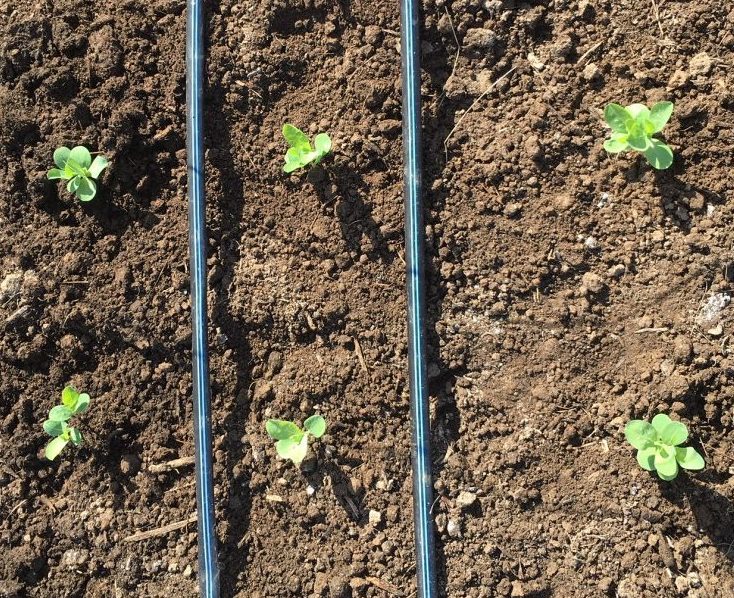
Photo: Allie Kuppenbender
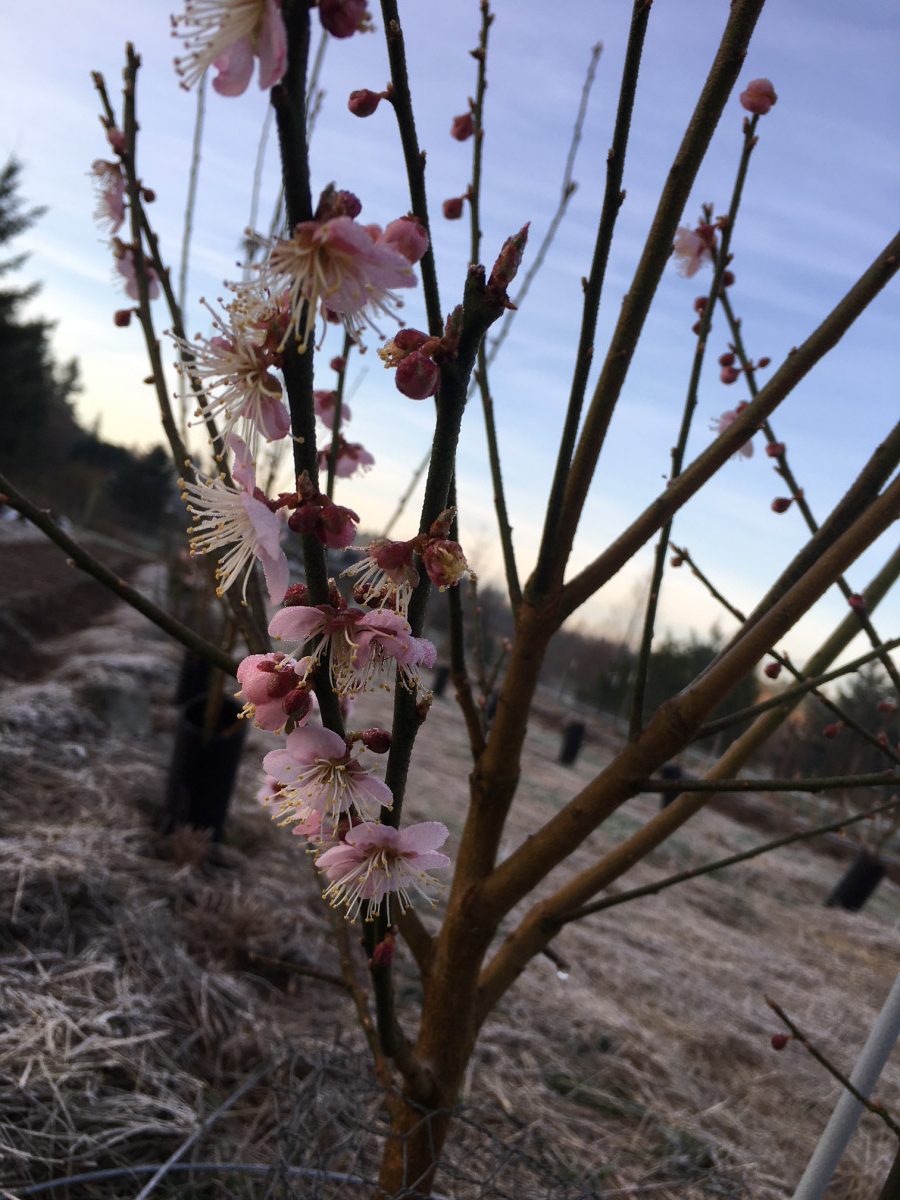
Photo: Allie Kuppenbender
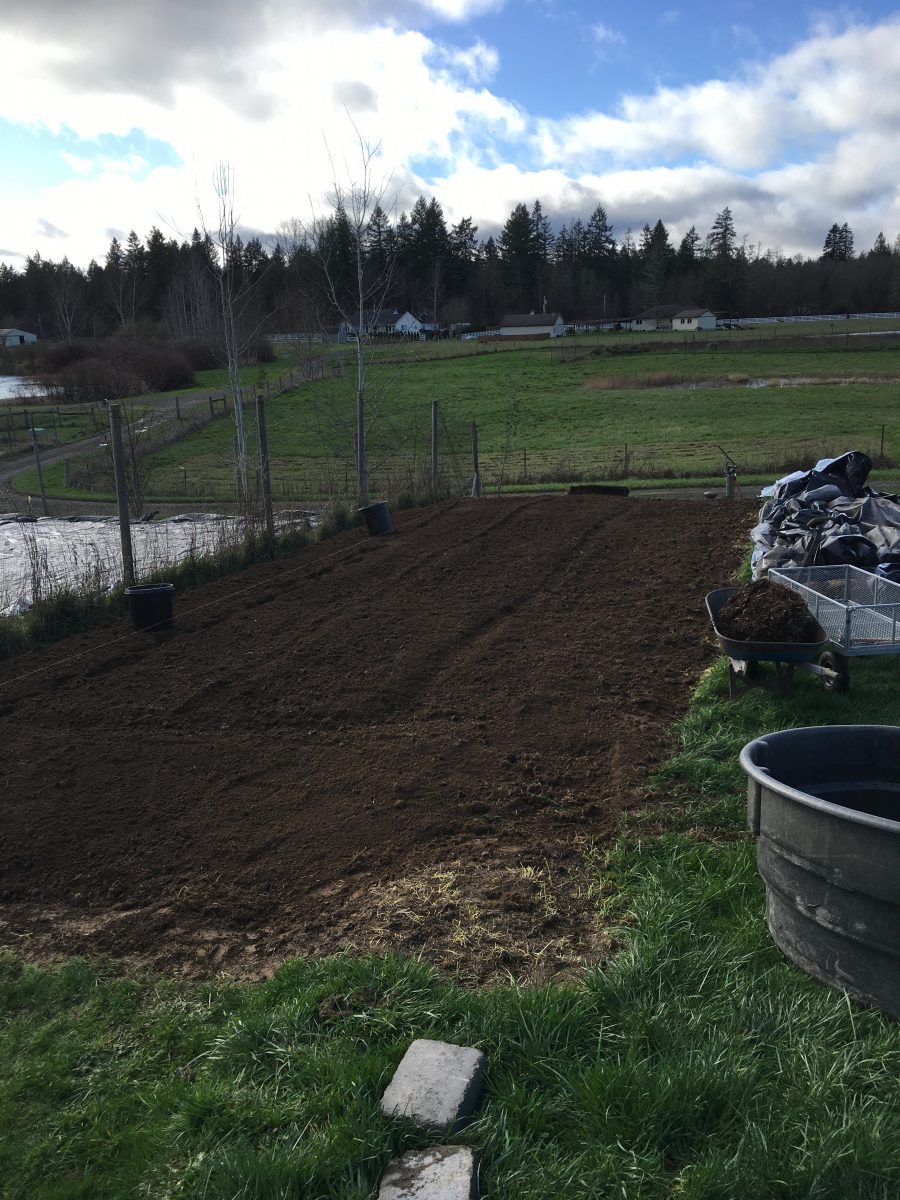
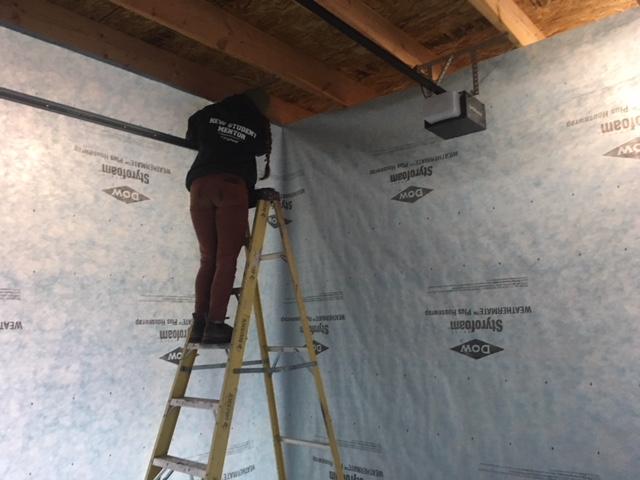
The last task of the day was digging up thyme and dividing and transplanting it into the tiered planting area just behind the house. We also pulled back the occultation tarp we put onto the southeast field on our very first day of working at Thistlehook. We pulled it back just 10-15 feet to let the ground dry out so we can (hopefully as long as it doesn’t rain too much) transplant the rest of the Cerinthe and the Antirrhinum there on Wednesday.
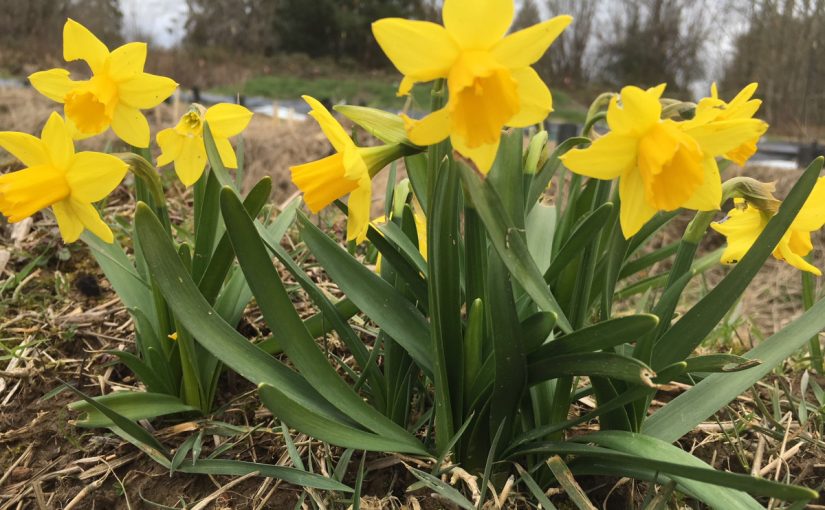
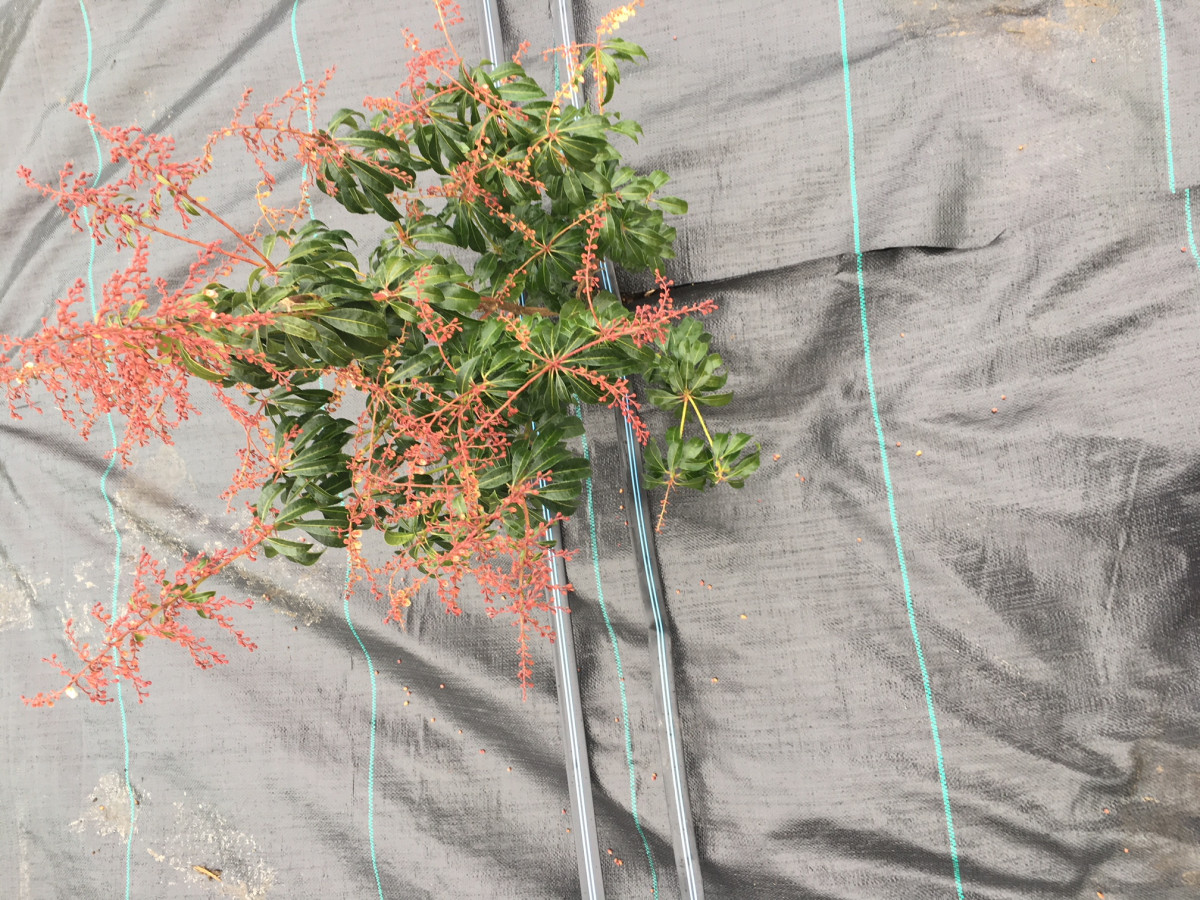
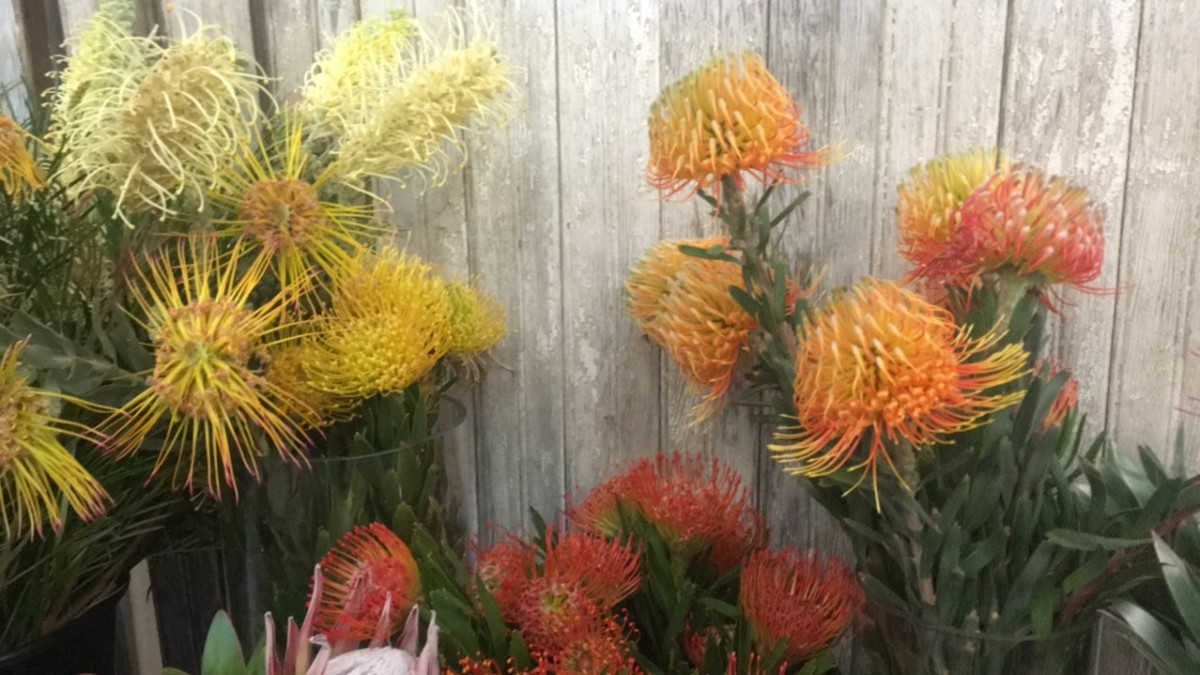
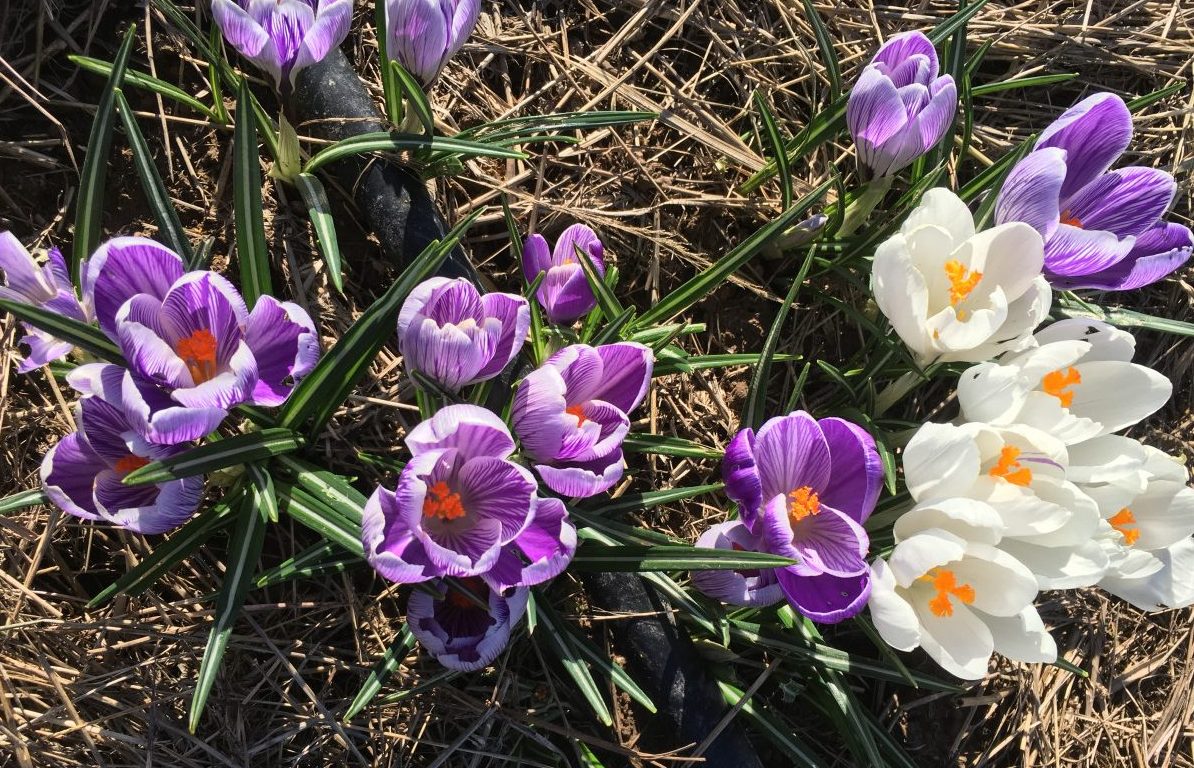
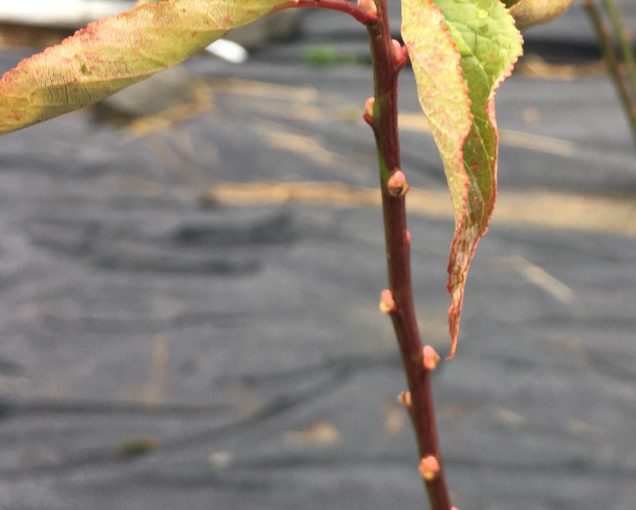
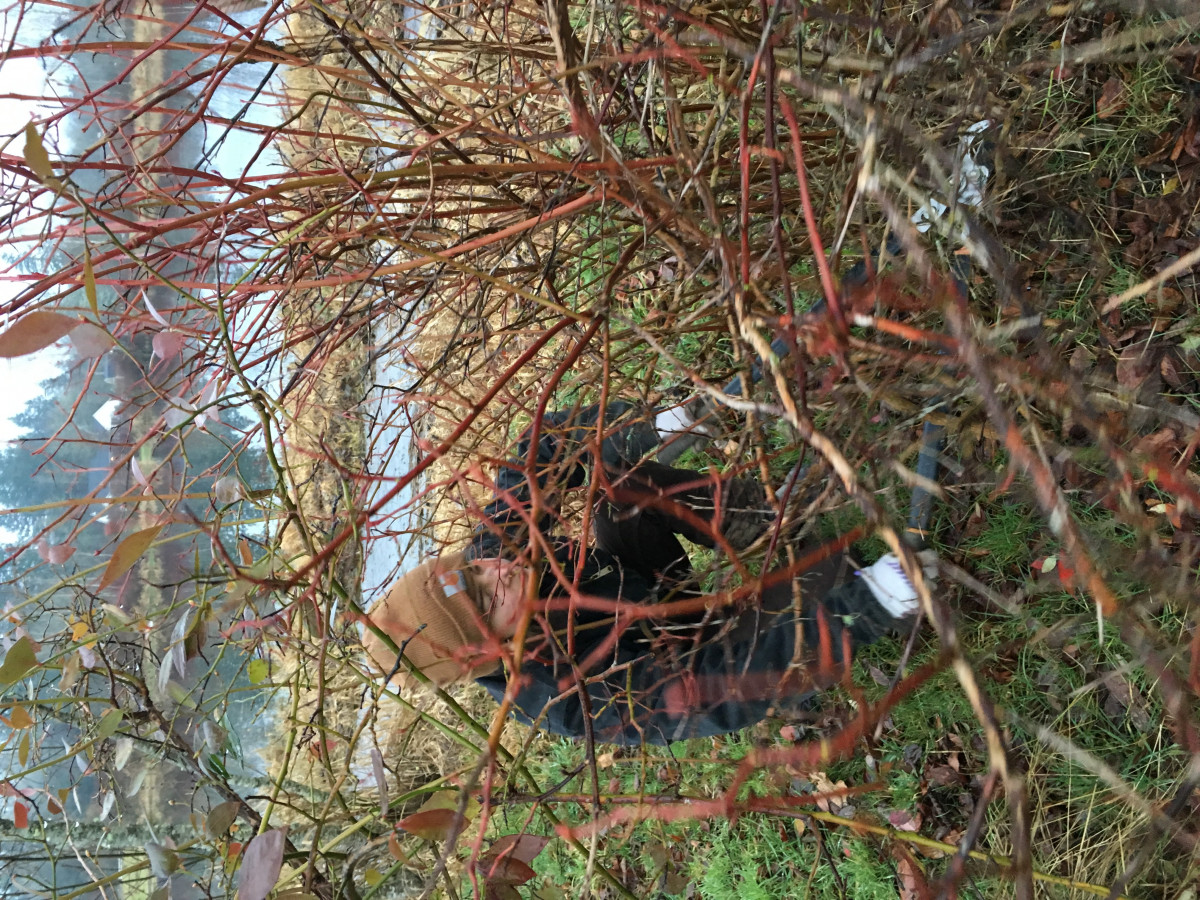
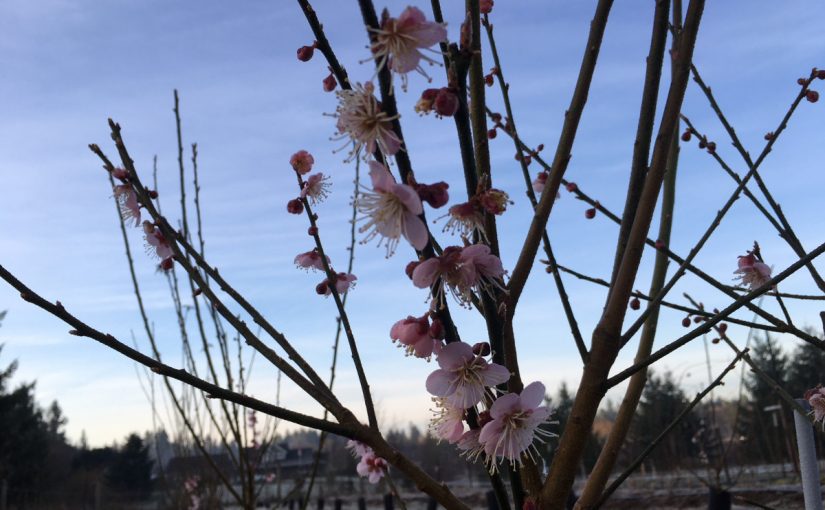
It was cool to see everything blooming; the Prunus mume was flowering and the plum branch leftovers that had been sitting outside since we cut them week 8 are all flowering.
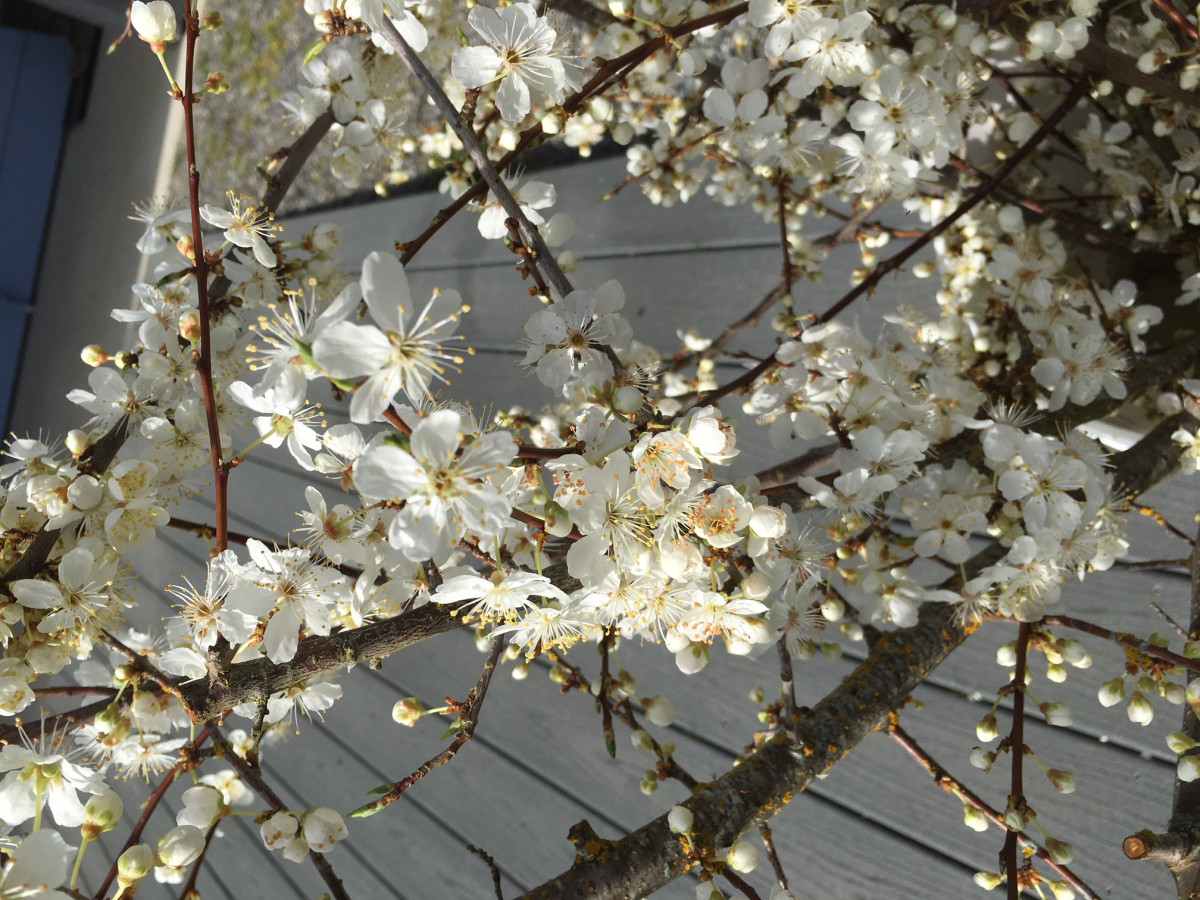
Photo: Allie Kuppenbender
WEDNESDAY
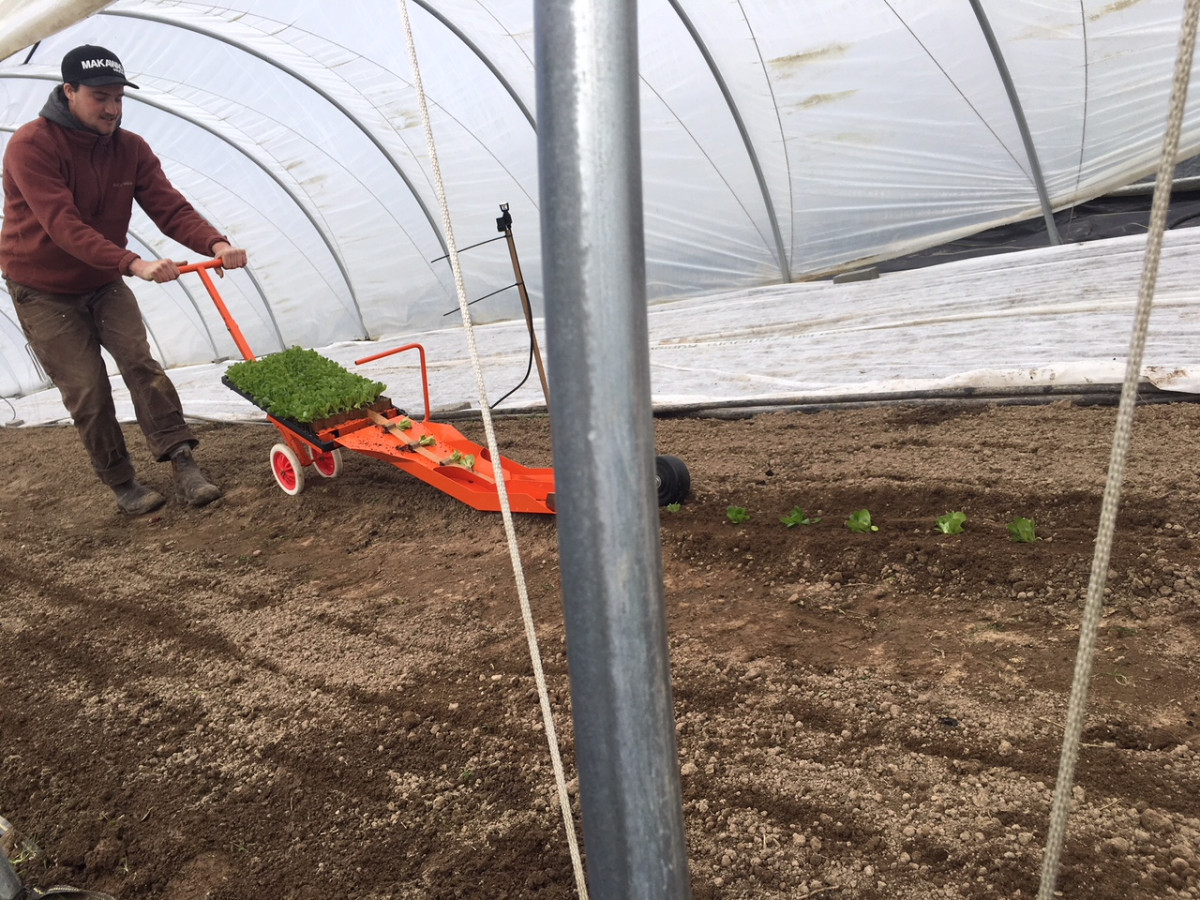
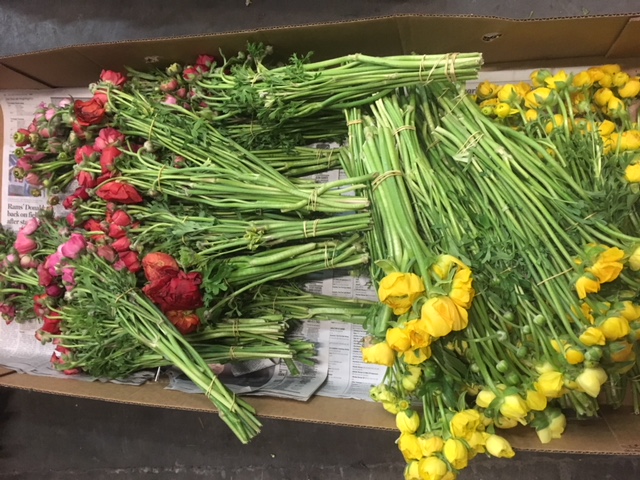
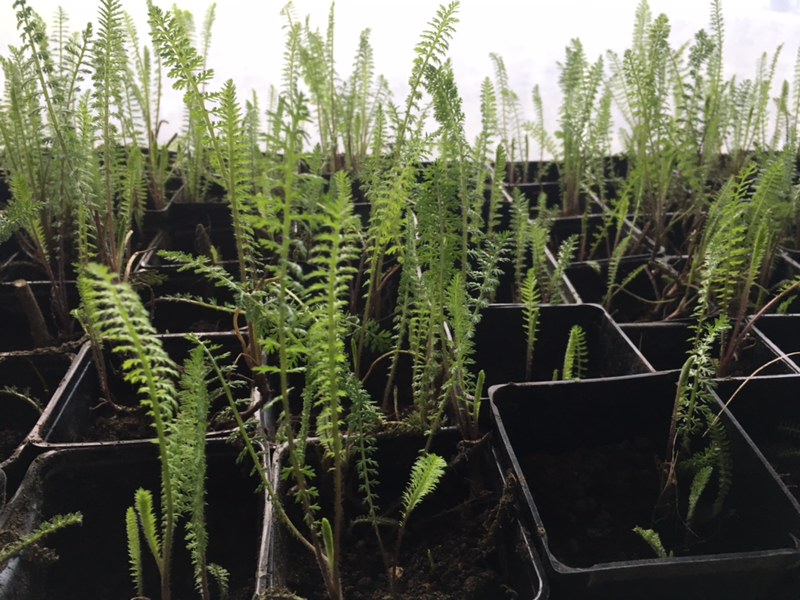
Our last day was filled with planting. We prepared a bed from the bed we covered on our first day working with Doug way back in January and planted out more Cerinthe and Matthiola, as well as some Antirrhinum. We also planted out all of the yarrow that had been potted up and growing in the greenhouse.
In the afternoon, we dug up, divided, and transplanted more thyme as well as all of the marigolds we had potted up (and threw down some marigold seed).