Cropping out a background isn’t as hard as it used to be. With Adobe’s Photoshop CS6 installed on all of the computers in the Academic Computing Center, taking a background out of a picture is faster and easier than ever. This tutorial will show you how to use Photoshop’s tools to efficiently remove a picture’s background.
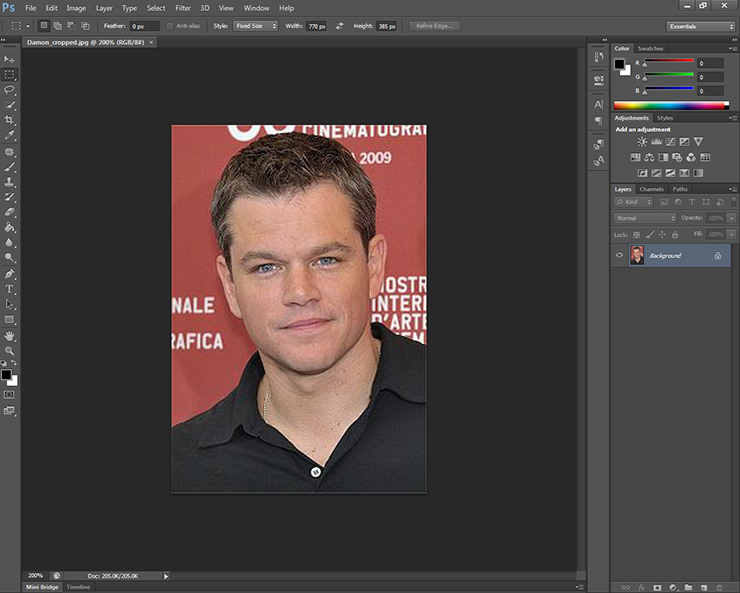
Open up Adobe Photoshop CS6 (any version will work, but our computers have version CS6 installed). On the Mac, Photoshop will be in the Applications folder on the dock. On the PC, you can easily search for it in the Start Menu. Once Photoshop is open, select “File” and “Open” and locate the image you will be working with.
Tip: The more contrast there is between the object you are cutting and its background, the easier it will be to cut it.
Once your image is open, take a look at your toolbar. This is the bar on the left hand side of the screen. When cutting a subject from its background, there are a few different options, some that work better than others depending on how your image looks.
Magnetic Lasso
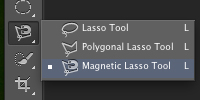
To use it:
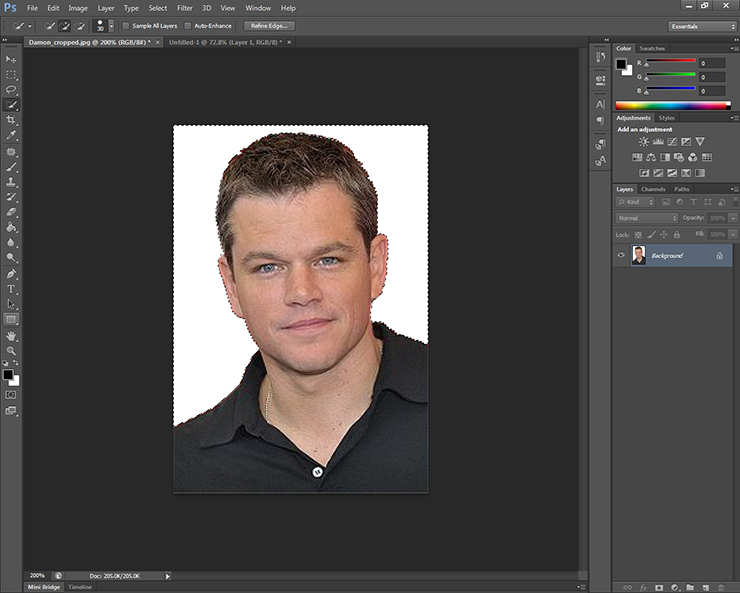
Once you have drawn your line of points around your subject, double click on the point that joins the ends of the line together. This will change the line into “dancing ants,” or the blinking black and white line. If you drew the line around your subject, you will want to go to the “Edit” menu and select “Copy” to paste the cut out where you want it. If you have selected the background as the example shows, press “shift+command+i” on the Mac, “shift+control+i” on the PC, to invert your selection OR delete your selected background by pressing “Delete.”
Magic Wand
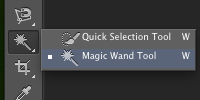
To use it:
- Select the tool on the toolbar
- Try the preset tolerance to get a frame of reference. You can adjust it any time
- Click the background with your cursor. An area will appear in “dancing ants.” If this area doesn’t cover your background, change your tolerance to a larger number
- Once you get almost all of the background in the dancing ants outline by changing the tolerance, press “Delete” on your keyboard to delete the selected area
- If there is still some remaining background, go back in with the Eraser tool (just above the paint bucket, shaped like an eraser) and manually clean up what the computer couldn’t “see”
Quick Selection Tool
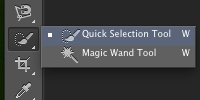
To use it:
- Select the tool on the toolbar
- Click and drag along the mass of area that you want to select (in this case, the background)
- If you selected more than what you wanted, click the icon next to the brush size selector on your top menu called “Subtract from selection” (it looks like the Quick Selection Tool with a “-”). This allows you to remove parts of your selected area. Treat this tool more like a paintbrush: be exact and don’t assume it will think for you
- If you selected most of what you want to grab, but missed a bit, click the icon to the left of the Subtract from selection icon. This is the “Add to selection” tool option which functions the same way, but instead adds content to your selected area instead of subtracting it
- Toggle between the two above tools until your selected area is how you want it
- Press “Delete” to remove the selected area. You should be left with just the subjects of the image
Eraser: the old fashioned way
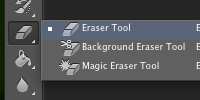
To use it:
- Select the tool from the toolbar
- Change your brush size and edge hardness settings at the top setting menu
- Manually go around your subjects with your cursor and erase your background manually. Note that it can be easiest to trace the outline first and then go in with a bigger brush size to sweep up what’s left

Rendering Clouds
Sometimes an image’s background just is distracting, thus why you want to remove it from the background. An easy way to spice up an image without making it distracting again is to use Photoshop’s “Render Clouds” feature. What this does it take your two chosen colors (they default to black and white and are found towards the bottom of the left-hand toolbar) and render a basic cloud pattern using those two colors. This process is far more simple than you might think, and here’s how to pull it off.
To use it:
- Select your background or the area you want filled with clouds using the Magic Wand, Quick Select, or Magnetic Lasso tool
- Check your colors at the bottom of the toolbar and make sure they’re set to your liking
- In the “Filter” menu at the top of the screen, go into the submenu named “Render” and select “Clouds” or “Difference Clouds.” Clouds uses primarily your second color (defaults to white) and Difference Clouds inverts your color scheme
Comments are closed.