Adobe InDesign can be a daunting and complicated application. This tutorial will show how to make a simple, one-sided poster and explain the basics of image resizing and placement, working with text, and using layers. Adobe InDesign can be found on all of the Apple and Windows machines in the Academic Computing Center.
Step One: Ready? Go!
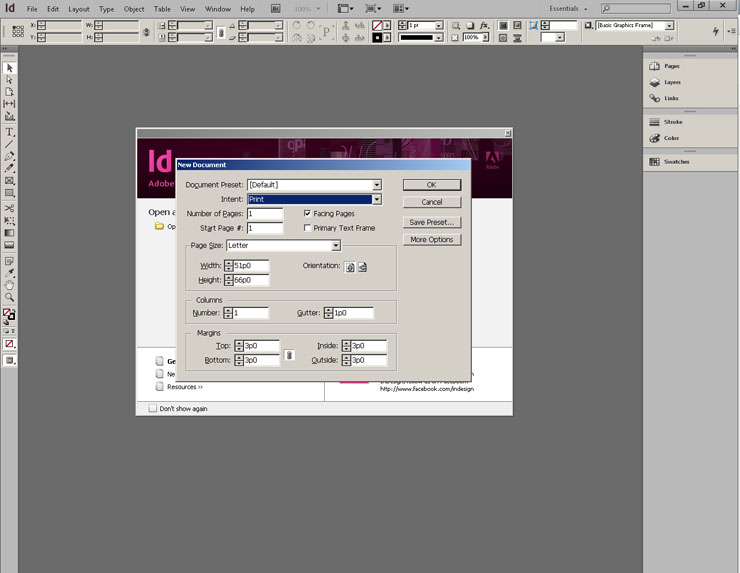
Open the program (located in the Start Menu on Windows and the Applications folder in the dock on Mac) and select “Document” under the “Create New” menu of the start screen. This is a big program, don’t be frustrated if it takes a second to open, this is normal.

Step Two: Set your presets!
Think about your final document. Generally you’ll just need its measurements, page orientation (portrait or landscape), and margin width. If you intend to print your poster, there should be presets under the “Page Size” drop-down menu for standard paper sizes. Click “OK” when you’re done.
Step Three: What is what?
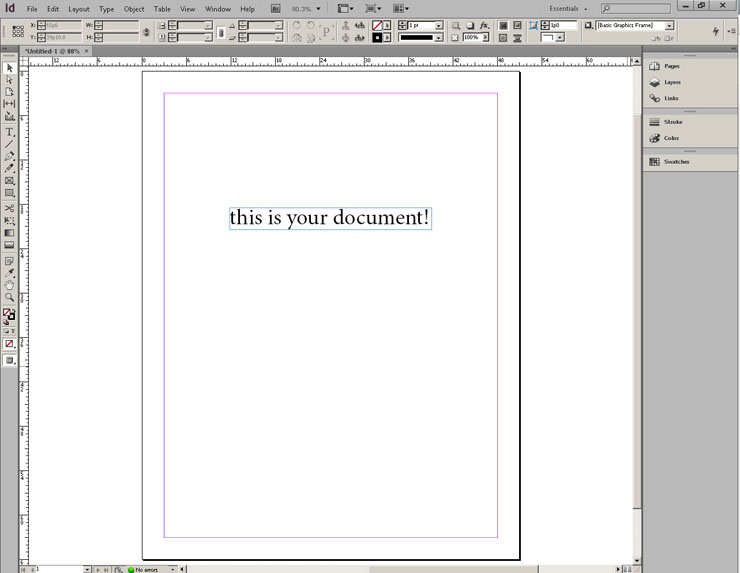
Once you’ve clicked okay, a blank document will appear with your presets. Get to know your workspace before you jump in. The pink and purple outline on the document marks where your margins are. This line will not be visible past editing steps and will not print or export.
- On the left is your tool bar. The “Black Arrow” tool will be selected already. This and the text tool (indicated with a “T”) are generally the two most-used tools.
- Along the top of the screen is where you can specify object dimensions, rotate objects, stoke images and text boxes, etc. This menu changes depending on what sort of media you’re working with.
- At the right side of the window are more menus like “Pages,” “Layers,” and a few others. These are usually for more advanced editing.
Step Four: Start With Images
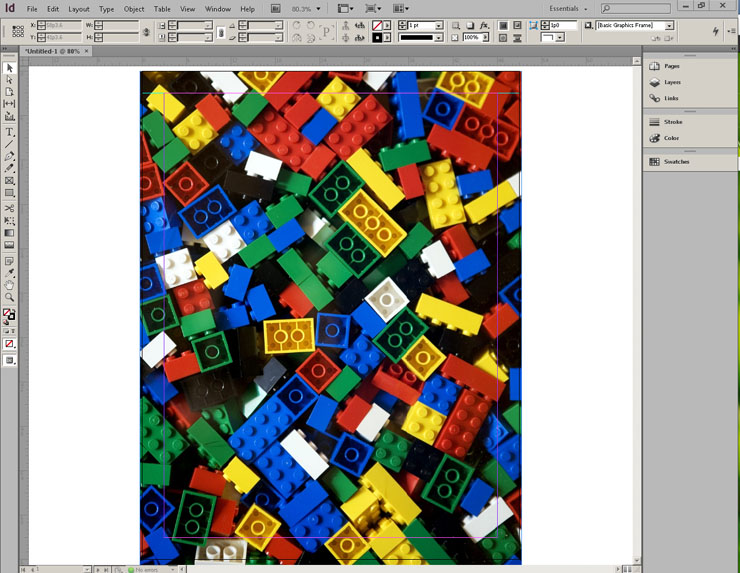
Start by placing your images. Generally the largest and most focal part of the poster, it is easiest to arrange the image how you want and then add text as opposed to refitting all of your media at once.
To place an image, use the “File” menu at the top of the screen and select “Place.” The keyboard shortcut for this command is “command+d” on the Mac and “control+d” on the PC. This brings up a simple screen similar to your Save As screen or Open Document screen. Navigate to where your image is saved, select it, and click “OK/Place” at the bottom right of the window. This will “load” your cursor with a thumbnail of the image you have selected. Simply clicking will put the image at its full size with the top left corner wherever you click. Dragging a box with your loaded cursor places it proportionally in the box you draw, no matter how big or small. To move the image, simply make sure you are using the black arrow tool, click the image once, and drag it where you want it.
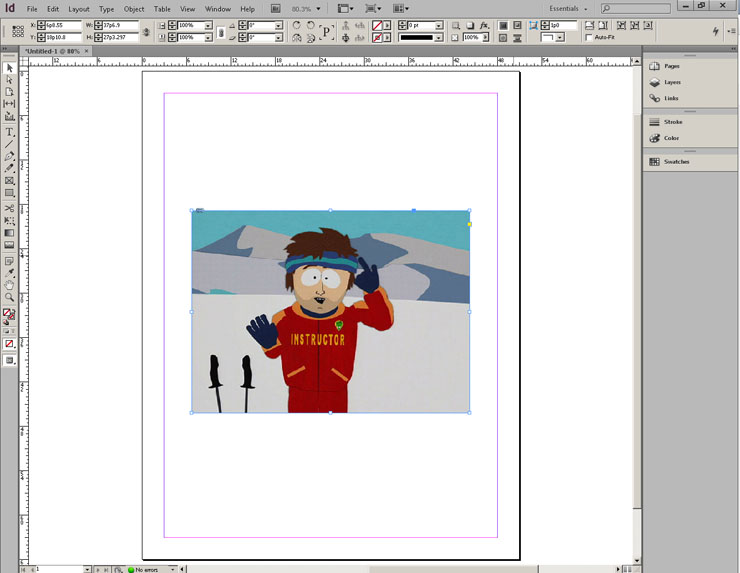
Tip: if you’re not happy with how you’ve placed it, don’t delete and start over. Instead, hold down “command+shift” on a Mac, or “control+shift” on a PC, and drag a corner of the image to resize it proportionally.
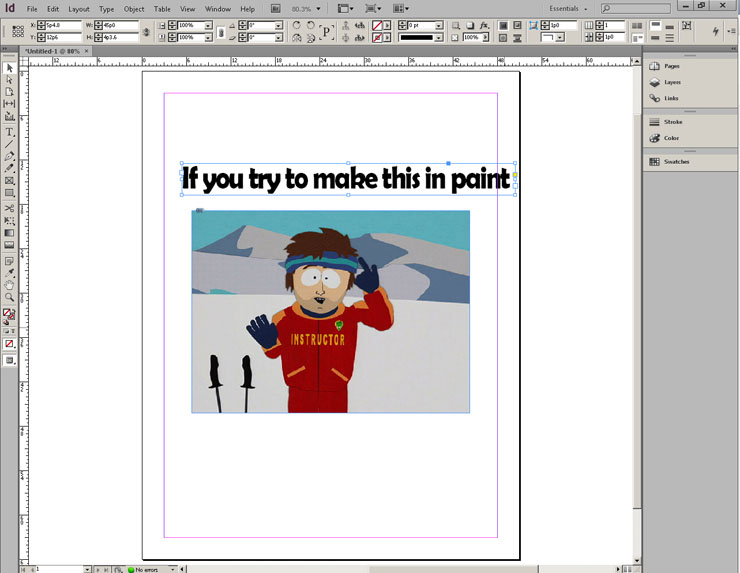
Step Five: Time for text
To make a text box, first select the text tool from the toolbar at the left of your workspace. The text tool is the button with a “T” on it. Drag a box in the general area you want your text to be. If you’re doing two fairly separate bunches of text, worry about them one at a time. When you let go of your cursor, the text box becomes active and you can type your text. The toolbar at the top of the page converts into a formatting bar when you are in a textbox so you can change the text font, size, spacing, etc.
Step Six: Arrange and add
To move your text box, use the black arrow tool just like how you moved the image. You can go back and forth moving and editing the text box with the black arrow and text tools. Once you are content with its placement, let’s practice making another text box. Select the text box once more and draw another box with it. Sometimes if you overlap your existing text box, it will think you want to edit the existing text box instead of making another.

Step Seven: Add a background
Let’s say you want to add a background to really tie your poster together. Find an image (keep in mind resolution to make sure your image doesn’t look like Minecraft with all those pixels) and place it into your document like you did the first image.
Step Eight: Using layers
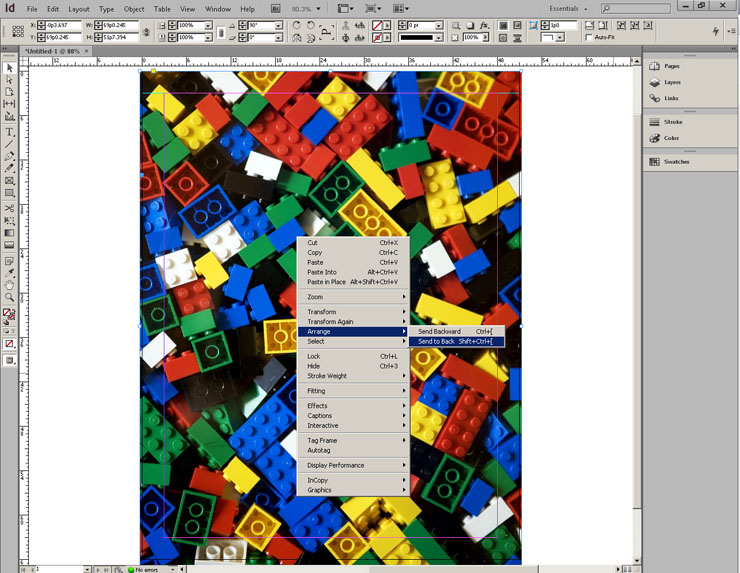
Resize the background image (don’t worry that it covers your text and other work) using the black arrow tool. When you are happy with how your background looks, right click on it and mouseover over the “Arrange” option. Here you will see two choices: “Send backward” and “Send to back.” If you wanted this layer just below the next object (the last image or text box you made), then you’d select “Send backward,” but if it is your background, choose “Send to back.”
All done! If you’d like more information on InDesign, Photoshop, or any other software, head to Lynda.com. Lynda.com is an amazing archive of detailed tutorials designed for new users, and all current Evergreen students have access to this resource. Check with us at the front desk if you need help accessing lynda.com
Comments are closed.