A few weeks ago, Ibu Jen and I took the Eco Art students to a local village in Sanur. Our destination was the compound of Ibu Rika, an artisan and ikat guru. We wanted to learn more about her process of using plant dyes in her fabric creations, and potentially bring some of her knowledge back into the classroom. Personally, I wanted to see if there were any plants that we could grow and harvest on Green School campus. Imagine a class where students could produce pigment from seed to canvas!
IKAT VS BATIK:
Most people are familiar with batik, a method of painting a design onto fabric with wax before dying it. The pigment dyes everything except for the part under the wax, and the wax melts to reveal the patterns underneath. Cotton is the most common, but any material that can be dyed can be patterned with batik.
Ikat is characterized by its unique “dye-resist” process. The beginning stage involves tape, or another water resistant material that is tied around small bundles of threads in an intricate pattern to prevent dye from adhering to the threads (same concept as the wax with batik). Once the threads are dyed, the resists are removed to reveal the design, and the threads are woven on a loom to produce an ikat textile. This process is incredibly time-consuming, which is why ikat is much more expensive than batik.
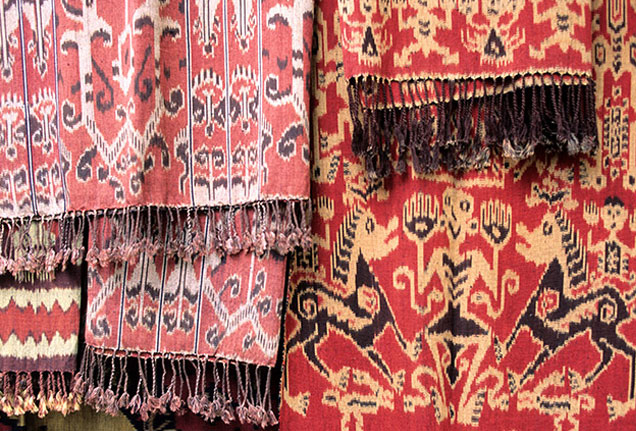
image of ikat in Ubud market
A WORD ON DOUBLE IKAT:
This is a rare form of ikat that is only produced in 3 places in the world: Okinawa, Japan; India; and ONE village in Bali called Tenganan. Tenganan is not the place that we visited in Sanur, but I really ought to pay the village a visit because of the complexity of this craft, called geringsing in Balinese.
These fabrics “are extremely difficult to successfully produce because the patterns tied into the weft need to line up precisely with those in the warp, to yield well-shaped motifs. In other words, when the weft threads are woven into the warp threads on the loom, say to produce a motif such as a prancing tiger, the resultant design must line up properly to produce a recognizable, well-organized animal figure. The textile is woven in such a way that both the warp and the weft threads are visible.
‘Due to the importance of aligning the warp and the weft motifs, the tying of double ikats requires great expertise. A well-made geringsing or patola has more clearly defined patterns and richer colors than does the typical single ikat, which can be blurry. Consequently, double ikats are very expensive and even have an air of the miraculous to them. These are magically powerful healing and protective cloths. In the case of geringsing, there are strong taboos at work precluding their use as fashion wear, in secular markets.” (1)
Check out this youtube video that gives the intricacy of geringsing a little more justice.
Back to our visit with Ibu Rika!
Ibu Rika with one of her sons.
Ibu Rika comes from Sumba and traveled to Bali 19 years ago. She apprenticed with Lou Zeldis, a famous American artist whose life mission was to preserve the ancient techniques of batik and ikat. With him, she learned her skill for ikat using plant dyes. She keeps the tradition alive in her family, where her 7 grown sons and daughters are part of the process of this incredible craft.
One ikat– from initial design and dying to finished product– takes an astonishing YEAR to make. And Ibu Rika surprisingly does not take these to market, she simply keeps them in her family home until someone wants to buy them. I don’t understand it, probably because I come from a consumerist society, but I can understand wanting to hold onto a handcrafted piece that took my family and I a whole year to make. And how much does she sell one ikat for? 1 juta RP… about $75 USD. Wow.
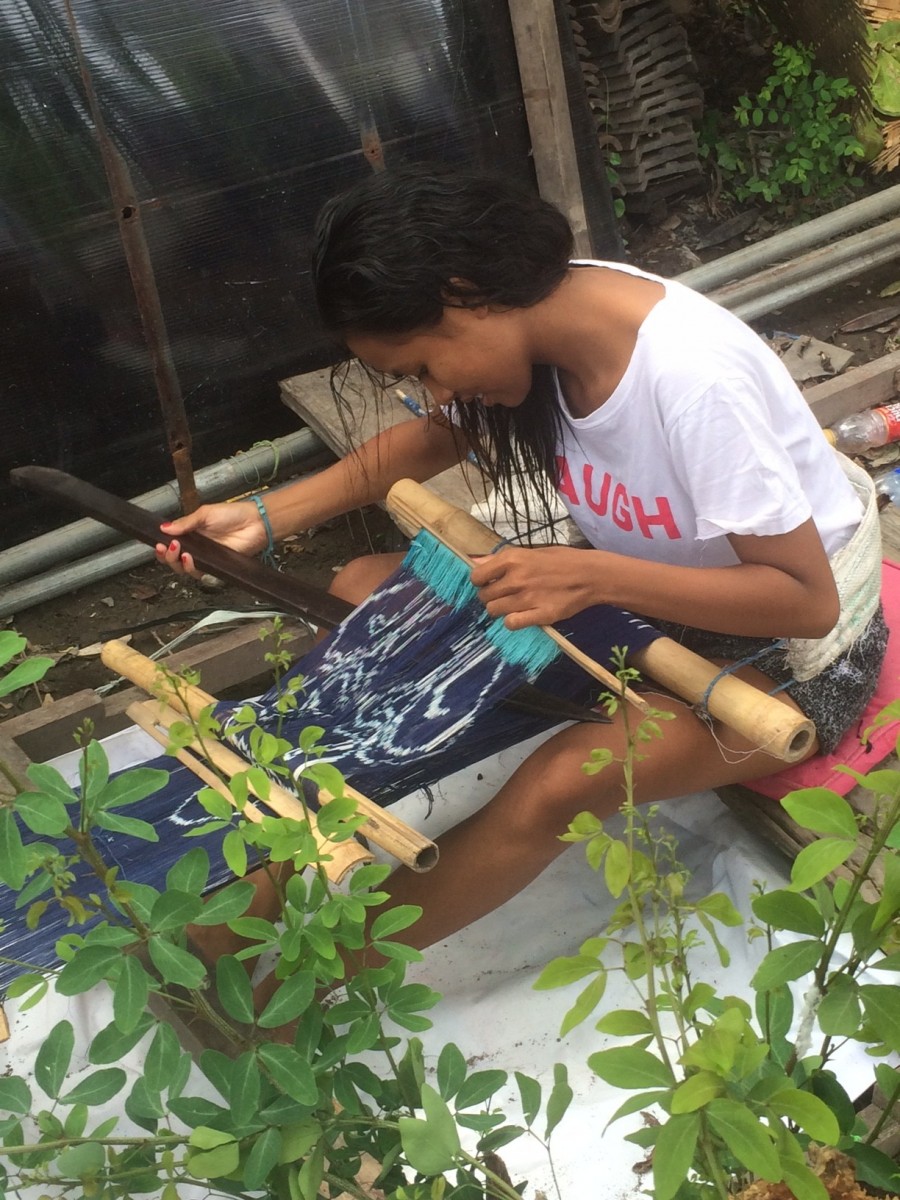
Ibu Rika’s daughter on the loom
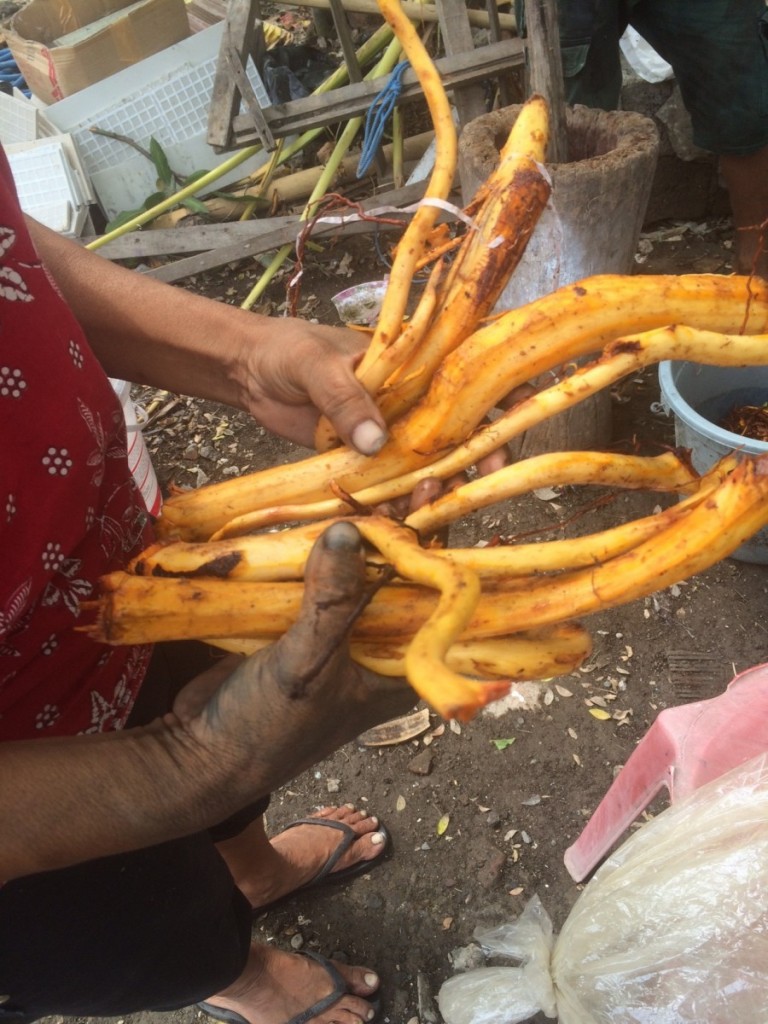
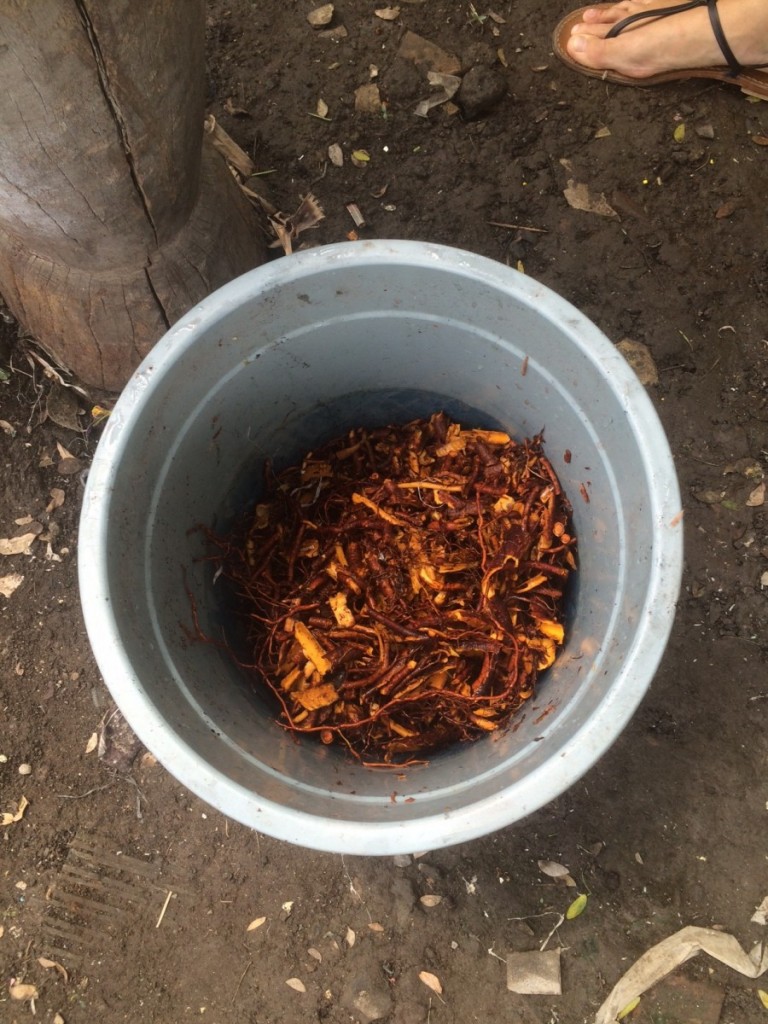
The plant dye process varies from color to color. She imports some plants from Sumba, but to my knowledge, most of the plants can be grown here in Bali. My understanding of color theory was certainly tested during this visit because some of the plants actually change color and affect one another during the processing. For example, to make a deep red, Ibu Rika combines noni (which is bright yellow) with loba skin (which is a white-ish tan color):
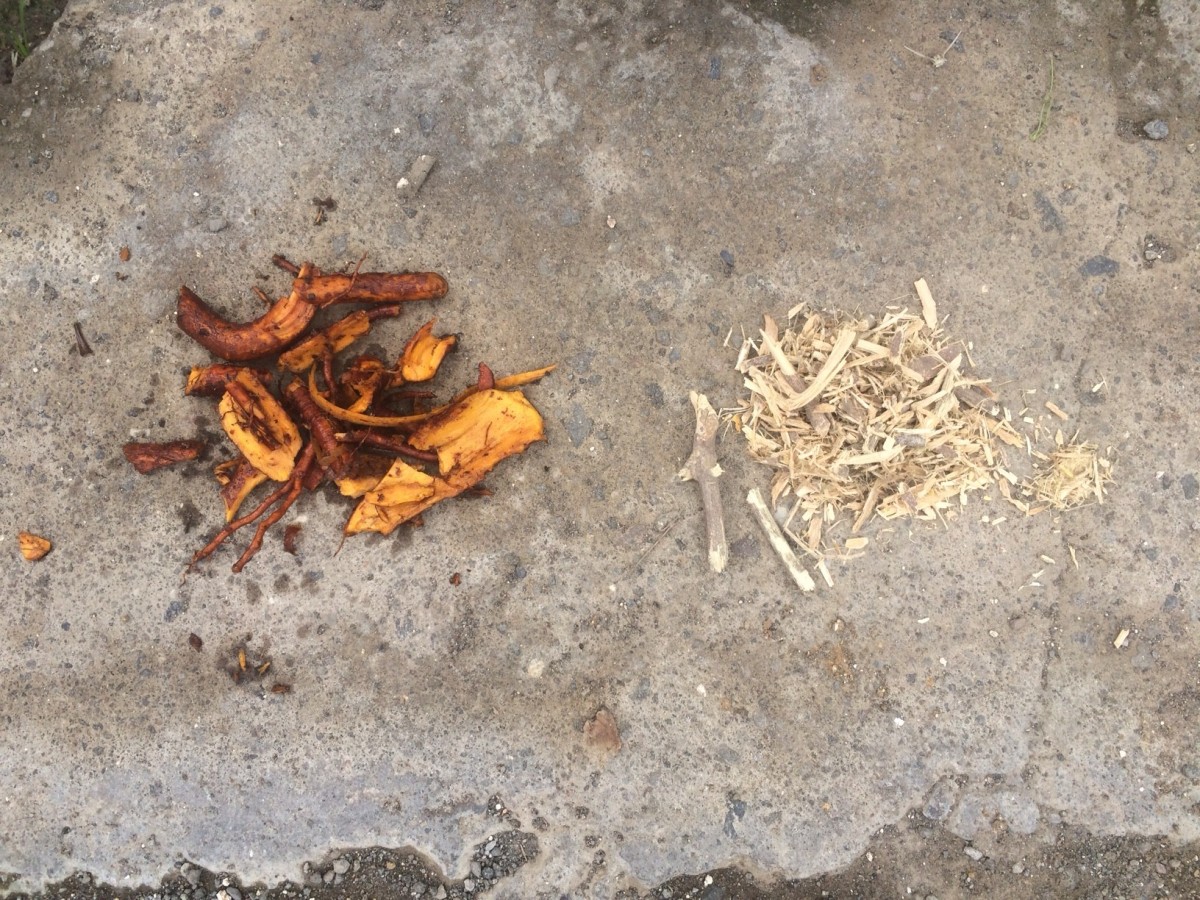
These plants make red!
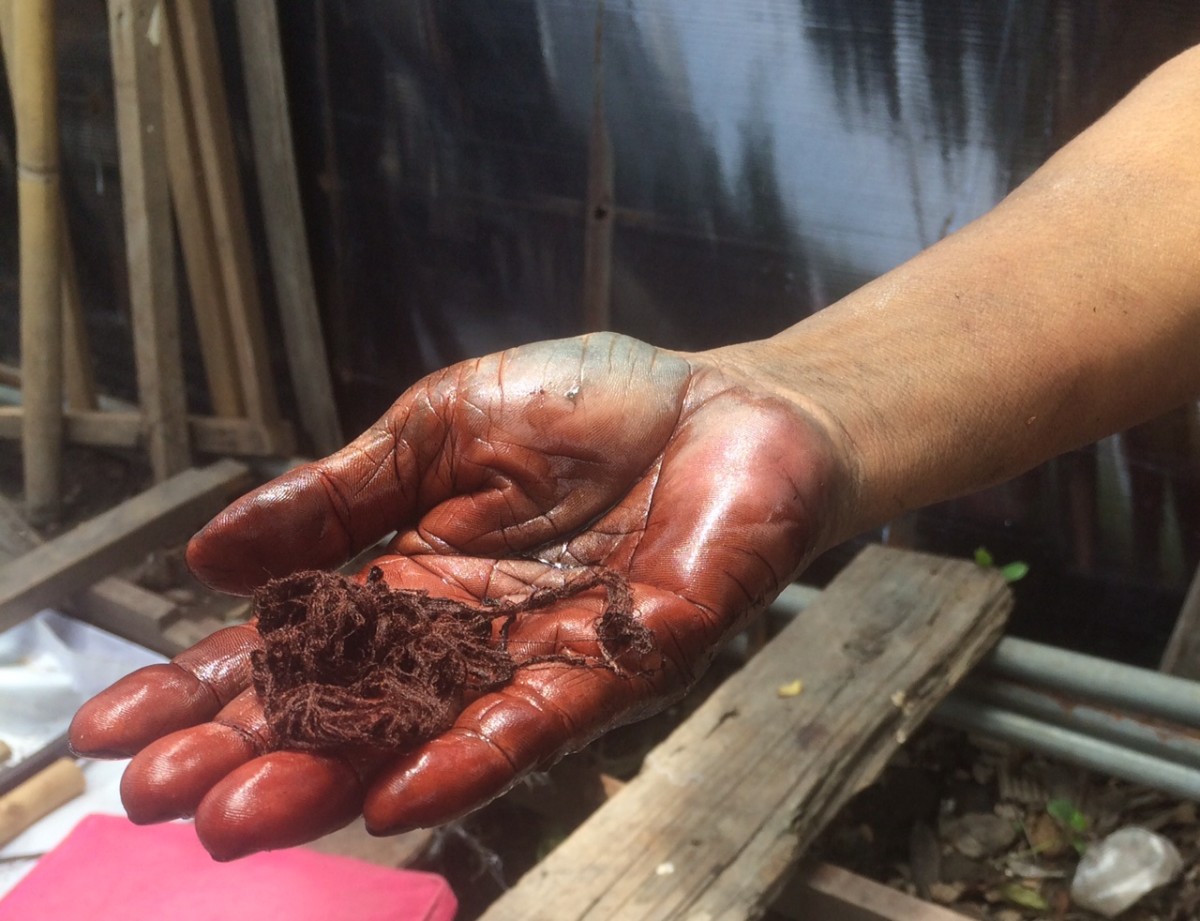
Field notes on how to make red pigment:
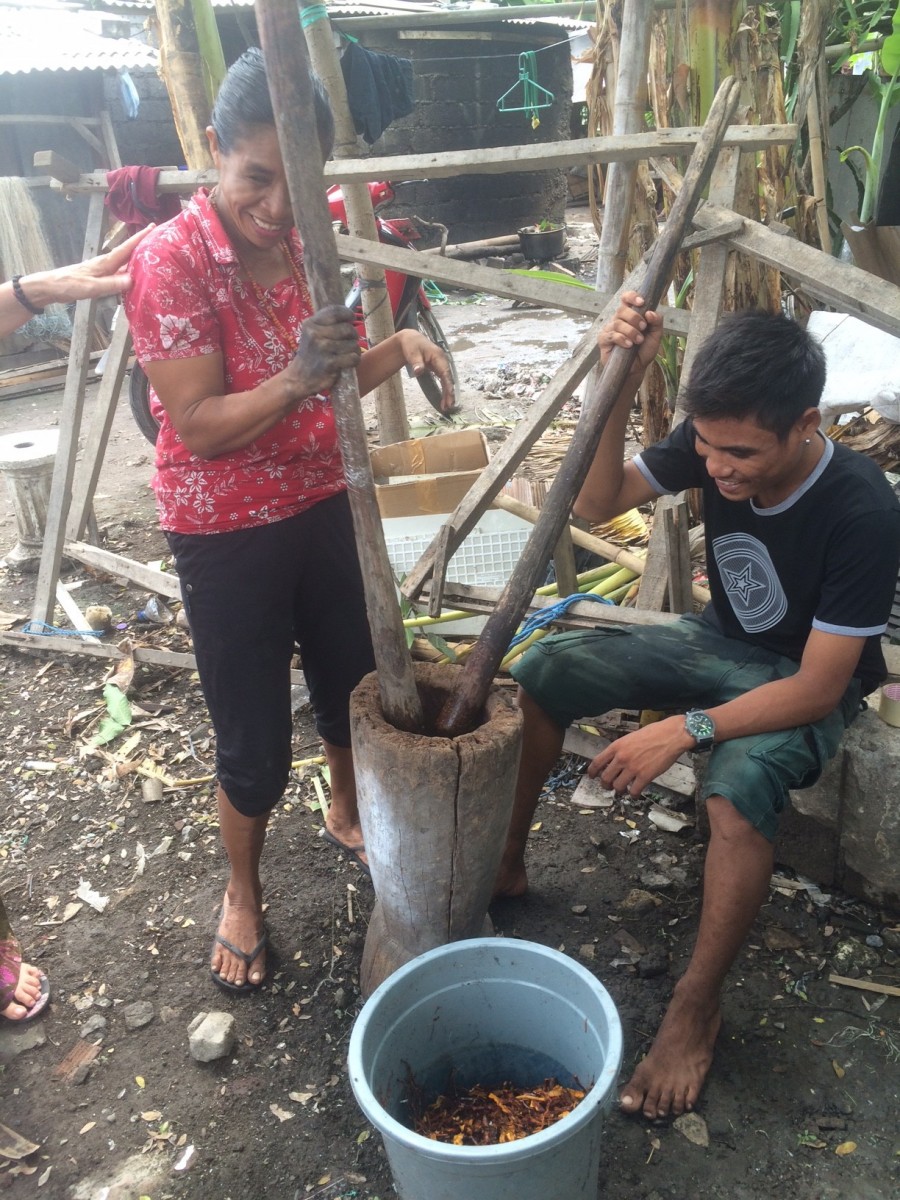
Cut the noni roots into small pieces (as shown above) and pound with wood mortar until you make a smooth fiber. Add water to fiber and squeeze until no color is left on the noni roots (we only can use this root once). Add fiber of Loba (pounded skin of loba tree from Sumba) on to the yellow noni water to make the color turn red. To make the color more bright, you add some candlenut flour on the color water. After you get the desired color, you can directly soak a fabric on it until the fabric absorbs the color.
Cut the noni roots into small pieces (as shown above) and pound with wood mortar until you make a smooth fiber. Add water to fiber and squeeze until no color is left on the noni roots (we only can use this root once). Add fiber of Loba (pounded skin of loba tree from Sumba) on to the yellow noni water to make the color turn red. To make the color more bright, you add some candlenut flour on the color water. After you get the desired color, you can directly soak a fabric on it until the fabric absorbs the color.
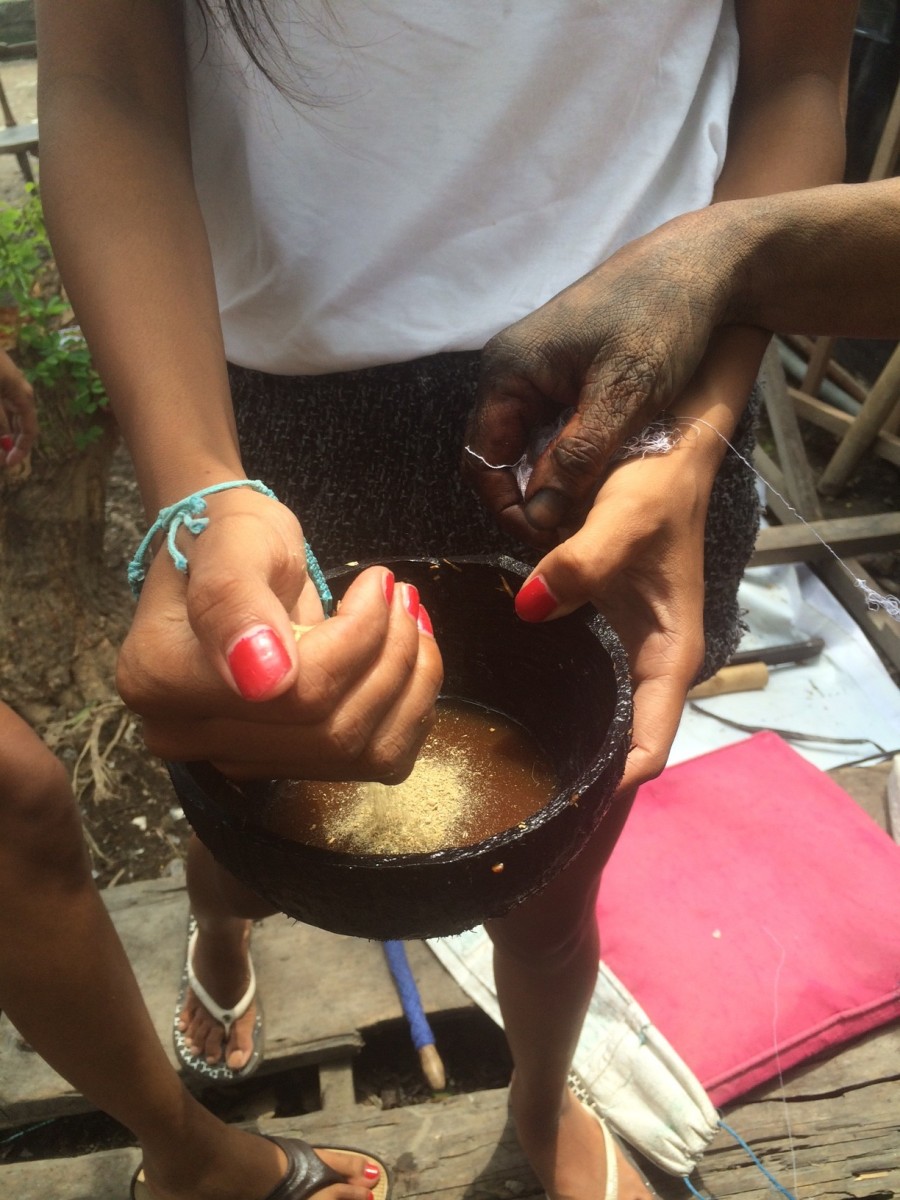
image of candlenut flour to make the colors more vibrant
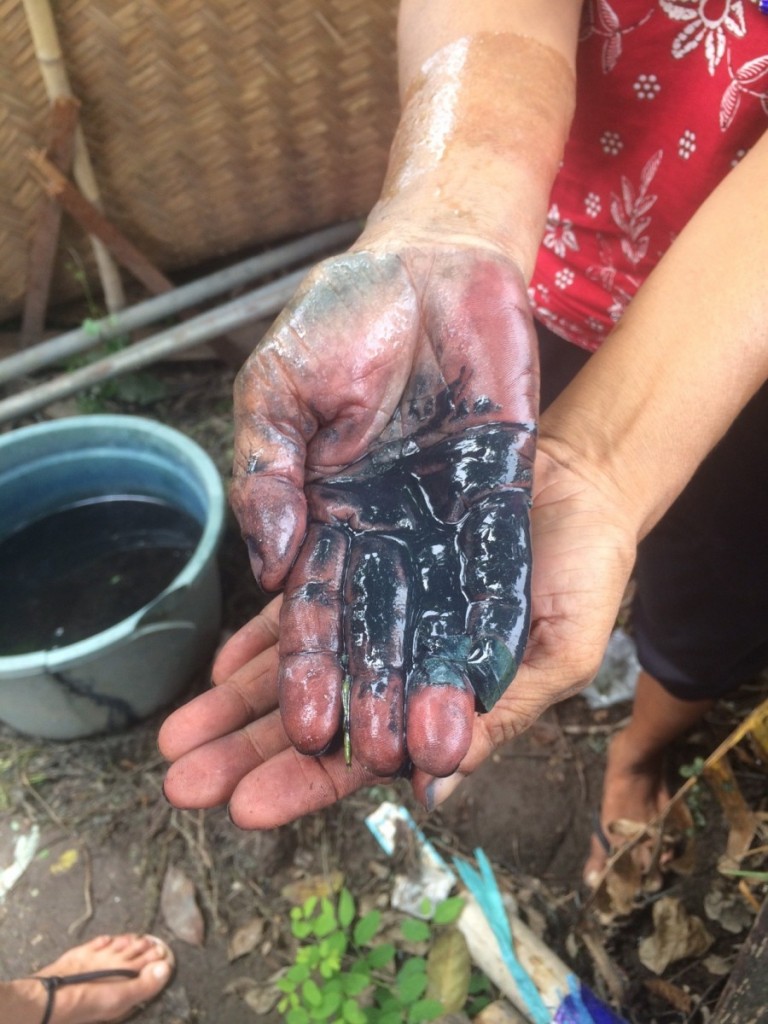
BLUE
Indigo plant + lime stone
Indigo plant + lime stone
Soak indigo leaf for one night, only when the sun is down. After one night, take the leaf from the water and add a good portion of lime stone. Keep stirring until you achieve a blue color (about 20 minutes). Leave mixture for one hour EXACTLY so that the limestone settles in the blue water. Dry the paste. You can then mix the dried paste with water and then soak the fabric in the pigment.
This color is highly achievable at Green School campus 🙂
BROWN
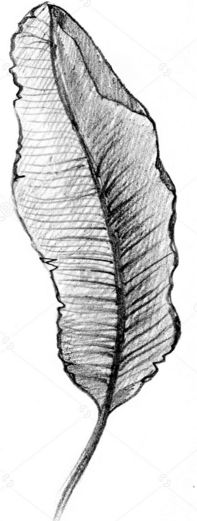
River mud + kulit santan + unknown green leaf
Kulit santan and green leaf need to be cooked in the afternoon and left to sit for the night. Mix river mud and cooking water of kulit santan and green leaf in the morning and start to soak the fabric on it for the next night. Wash it and let it dry.
Here are more photos from our Sanur excursion + plant dye immersion:

Be First to Comment