SEM sample prep – freeze fracturing with liquid Nitrogen
The long awaited freeze fracturing with liquid Nitrogen is finally here! We were thrilled to get to do this procedure and to see the results (see post “Freeze fracture samples under the SEM“). A brief overview: we took infected leaves from a madrone, salal and Douglas-fir, fixed them in glutaraldehyde, dried them in ethanol, froze them in liquid nitrogen, smashed them to bits while frozen, dried them further in the critical point drier, stuck them on stubs and finally coated them with gold-palladium in the sputter coater. Wow – Quite a process! It took us the better part of a day (and some of the day before), and we learned through the process.
After the prep process, they are ready to be looked at with the SEM, or Scanning Electron Microscope.
A special thank you to SITs Ladd, Sina and Dan for all the help – and of course, thank you to Dave and Pranav in Dirks’ lab, who gave us the procedure and were patient with all our questions.

Here are our leaf samples in glutaraldehyde. Glutaraldehyde fixes the samples by crosslinking the proteins which kills the cells quickly. As opposed to drying, where cells shrivel up and lose their structure, fixing these leaves in 2% glutaraldehyde stabilized and preserved the cell structure. As you can see, the samples are floating. We wanted them to be fully immersed in the fixative, so we hooked up the bottle to a vacuum system to pull the air out of the same (see below!)
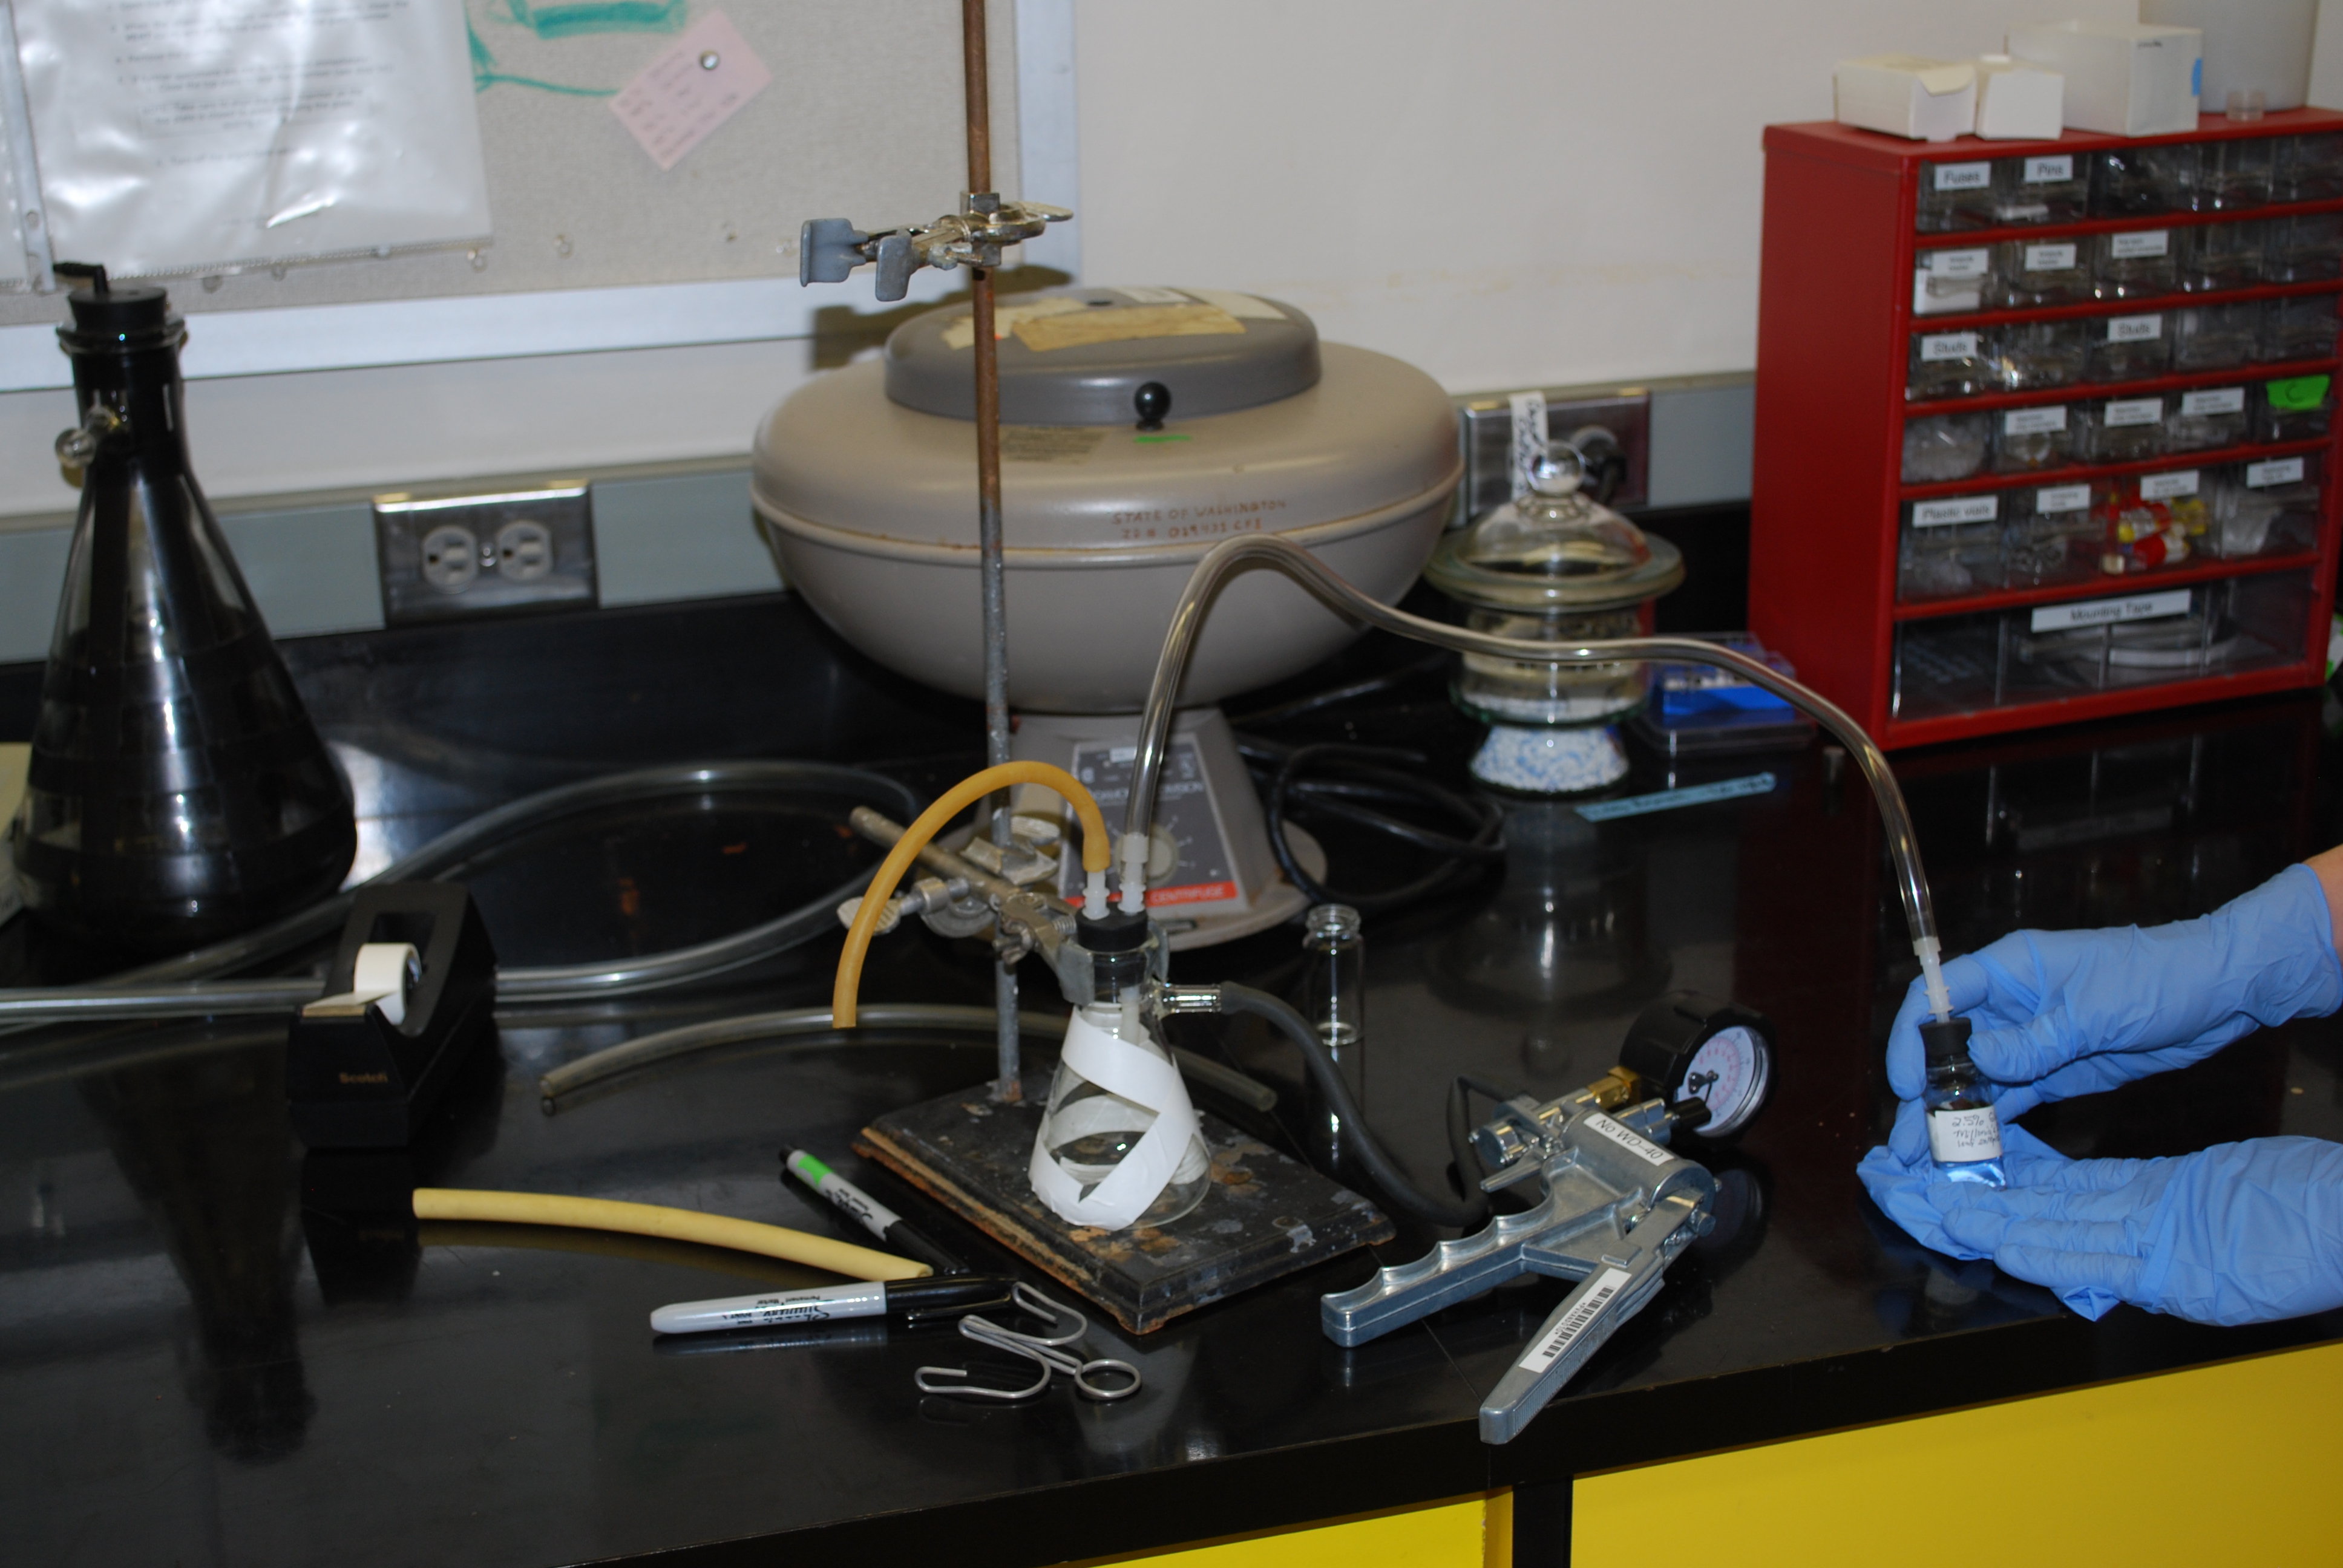
The Vacuum Setup
The samples sank! Hurrah!
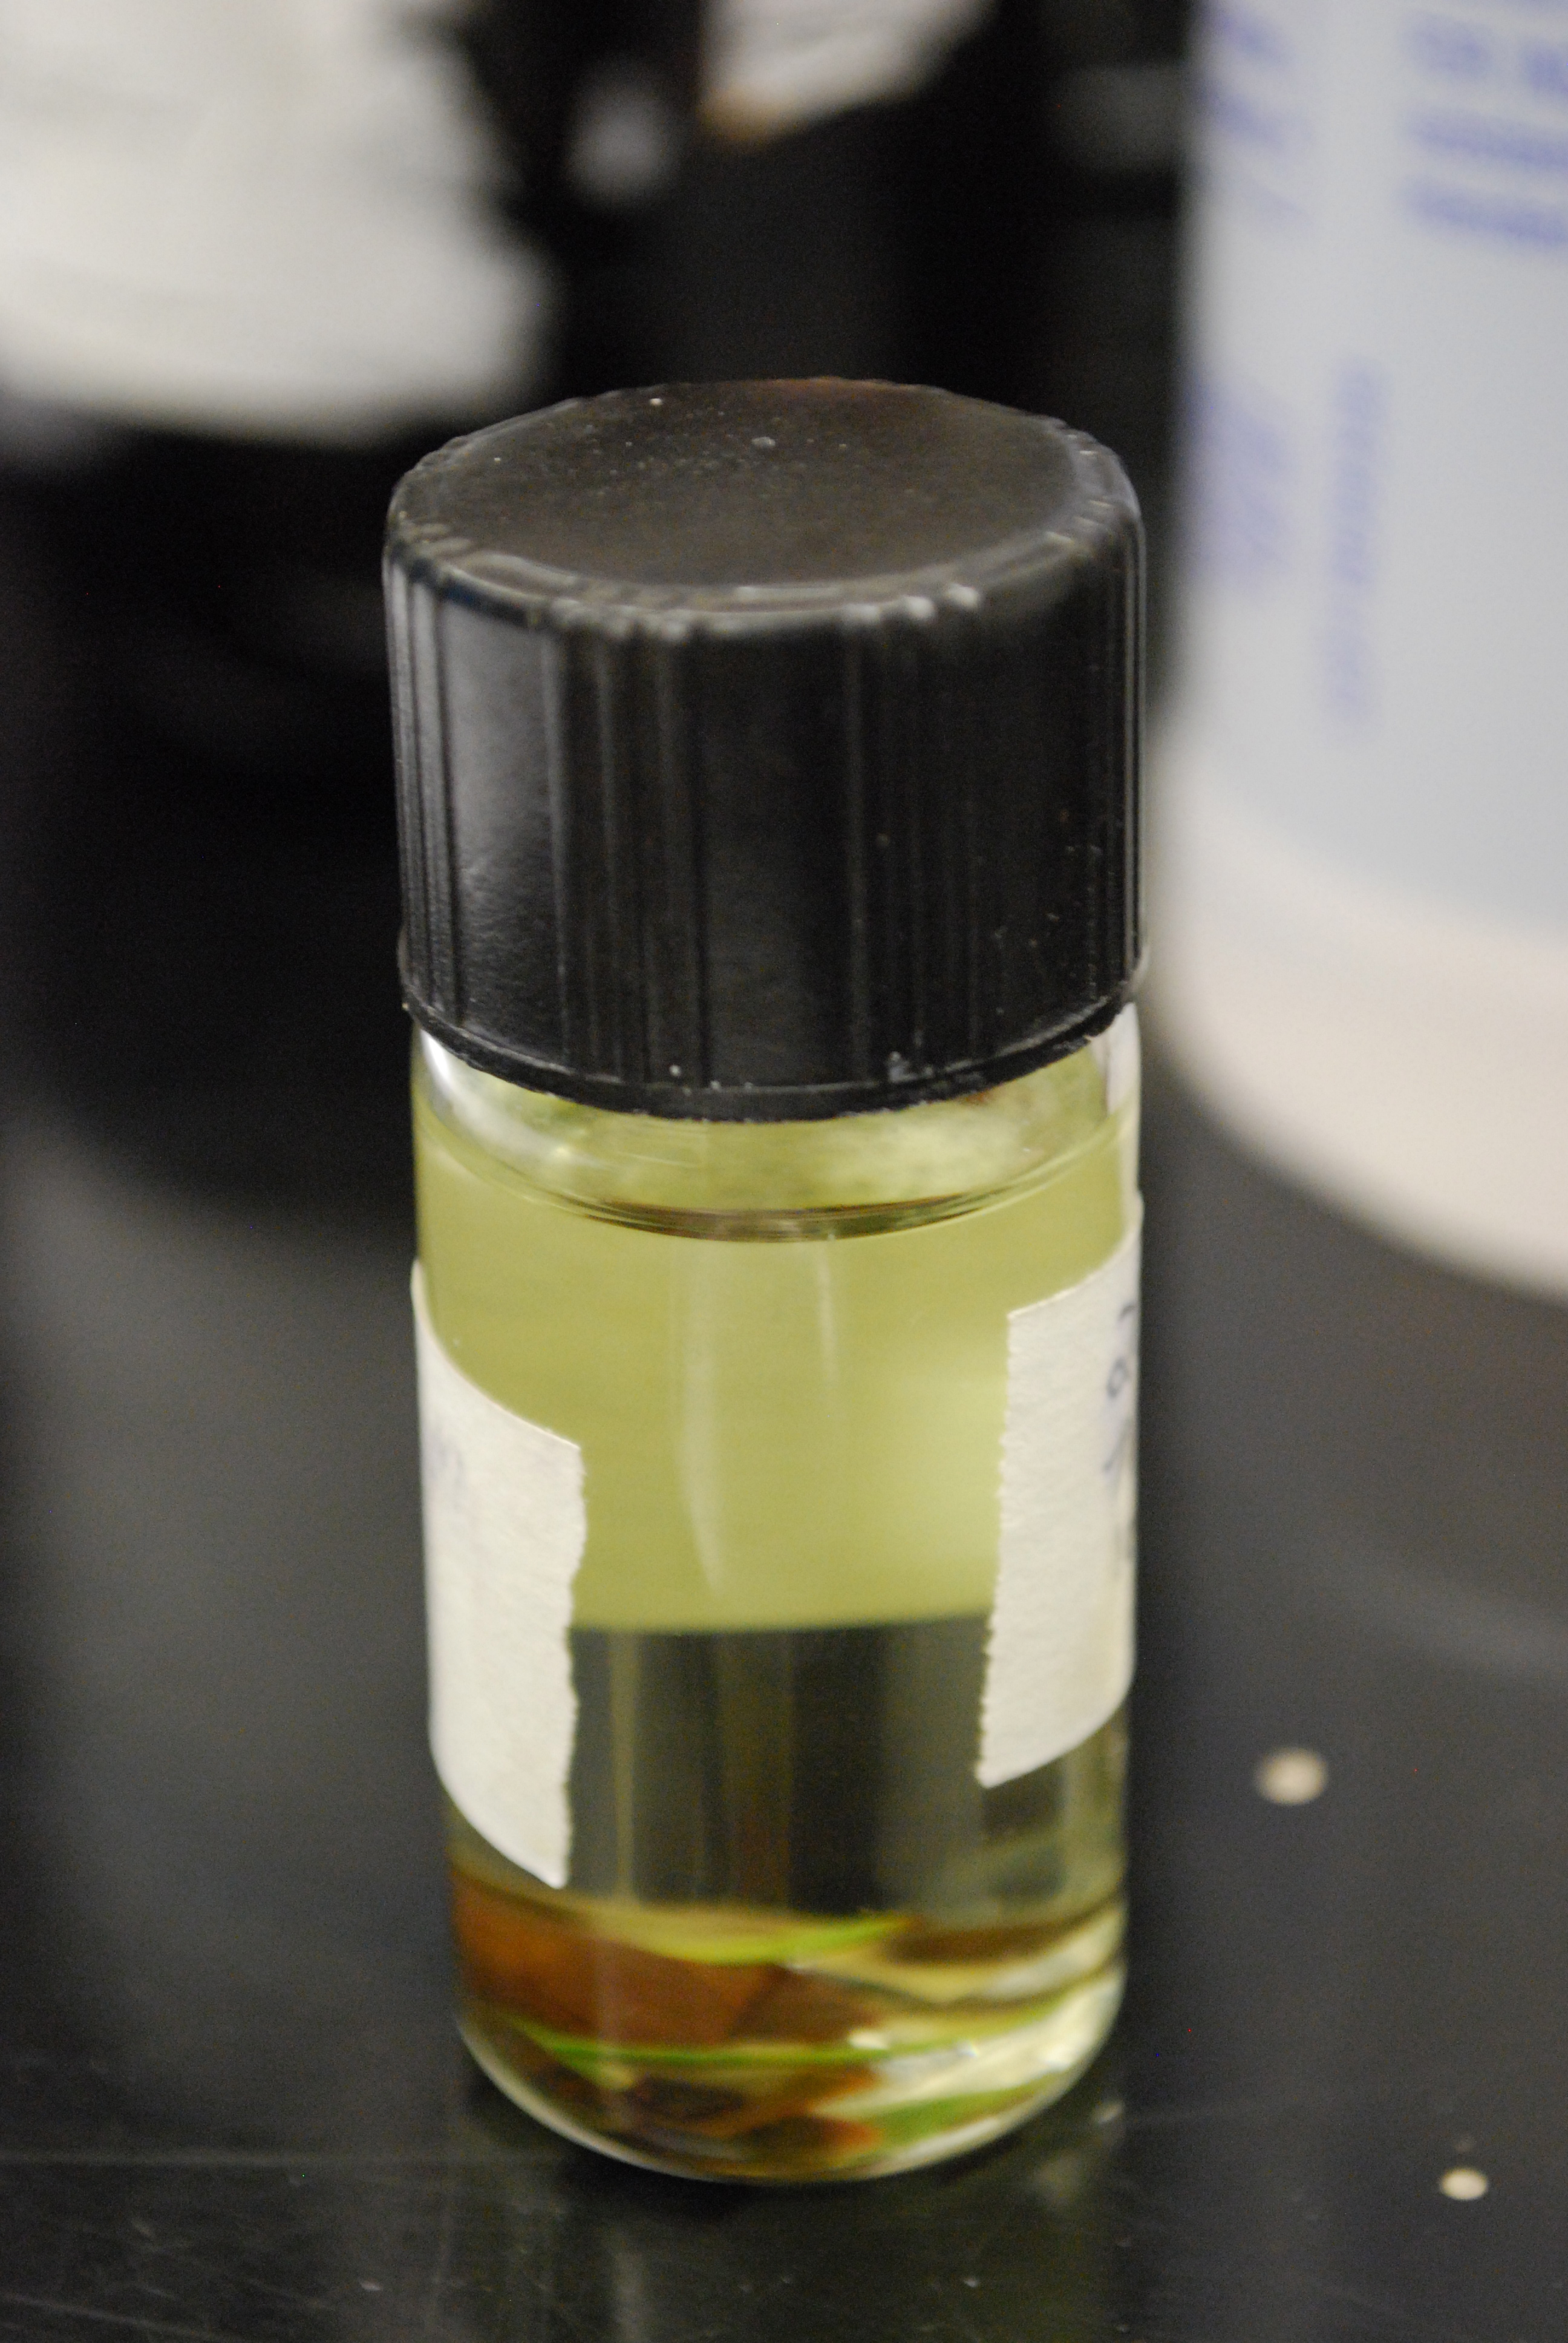
After the leaves sat in fixative overnight, we rinsed them with Millonig’s buffer and soaked them in increasingly more concentrated solutions of ethanol. This was easy, but time consuming.
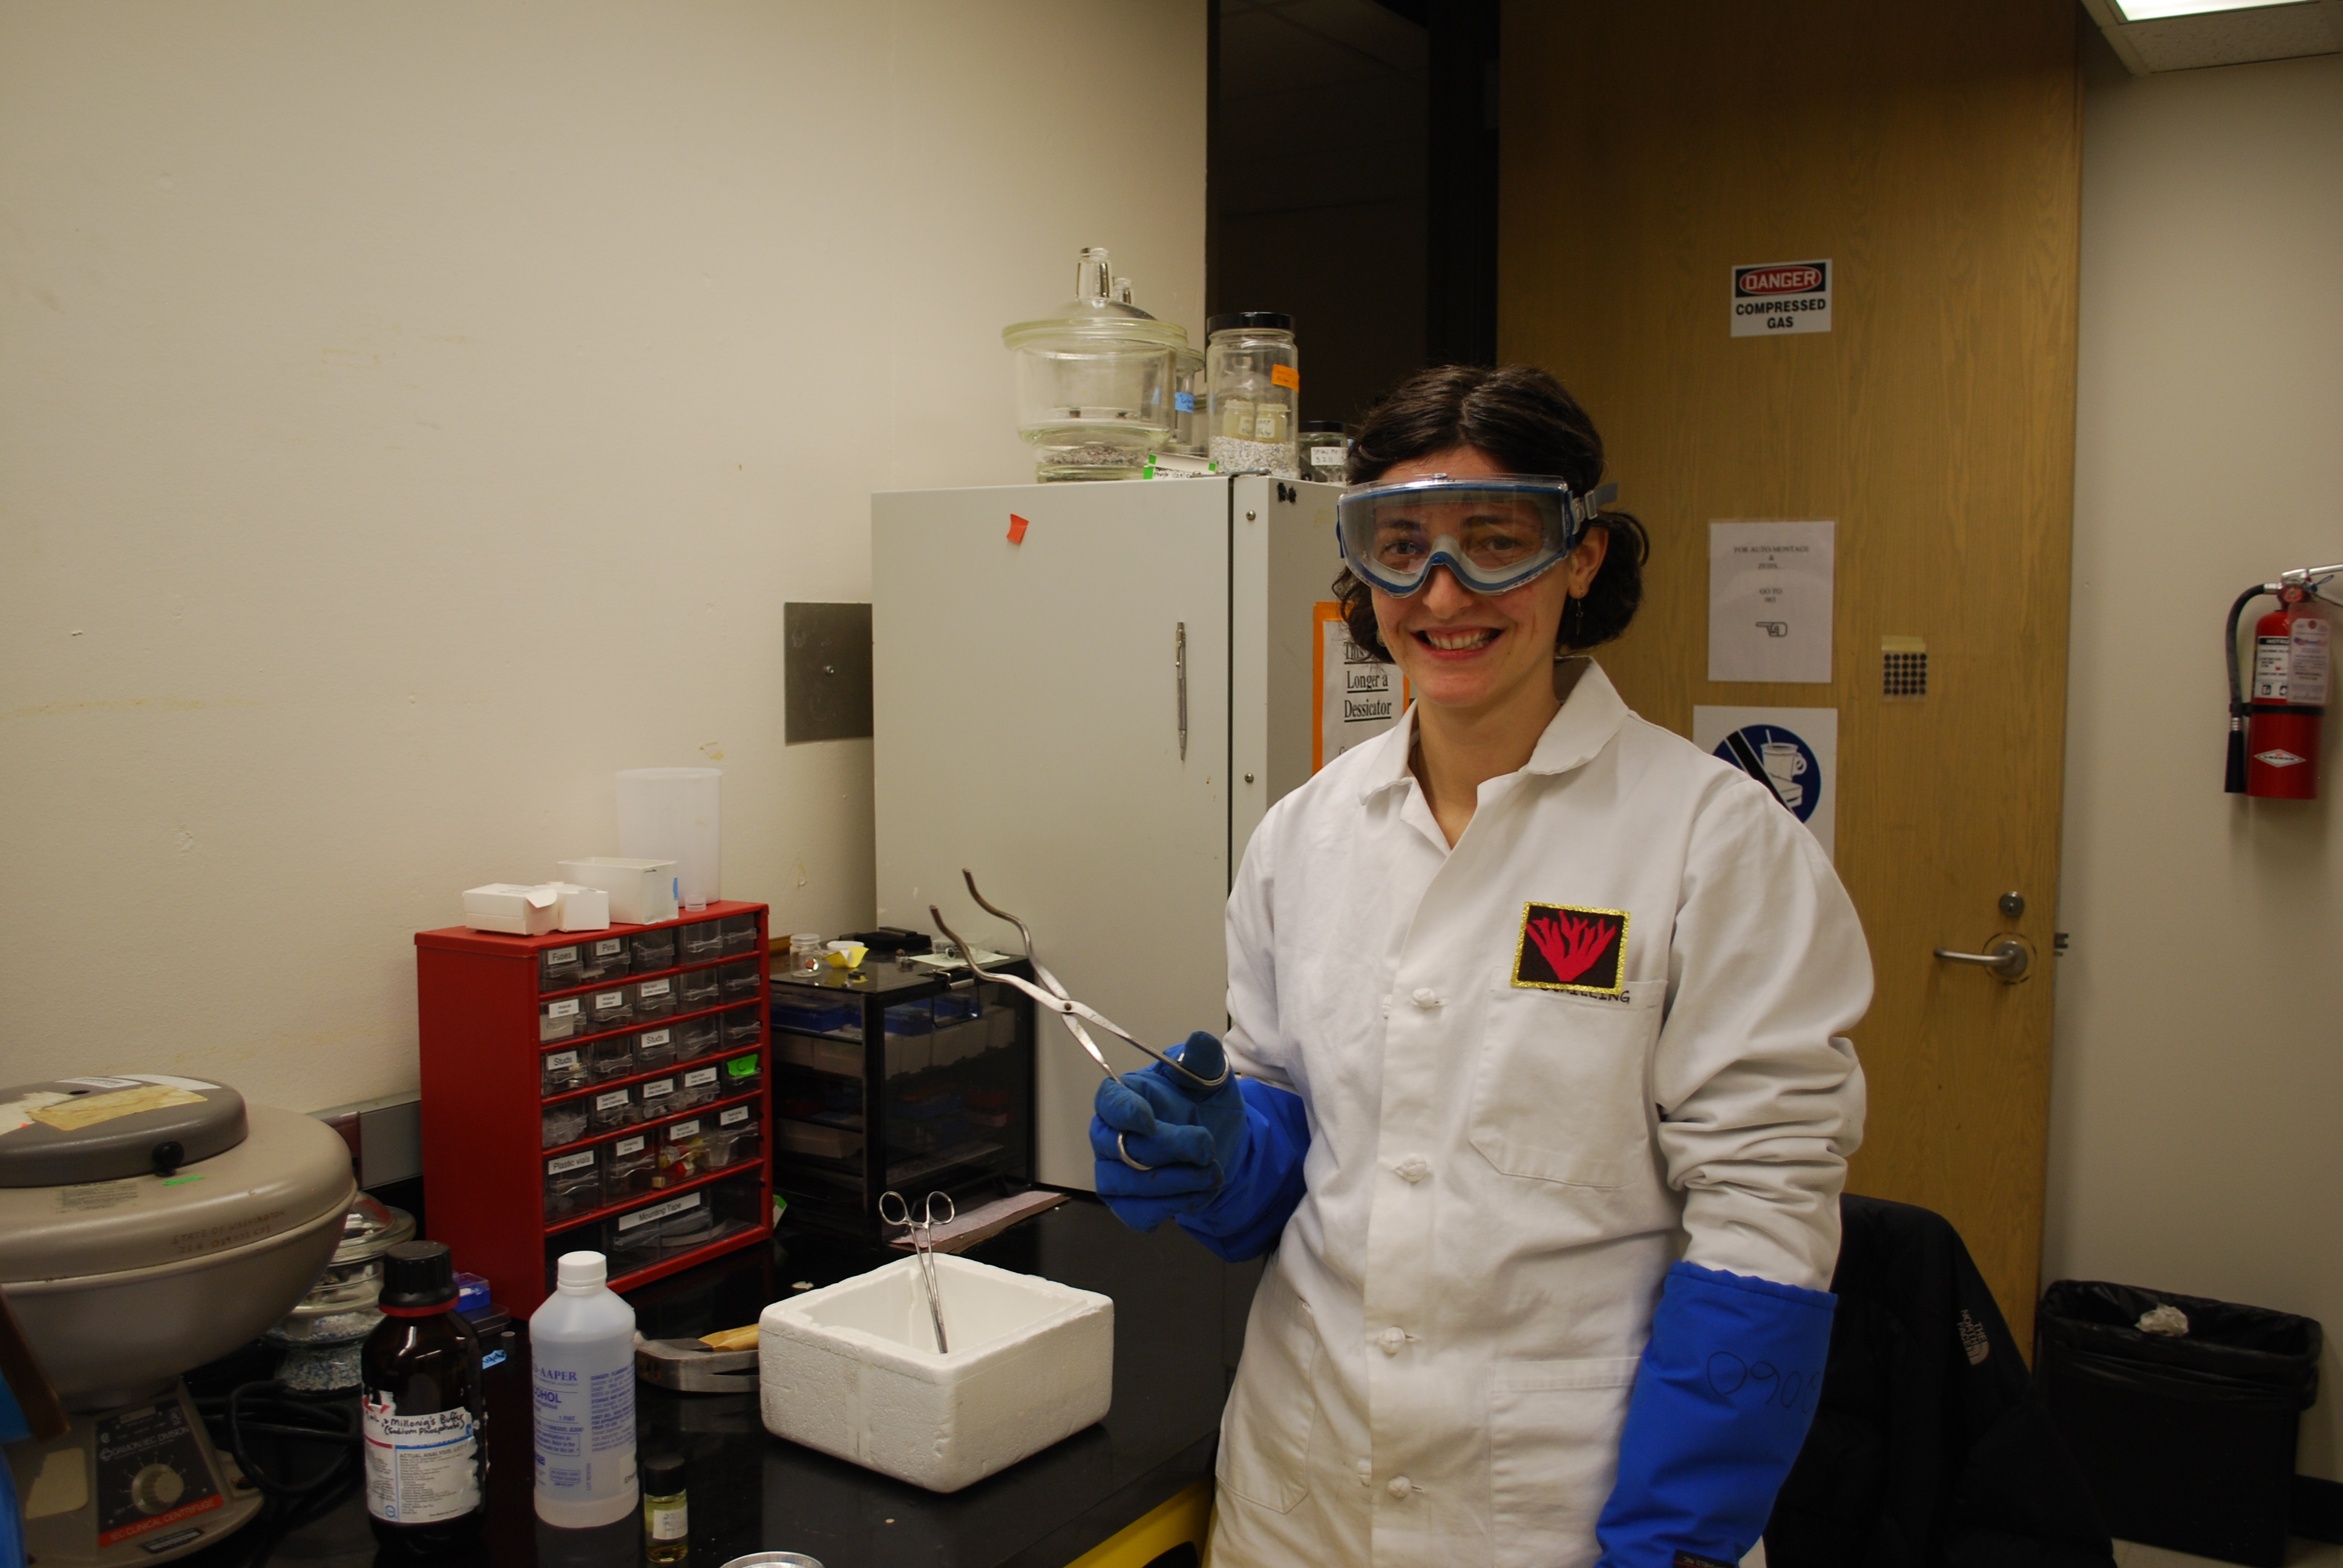
With goggles, cold shield gloves, a lab coat and tongs – we’re almost ready!
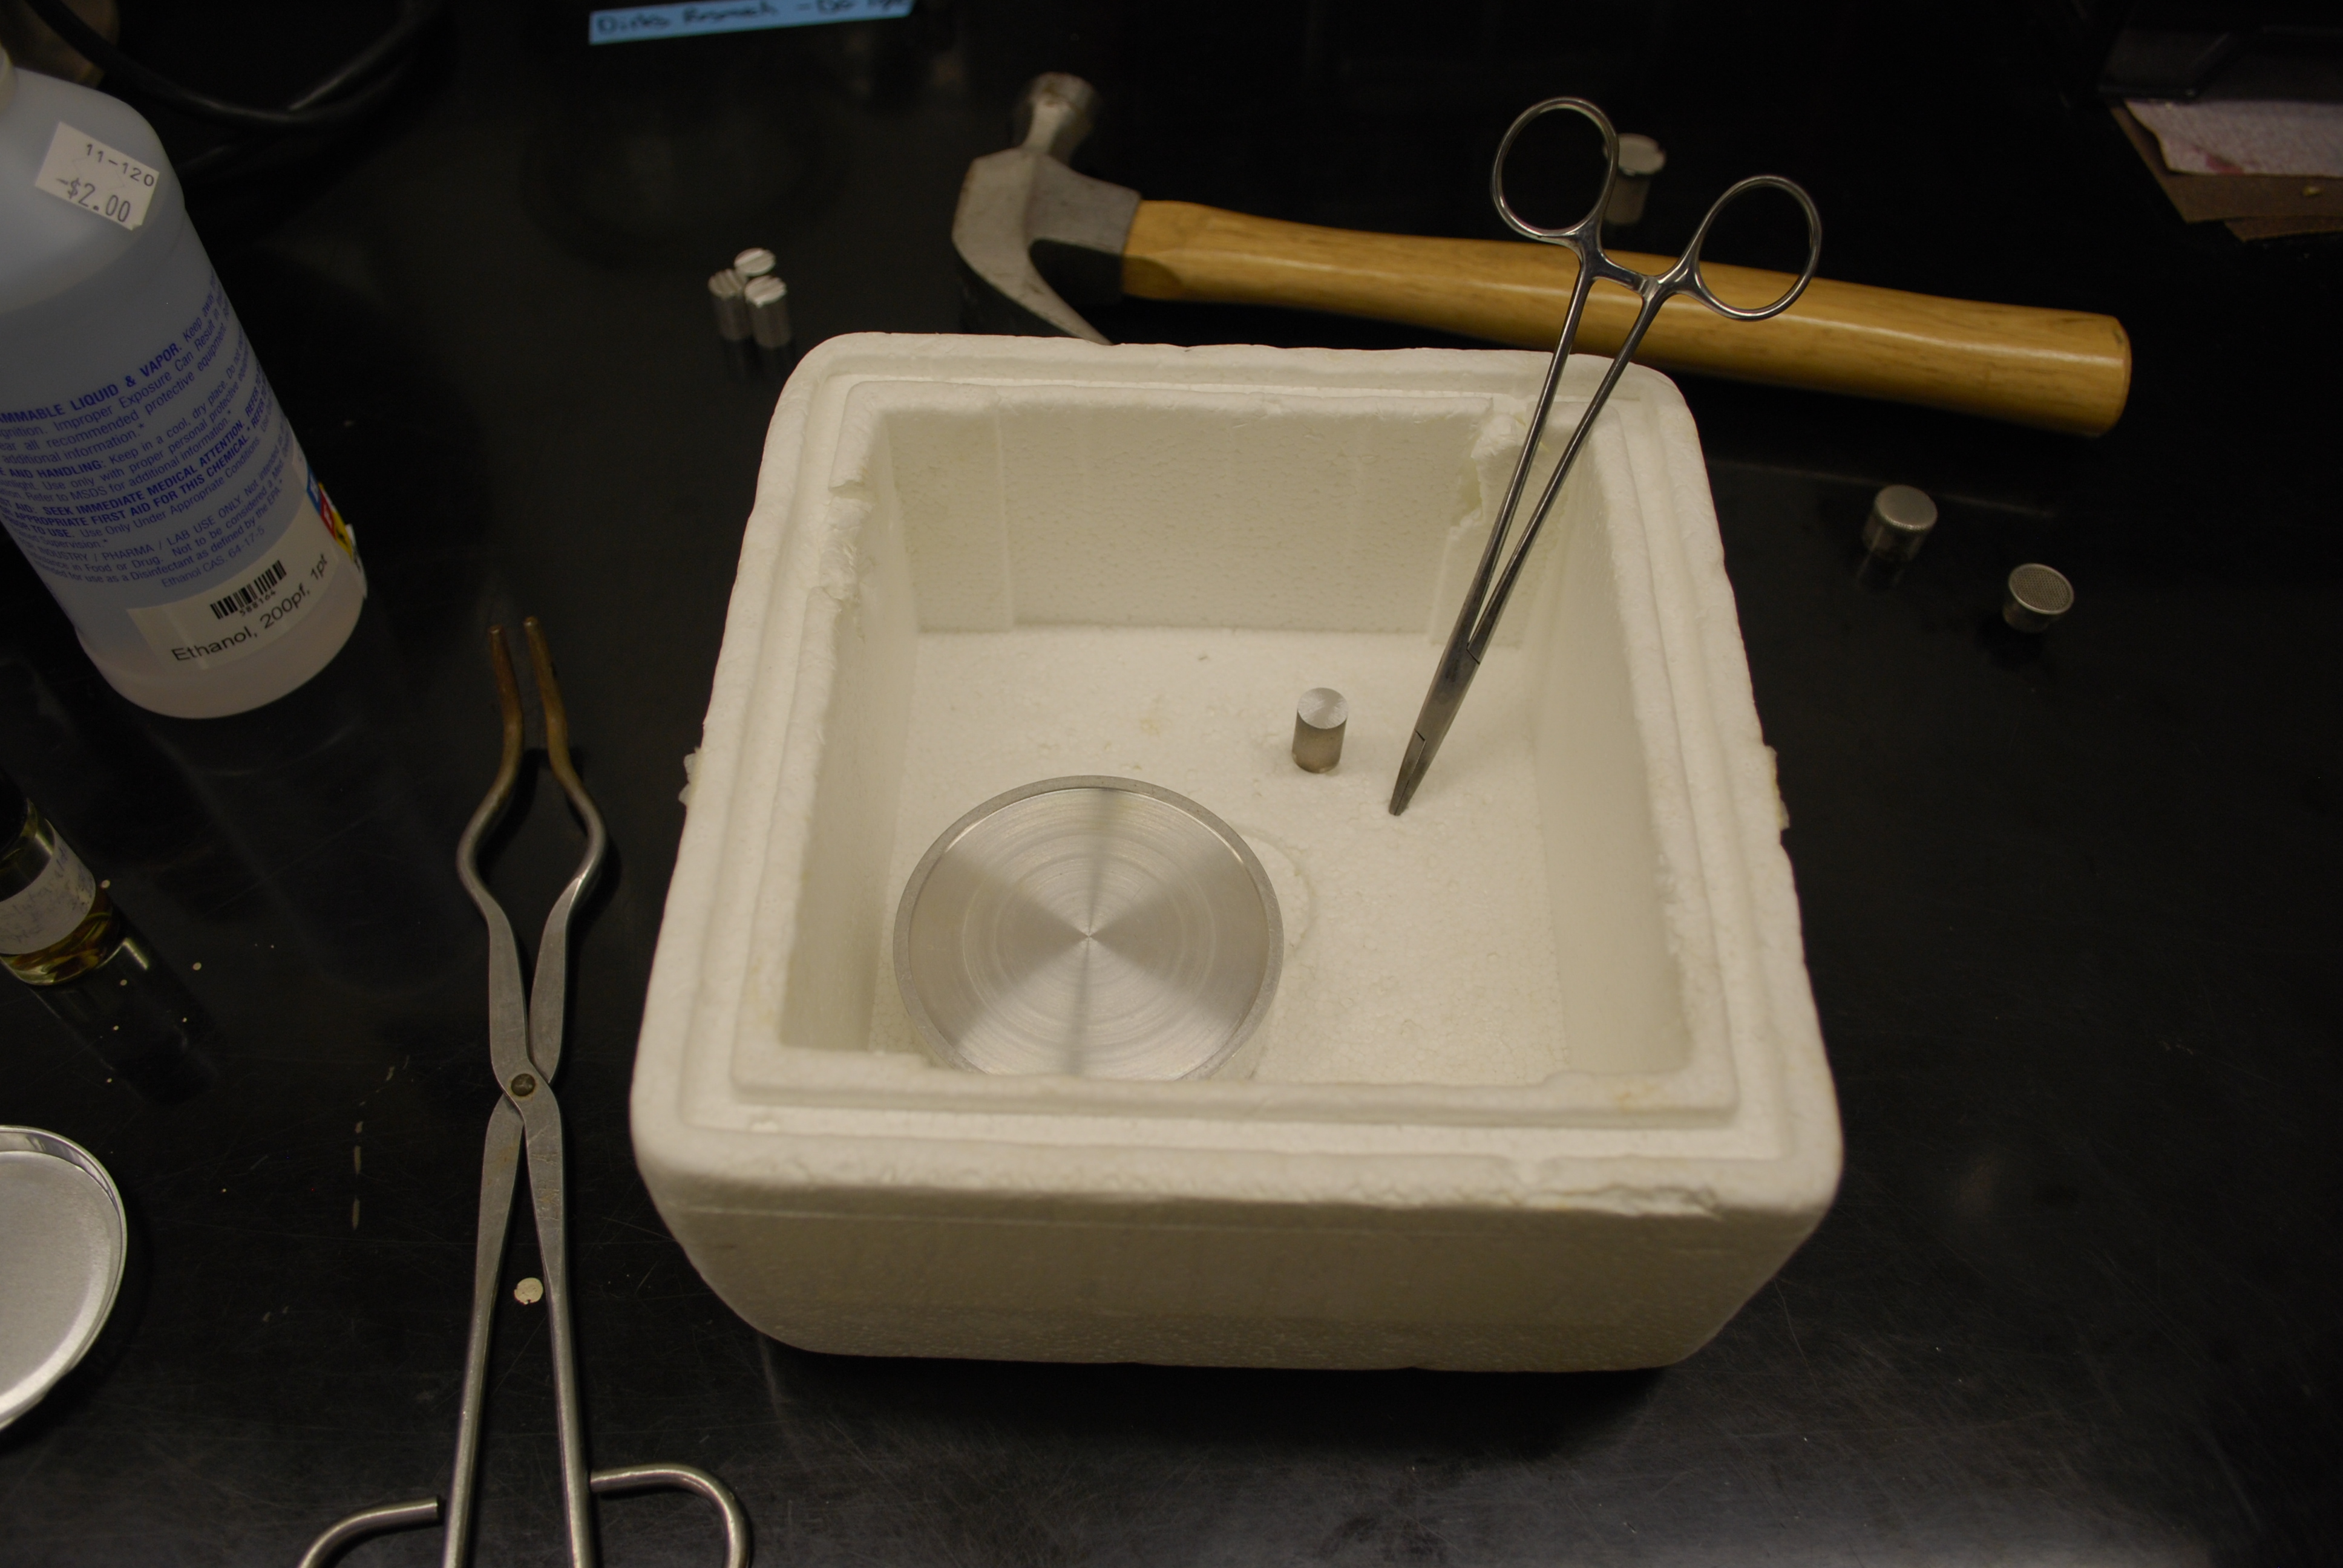
The setup: styrofoam container, metal platform, hemostats, tongs, hammer
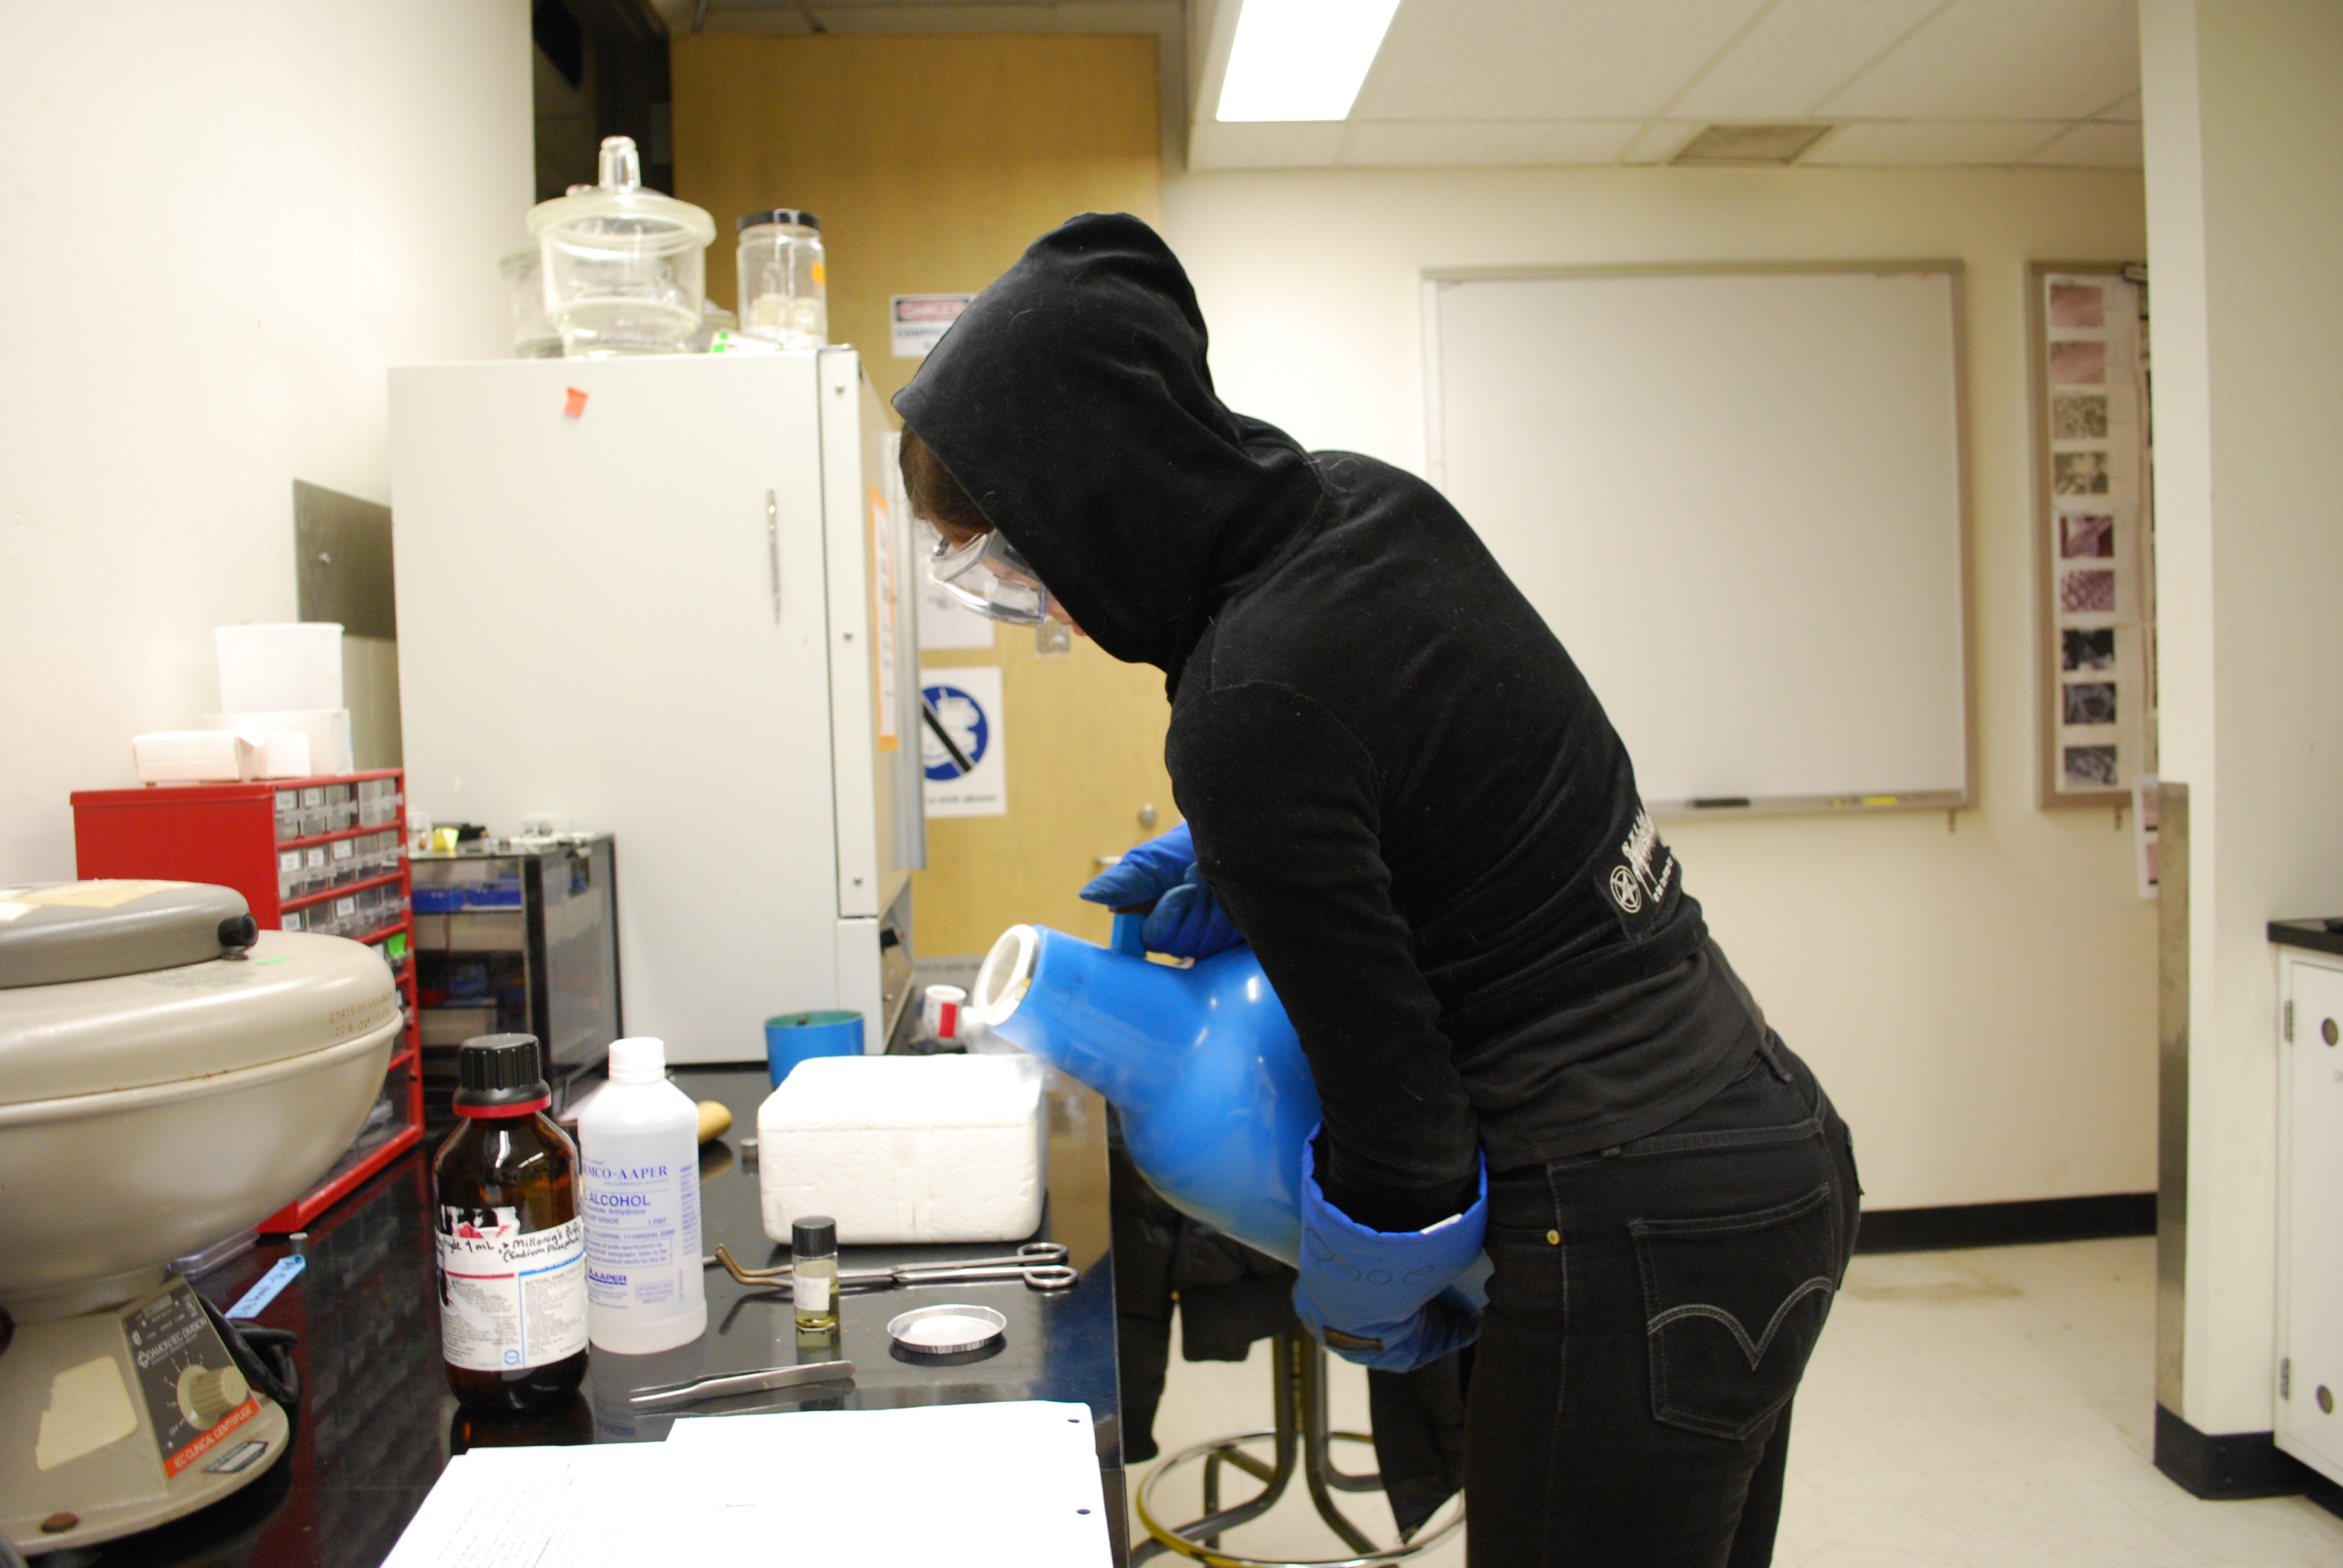
Yianna pouring liquid Nitrogen!
So cool.

The liquid Nitrogen is boiling after coming in contact with the “warm” metal.

Cooling the tools.

Transferring the leaves to dish with 100% ethanol.

Leaves! I wish they had stayed in that neatly arranged order…

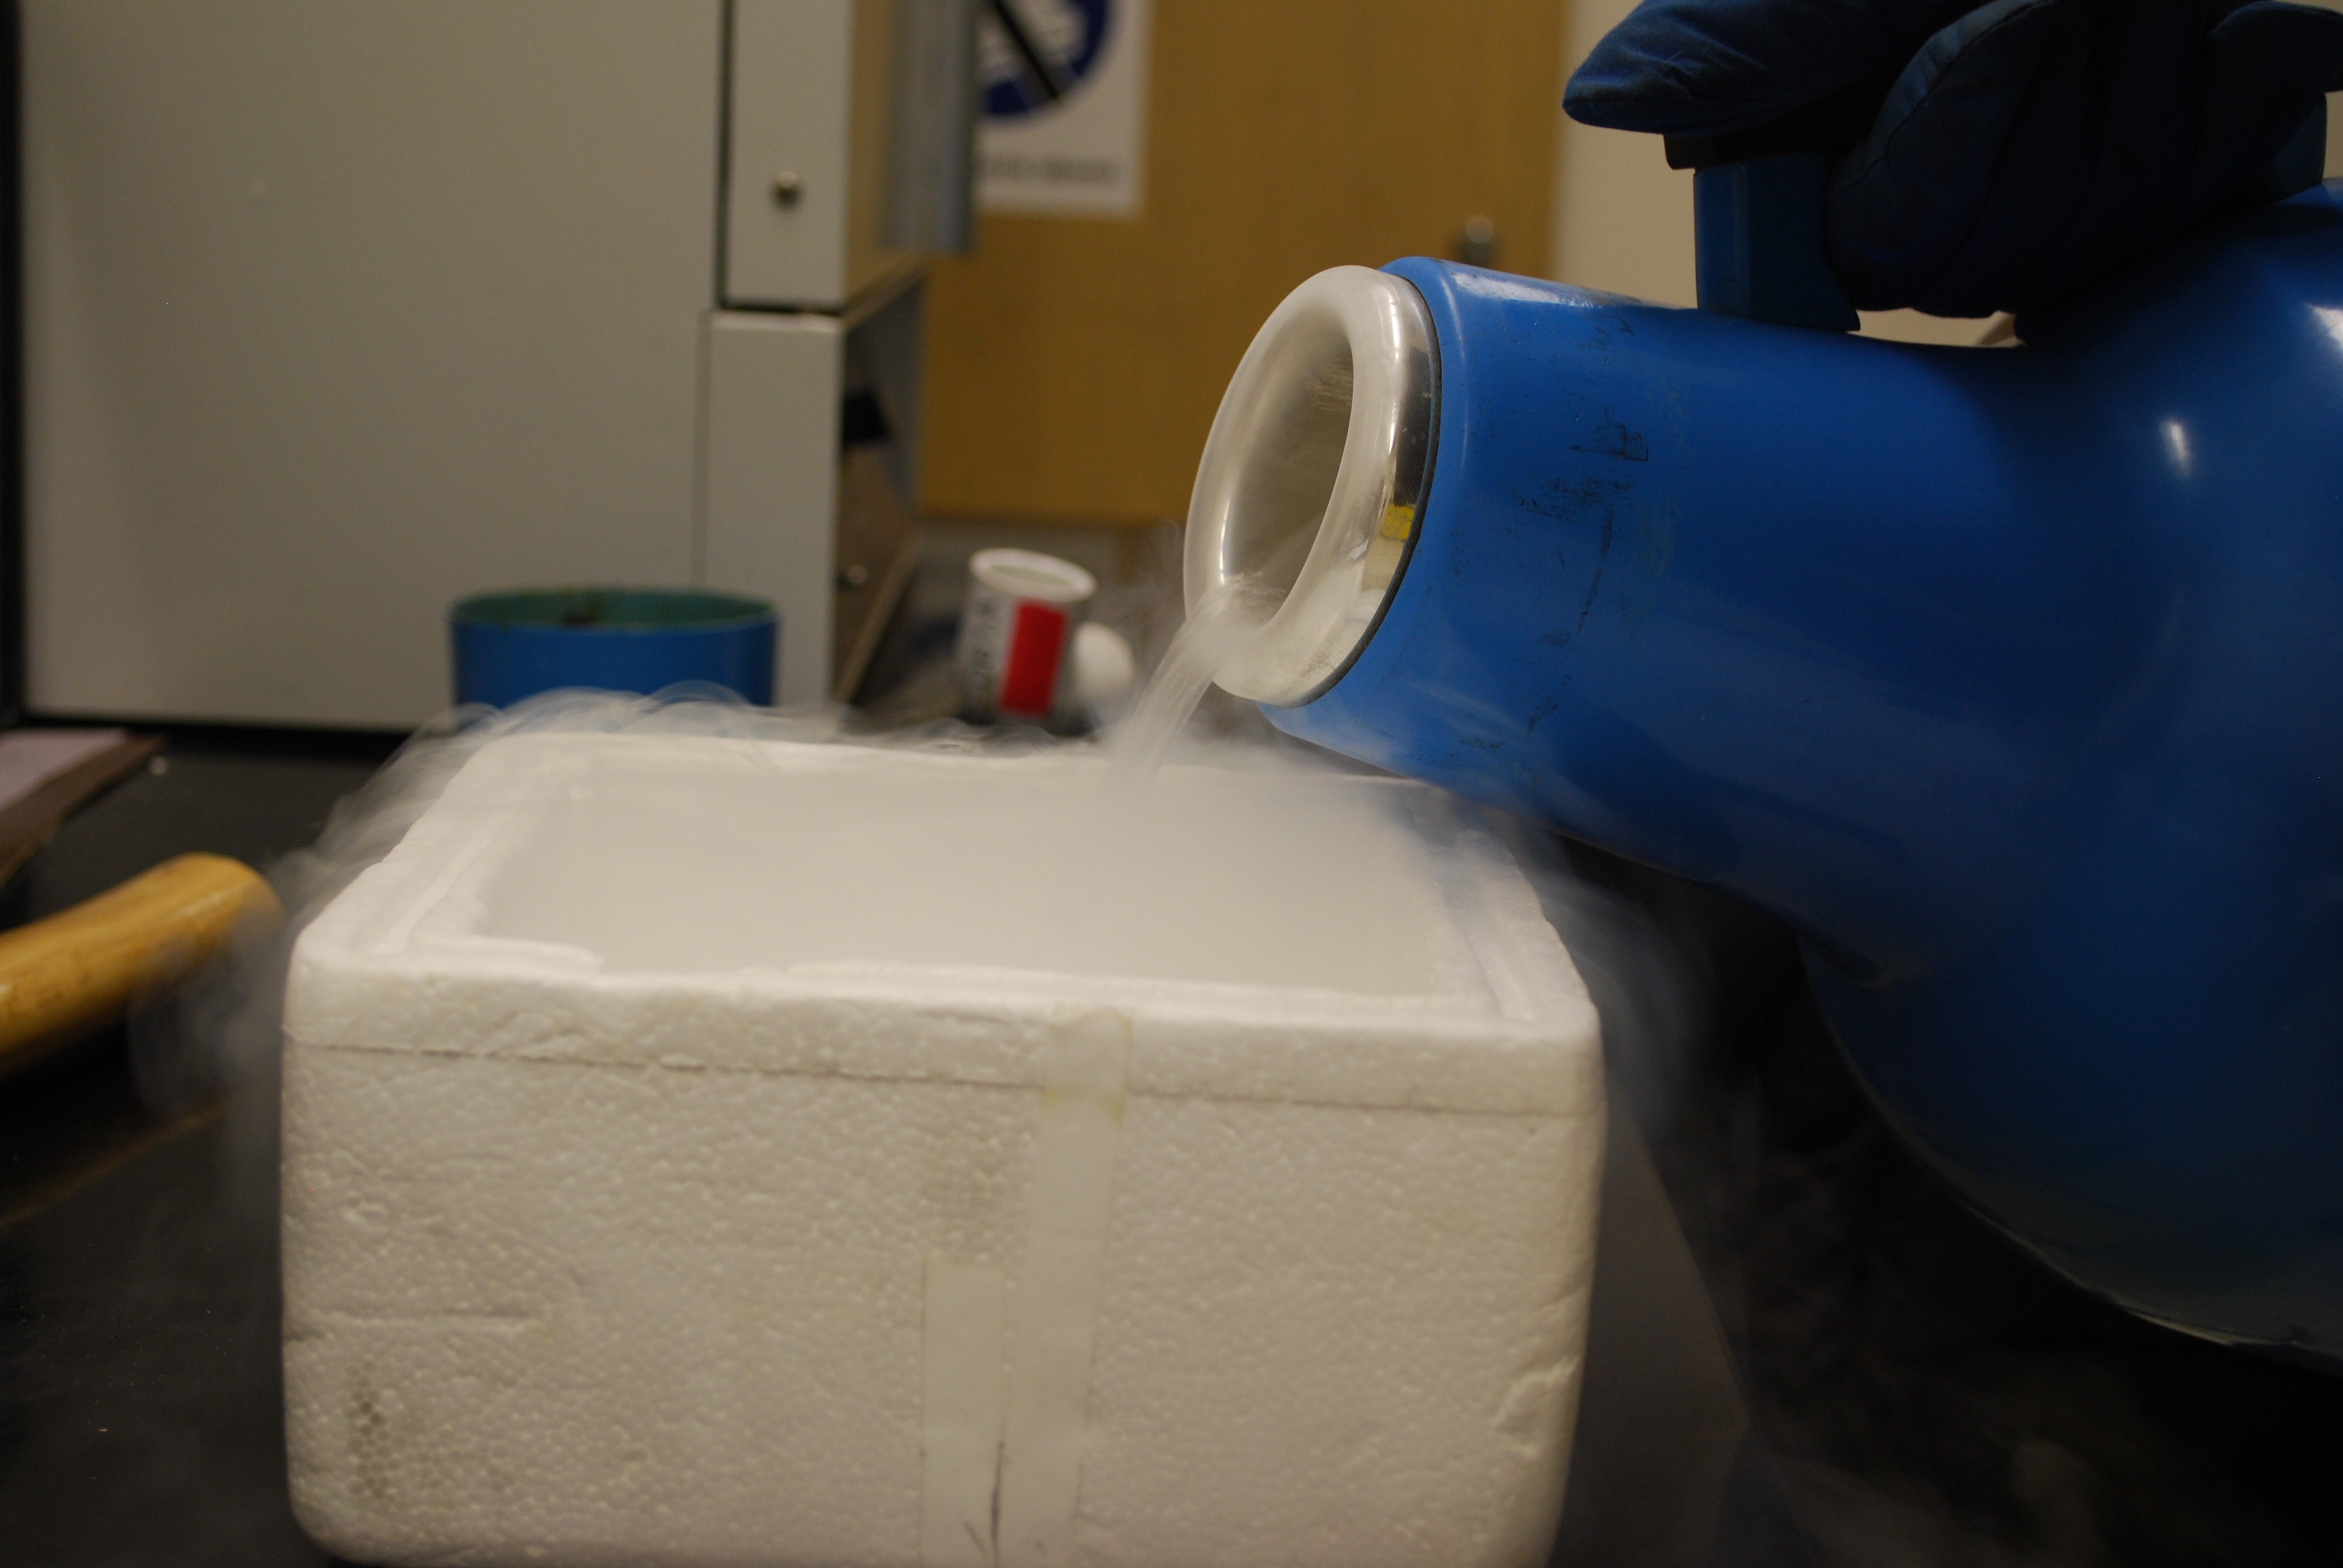
Barely covered in 100% ethanol, the leaves are frozen by the intense cold of the liquid Nitrogen.

After the ethanol has frozen, the tray is fully submersed in the liquid Nitrogen for several minutes.
Put the chilled stud on the sample and hit it with a hammer!
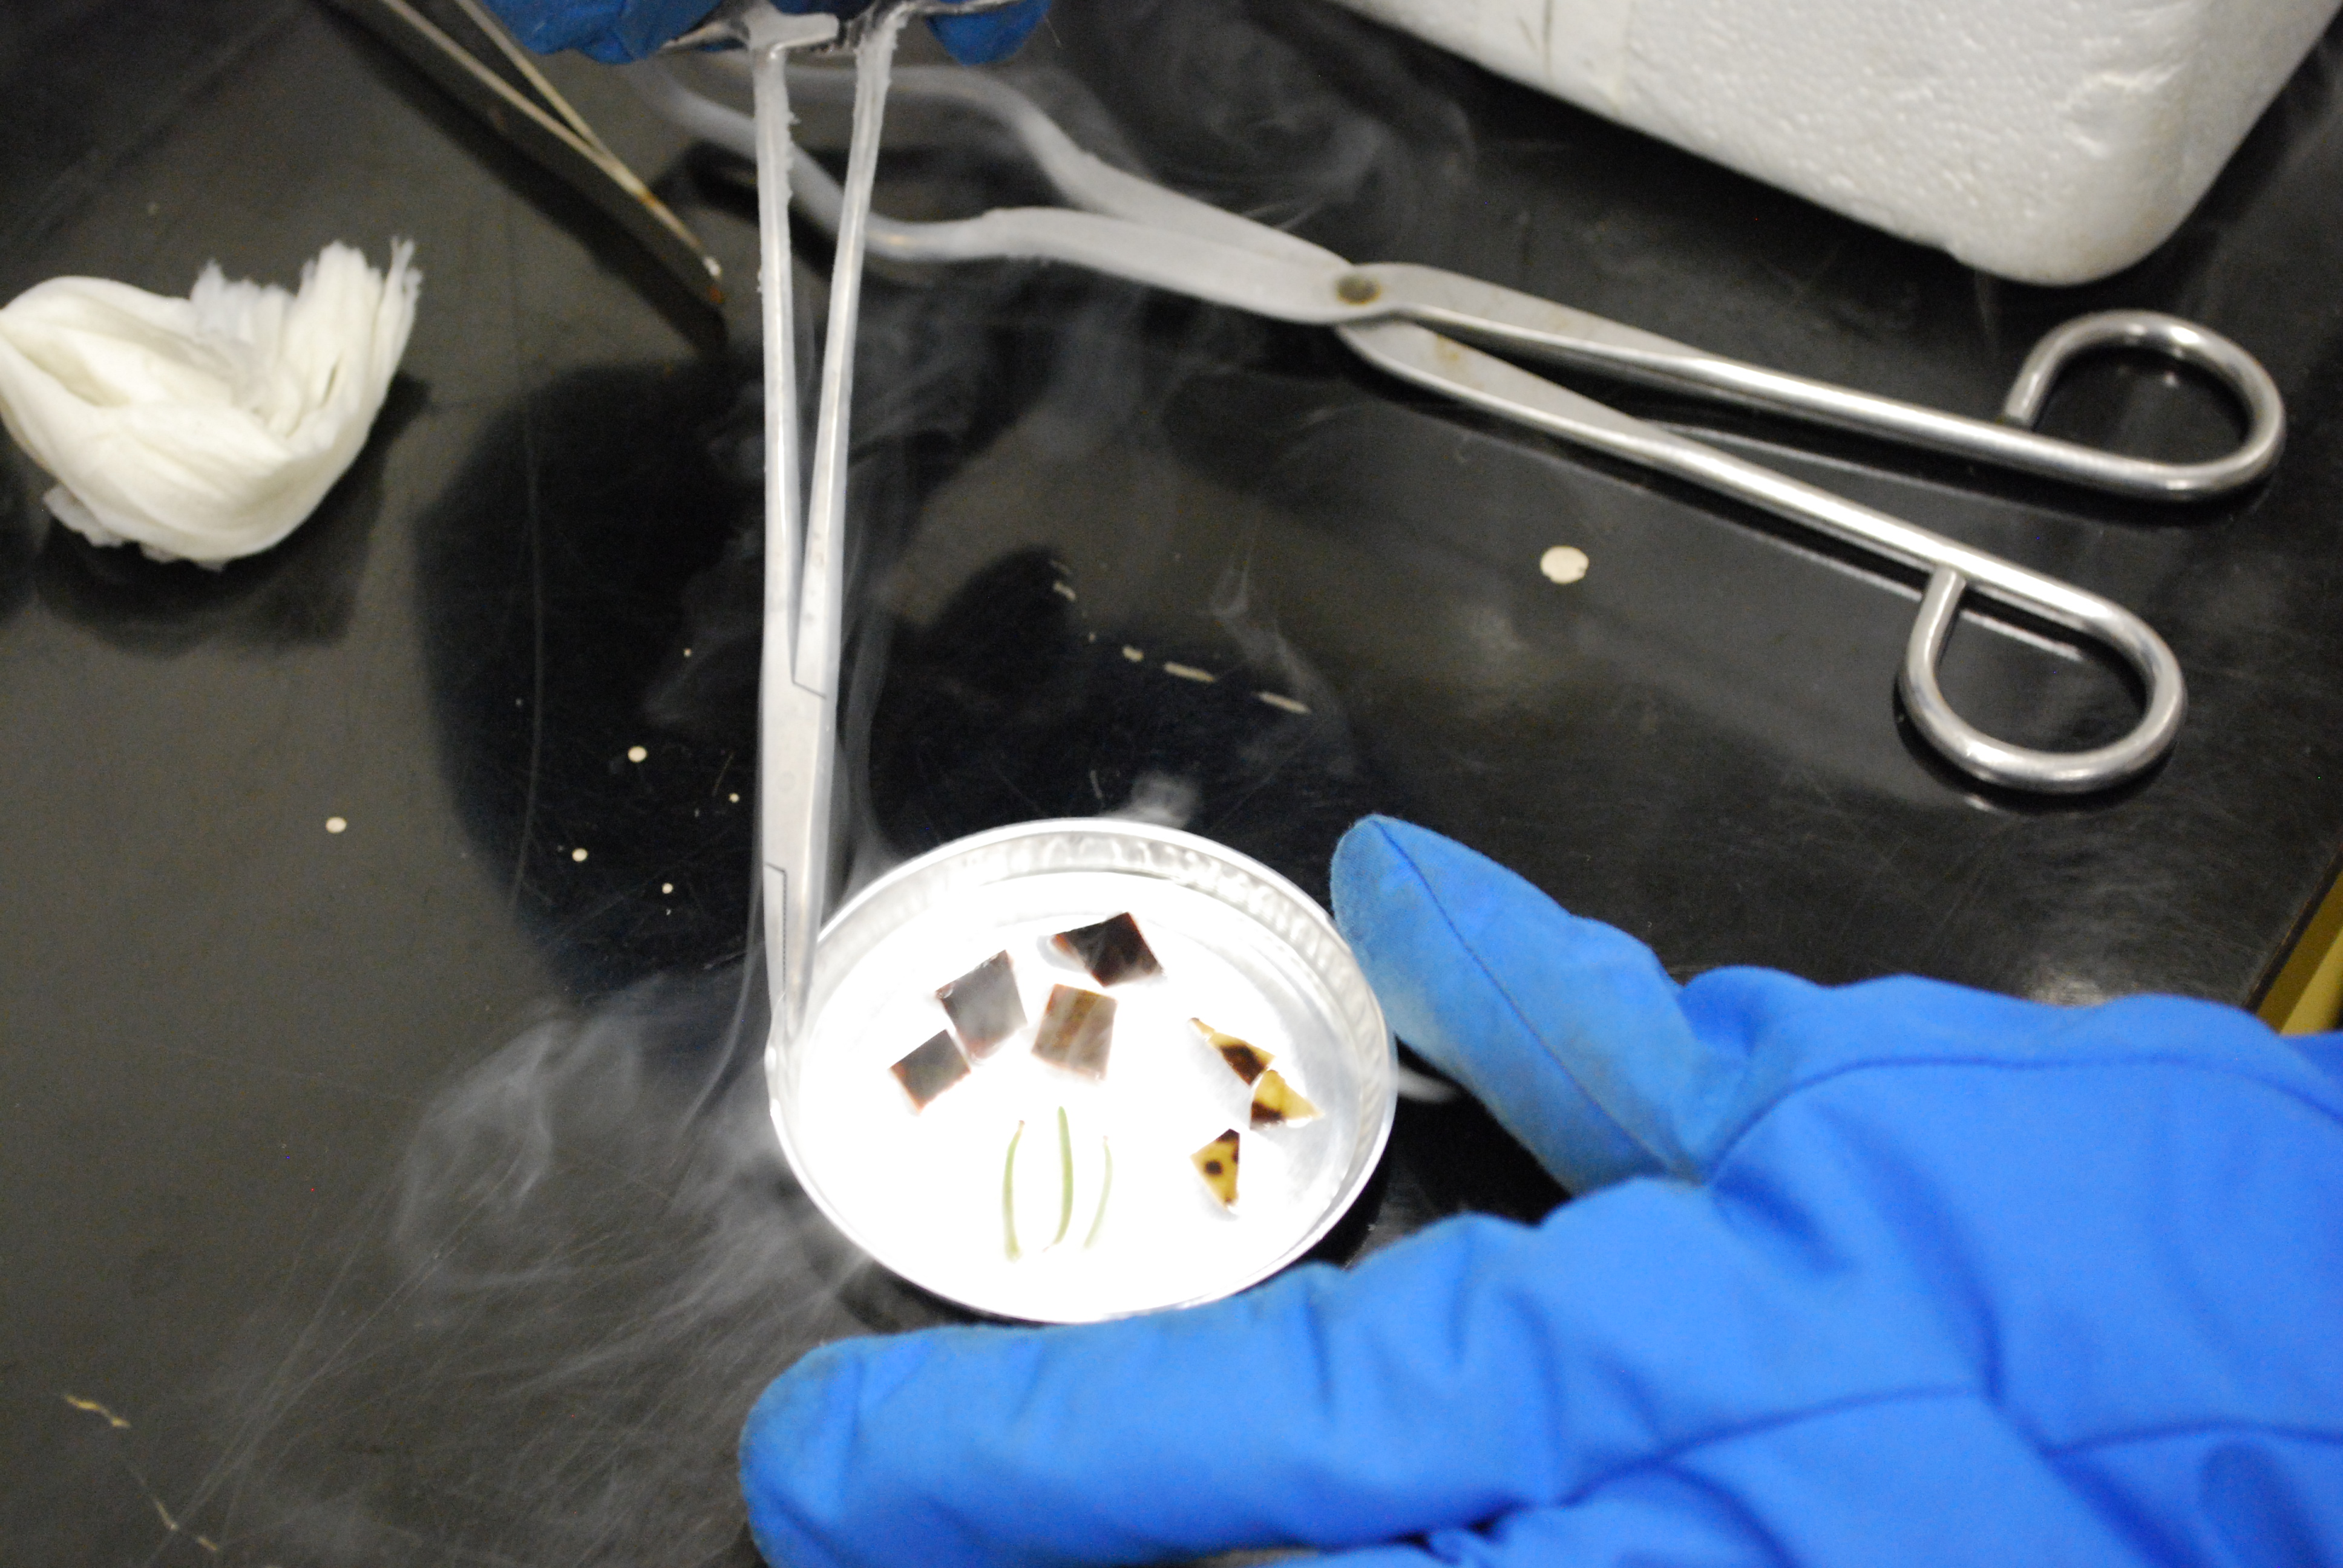
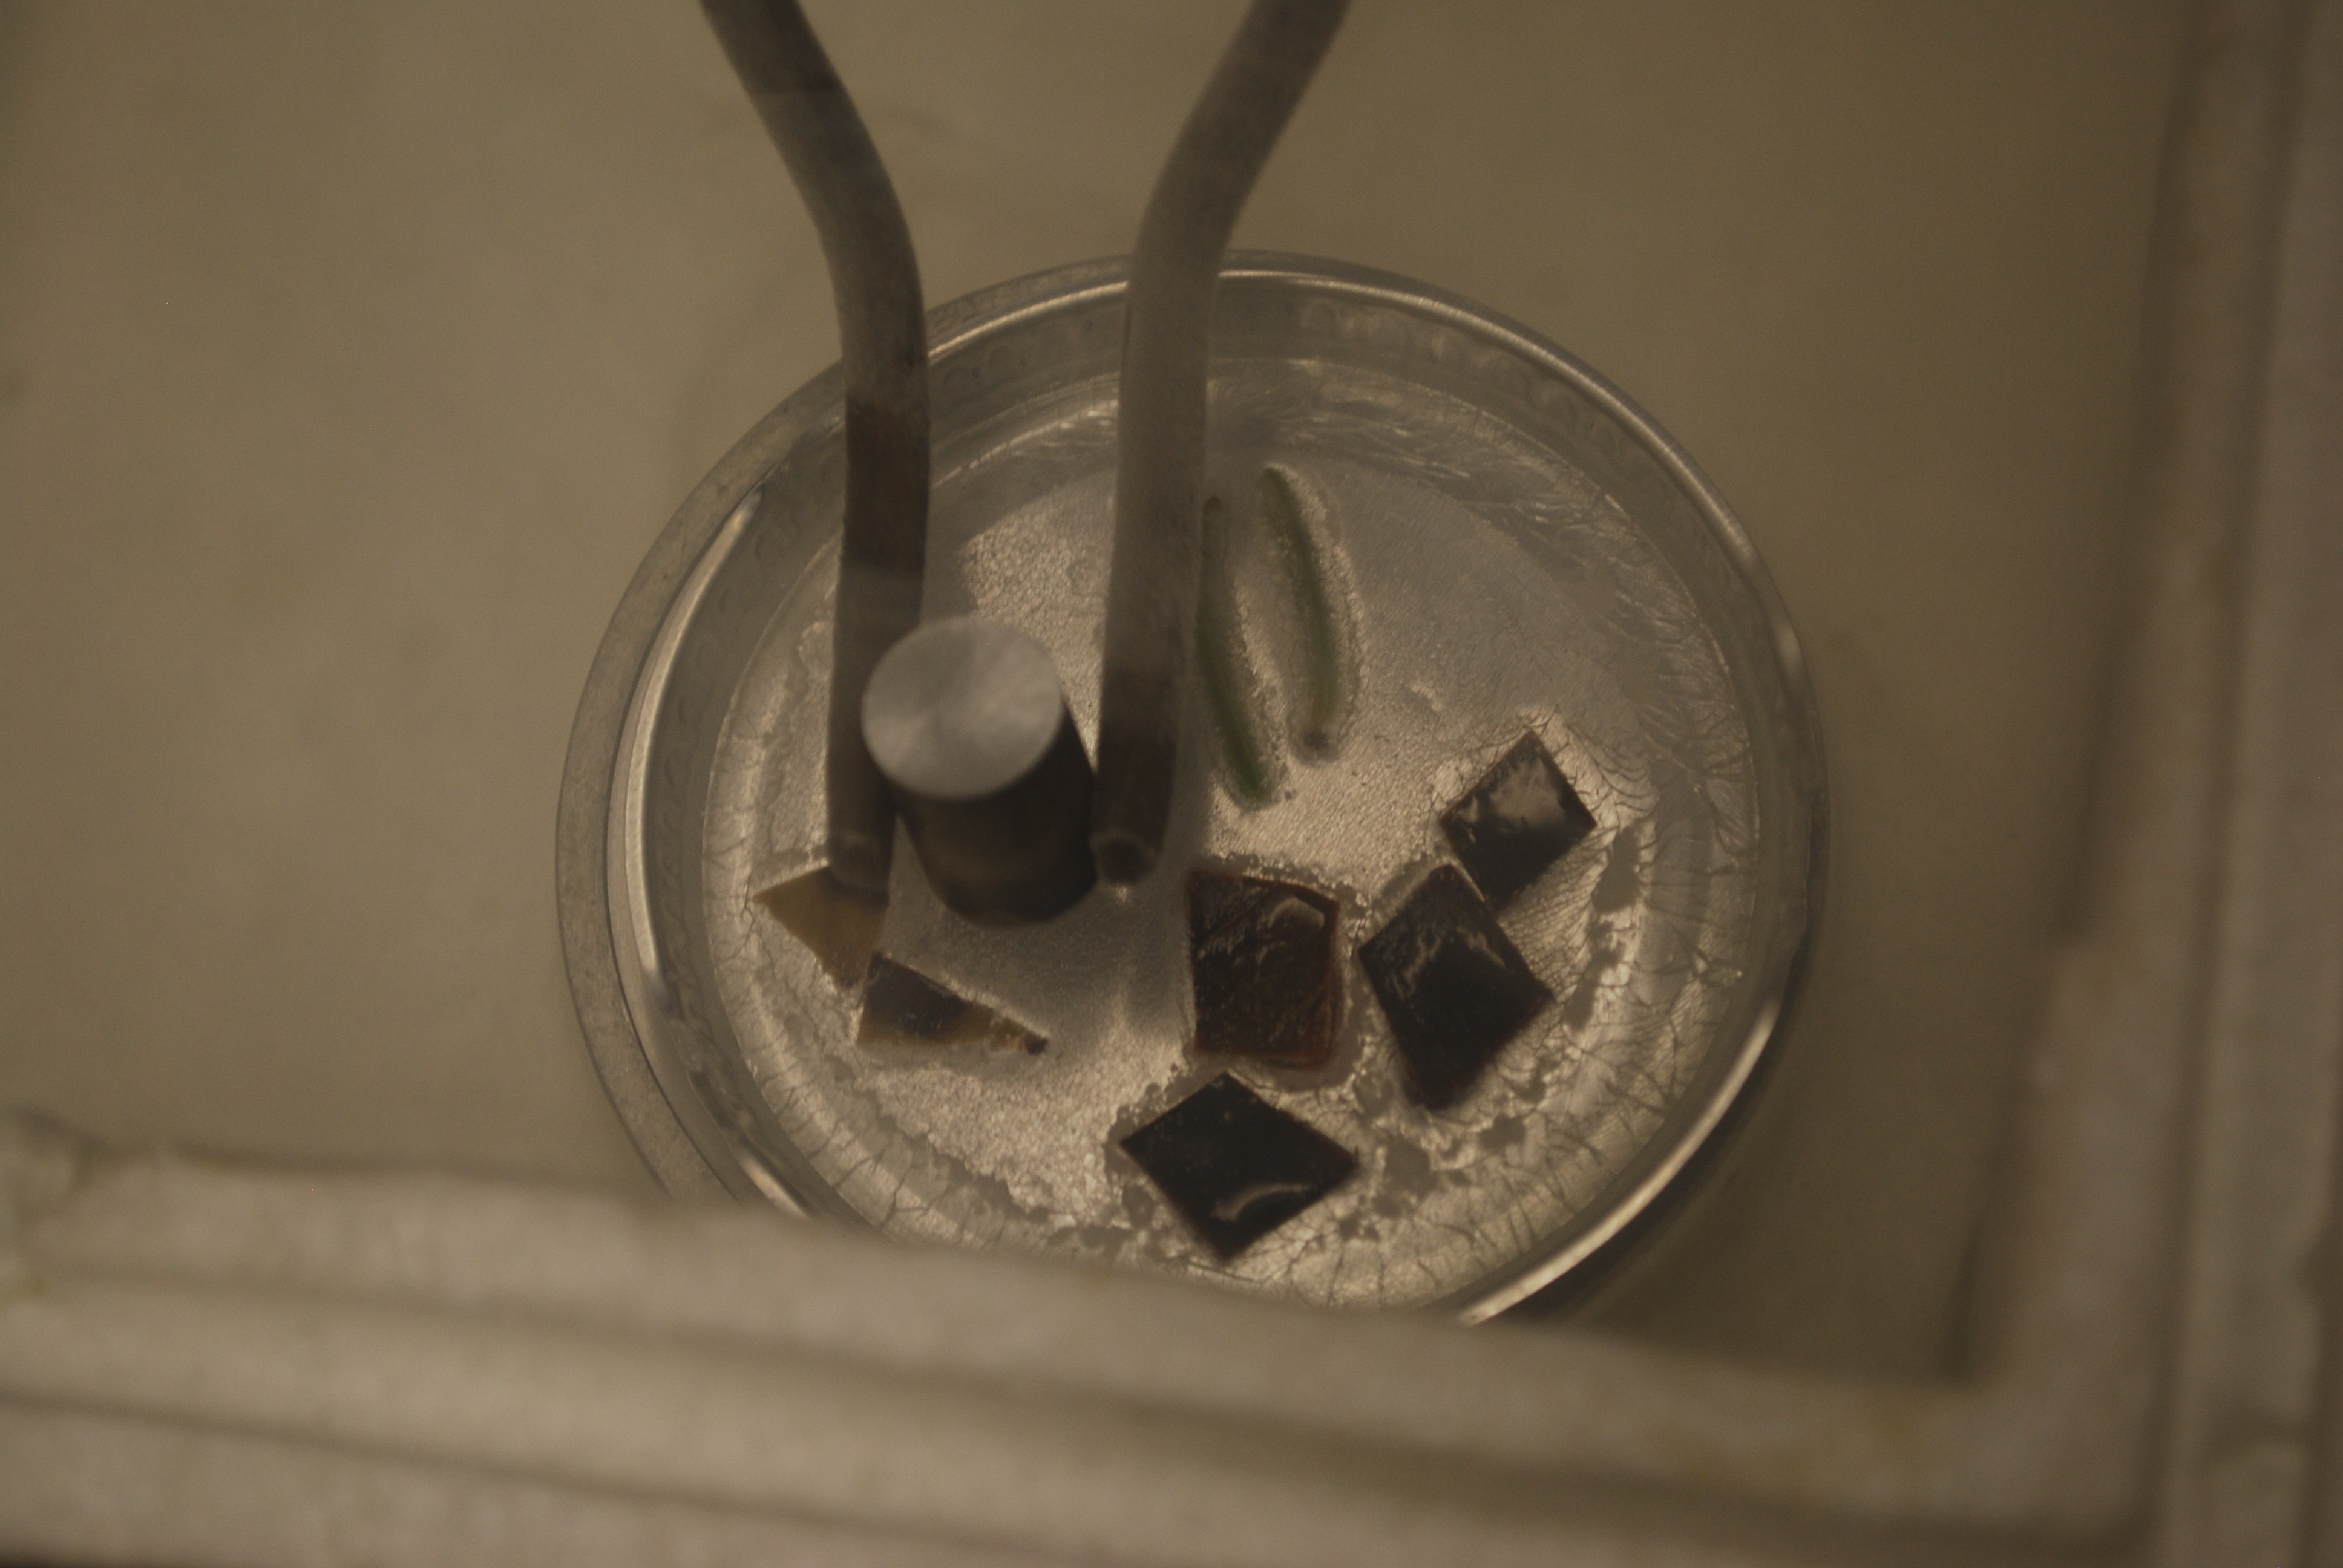
Checking to see if the fracturing worked… it didn’t… so we repeated the freezing process two more times.
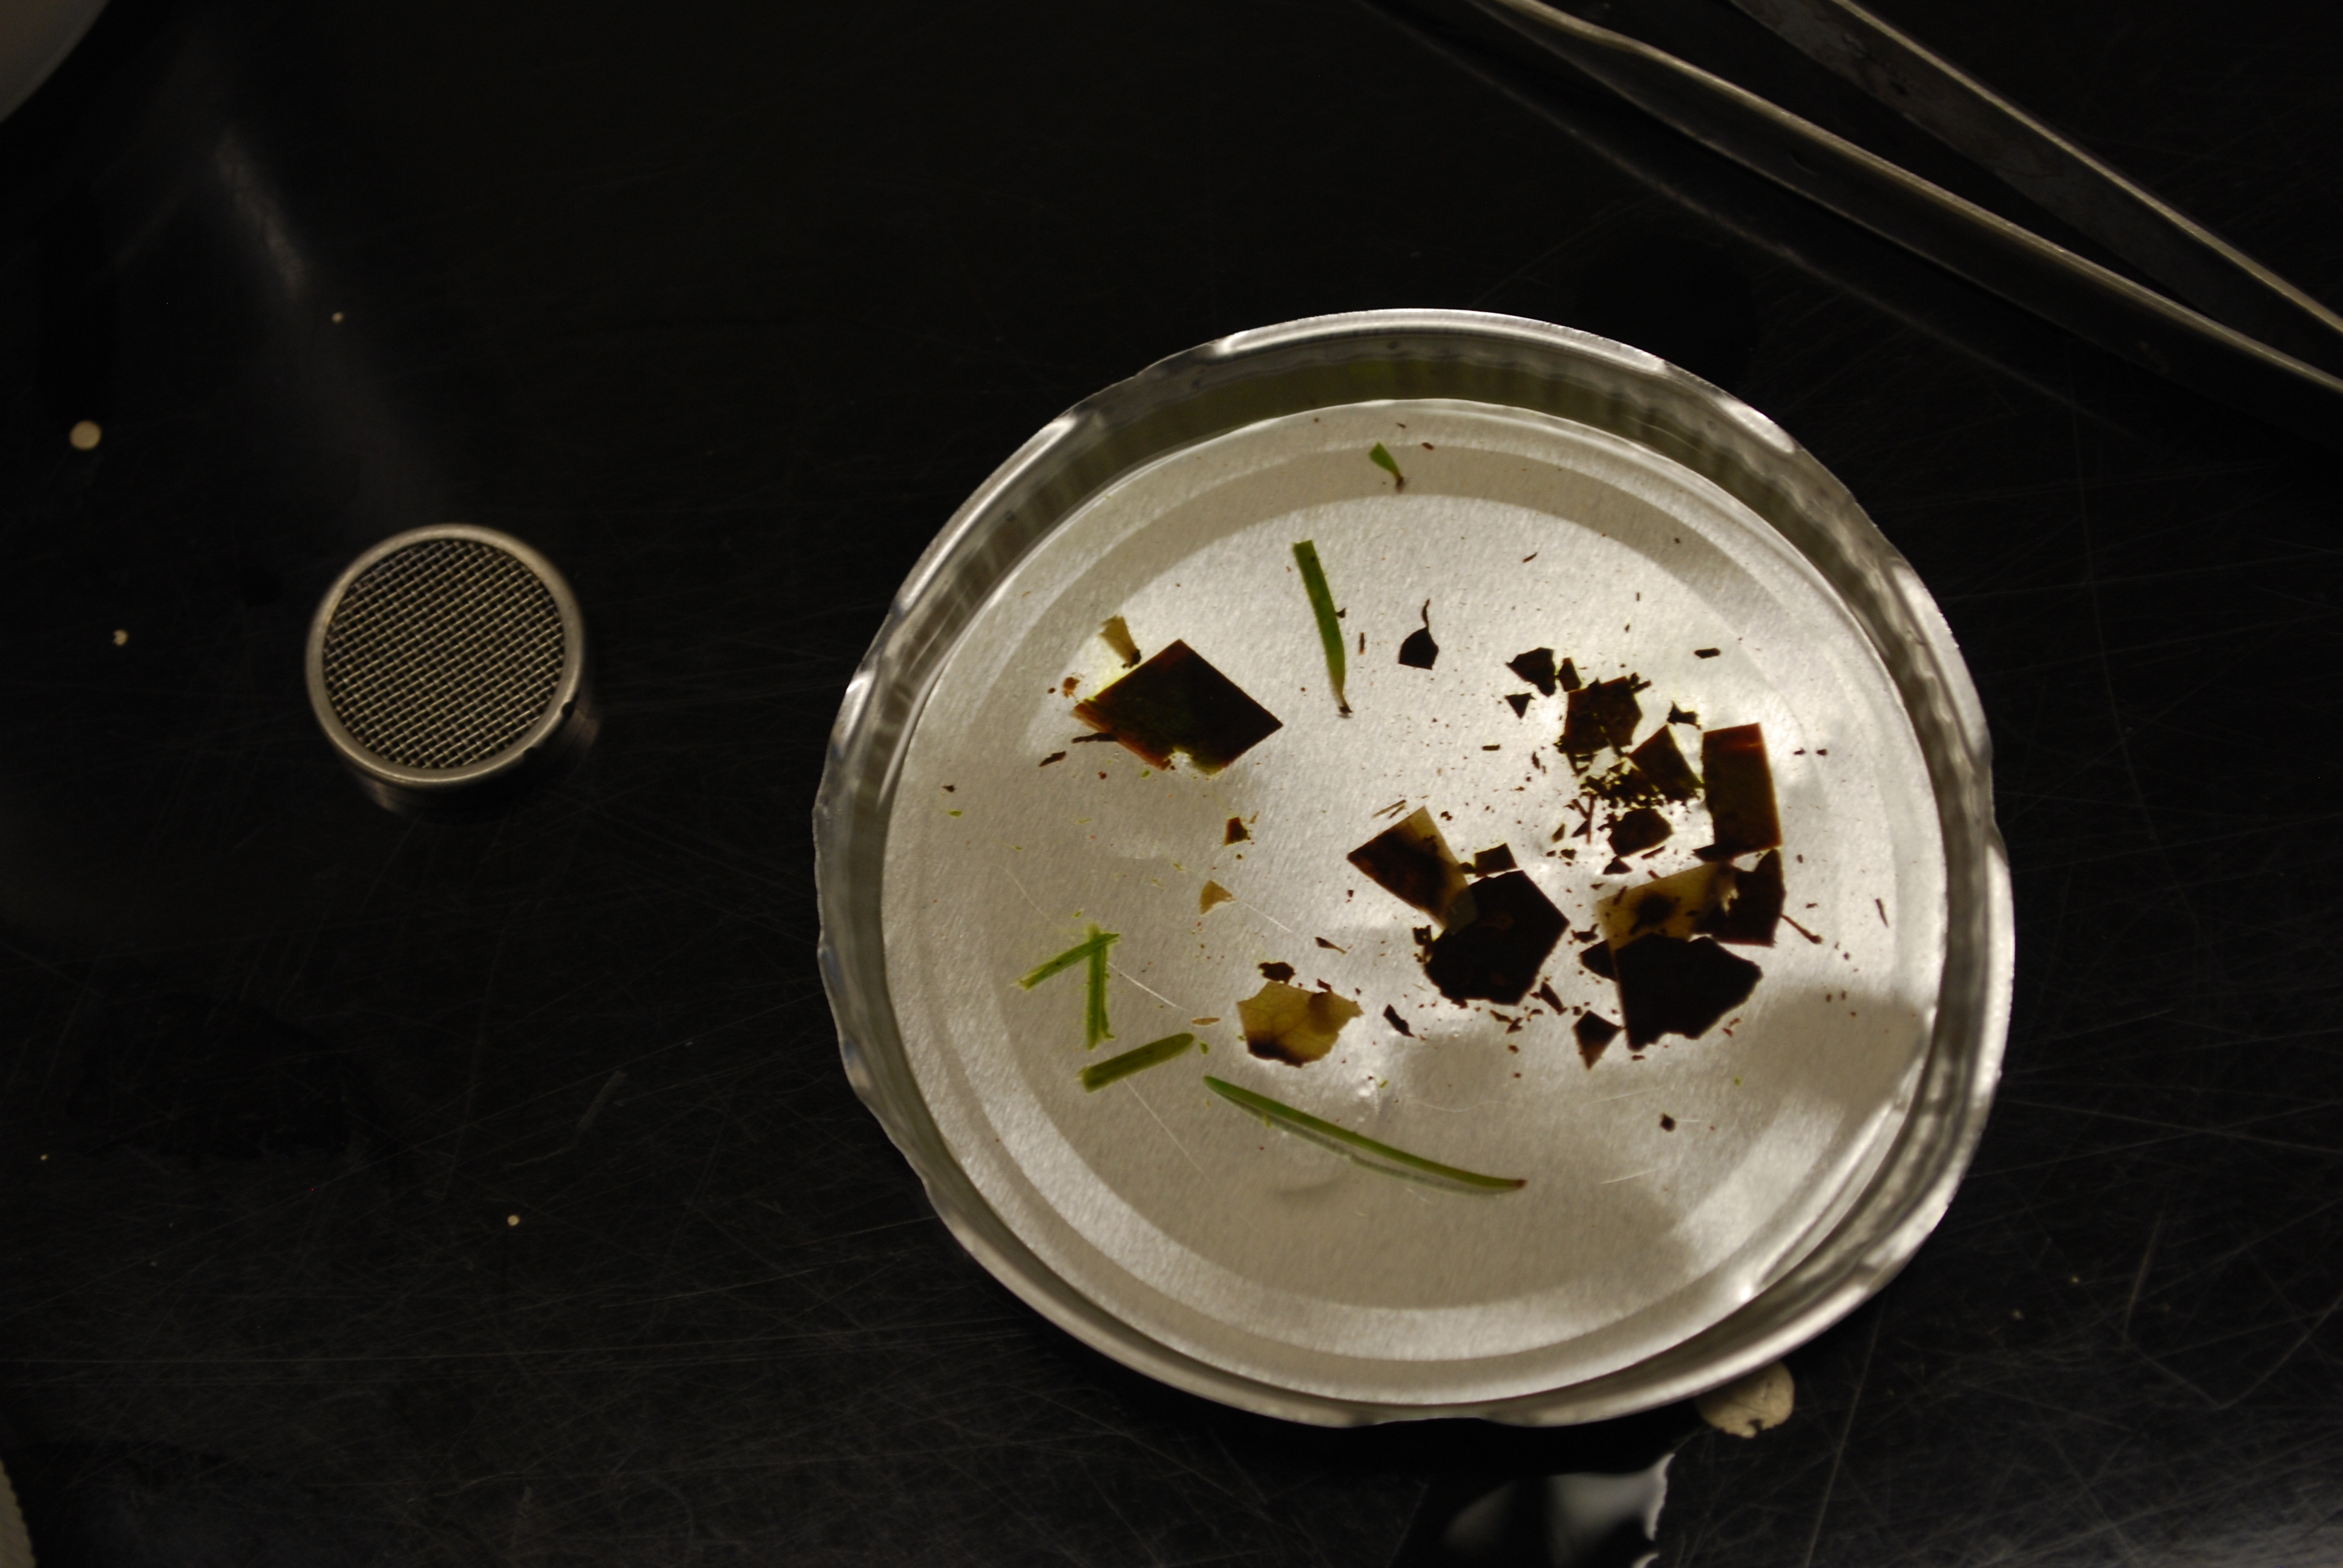
Third time is the charm! Note: the samples did not stay separated. This we will have to think about for next time.
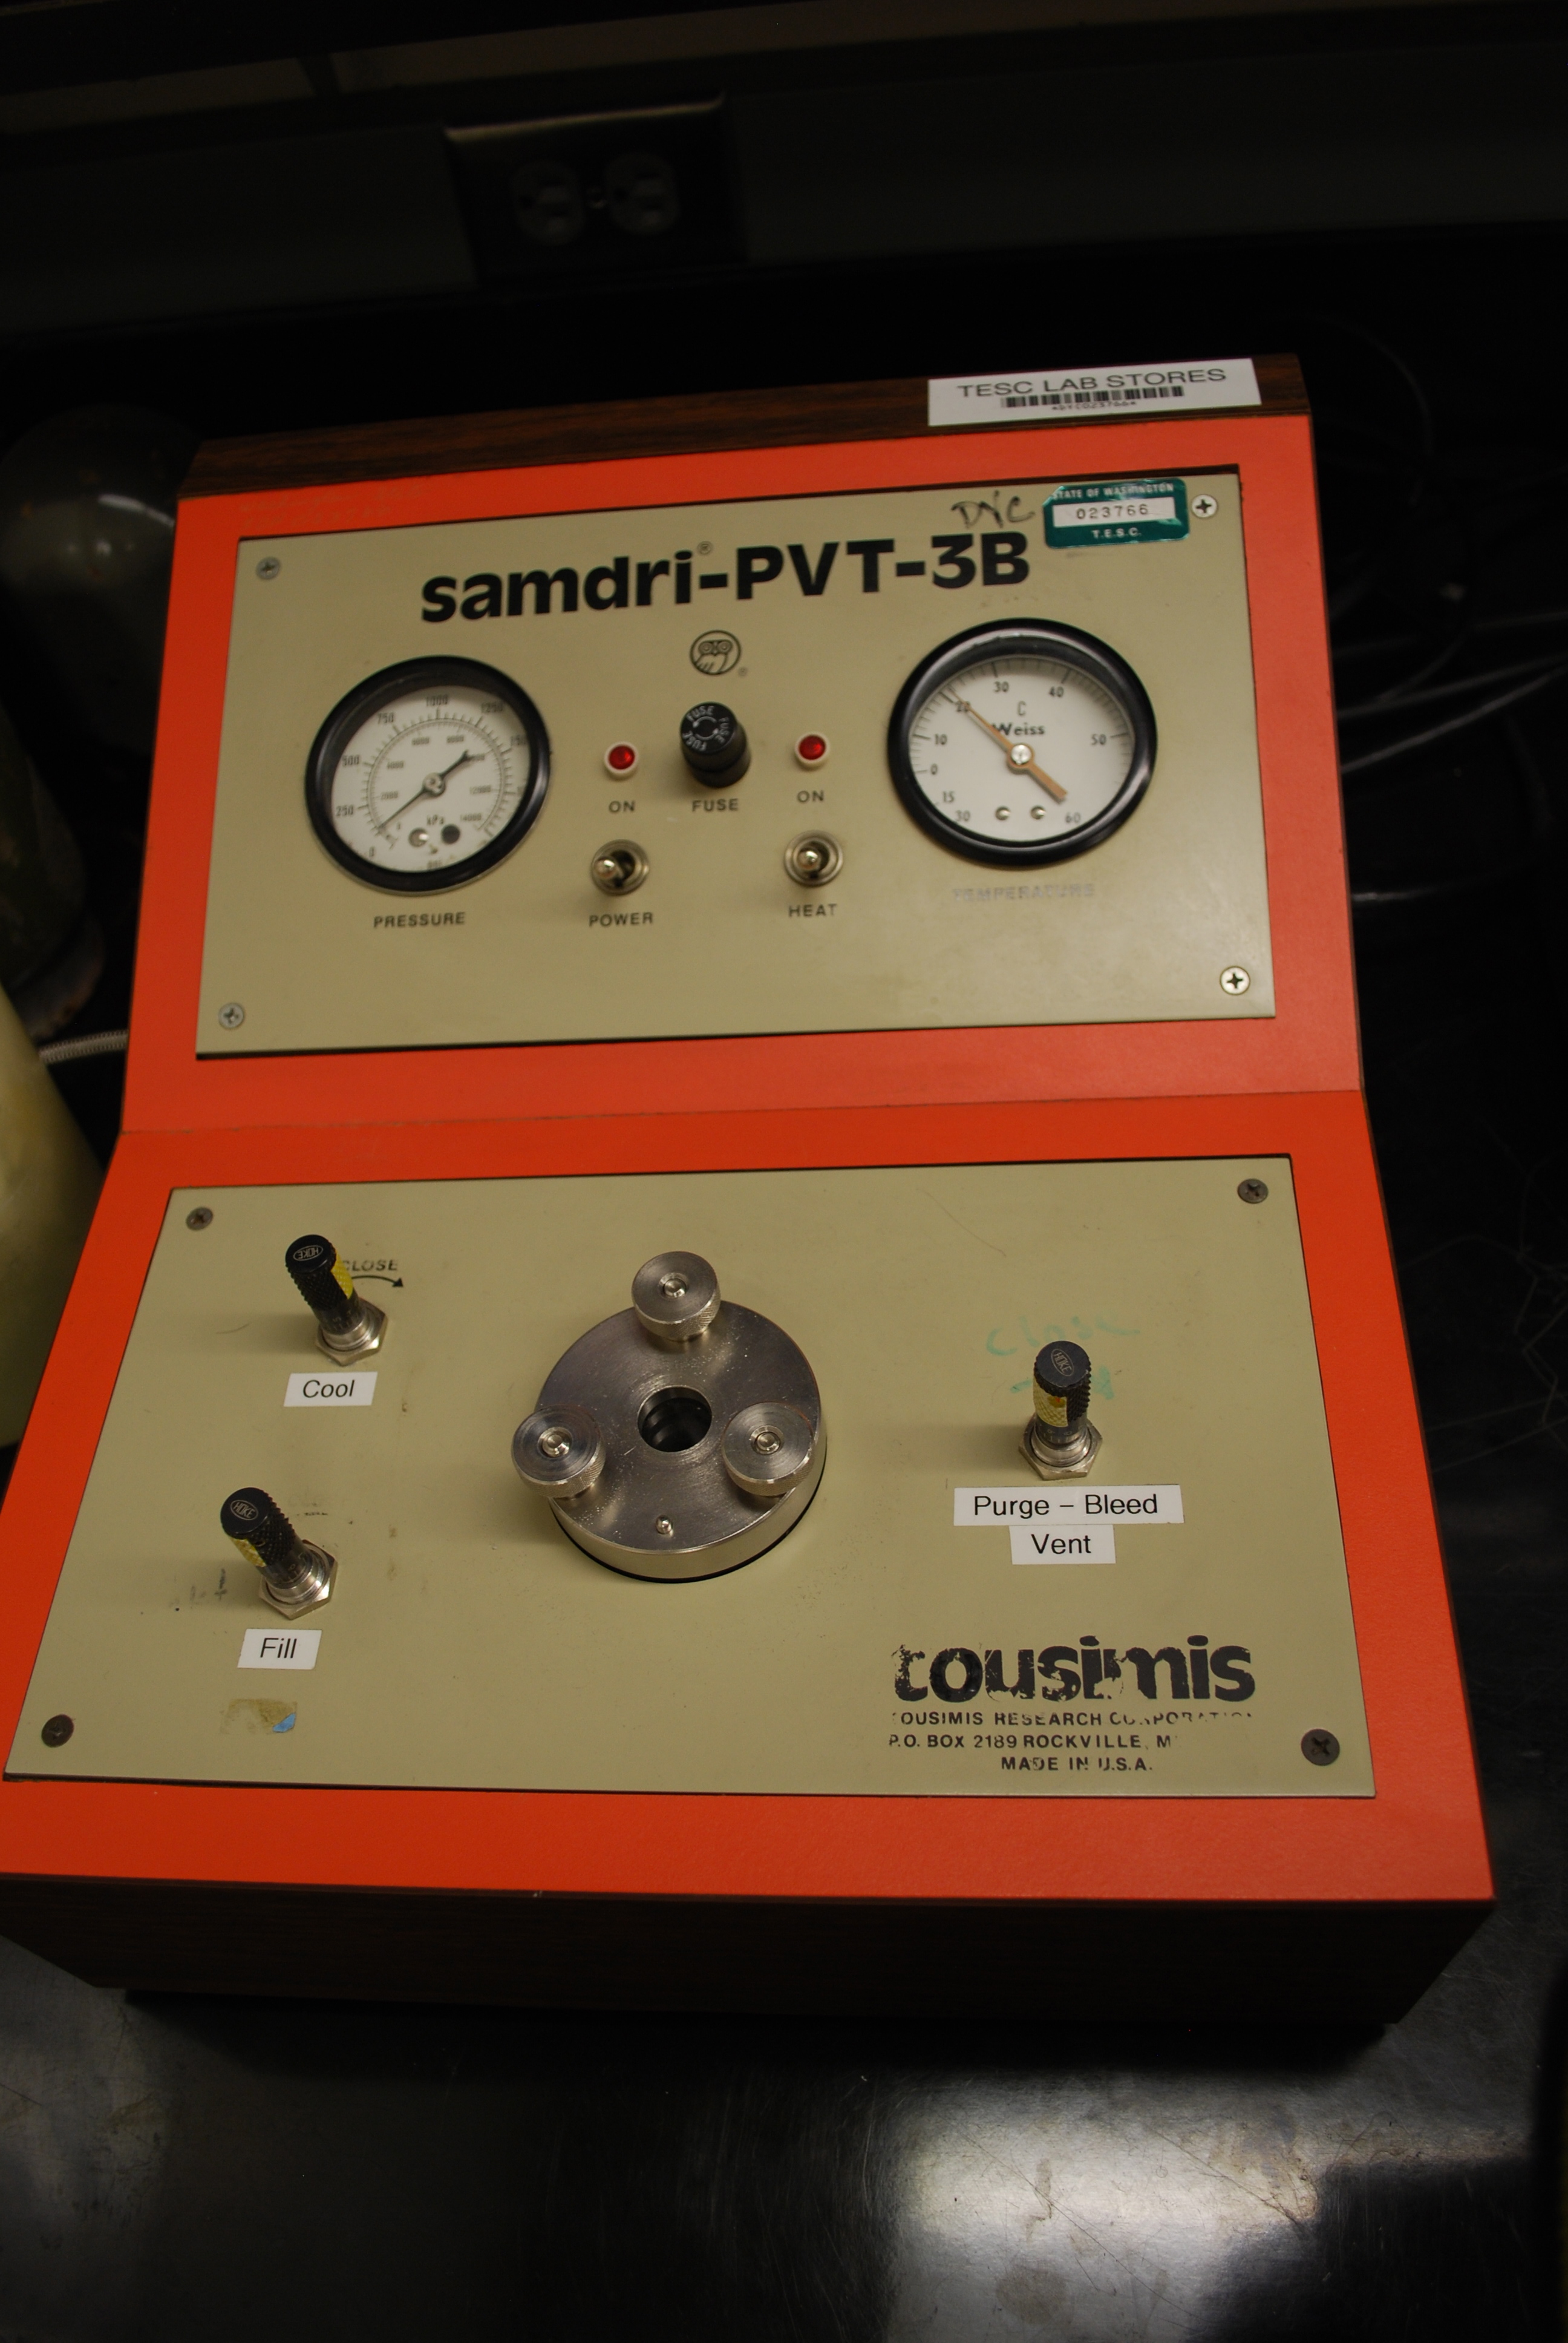
The CRITICAL POINT DRIER
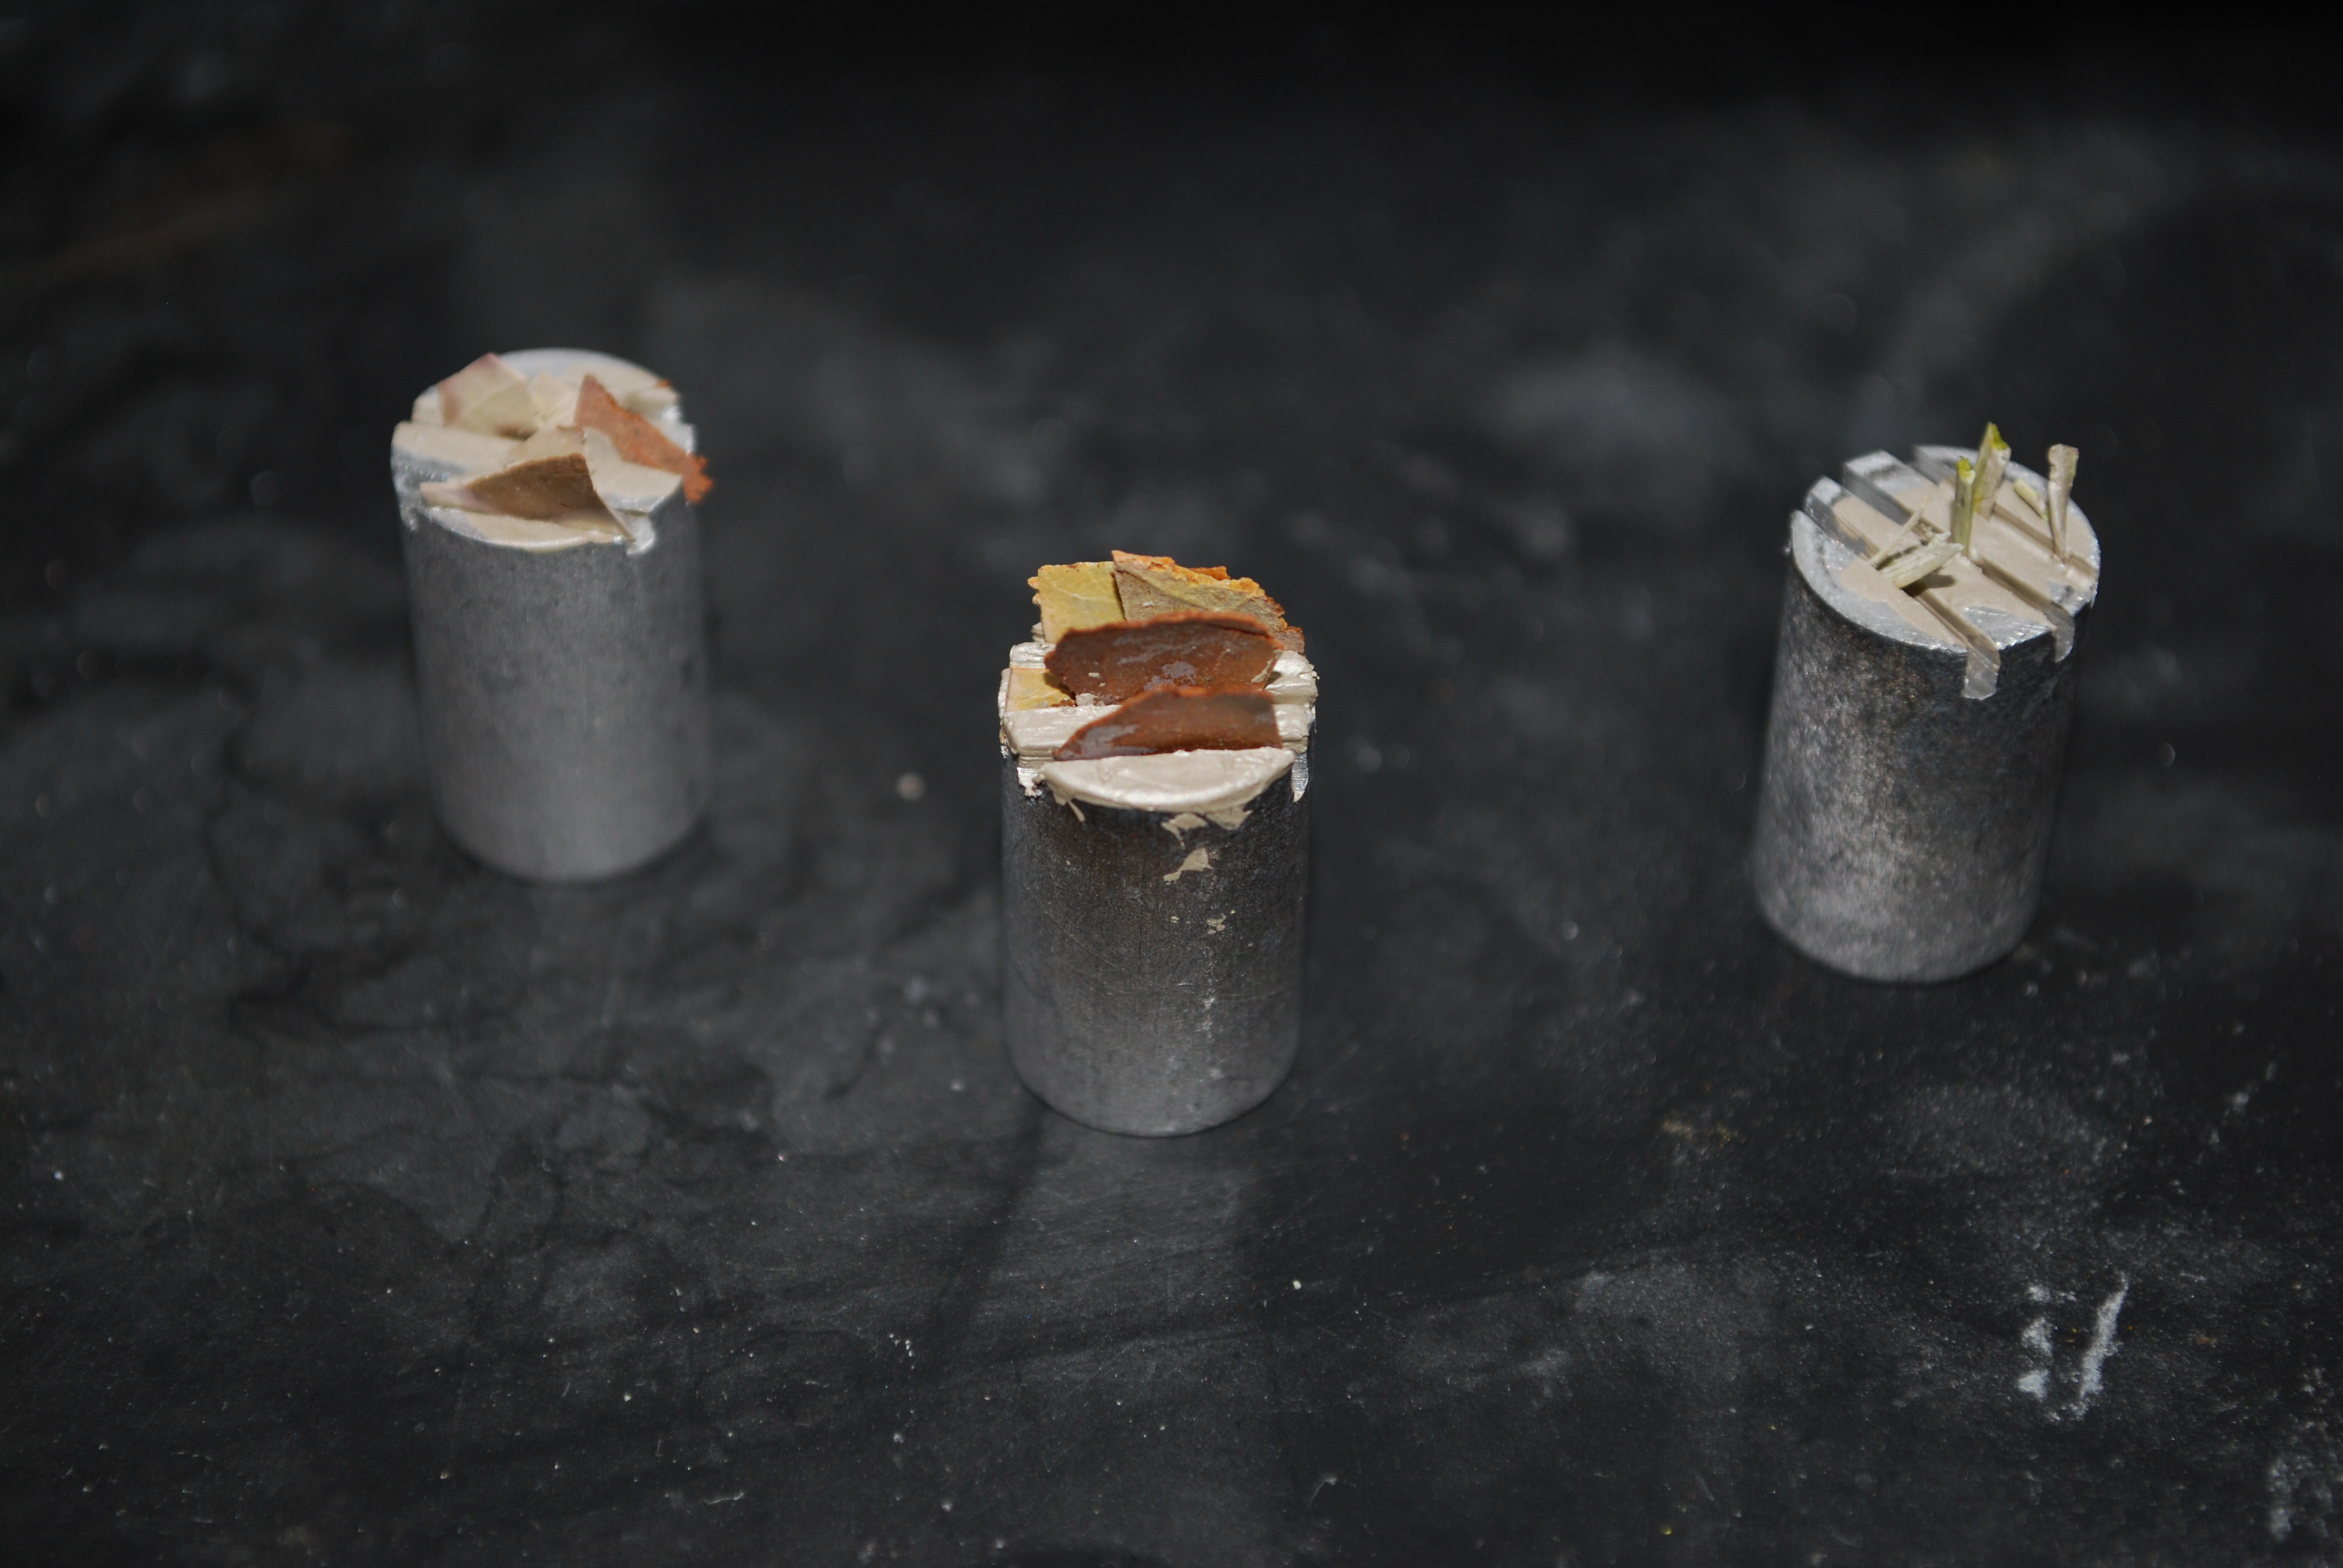
Leaf samples, after being fractured and dried, stuck to the grooved SEM studs with conductive paint.

Sputter coating the sample with a thin (THIN) coating of gold-palladium. After this, we’re ready to look at it with the SEM… unfortunately, the process took us so long we had to wait until the next day!
Leave a Reply