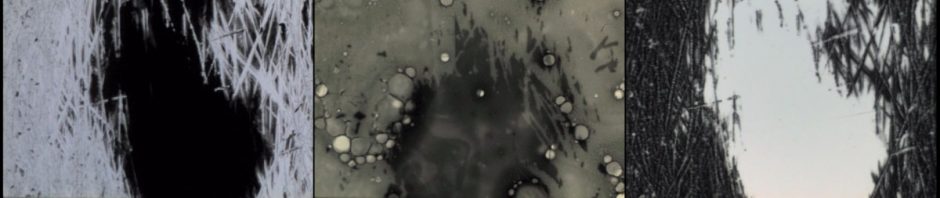

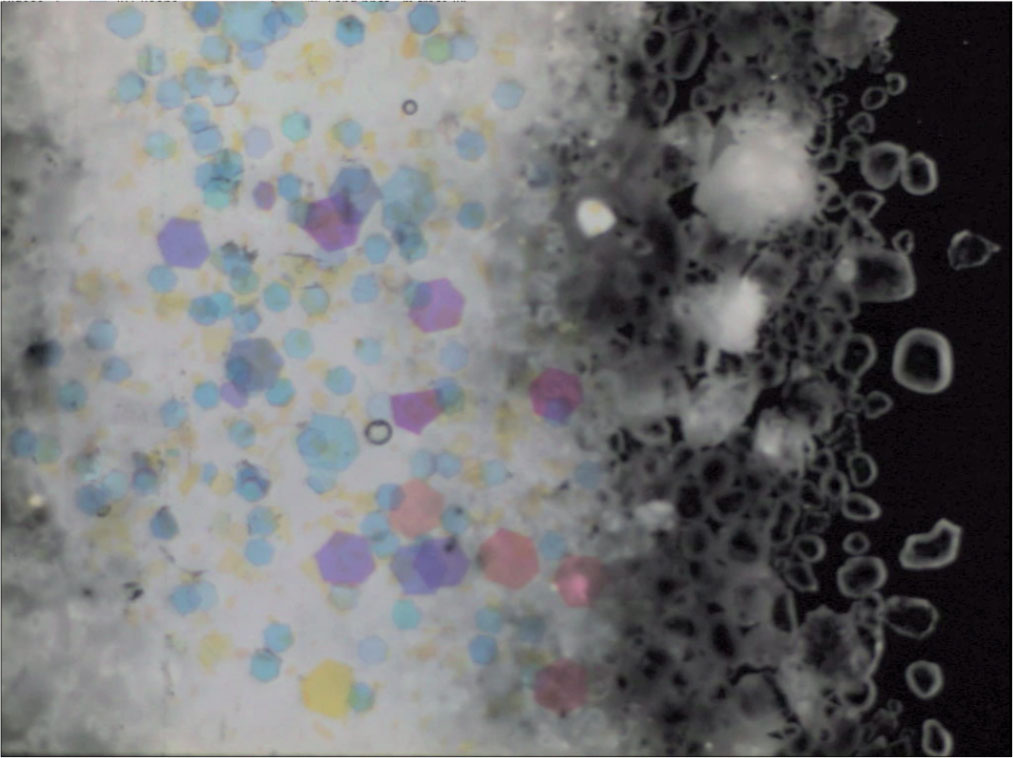
The original copper perforation disk with scans of 16mm direct animation created using it.
Below is my final report to the Evergreen Foundation Board on the work I did in summer, 2014 supported by a Faculty Foundation Grant. Some sequences of this work is visible on my Vimeo page.
To: Lee Hoemann, Vice President for College Advancement, The Board of Governors of The Evergreen State College Foundation
November 26, 2014
Dear Lee and Members of the Board of Governors,
Thank you very much for the award to pursue focused creative work in media this last summer. Through this project I was able to explore artisanal approaches to film animation that focus on materiality, contingency, abstraction, projection performance and the rhythms that result from the chance synchronization of the 16mm film gauge with patterned, textured objects. Specifically, I focused on producing iterations of Copper Perforation Loop, an original piece of direct animation created by scraping emulsion off of black leader against a 5” diameter circular disc of perforated copper. Following is a summary this work.
 I began by preparing the ground for my project: I set up the Com Building 3d Animation lab to work in with help from Shannon Stewart and Karen Johnson, consulted with Hugh Lentz and Ryan Richardson in Photoland to identify needed chemistry, gain access and coordinate with summer classes using the darkroom. I collected tools and materials to use, including film stock and Liquid Light (photosensitive emulsion). I ran exposure and developing tests, and sat in on a few of Devon Damonte’s summer session classes in his course “The Fine Art of Handmade Animated Film.” Participating in screenings and presenting my own work to students helped me reorient myself from teaching to creating. I learned visiting artist Jason’ Gutz’ rice & bleach technique and applied it to color 35mm and 16mm film and made a 35mm version of the perforation loop using the original copper disk and a piece of larger gauge perforated aluminum.
Production: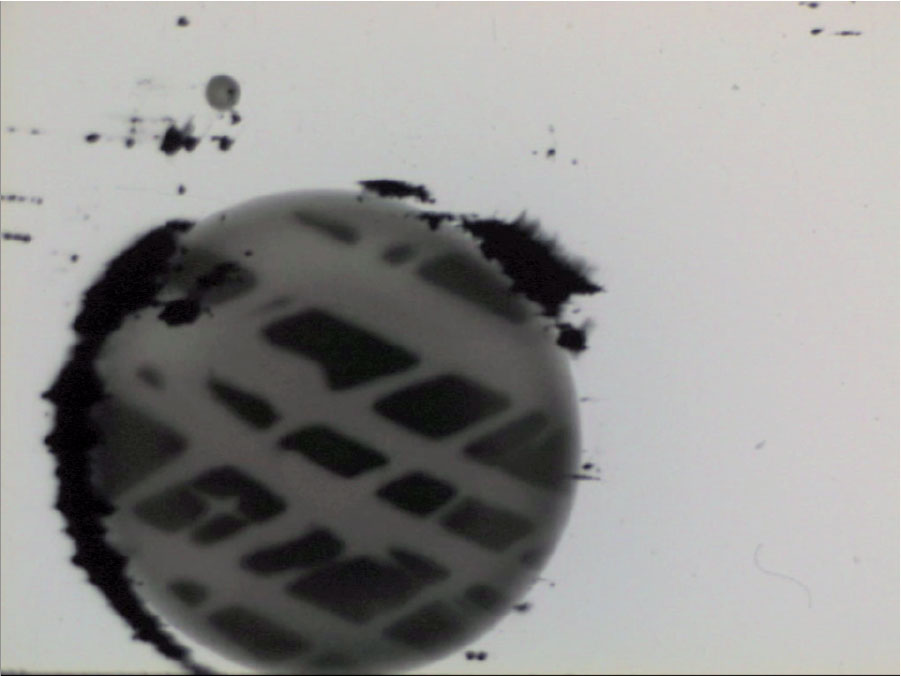
I made iterations of the Copper Perforation Loop (CPL) pattern using two main techniques: contact printing and rotoscoping. Contact printing involves layering original negative or positive against unexposed, raw film stock and exposing it. I made contact prints of the original CPL using 7363, a high contrast black and white print film that Kodak just discontinued at the end of the summer. I contact printed it out several generations so I had multiple negative and positive copies of it. With each generation the high contrast film reduces gray tones and flaws in my process accumulate so that the imagery subtly changes and becomes more complex. For a few contact prints, instead of using 7363 I dabbed Liquid Light onto clear leader with a sponge to generate bubble textures and then contact printed the CPL onto these. On a few contact prints, I painted Liquid Light in the clear areas and re-exposed the footage, giving the imagery another layer of complexity. Recalling the film optical effects I explored in graduate school, I layered positive and negative contact prints and exposed them onto raw stock to create “difference” mattes. This produced interesting depth and shadow effects that varied due to the focus of the image and the length of the exposure.
 I created new loops by scratching patterns onto black leader using textures of various objects such as graters, ricers and glass Fresnel lenses, and by making photograms of window screens and packing foam to arrive at new textures. I layered these on top of the contact prints and originals to produce sequences with dual patterns. For example in one loop, the copper perforation traces seem to move against a grid pattern taken from a window screen, while in another, the same perforation pattern has the grainy texture of the microscopic cells of packing foam. With a few of the loops I mirrored imagery by exposing raw stock with the CPL or a textured loop once and then flipping the loop horizontally to expose it again. The symmetries resulting from mirroring make chaotic patterns more regular.
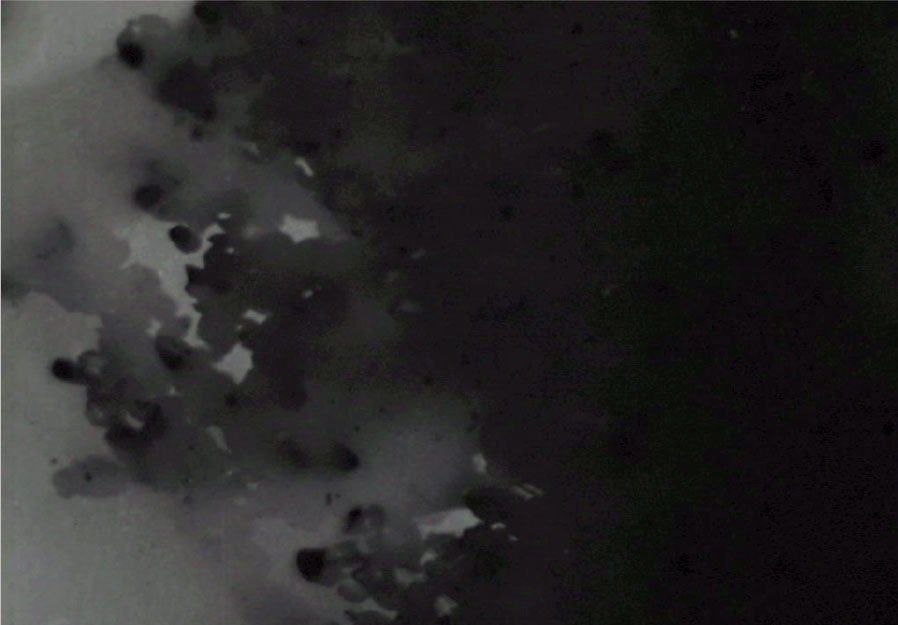
I explored exposing footage three ways; holding a small hand-held LED light, I cranked raw stock through a gang synch using rewinds to produce contact prints of original sequences of direct animation; laying up to 2 feet of raw stock under a Photoland darkroom enlarger I used the calibrated timer create photograms of various objects; and laying about 7 feet of film stock out on a large table in the 3d lab to contact print and make photograms by exposing them to brief bursts of overhead room light. On a hiking trip to the Olympic Coast in July, I experimented with a fourth means of exposure. I used the light of the Super Moon to make three 7 foot long photograms of sand, pebbles and kelp.
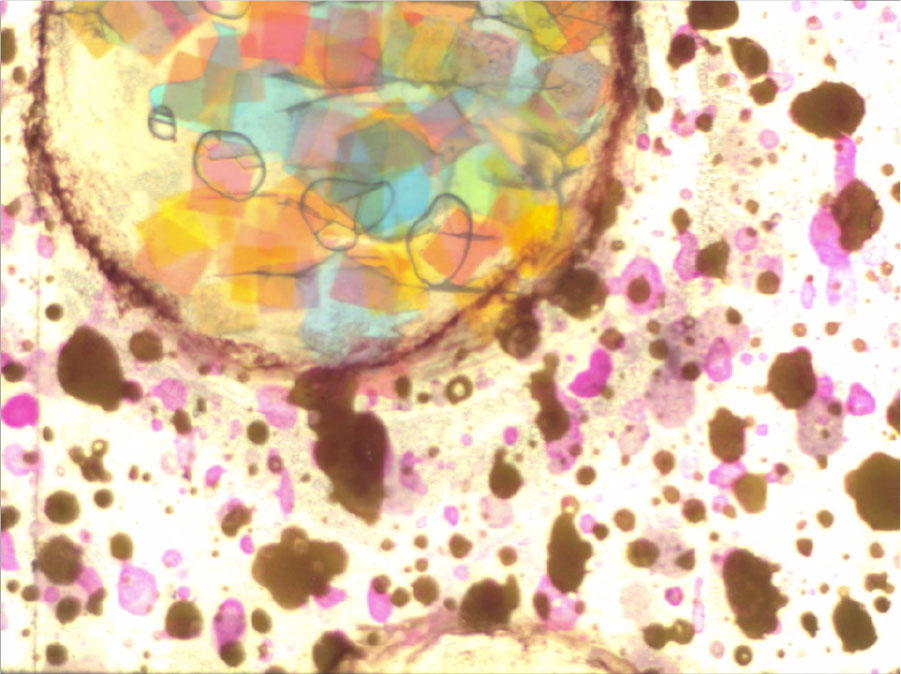 In a direct animation version of rotoscoping, I made copies of the copper perforation pattern by hand on different kinds of leader and using different materials. In rotoscoping one takes motion from footage by projecting and drawing imagery from each frame onto successive sheets of paper. To do this with direct animation, I lay the original loop pattern on a table with clear leader over it, then painted on either Liquid Light or glitter nail polish (the glitter fragments, when translucent, come in a variety of colors and shapes). I made texture photograms on the Liquid Light rotoscope loops that were later layered in various combinations with the original CPL and its contact prints. I also painted glitter nail polish on some of the CPL contact prints to contrast photographic textures with non-photo materials. In a few of the rotoscoped sequences, I experimented with painting bleach on processed color film, allowing it to eat through the top magenta layer of emulsion to reveal the cyan and yellow beneath.
 In addition to this, I made contact prints of one of the Super Moon Sand Photograms and experimented further with using sand for photograms in the lab. I wanted to create photograms that I could layer with the CPL imagery, but it was hard to control the depth of the sand with any consistency, so I put this experiment aside.
I digitized four batches of loops that I’d made using the our 16mm transfer station, converting the resulting Quicktime movies into still image sequences in order to play with timing and digital effects in Adobe After Effects. I posted several of the resulting sequences on Vimeo. Through the analog to digital process I began to think about how to take the work further. The conversion process also confirmed for me how much more alive and complex the work is when viewed in its original, analog, 16mm form.
Projection:
Throughout summer and into fall, I explored ways to present and project the loops. I participated in three of Devon’s class screenings: two at the Capital Theater to enable projection of 35mm film, and the third at the Northern All Ages Project. At Northern I performed a three projector screening, using two to screen positive and negative versions of the same loops side by side and a third as a transitional device to allow for loop changing in the first two projectors. One of the positive/negative loop combinations I projected there was the Super Moon Sand Photogram. I screened that one again using two projectors at the Northwest Film Forum in October as part of the Collaborations with Nature program curated by Caryn Cline. I also regularly projected loops as part of the Crackpot Crafters get-togethers and at home in order to see how different loops interact with each other and develop ways to present them.
Pause:
By the end of August, I’d put in about 130 hours on the project, produced 93 loops, each about 7 feet long (about 15 seconds projected at 18 frames per second), and numerous tests, used up about 600 feet of 7363 and about 50 feet of clear leader. I didn’t feel I’d done all I wanted, but was ready for a pause to reflect on what I’d learned and to begin to make longer works of the footage I’d produced.
 Through this project I successfully developed multiple iterations of the original Copper Perforation Loop by contact printing, rotoscoping, double exposing film stock and exploring how alternate textures enhanced and added complexity to the original. The textures include screens, packing foam, sand, Liquid Light emulsion, scratched black leader using various tools, bleach and glitter nail polishes.
I adapted techniques for producing filmic optical effects I’d learned in graduate school. These include contact printing to create positive and negative mattes and sandwiching or layering matte elements to create new imagery. I made use of available 16mm post-production tools such as rewinds and gang synchronizers and experimented with using different light sources for exposing film. I learned new direct animation techniques by sitting in on Devon’s class and I made some initial experiments in using Liquid Light on previously exposed and processed footage. This is something I’d like to pursue further.
I learned that these approaches to direct animation were both more exacting and more forgiving than I thought. To be able to replicate certain effects, I needed to better control exposure and darkroom processes and a more efficient system of logging actions and results. On the other hand, some of the more interesting loops that I produced were the results of imprecision, errors and inattention. For example, when making contact prints, I spent a lot of time lining up the frames as exactly as I could (very hard to do in the dark, even with a safelight). I was never able to line things up exactly, and the result is that in some loops one can see the image of sprocket holes lazily drift into and out of the frame, a wonderful contrast to the more frenetic motions of the perforation and scratch marks.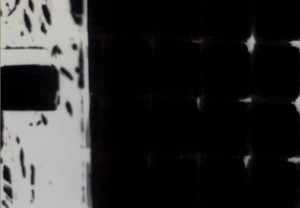 Once, the whole end of a loop inadvertently strayed from its position against the raw stock, creating a horizontal wipe across the frame. This error yielded one of the most interesting loops I made all summer.
In my application for this grant I described this project as an open-ended one as I knew that it would be unlikely that I could call it “completed” by the end of the summer. Animation is labor-intensive and it is not unusual to take a year or more to produce three minutes of finished footage. My goal was to have developed enough loops by September that I could compose them into a projection performance of 10 to 15 minutes or a 3 minute linear film and to begin working with sound to accompany it. I did produce enough to be able to composing completed works, however I didn’t get so far as to initiate collaboration on live sound accompaniment as I anticipated.
Again, thank you for the opportunity to pursue this work. It has had immediate impact on my teaching this year as well as allowing me to make significant progress in expanding my range as an animator and media artist.
Sincerely,
Ruth Hayes
Member of the Faculty, Animation