I have to admit that so far, I am the most proud of this model. I wanted to create a piece that was 100 percent original and I succeeded. I started out by continuing my reading in my interior design coursebook, focusing on the final chapter “professional practice” about preparing and writing your portfolio and resume. None of this chapter was very helpful in the making of my model but it was important for me to finish the book. After this I wanted to take a step back and really evaluate my floor plan, I had already created my sinks, tub, and toilet but I had no counters. As I had been collecting ideas for my sketch book, I had fallen in love with the idea of using a dresser as a sink stand so first order of business was to create two matching dressers using clay. I molded and formed my chunks of clay, using my hands to press and kneed it into a form I could cut into dresser form. 
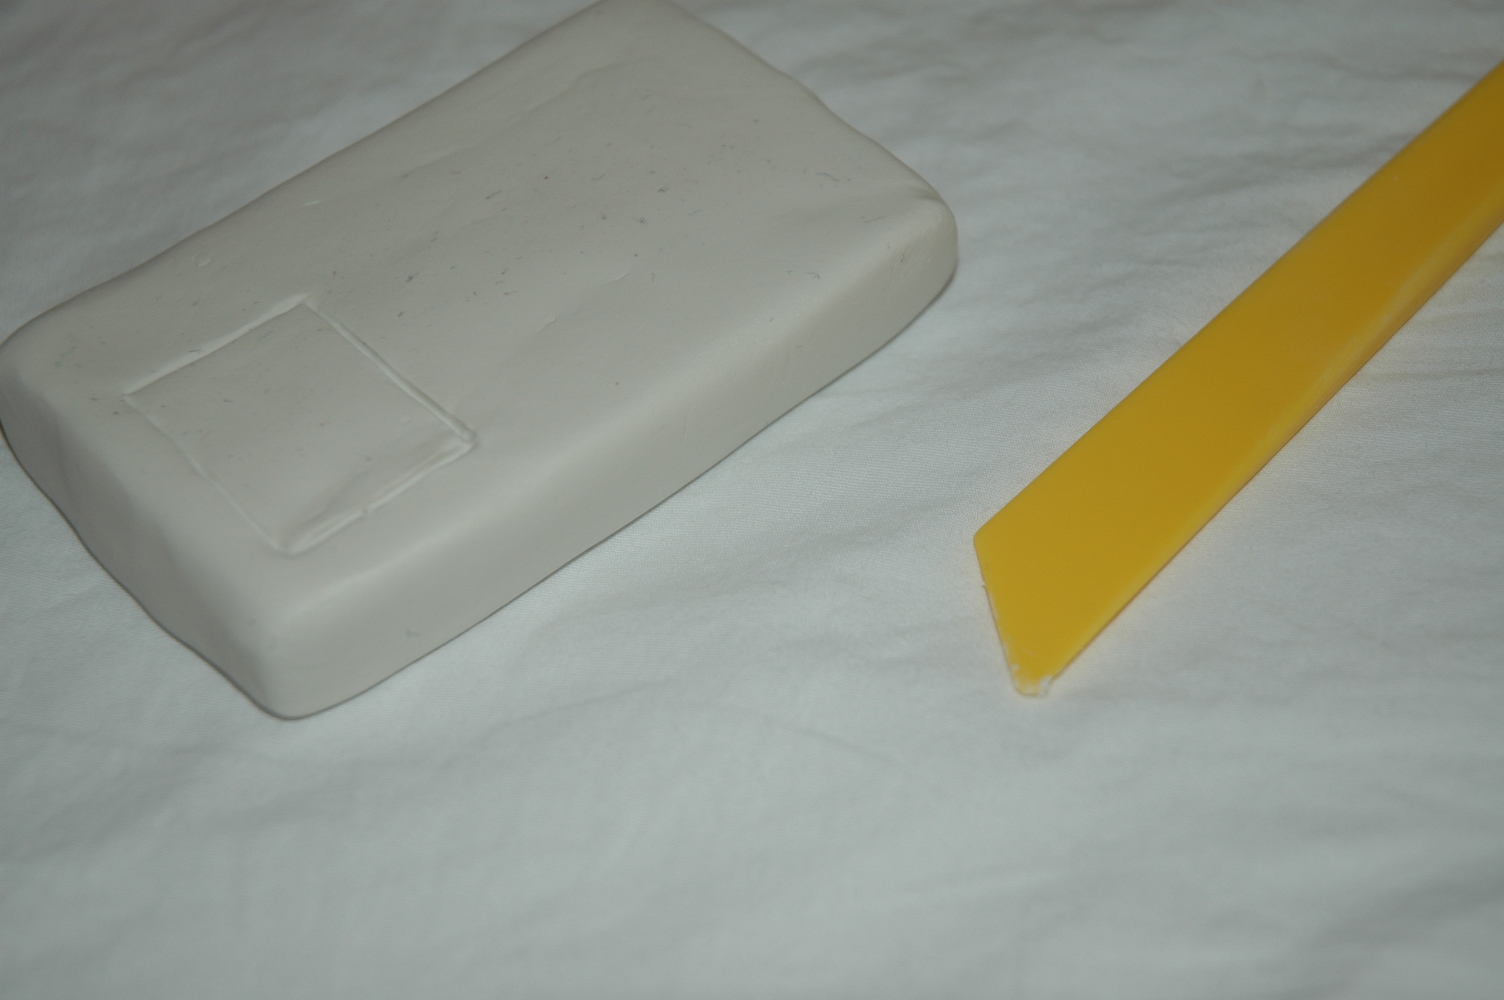
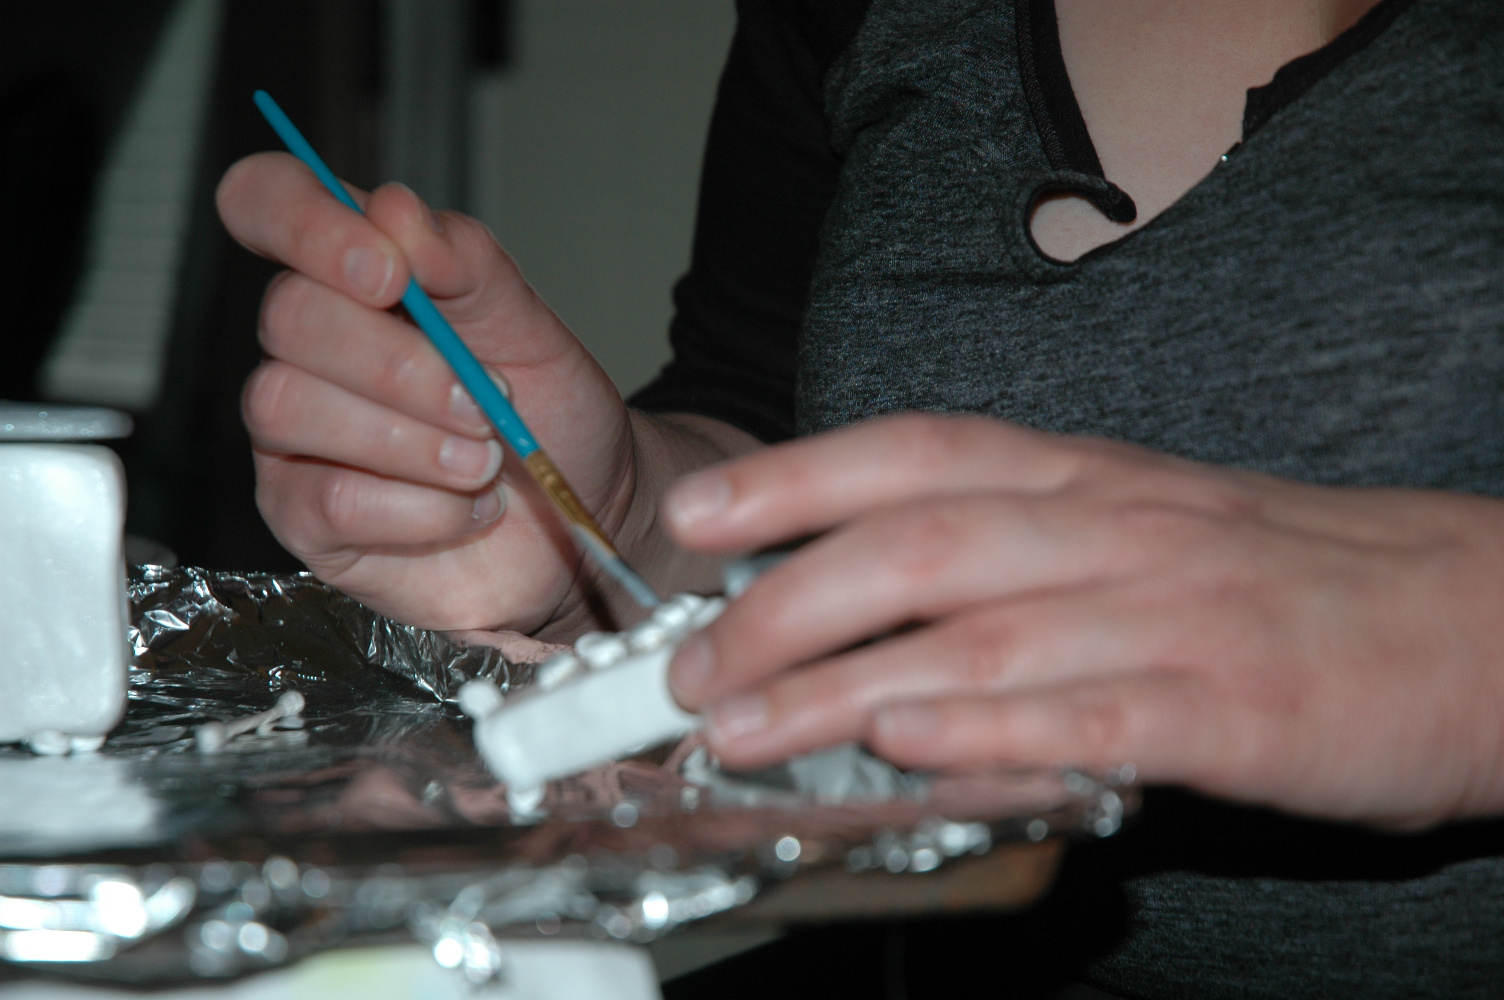
Once I had the basic shape I wanted, it was time to cut and style the clay to create the doors and drawers I wanted. According to my design storage space was a necessity to insure a clean look. I then inserted knobs and formed counter tops from a silver clay, giving it a nice clean top that would set off the color of my white sinks. 
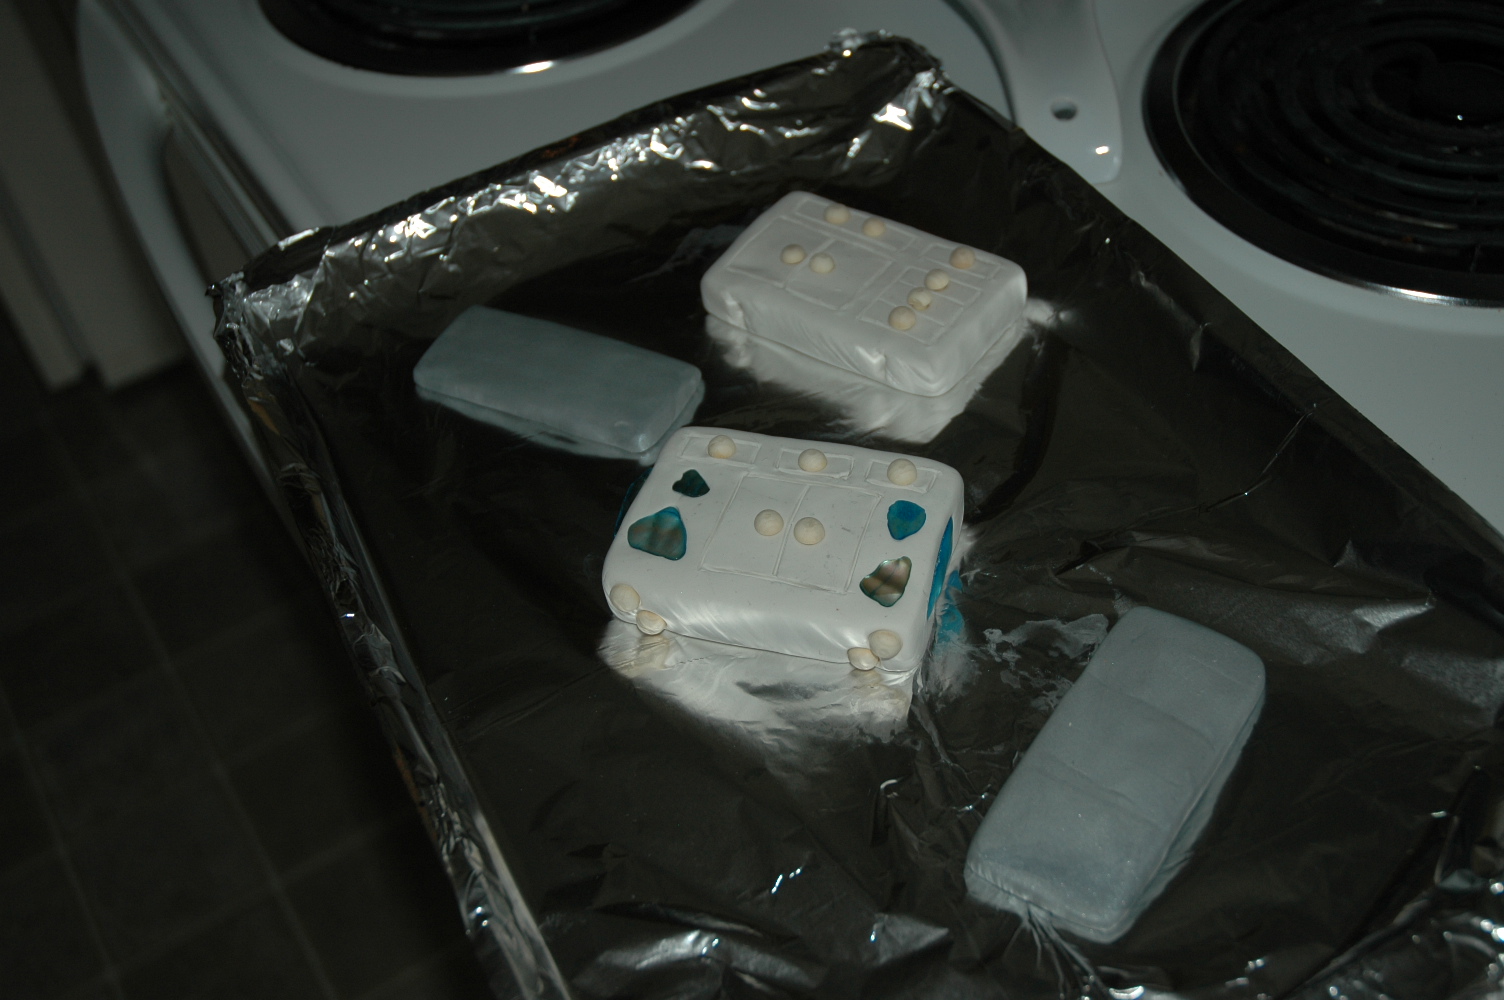
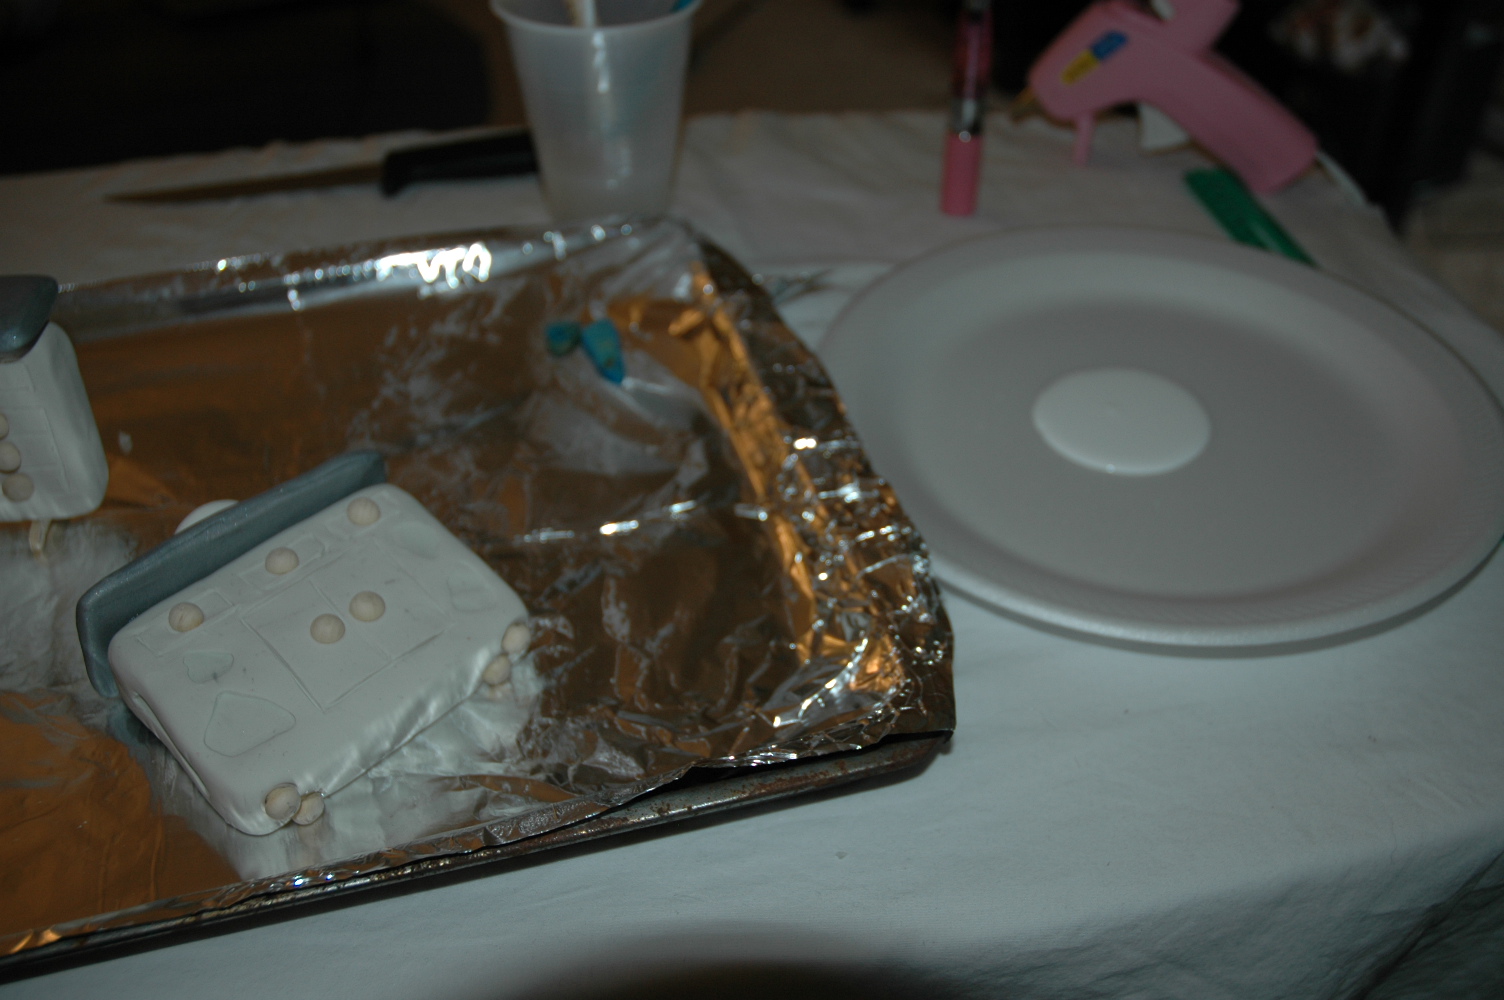
Once I had finished decorating them, it was time to fire them in the oven to set them in place. I then painted them to integrate them into my bathroom.
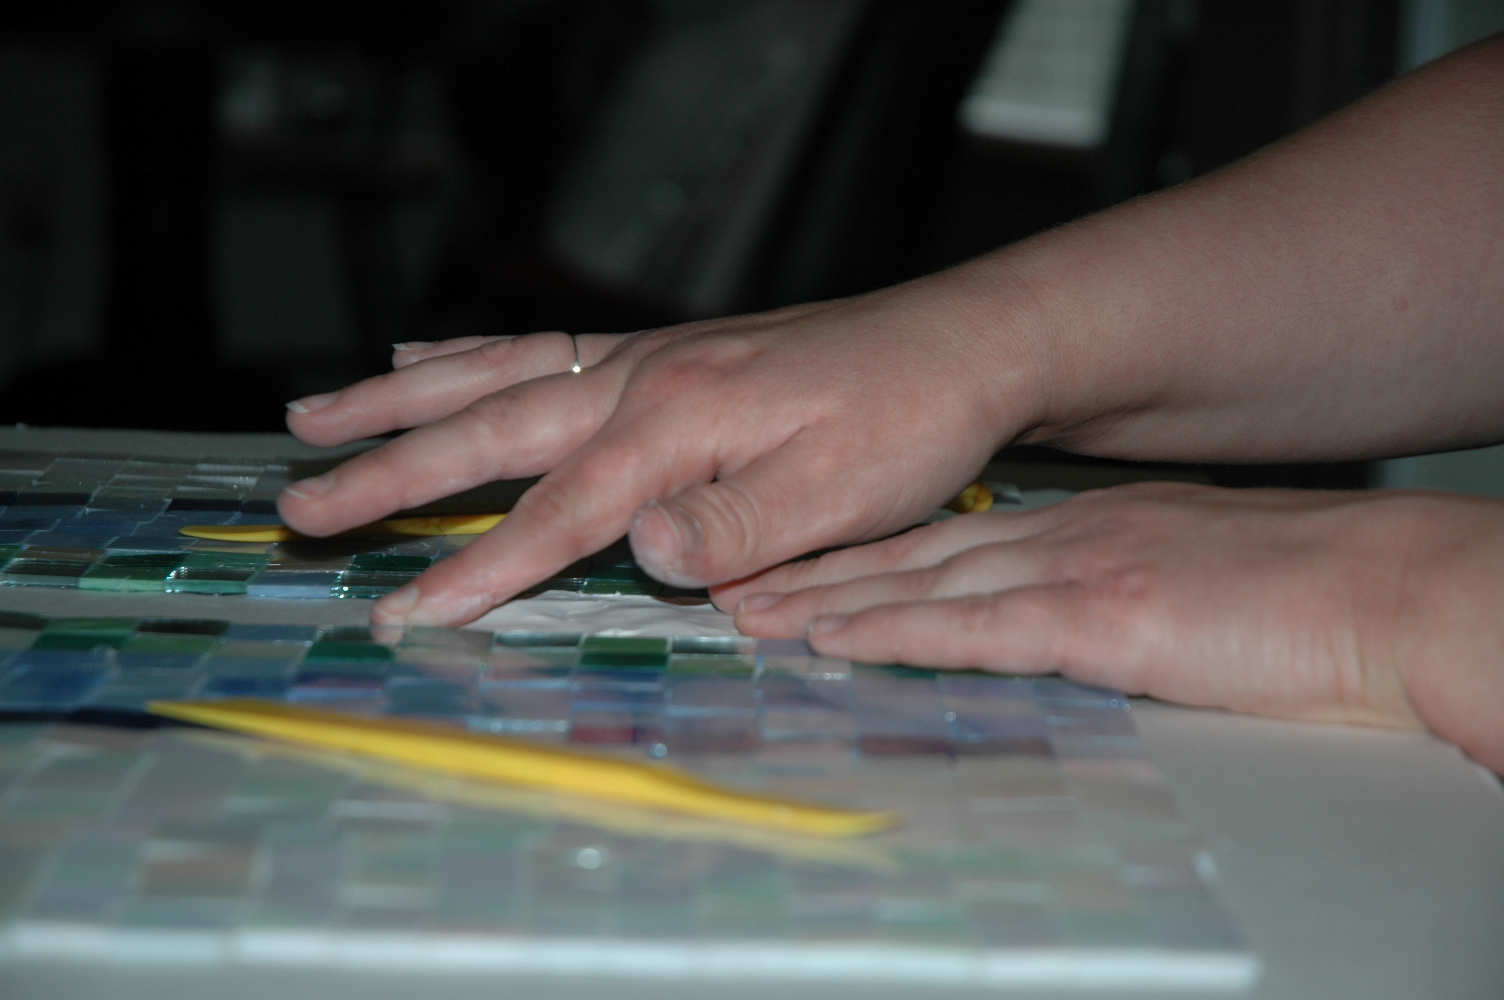
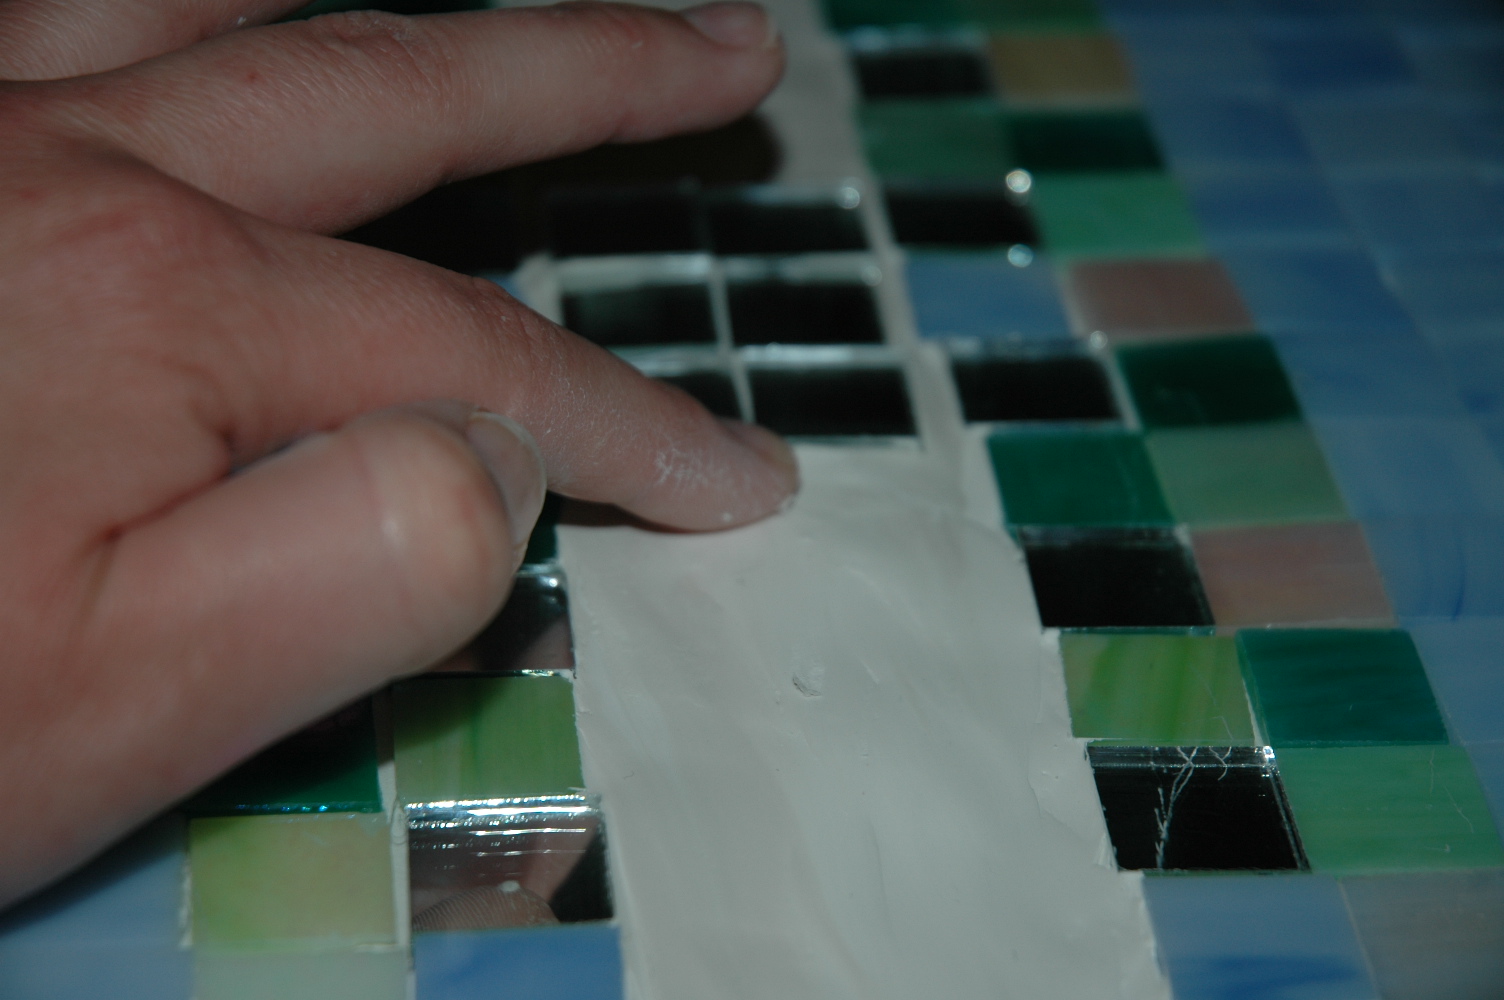
It was then time to focus on my floor, I had put a lot of thought into what I wanted to use as my floor for the bathroom. It wasn’t until I was already in Michaels that I found something that would fit perfectly, mosaic tiles. I picked a color theme that would highlight my whites and silvers and began laying my floor. 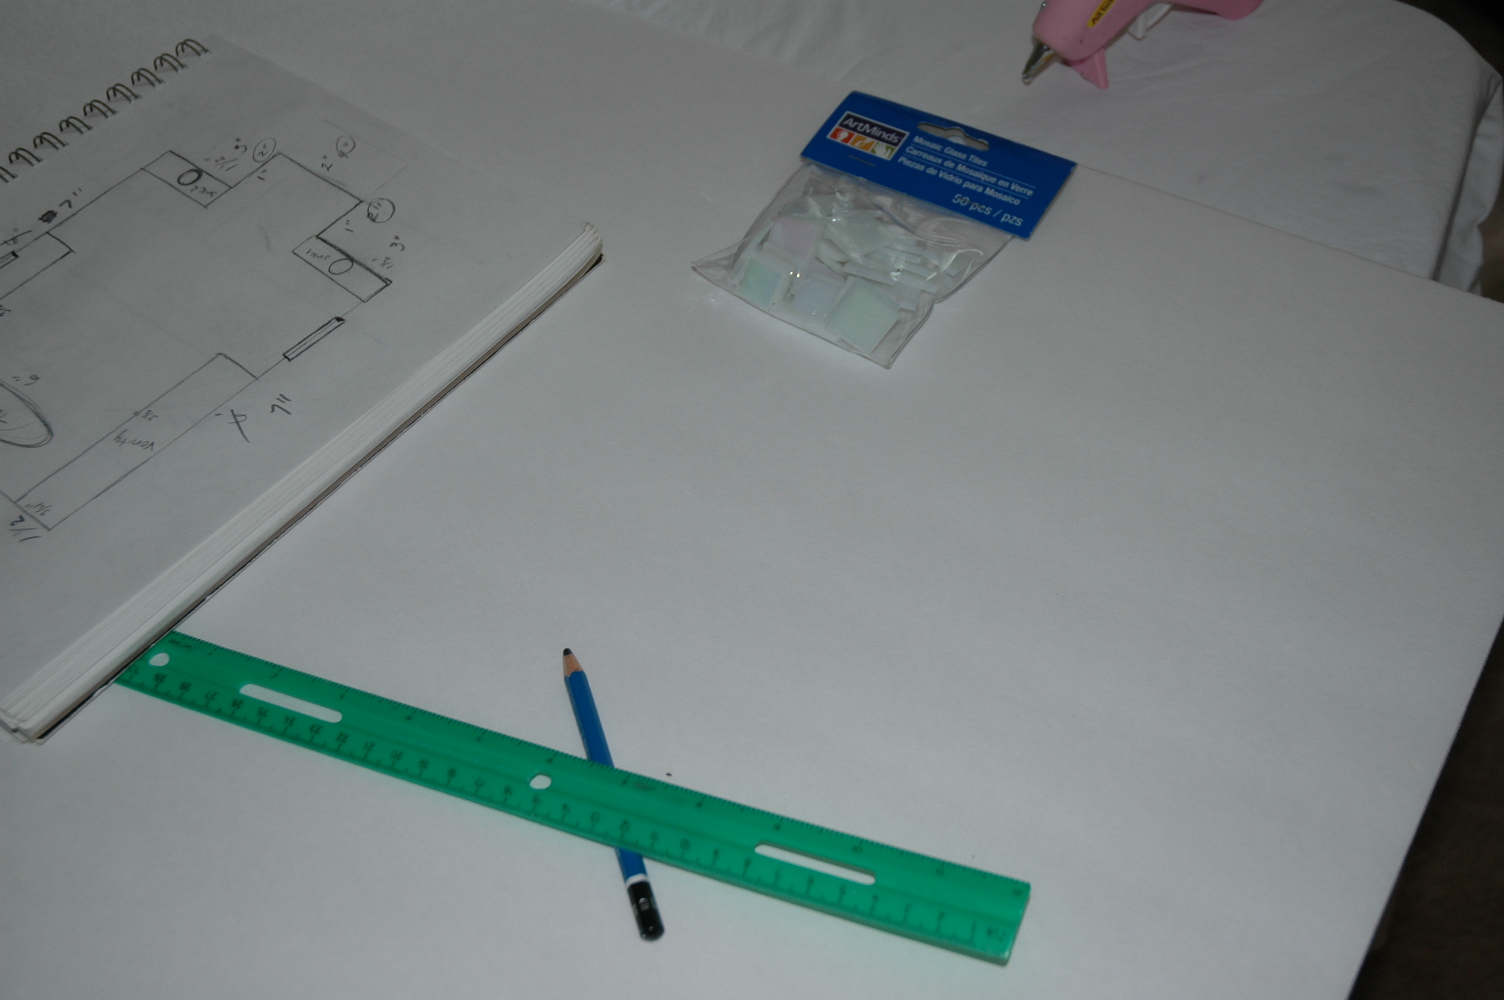
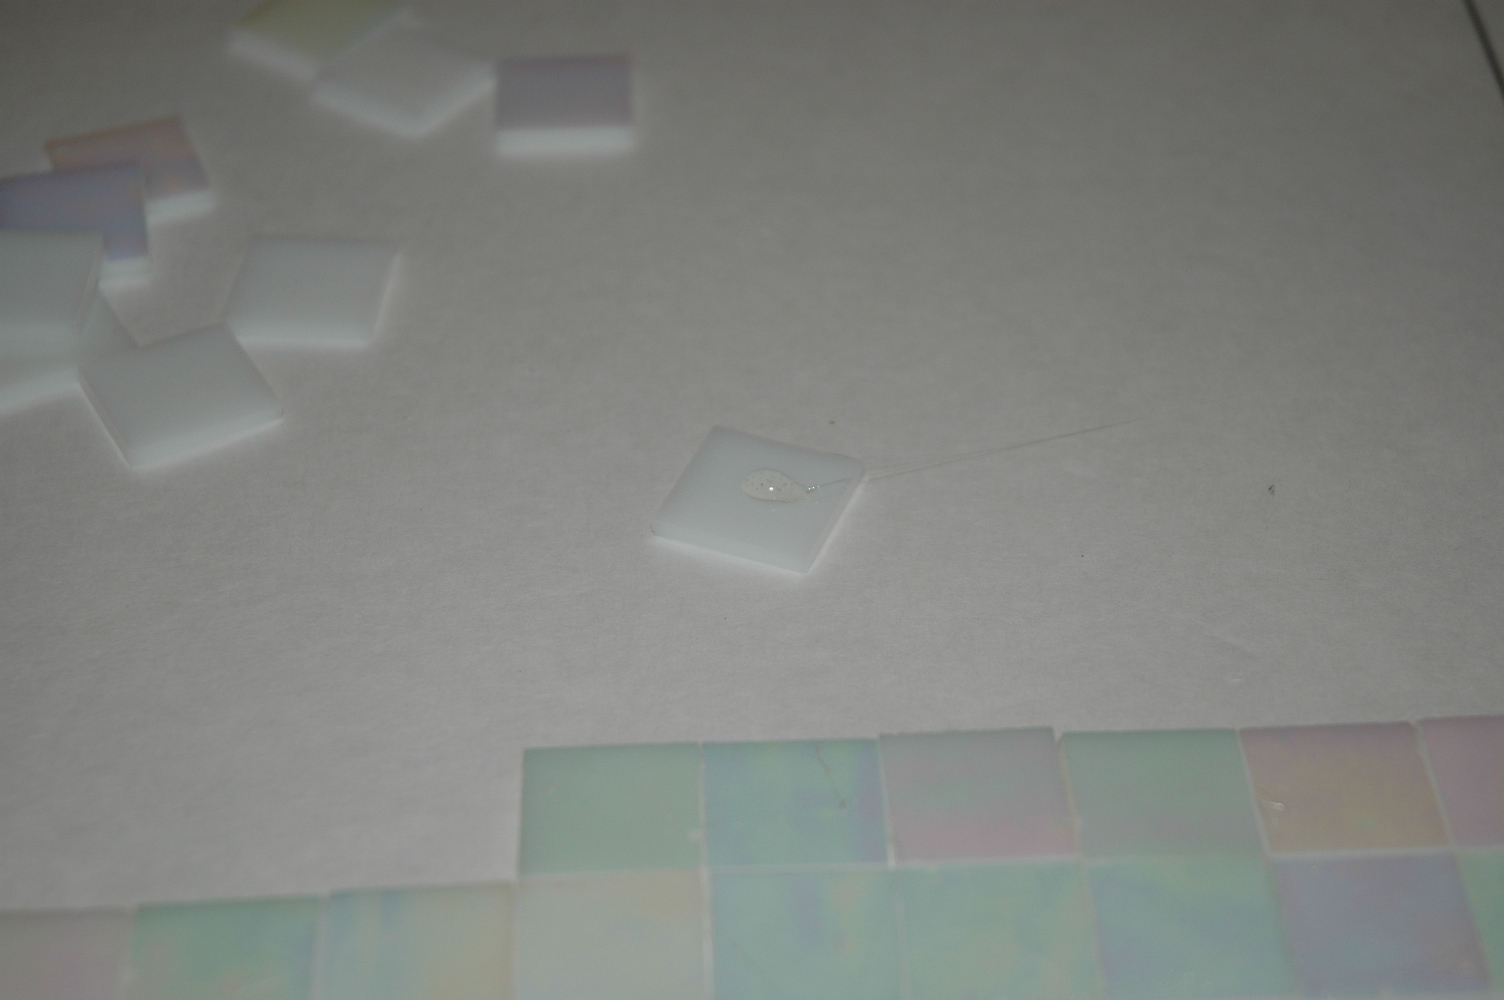
I was very pleased with the way this looked and the shine it gave off when the light hit it but it was a much longer process than I had anticipated. The floor alone took me a total of 3 days and several trips to Michaels. The finished product however was even better than I expected. I really loved the idea of bringing the outside in, something I discovered when researching for my sketch book, so I created a rock garden using some clay and mismatched pieces of mosaic tile. This rock garden separates the tub from the other parts of the bathroom almost giving it a secluded island feel.
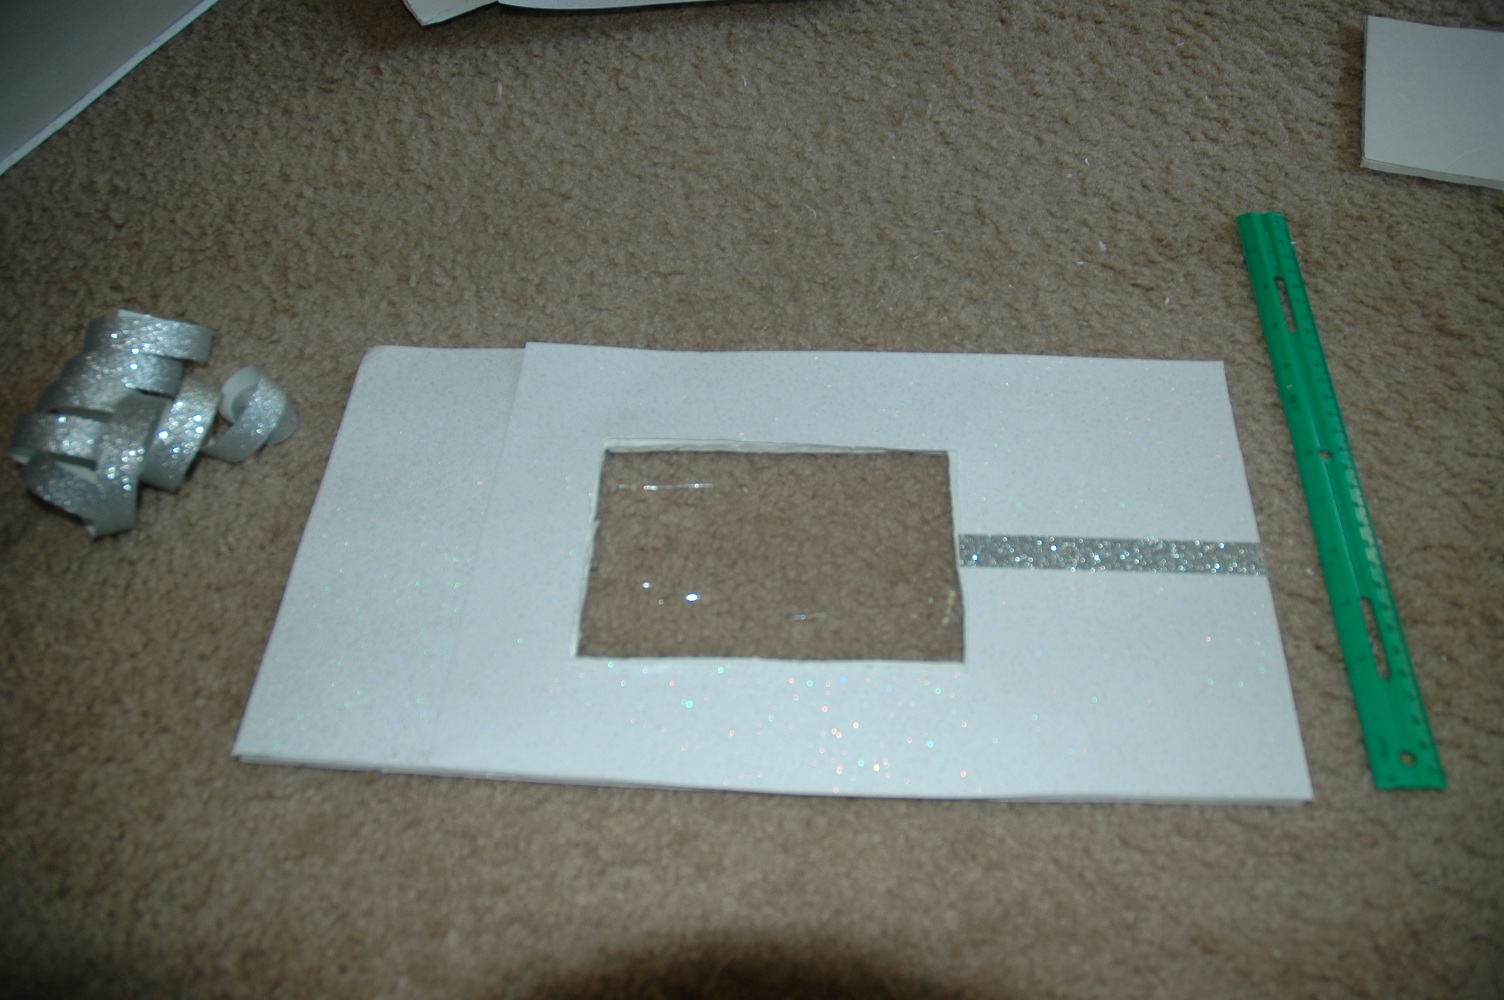
Once the floor was complete I focused on the walls and windows. Making sure to follow my plan exactly, I wanted every section of window to be different on each wall. One wall has 3 windows in succesion giving a wonderful view of the bathtub, the large picture window behind the bathtub will light it up as you enter the room. I wanted a full length window by the sink giving the appearance of a mirror, also allowing life and light into the bathroom. I covered the walls with a sparkly paper that wouldn’t distract from the floor or furniture. I used a silver strip to cut the room in half giving each wall a border in the center. This would attract your eye to the tub as you enter the room and also gives the appearance of clean lines.

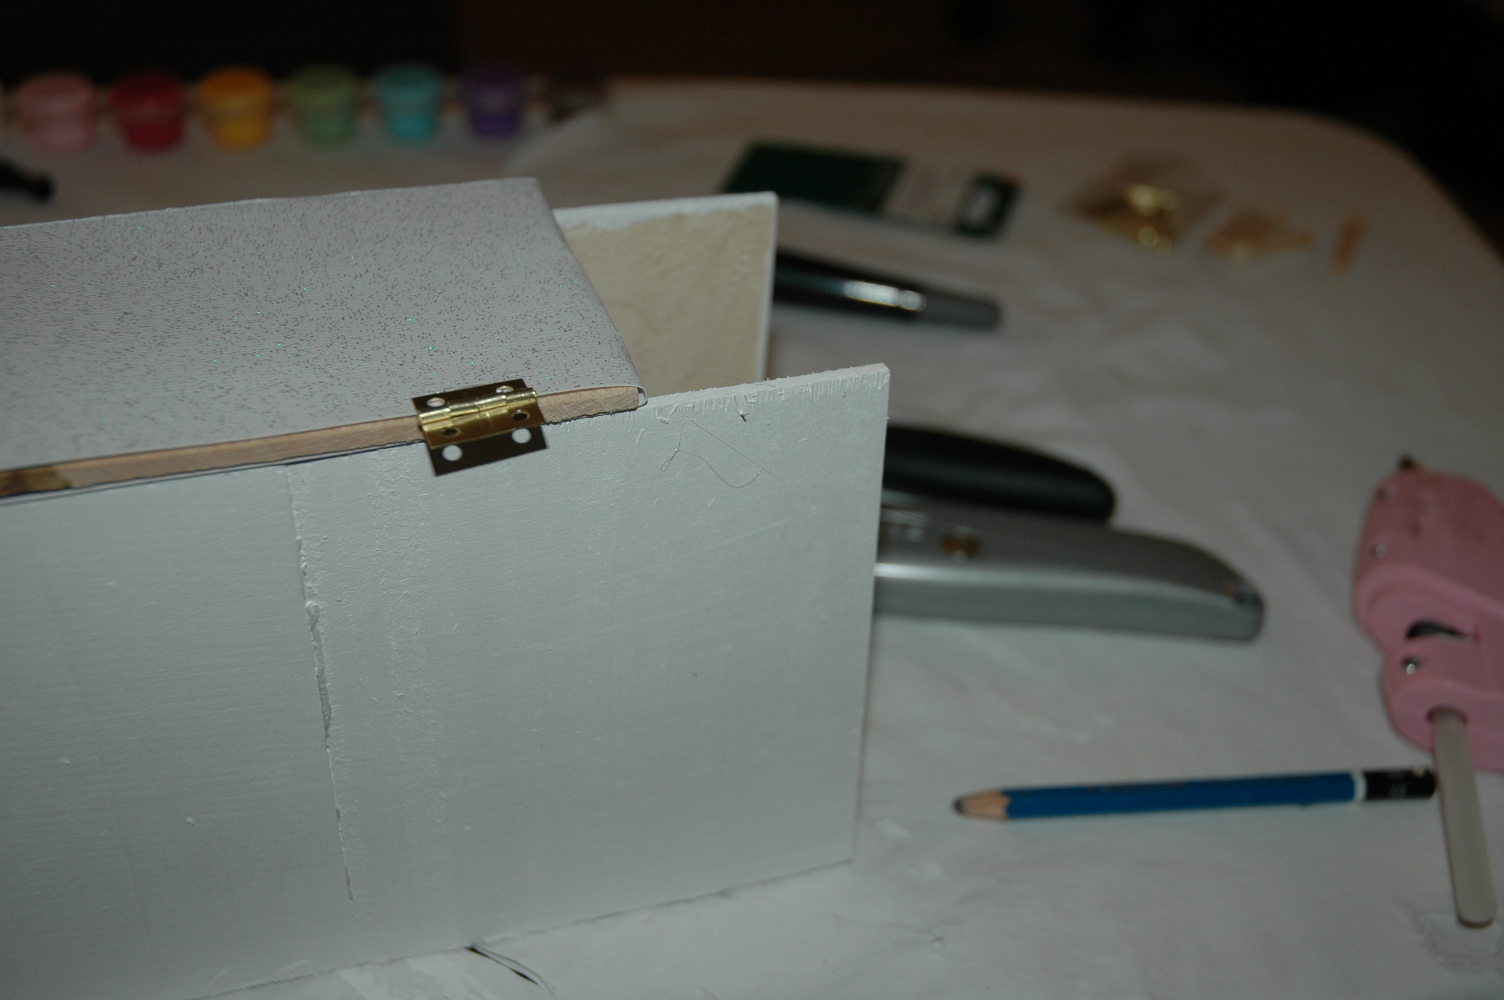
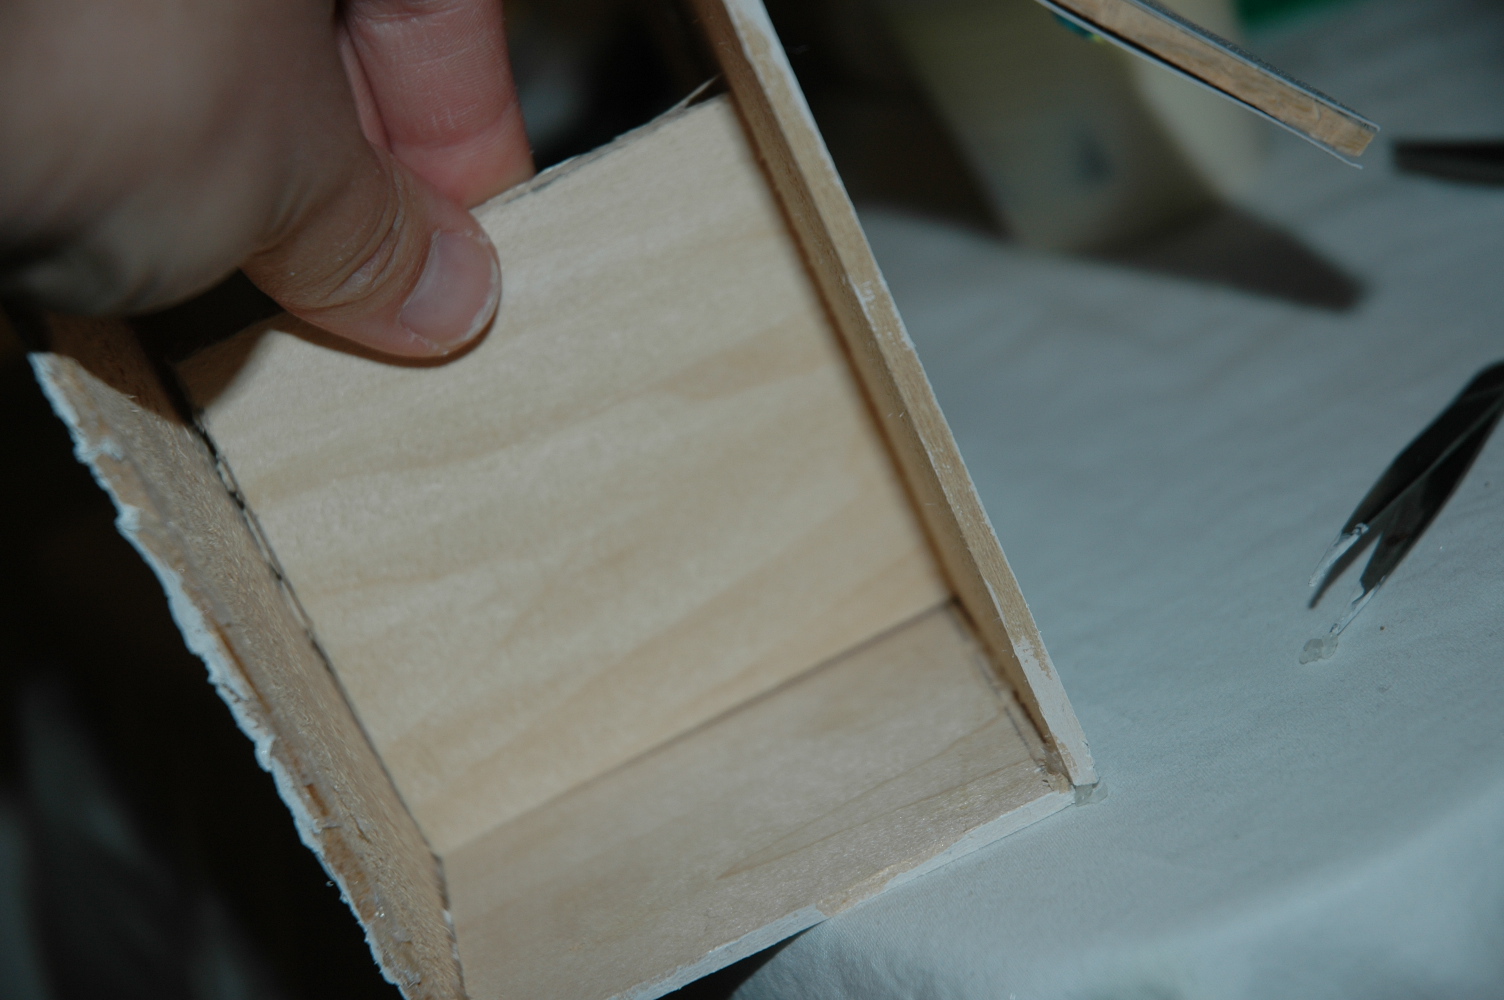
It was then time to create the window frames, outside and inside. I painted them white so they would not distract for the theme of the bathroom and would give the windows a nice clean finish. I then need to make the toilet room as well as the linen closet that would sit separately from the large room housing the tub and sinks. I used basswood because it’s easier to cut, I then painted the walls and attached the doors. For the linen closet I added a few shelves for storage purposes. I made sure to paint the inside of the toilet room and added doors to both rooms.